Raevenfea

Maker of various fabric things

  • Subscribe

To be a bit cliché, this shoemaker is a professional Web Developer and her child is this blog, but it was past time to launch what I have of a new design. All the content is still here, everything else is a work in progress (kind of like most of my sewing projects)!

Posts tagged: Gifts

My Favorite Dinosaur

Posted in Crafting

  • For the kitchen
  • Gifts
  • Machine embroidery
  • Quick project

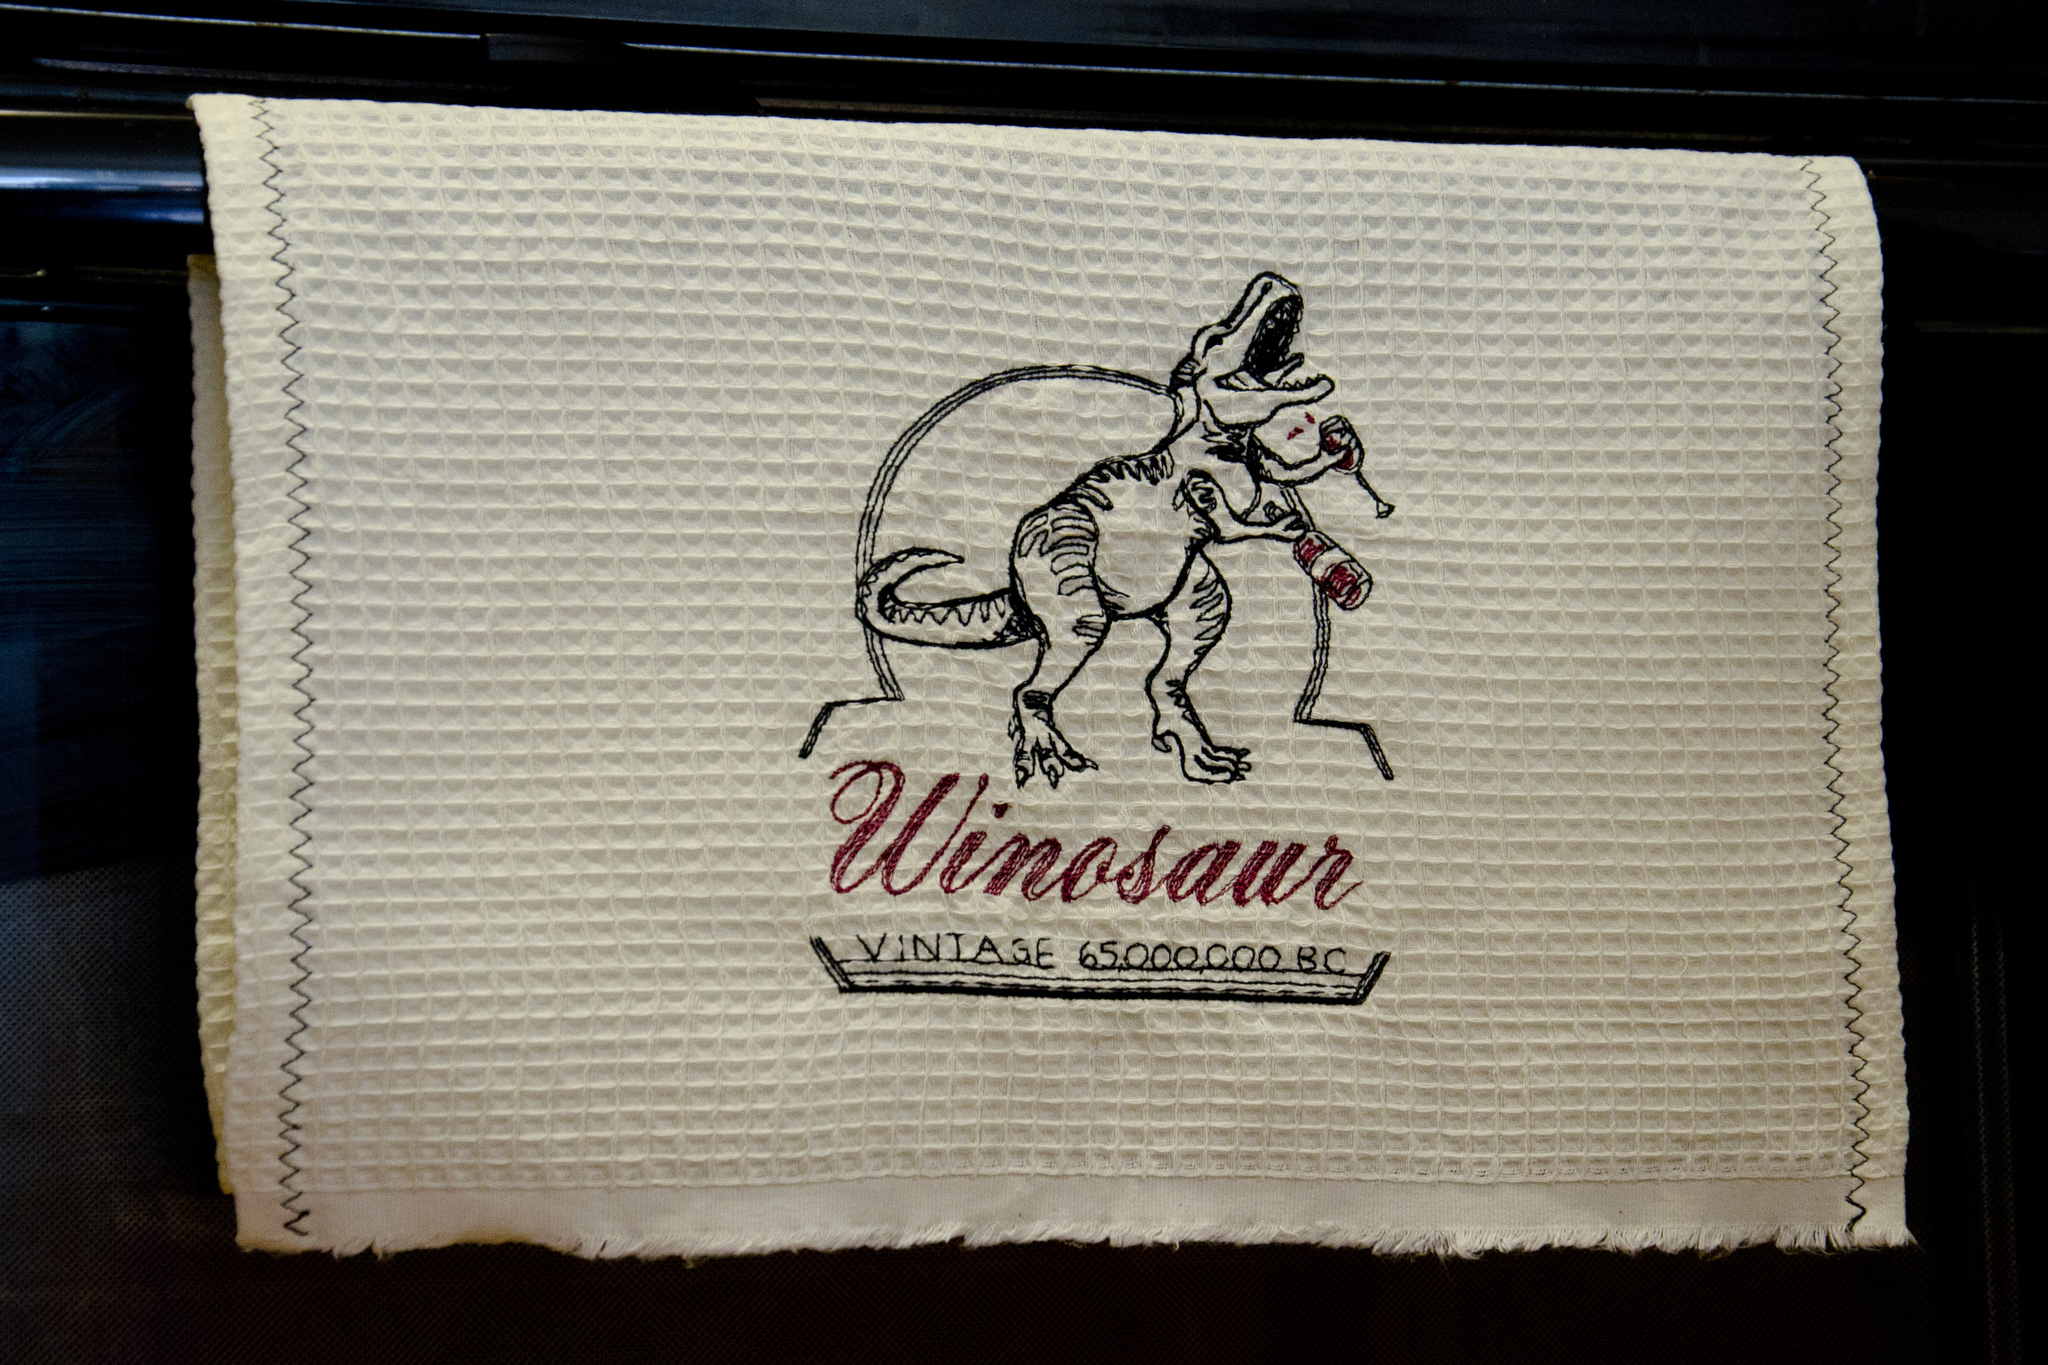
The curriculum for one of the coding classes I teach used to have a meet and greet question that everyone would answer: “what’s your favorite dinosaur”? Without fail, I’d forget to plan for it, and have to wrack my brain for one from Land Before Time or Jurassic Park (those movies being the extent of my familiarity with dinos). I’ve found my new favorite (a bit too late, c’est la vie): the inimitable Winosaur!

Winosaur towel

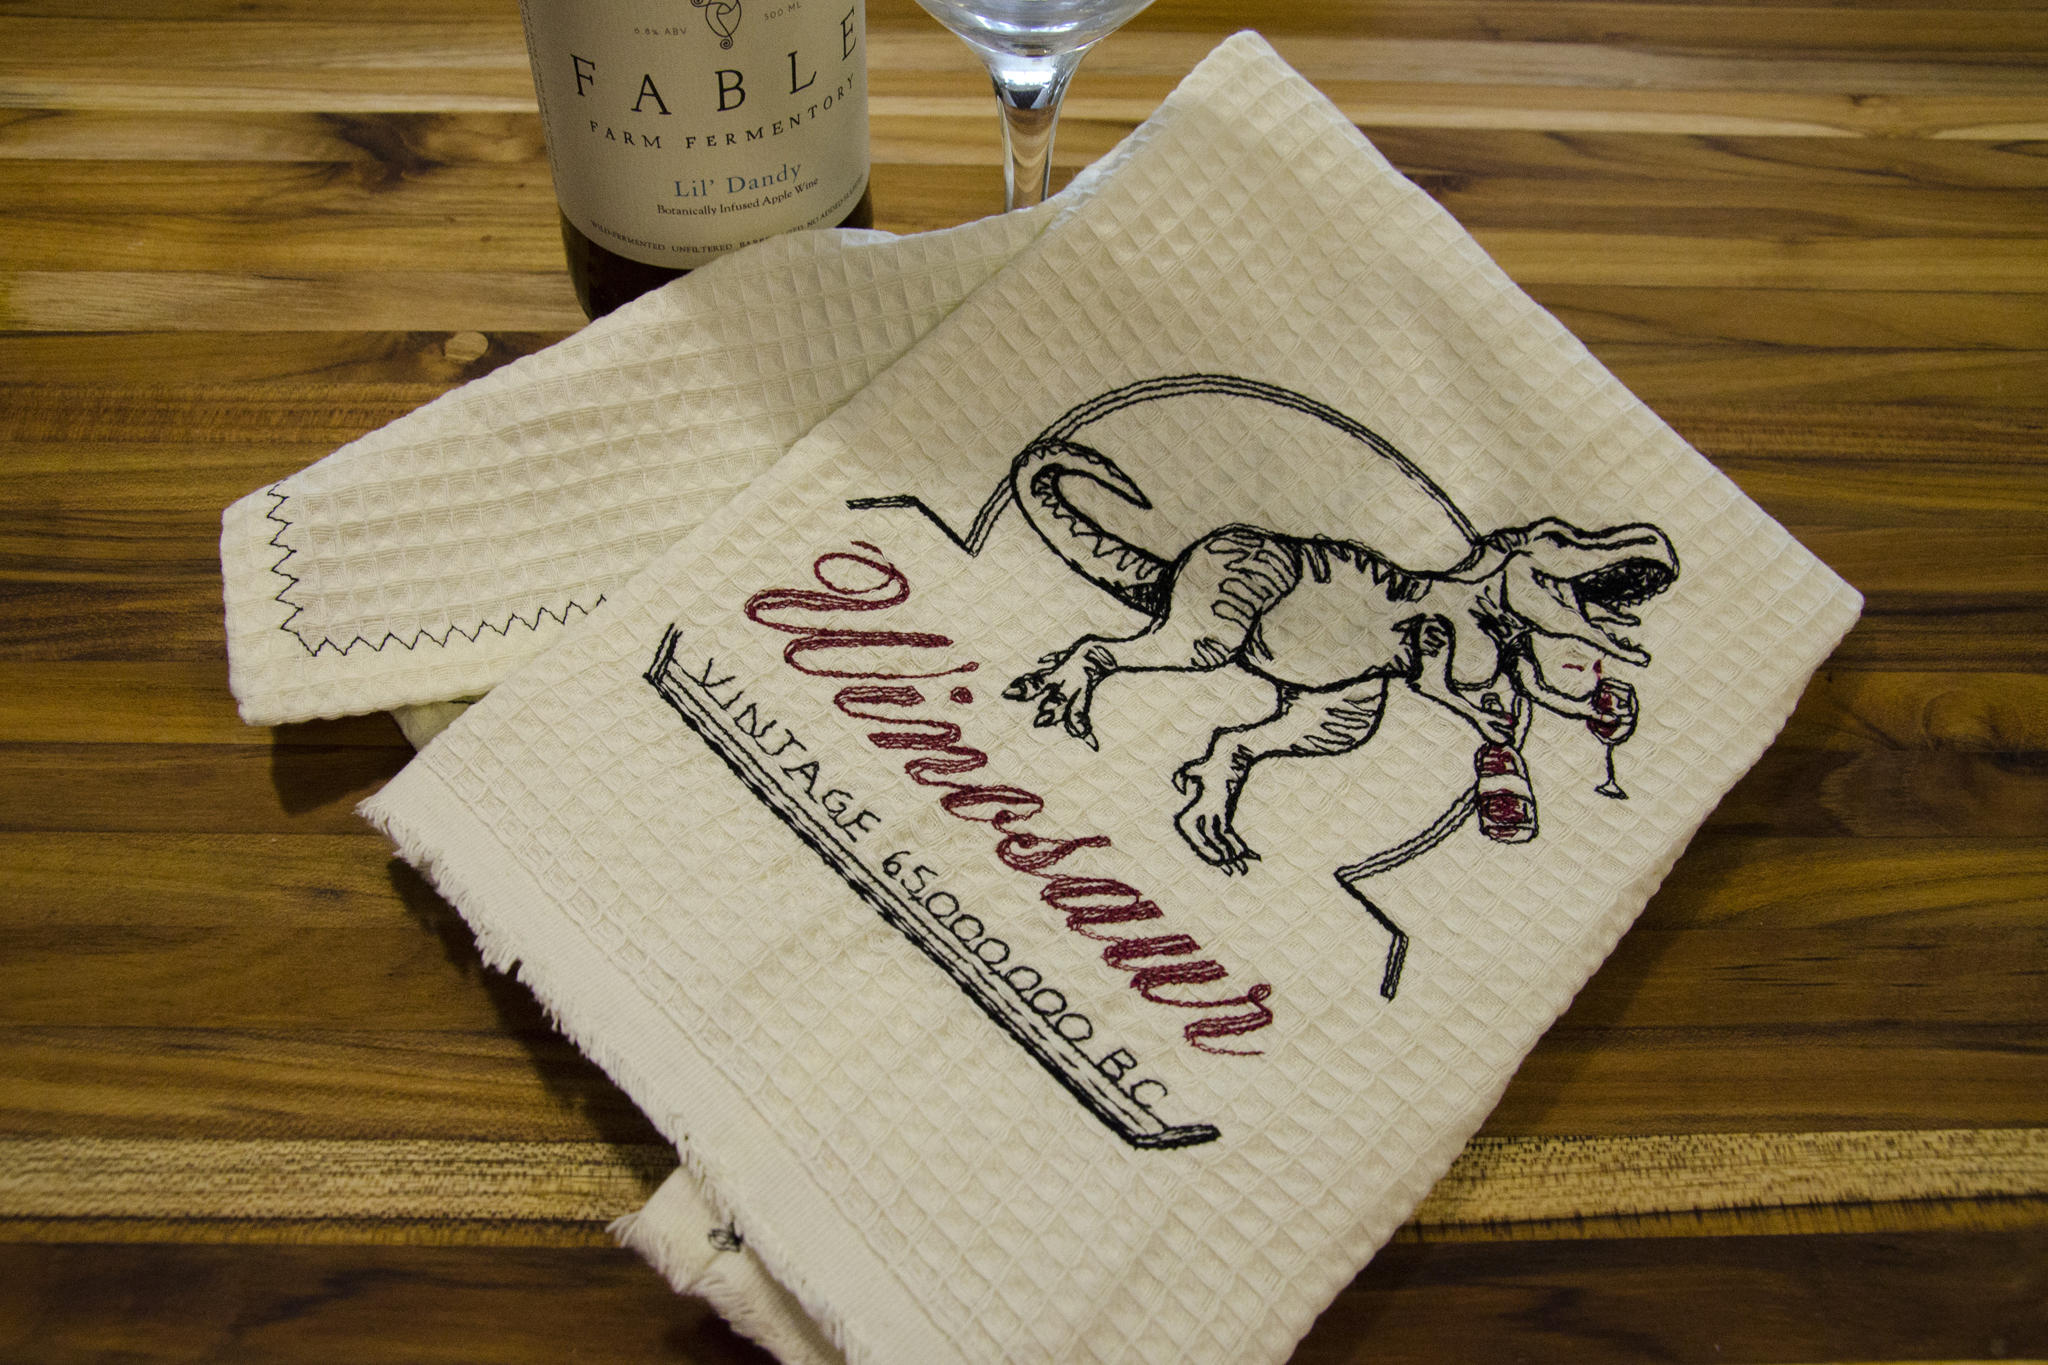
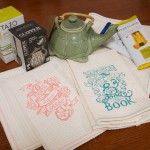
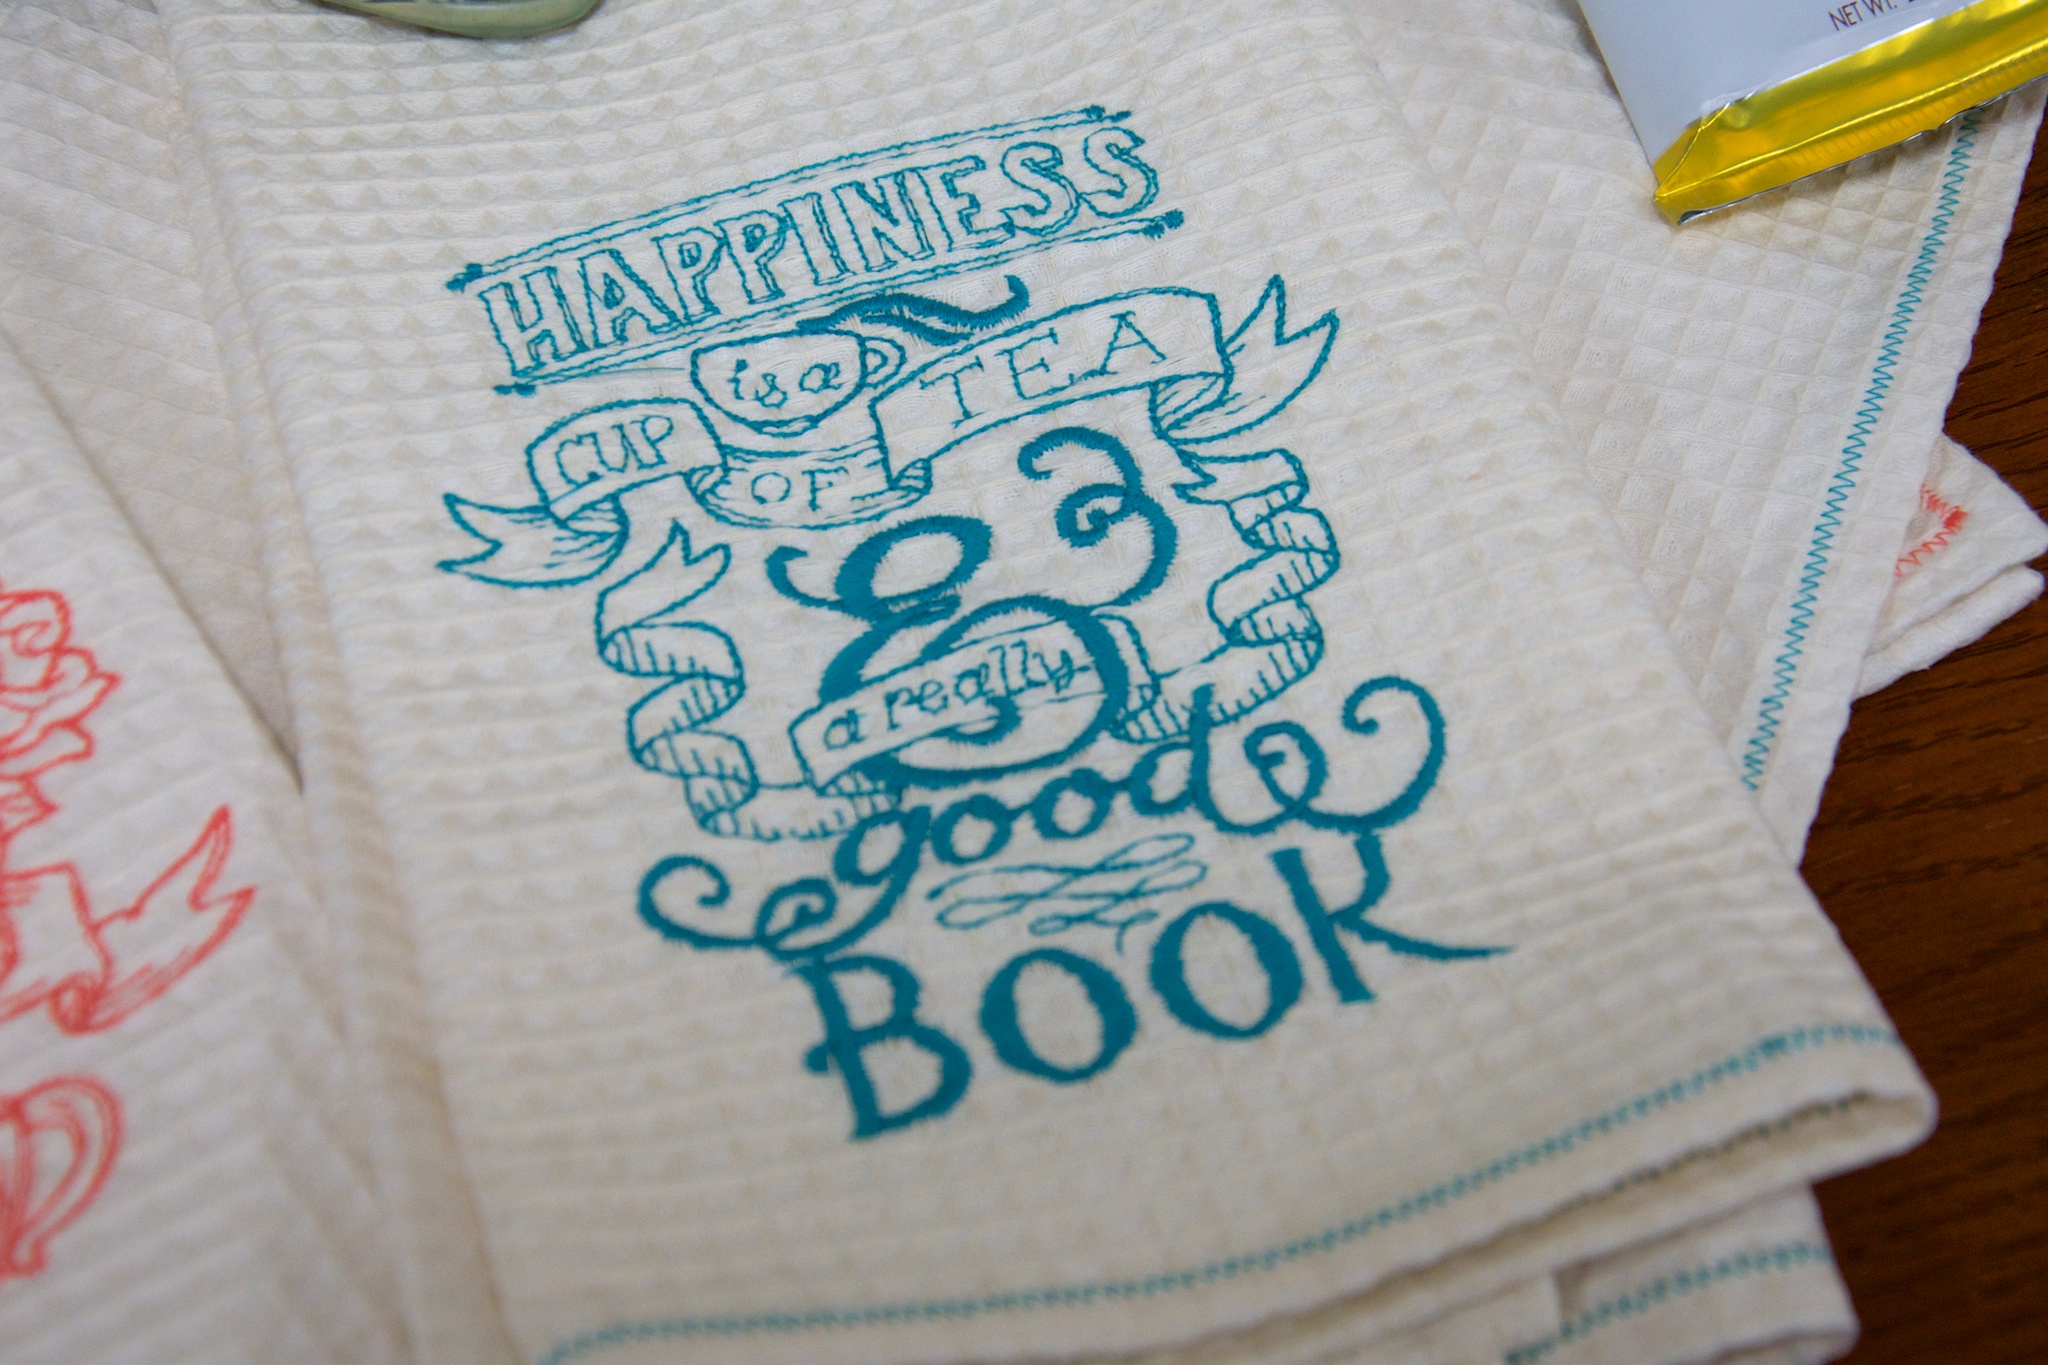
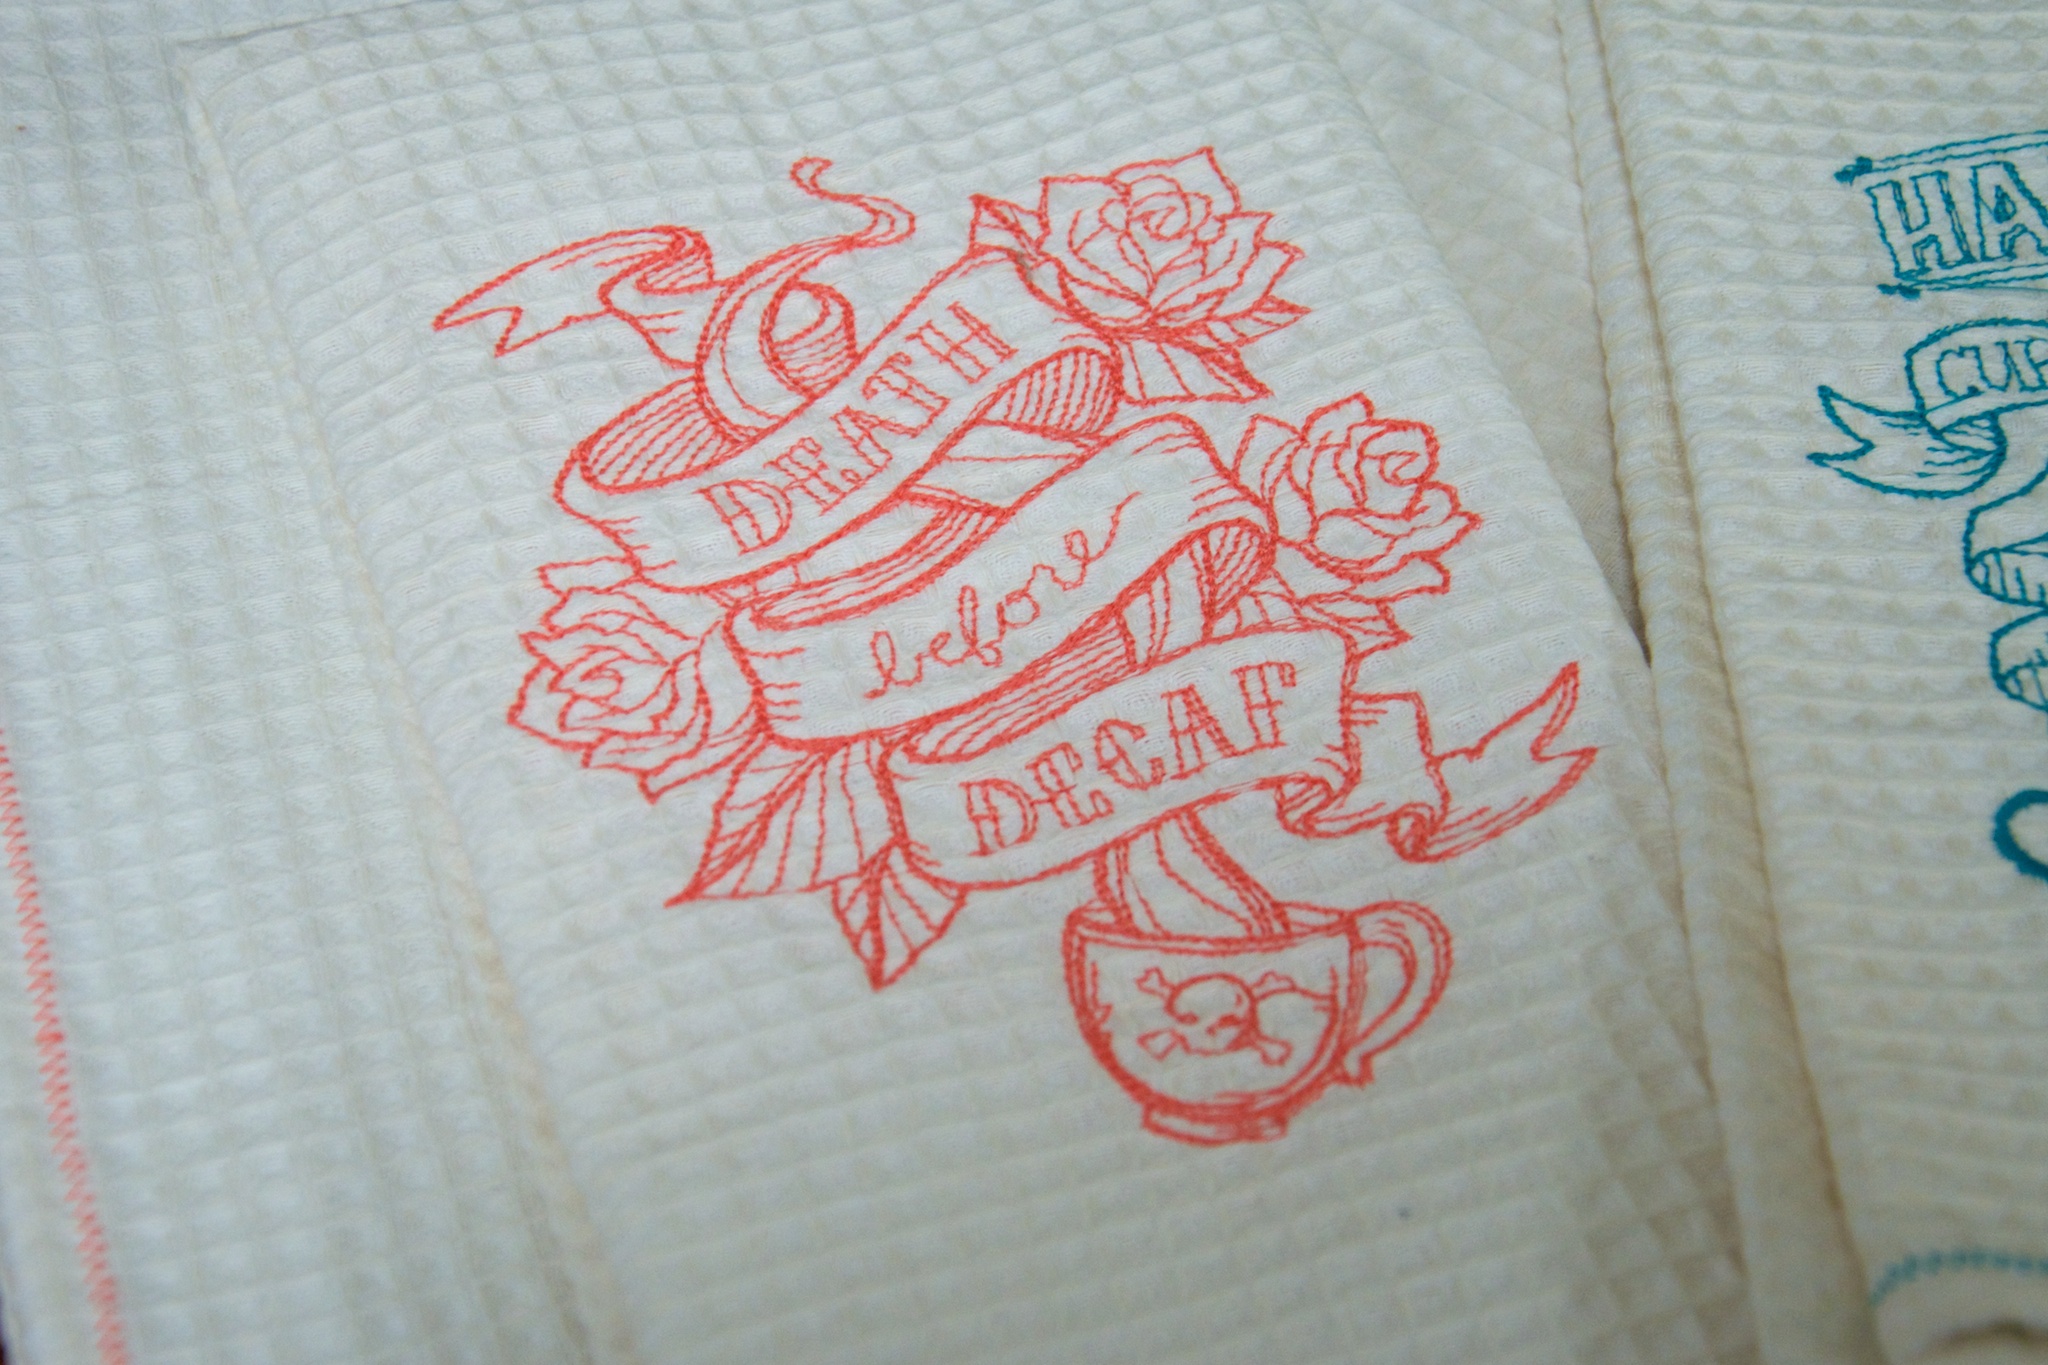
I picked this embroidery up from Urban Threads a while ago, when it was featured as a freebie. It was perfect for a set of tea towels (wine towels?) to give as a hostess/housewarming gift to friends who recently moved and threw a BBQ.
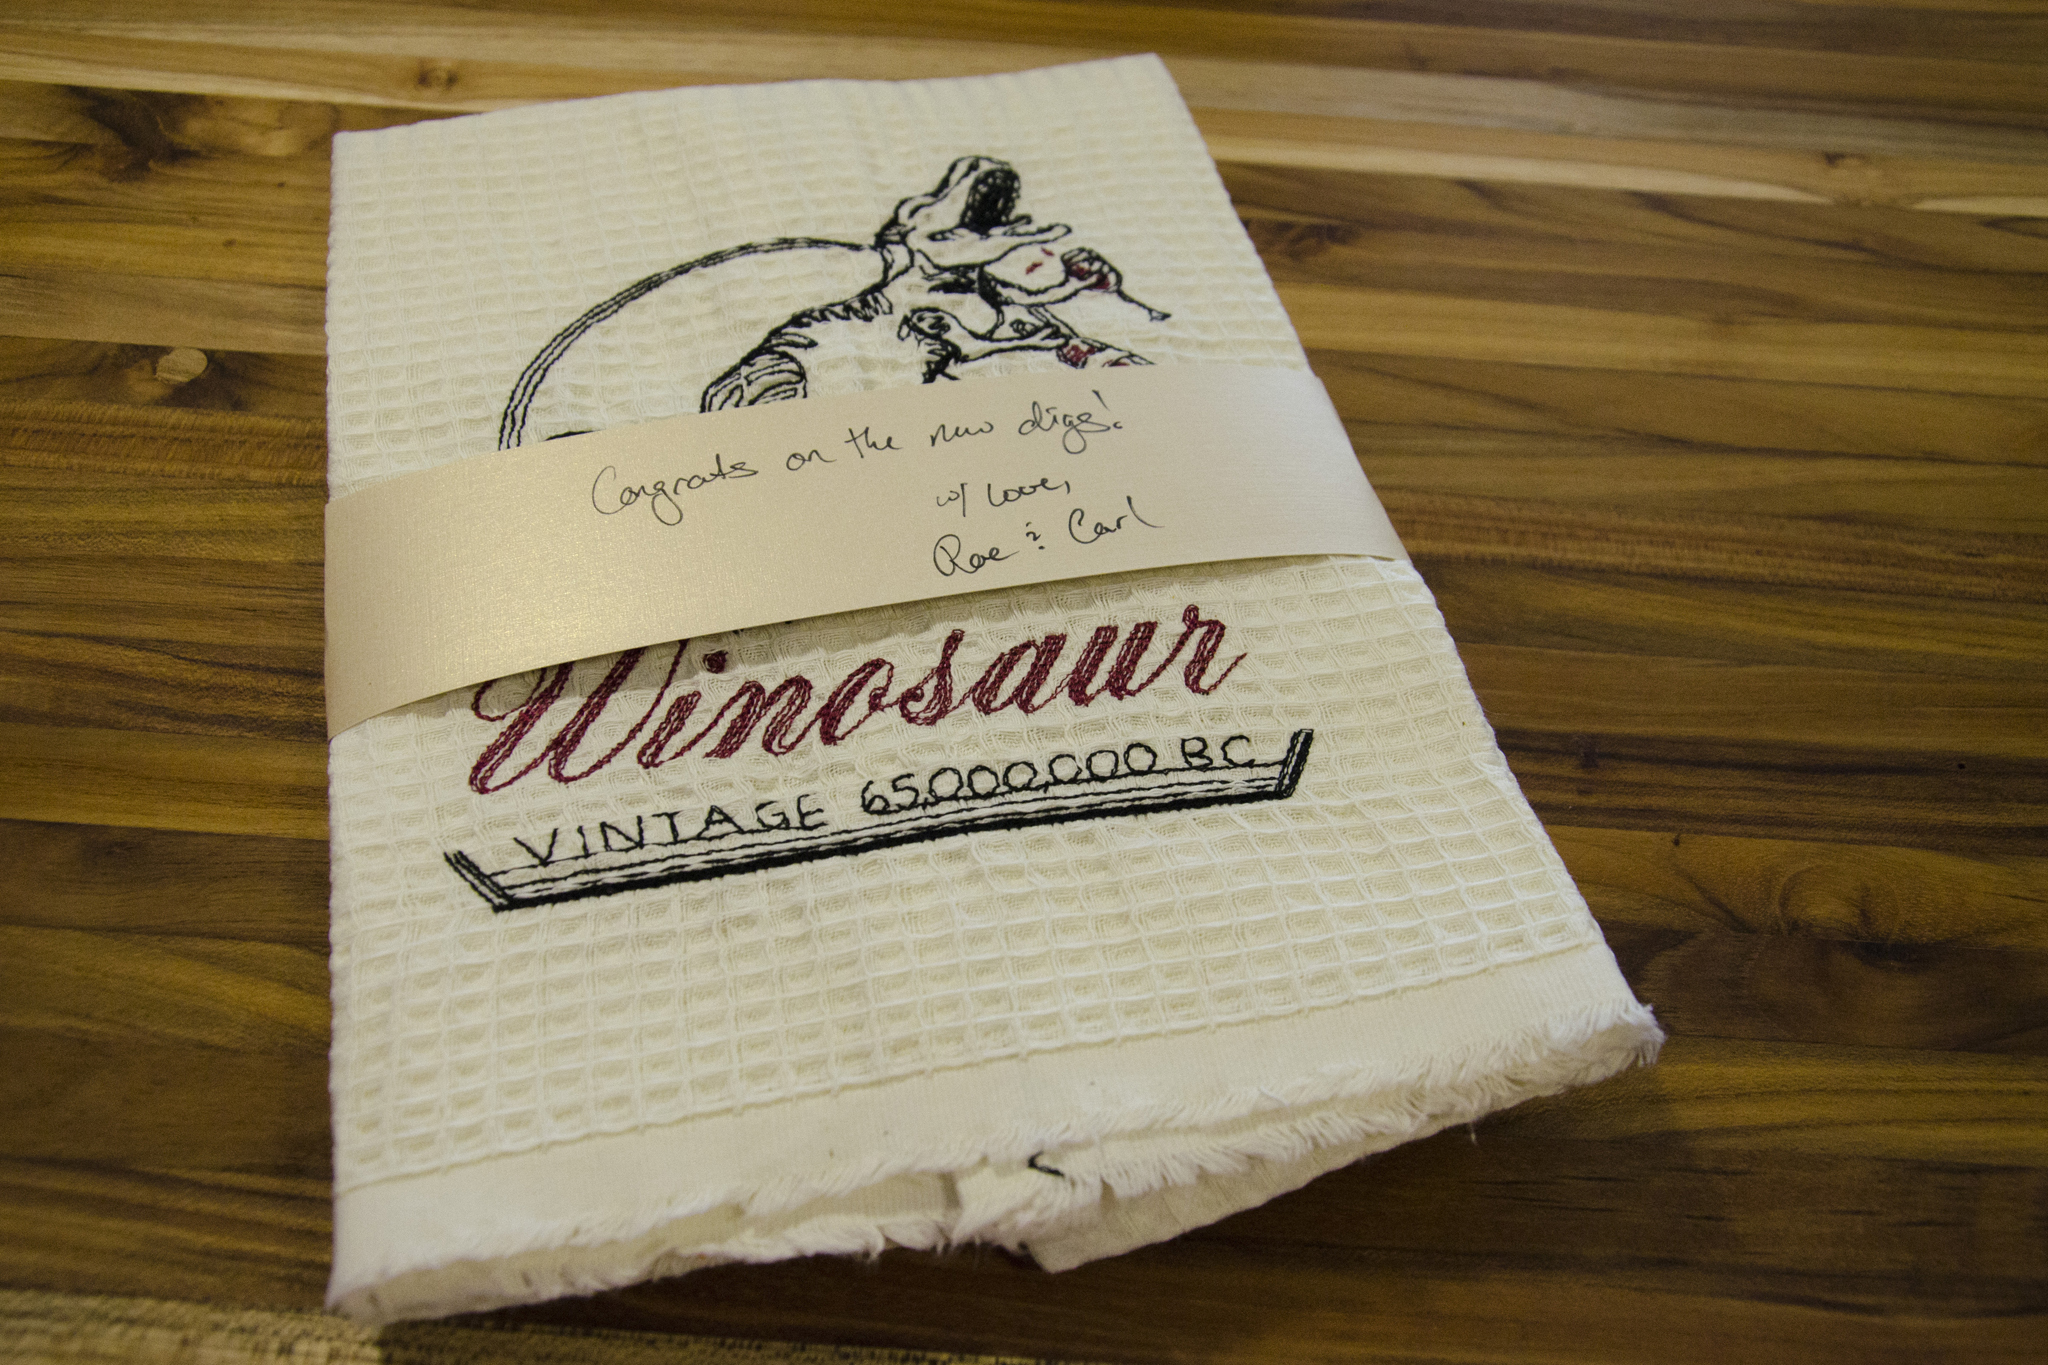
Winosaur towels

Rwaar. Glug glug.

Learn from my mistakes

I’m glad that I bought a full yard of the waffle weave fabric I used to make these towels out of, as my first attempt and a half at stitching out the embroidery went awry. Most of this is Machine Embroidery 101-level stuff, but I thought I’d share everything I learned. I tried to cut corners and it bit me, of course.

Winosaur towel stitchout issues
  • Use a fresh needle. An embroidery one. In the right size. No, that one you just finished using to quilt something is not okay.
  • Buy the right-sized stabilizer. Yes, you may have the right type stashed, but if it’s sized for a smaller hoop, just go buy the right size.
  • Double (or triple) up your water-soluble stabilizer according to their directions, particularly with an unstable fabric and heavy line stitching.
  • Use spray baste to attach the stabilizer to your fabric.
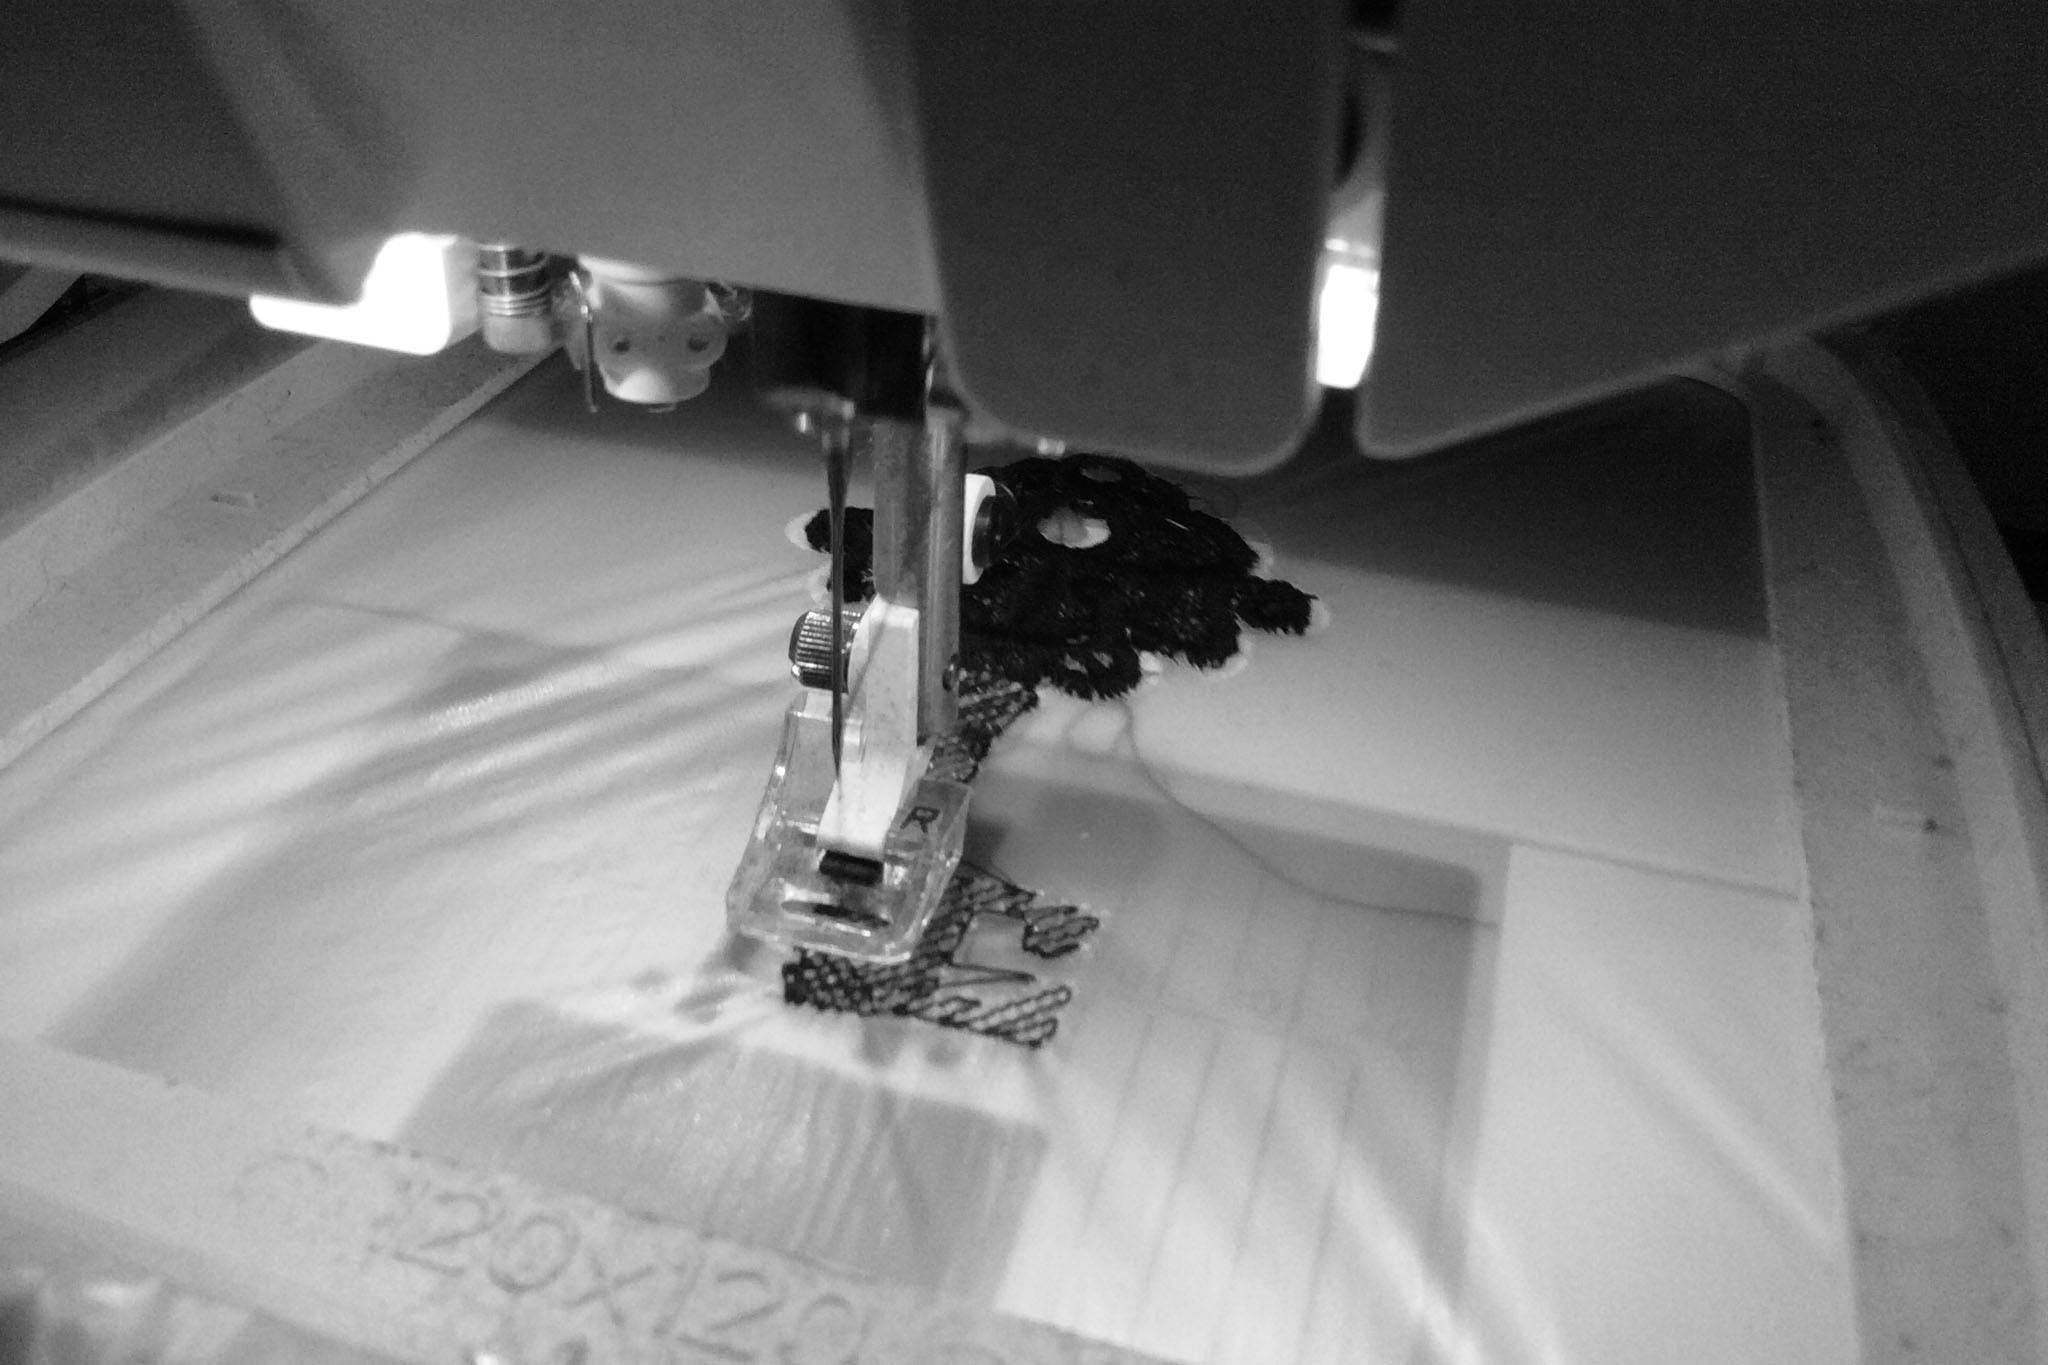
  • Have your machine baste the design outline before stitching.
  • The Large Metal Hoop, while awesome, doesn’t ship with enough magnets to secure unstable weaves. Steal more from your fridge (TMNT to the rescue! Cowabunga, dudes!).
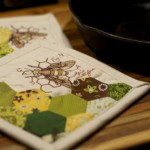
Winosaur towel stitchout back

The towels

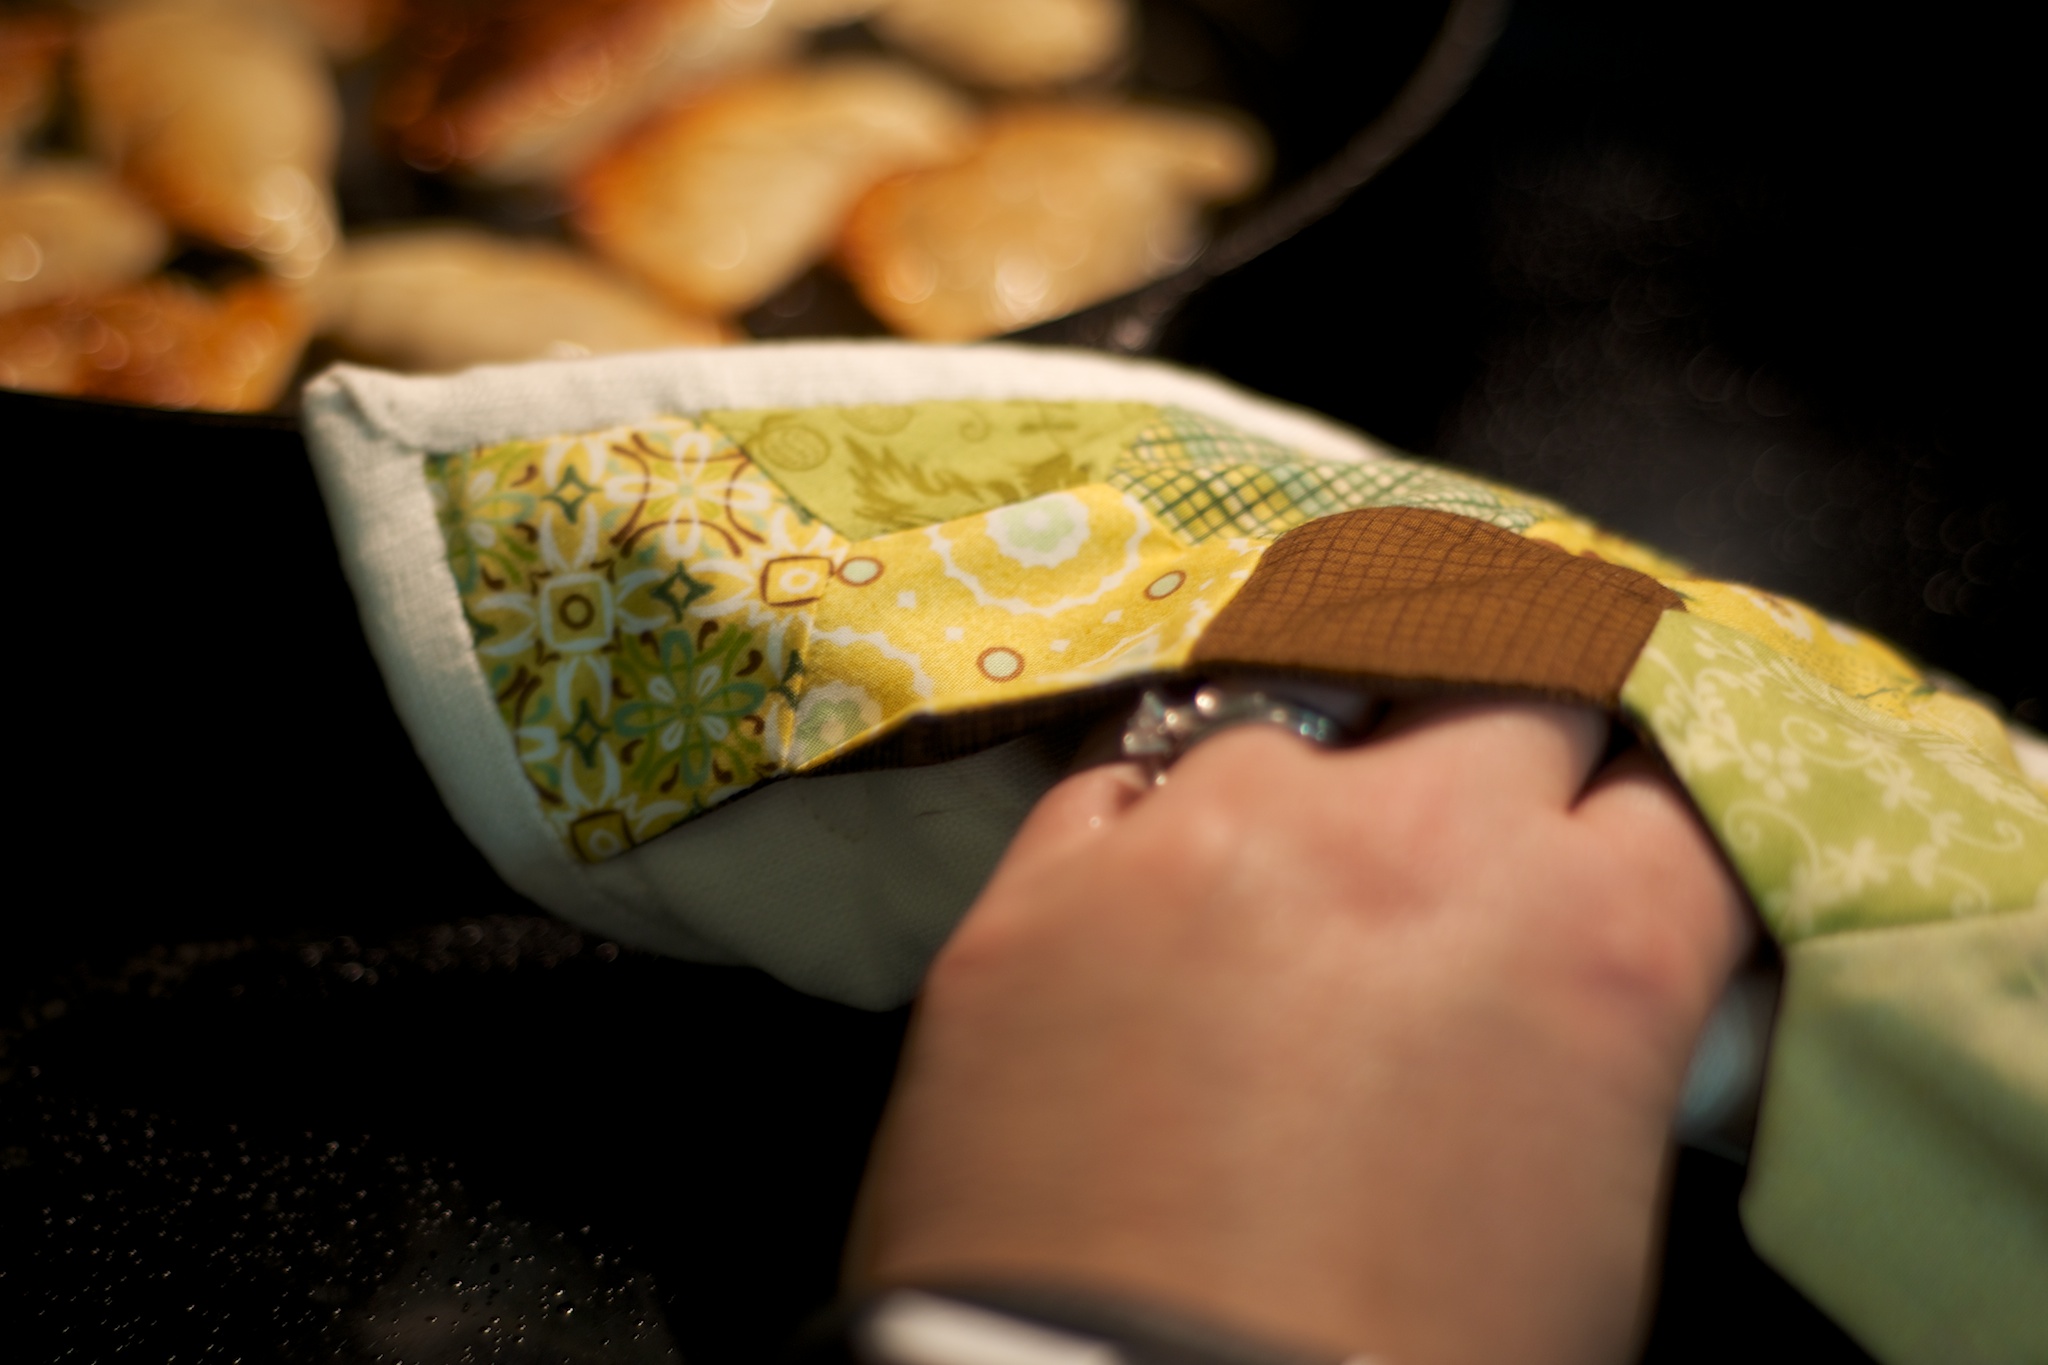
The towels themselves are simple. They’re a fat quarter of waffle weave fabric, hemmed with mitered corners on one short edge, and the fringed selvage left bare for that towel-like look on the other. I used a contrast thread with a zigzag for aesthetics. I couldn’t help making a spare set for myself in the name of ‘testing’ the final product! And by that, I mean I kept the awkward learning curve versions for myself.

Winosaur towel

July 16th, 2016

Tea in the Park

Posted in Crafting

  • Bags
  • Fabric Designer: Elizabeth Olwen
  • Fabric: Essex Linen
  • Fabric: Kaffe Fasset Collective Shot Cotton
  • Fabric: Park Life
  • Gifts
  • Home decor
  • Machine embroidery

I bought far more fabric than I needed to make the bridal shower tea party bunting (half yard cuts of six prints, a yard of another), so the obvious thing to do was to use some as part of a shower gift for the bride and groom. I ended up with a suite of gifts perfect for a picnic at the park.

Tea in the Park Gift Set

Napkins

I made a pair of basic mitered-corner napkins using a half yard of fabric. They finished at 17″ square. There are many good mitered corner napkin tutorials online if you need one. I used this one from Purl Soho as a refresher for the corners because I can never recall how to do it properly. Here’s another one from Craftsy if you don’t want to be sold hard on buying more fabric.

Tea in the Park Gift Set

Roll-up Placemats

When I cut out bunting pieces, I ended up with extra triangles and end pieces since I simply sliced up a 9″ strip of each fabric. I wanted to use up those pieces in any piecing, so started putting together the placemat design with improvisational piecing taking cues from the triangles. I paired the Park Life prints with Kaffe Fasset Shot Cotton in Latte from my stash—slightly different than the solid gray I used in the bunting, but a better match for the colors in Park Life—it’s a slightly taupe-ish gray.

Tea in the Park Gift Set

The back is pieced from more triangles and a strip of the gray. After piecing, I inserted a strip between one piecing seam and the binding that acts as a napkin ring on the front. I quilted them in 1/4″ lines with a gray-taupe Aurifil, then bound them in the gray with one small scrap of print to give a bit of visual weight to the right side.

Tea in the Park Gift Set

Because the intent was that these are portable for a picnic, I tried to figure out a way to secure them while rolled up for easy transportation. Going back to the pile of leftover triangles, I made a pennant, slid it into the binding, and used a bit of Velcro to allow it to fasten flat to the back, or to itself if you roll up the placemat. It turned out to be my favorite feature.

Tea in the Park Bag

Tote Bag

What good are traveling placemats and napkins if you’ve nothing to carry them in? Using the Art Student Tote as a general design guide, I pulled together a bag made of dark gray Essex Linen, straps in a Park Life print, and a machine embroidered pocket using a coordinating solid from my stash and one of the tea embroideries from the bunting.

Tea in the Park Bag detail

The bag is 13″x18″x4″—a hybrid of the two Art Student Tote sizes. I only added one pocket to the front, no closures, and no interior dividers/pockets. Since I lined it in the exterior linen, I modified the construction a little bit and added a flange for a pop of color around the top of the interior. Having learned from using my own Art Student Tote, I made sure to use a woven interfacing for the straps—mine are starting to stretch out and warp due to the medium-weight non-woven—and cut an extra strip to get the full suggested 128″ instead of the approximate three widths of fabric—mine are a smidgen short when the bag is loaded up. I also modified the strap construction to use two different fabrics (one on each side), as I didn’t have enough of any one fabric.

The Whole Package

To round out the picnic theme, I added a few store-bought gifts as well.

Tea in the Park Gift Set

It was a dreary, rainy day when I tried to take photos before shipping it off. I hope the couple has many sunny days in their future.

Even with this whole package, I still have a quarter yard of five of the prints—and a few more triangles—but for now I’ll retire that to the depths of my stash and move on to some other things!

June 30th, 2016

Puzzle Bop

Posted in Quilting

  • Applique
  • Baby quilts
  • Fabric Designer: Thomas Knauer
  • Fabric: Savannah Bop
  • Gifts
  • Q015CA

The embellished fabric bin I made two years ago has been taunting me to use the remaining fabric from Thomas Knauer’s Savannah Bop line that was sitting inside of it. Even after using strips to make the 1 + 1 = 4 charity quilts and the bin, I had about 1/3 yd. of each print in the line in my stash. Finally, the need for another baby quilt gave me reason to pull it out.

Puzzle Bop
“Puzzle Bop”, Rachael Arnold, February 2015, 48″x56″. Photo by Carl Pfranger.

I settled on the idea of a puzzle—because what is quilt pattern design if not a giant puzzle to solve? As tempted as I was to throw in solids and a yarn-dyed once again, I decided to use up most of the prints in the line and only added in the Michael Miller Kryptonite solid for a bit of contrast. (Here’s my tutorial on how to make the puzzle block.)

Puzzle Bop detail
“Puzzle Bop” (detail), Rachael Arnold, February 2015, 48″x56″. Photo by Carl Pfranger.

Then, because the design needed a little something more, I appliqued on a few extra puzzle pieces to fill in the negative space. I especially like the one on the top corner that wraps to the back of the quilt over the binding. (I posted a description of my process back in February.)

Puzzle Bop detail
“Puzzle Bop” (detail), Rachael Arnold, February 2015, 48″x56″. Photo by Carl Pfranger.

I free motion quilted this all over in a loose meandering pattern, using a Gutterman green that matches the Kryptonite. The back is Minky Cuddle Pine Ridge in Olive. I tried out Pellon’s Eco Batting this time, a 70/30 cotton/poly blend. It’s bound in Kona Sunflower.

Puzzle Bop detail
“Puzzle Bop” (detail), Rachael Arnold, February 2015, 48″x56″. Photo by Carl Pfranger.

This has been a slow year for me, quilting wise (at least considering I don’t have wedding planning to blame). I finished the quilt in February, but just now got around to photographing it and dropping it in the mail. It’s my only finish yet this year, but that should change soon.

Puzzle Bop back detail
“Puzzle Bop” (detail), Rachael Arnold, February 2015, 48″x56″. Photo by Carl Pfranger.

At least spring finally decided to grace Vermont!

Puzzle Bop detail
“Puzzle Bop” (detail), Rachael Arnold, February 2015, 48″x56″. Photo by Carl Pfranger.

May 8th, 2015

A Difference in Values

Posted in Quilting

  • Finished projects
  • Gifts
  • Q014BJ

We’re heading off on a week and a half-long vacation, first delivering this quilt in NY and visiting Carl’s family, then on to MO to visit my family. Forgive the photos, as we took them the night before leaving on our trip. Hope you’re having a wonderful time celebrating the holidays!


If I’m going to stick to a formulaic fabric selection, I thought I should at least mix up the shapes I’m using. However, a condensed timeline dictated simplicity, so I stuck with squares and rectangles. This stack of six fat quarters from Daisy Cottage; fat quarters of a generic pink solid, Kona Sunflower, and Fairy Frost in snow; and a yard of Essex Yarn Dyed in Flax went together quickly, but the values in the fabrics didn’t work out as well as the stack of blues and greens for the layout I used in Mustang Summing, so I mixed up the layout.

A message for baby V in Morse code
“V’s Morse Message” (sideways, top is on right of photo), Rachael Arnold, December 2014, 48″x56″. Photo by Carl Pfranger.

The result is a message to our new niece spelled out in Morse code, with the yarn dyed serving as spacers between letters and words. The whole thing is built on a 4″ finished grid, as I started with 4.5″ strips cut down into squares, 8.5″ rectangles, and 12.5″ rectangles. It finishes at 48″x56″.

A message for baby V in Morse code (detail)
“V’s Morse Message” (detail), Rachael Arnold, December 2014, 48″x56″. Photo by Carl Pfranger.

I feel bad admitting this, since the quilt became a gift (sorry, V!), but I had such a hard time focusing on this quilt. I cut the fabric into strips soon after finishing Mustang Summing, but kept procrastinating on starting. Originally, I was going to make an equilateral triangle quilt. Then we found out a new niece was being added to the family, so it became her quilt. It took until the day she was born for the idea of Morse code to inspire me. Maybe I was just holding out for the spark.

A message for baby V in Morse code (detail)
“V’s Morse Message” (detail), Rachael Arnold, December 2014, 48″x56″. Photo by Carl Pfranger.

The back is nice and soft, courtesy Minky in the Dynasty pattern, oyster color (although the quilting hides the pattern). There’s low-loft cotton in the middle, as usual. I quilted it in an all-over swirl using Aurifil thread that I picked up from the local quilt shop. I forgot how much my machine loves this thread. The binding is a print from Brambleberry Ridge by Violet Craft.

Dogs love quilts
“V’s Morse Message” (back), Rachael Arnold, December 2014, 48″x56″. Photo by Carl Pfranger. Moof decided the back needed a little something extra for the photo.

Since I didn’t expect to finish any more quilts in 2014, I didn’t have any labels to put on this one. For now, there’s a handwritten one on the front. Perhaps I’ll have to add another in the coming months once I order more.

A message for baby V in Morse code (detail)
“V’s Morse Message” (detail), Rachael Arnold, December 2014, 48″x56″. Photo by Carl Pfranger.

I hope the size of this can grow with her and keep her warm for years. Now I need to get started on quilts for her siblings!

December 25th, 2014

A Key to Gifting

Posted in Crafting

  • Gifts
  • Lace
  • Machine embroidery
  • Urban Threads

I’m absolutely the worst at remembering to pop gifts in the mail on time for my various niblings’ birthdays. I think they’ve all come to expect that Aunt Rachael’s cards come sometime in the general month, likely mailed on their birthday or a few days after. Take these, for instance. Two of my nieces recently celebrated their 16th birthdays, one this past week, the other in September (to be fair, I didn’t have a mailing address at the time).

Urban Threads embroidered lace key with Danforth pewter charms
Charming lace key keychains, November 2014, Rachael Arnold.

For birthdays, I usually drop a gift card in the mail, but since this was a special one, I added a small additional gift as well—a keychain composed of a free-standing lace design from Urban Threads and a pair of charms from Danforth Pewter (made here in Vermont).

Urban Threads embroidered lace key with Danforth pewter charms
Charming lace key keychains, November 2014, Rachael Arnold.

This is the first time I’ve tried stitching out a free-standing lace design, and it was a little rocky. My first attempt failed compeltely. The second time, I doubled up the water-soluble stabilizer and it turned out okay but the top thread broke about ten times, and it skipped a ton of stitches. The final product seems okay, despite all that.

Stitching out Urban Threads embroidered lace key
There are quite a few skipped stitches in this area.

The third time, I used three layers of stabilizer, and didn’t have to fight broken thread, however the stitches pulled the stabilizer apart, scrunching and mis-stitching a part of the key. It still came out okay, but I definitely have room for improvement.

Urban Threads embroidered lace key with Danforth pewter charms
Charming lace key keychains, November 2014, Rachael Arnold.

Now I just need to remember to make it to the post office tomorrow to send them on their way!

Have you had much experience stitching out free-standing lace designs?

November 16th, 2014

A Guild and a Potholder (or Three)

Posted in Crafting

  • Fabric Designer: BasicGrey
  • Fabric: Linen
  • Fabric: Origins
  • Gifts
  • Machine embroidery
  • Urban Threads

A group of us are starting a Modern Quilt Guild here in Vermont. It’s very exciting, but also a bit drudging trying to get everything set up and official and to get the ball rolling with actual guild-type stuff rather than being all about business, business, business, and “do we want to be MQG-official?”, et cetera.

At our September meeting, we had our first demo, potholders based on the ones in Zakka Style—a great demo idea, since it shows all the steps of quilting in one small package. To encourage members to try out the skills and techniques, we’re charged with bringing a completed potholder of any type to the next meeting.

Bee Potholders #UrbanThreads
Bee Potholders, Rachael Arnold, October 2014.

I thought I should tackle two to-do items at once and get a head start on xmas gifts, so I made a matching set for a friend. I’ve been saving a charm pack of BasicGrey Origins for almost three years now, purchased with this friend in mind. I paired it with stashed ivory linen, a brown texture print from JoAnn Fabrics (I had nothing in my stash that matched the linen and charms. Amazing!), and an embroidery from Urban Threads.

Bee Potholders #UrbanThreads
Bee Potholders, Rachael Arnold, October 2014.

After I finished, I remembered that we said we’d do a swap at the meeting, so I made a third for that (a great time to incorporate what I learned from earlier mistakes!).

Bee Potholders #UrbanThreads
Bee Potholders, Rachael Arnold, October 2014. Photo by Carl Pfranger.

That time around, I cut the binding as a 2.5″ strip instead of the 3″ that I used for the other two, since I wasn’t entirely happy with the width. Next time, I know to use 2.75″; 2.5″ is slightly too narrow for me to machine finish cleanly.

Bee Potholders #UrbanThreads
Bee Potholders, Rachael Arnold, October 2014.

I pieced the 2.5″ hexies by machine (not perfect, but nothing a liberal amount of steam couldn’t handle), and turned them into a pouch for better gripping (making the pretty side the won’t-get-shoved-into-food-accidentally side, which makes the ivory far more practical). All three are 8.5″ square, with a layer of Insul-Bright and low-loft cotton batting between. I do wish I’d remembered to add a hanging loop to my friend’s, and am not entirely happy with the contrast quilting on the back (which makes the un-quilted, embroidered area even more obvious).

Bee Potholders #UrbanThreads
Bee Potholders, Rachael Arnold, October 2014. Delicious potstickers cooking in background are based on this recipe. A huge hit in the Arnold+Pfranger house!

As for the guild, join us the last Sunday of every month, 10am-noon, at Nido in Burlington!

October 7th, 2014

Tea Towels for Care Packages

Posted in Crafting

  • For the kitchen
  • Gifts
  • Machine embroidery
  • Quick project

Near the end of every semester, I send finals week care packages to my younger sisters (which also happens to conveniently fall near their birthdays in the spring and autumn). While they mainly contain tea, chocolate, pens/markers, post-its, and something relaxing, I try to slip in something me-made every time as well (to varying degrees of success).

This semester, they moved into an apartment together, so I thought of the perfect gift: a set of kitchen towels with awesome embroideries that I found on Urban Threads. Useful, not so precious that they can’t be used, and amusing.

tea-towels-1
Here they are pictured with the aforementioned chocolate, tea, and the elder’s birthday present.

There is one embroidered towel and one plain one in each set, each measuring around 16″x21″. One of these days, I’ll be making a set of my own from this one, which perfectly sums up my introverted down days: “Happiness is a cup of tea and a really good book.”

tea-towels-2

We’ve always ganged up a bit on the younger one, who claims she now reads, but didn’t for many years, so she got a different design (which could double as a coffee cup, since that may be her caffeine-delivery vehicle of choice). It may also be fitting for me to hang at work, if you ask my coworkers about my state of mind at our scrum every morning: “Death before decaf.”

tea-towels-3

I made the four towels from a yard of textured cotton I found in the utility section of JoAnn Fabrics. While not explicitly labeled toweling, it’s a great texture for a hand towel. I used cotton Gutermann thread to embroider them, matching the needle and bobbin threads. The 150m spools had just enough thread on them to get through the embroidery, then I switched the bobbin up to feed through the needle and put a cream bobbin to hem the edges. It made for an efficient use of a single spool that could have ended with a run to the store had anything gone wrong (I like to live a little dangerously some times).

Now, to start scheming about what to make for November’s package…

April 24th, 2014

Spring Traveling and Playing with Leather

Posted in Crafting

  • Bags
  • Gifts
  • Leather

Spring is slow coming here in Vermont—it’s truly mud season rather than flowering wonderland—but we had the chance to see a few blooms when we traveled down to New Jersey for Easter with Carl’s family. Even the bees were out and about.

Spring bees

For the past few years, Carl’s been stuck having travel toiletries either mixed in with mine in a bright pink bag I received as a free gift with a cosmetics purchase or in a zip-lock baggie (required on planes, pretty lame by car), so I thought it high time that he have a toiletry bag of his own. Past time even, considering he’s been traveling back to Utica every other week for work since we moved up here last July.

Leather Travel Bag

It’s a slightly smaller version of the cosmetics bags I’ve made over the past couple of years with squared-off corners and without the wrist strap. The fun part was making my first project out of leather. I picked up an unlined leather shirt/jacket at the thrift shop to play with and still have plenty of scraps leftover for more bags or whatever else I dream up.

spring-travel-12

Since the outside is leather, I quilted the lining to give the bag extra body. If I make another, I may try to stick to heavyweight interfacing instead, as the batting gives the lining too little drape. The bag doesn’t keep its shape perfectly, but it does stand on its own, even when empty.

spring-travel-8

The lining is made from the scraps of his quilt. No one print was large enough for the whole bag, but I was able to limit it to three different ones. I stitched it all with a heavy duty thread, but still have learning to do about proper top-stitching length on leather. Overall, I’d say my machine handled it just fine.

spring-travel-7

It worked out well for our weekend trip, and I hope it serves him well with the various travels we’re sure to do this year. I also hope spring finally comes to Vermont—traveling is much more pleasant in gorgeous weather like we saw this past weekend.

spring-travel-10

April 21st, 2014

A Nursery Versery Shower Gift

Posted in Crafting

  • Fabric Designer: Heather Ross
  • Fabric: Nursery Versery
  • Gifts
  • Quick project
  • Simplicity 2613
  • Simplicity pattern
  • Stuffies

With the emergency surgery needed for one quilt, I didn’t manage to finish the quilt for my friend’s soon-to-be-born daughter. I knew I needed something quick that would go with it, since we flew down to visit and attend her shower, so out came my trusty copy of Simplicity 2613.

Heather Ross Simplicity 2613

The quilt uses Heather Ross’ Nursery Versery fabric (among others) and Nido was having a sale, so I picked up extra for this project. I had a bit of yarn and large rickrack that coordinated for the ossicones and tufts of hair on the neck.

baby-bailey-stuffie-2

It rattles, thanks to some sort of plastic capsule I had around and pearled barley from my cupboard.

baby-bailey-stuffie-rattle

Once I finished the stuffed giraffe, I thought the gift needed a little something more, so I grabbed a FQ of another Nursery Versery print (that will also be the backing of the baby quilt), paired it with a pale yellow and white flannel (backing) and pink linen (binding) from my stash, and made a whole-cloth doll quilt to match.

baby-bailey-stuffie-3

She’s not due until April, so I still have time to finish up the quilt, but I’m happy to have made these accessories in time.

baby-bailey-stuffie-4

February 17th, 2014

Marking Time

Posted in Crafting

  • Fabric Designer: Tula Pink
  • Fabric: Salt Water
  • Gifts
  • Quick project
  • Scraps

My mom and younger sisters are visiting, so my projects are on the back burner in favor of time spent with them. 2013 was the first year in my life that I didn’t step foot in my home state of Missouri, so I’m thrilled that they came to VT despite the horrendous weather across the country this week.

Books have been a theme this trip and my oldest younger sister is a voracious reader, so I stole a bit of time this morning to round out her holiday gifts with a quick sewing project.

Saltwater Danforth bookmark

This bookmark matches the quilt I made her a few months ago. I sneakily picked up the turtle charm from the Danforth Pewter store when we were shopping yesterday, and added in a couple of beads that I’ve had for years. There are two layers of stabilizer inside to give it a bit of rigidity, and I whipped out rusty macrame skills on embroidery floss for the tassel.

Not bad for 20 minutes this morning.

January 7th, 2014

 Previous Posts
Newer Posts  

© 2008–2023 Raevenfea