Raevenfea

Maker of various fabric things

  • Subscribe

To be a bit cliché, this shoemaker is a professional Web Developer and her child is this blog, but it was past time to launch what I have of a new design. All the content is still here, everything else is a work in progress (kind of like most of my sewing projects)!

Posts tagged: Simplicity 2613

Noble Blooms

Posted in Quilting

  • Doll quilts
  • Fabric Designer: Zoe Pearn
  • Fabric: Indian Summer
  • Finished projects
  • Q014BD
  • Simplicity 2613

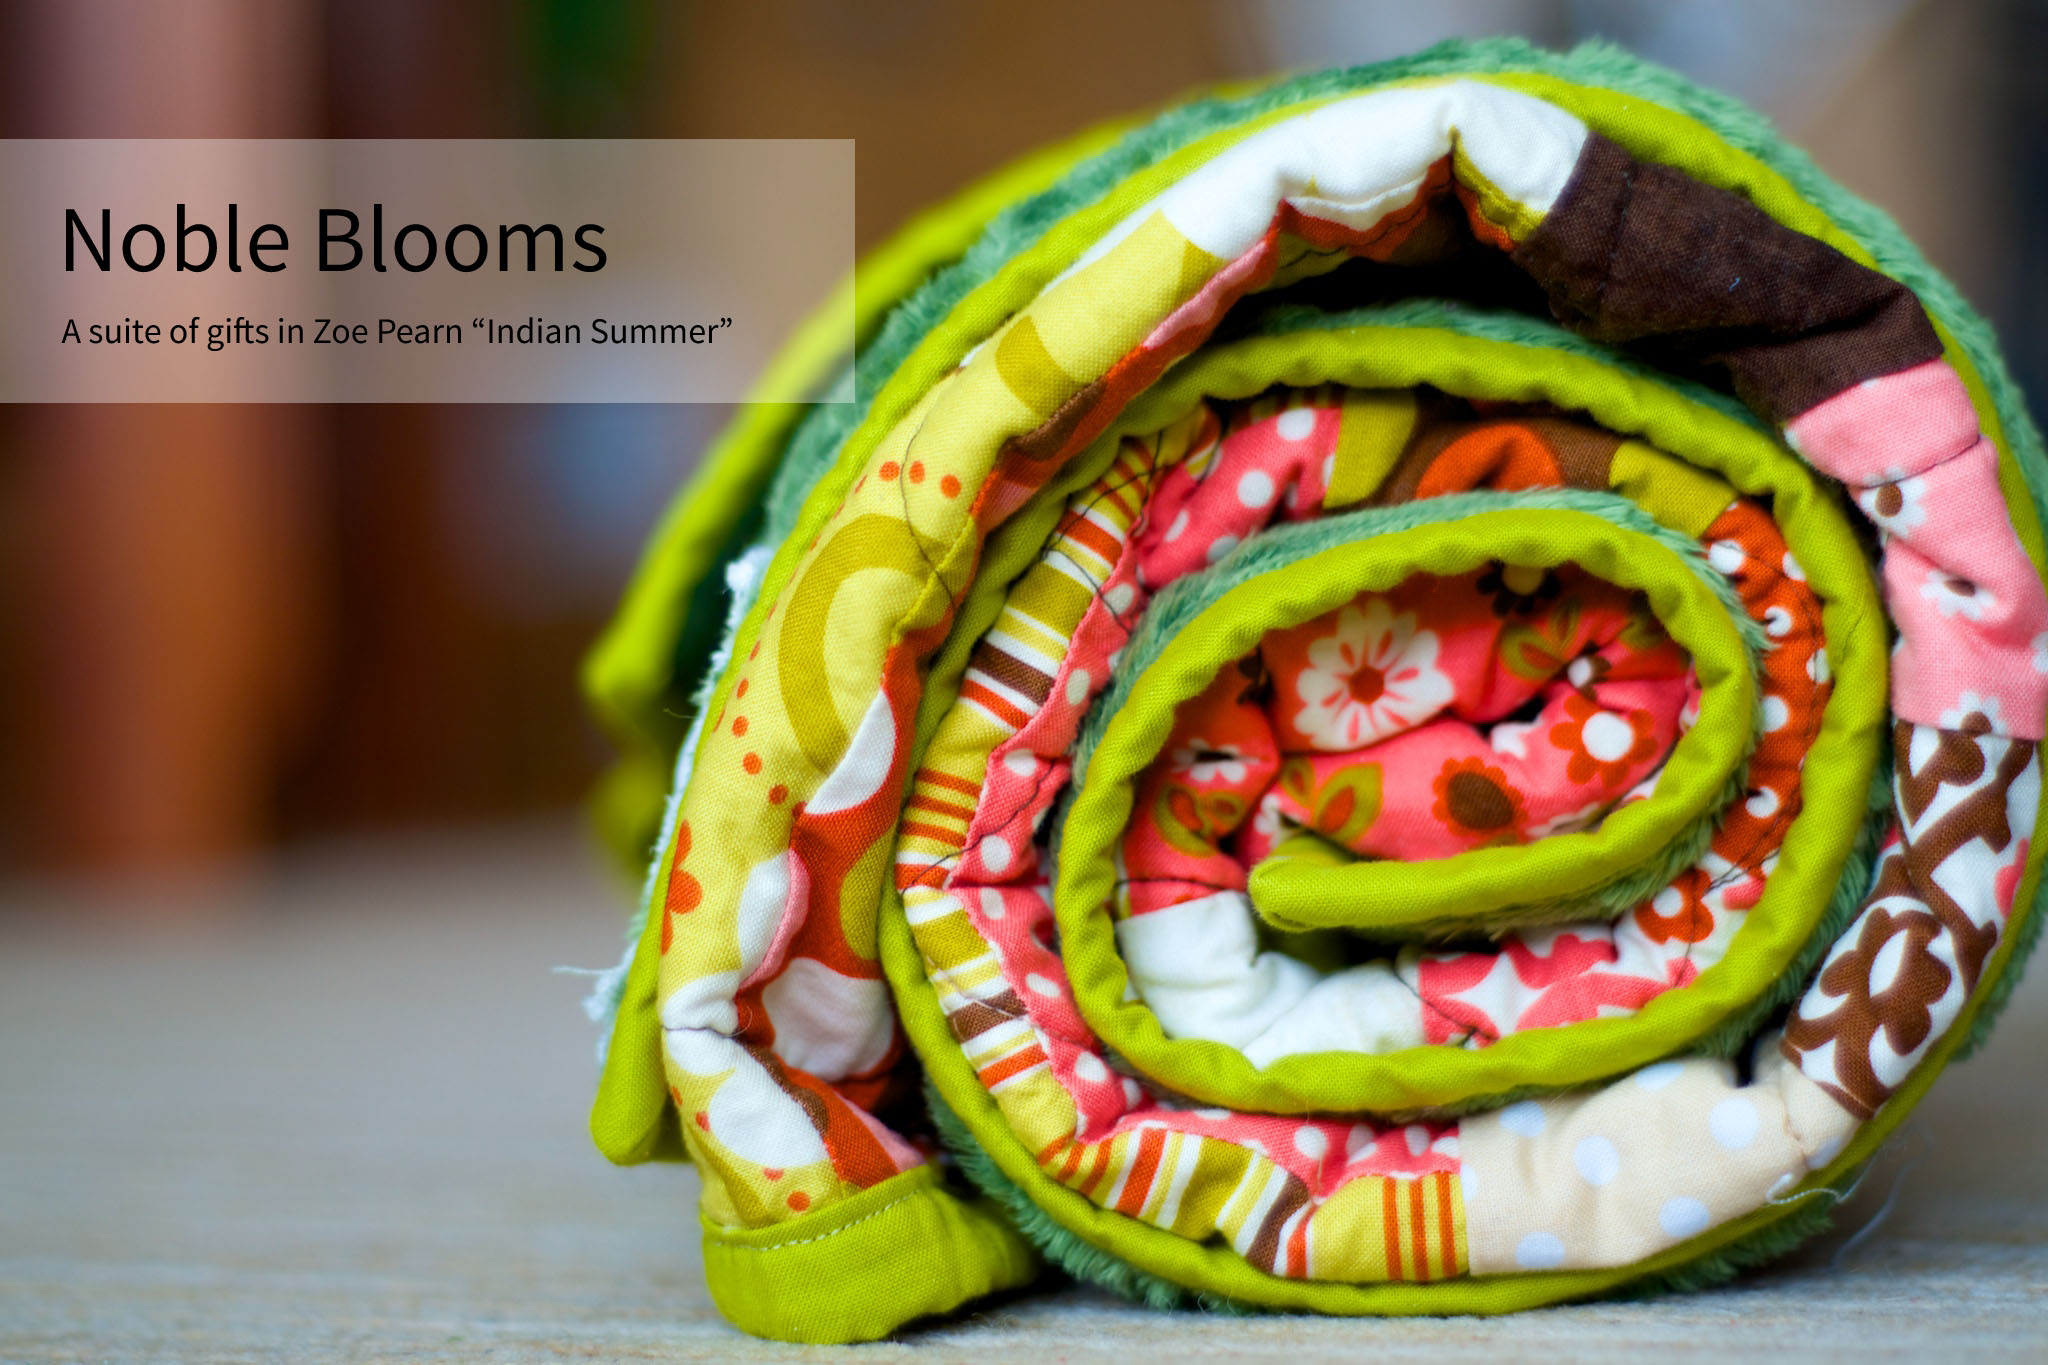
One of my earliest stash purchases was a Rolie Polie of Indian Summer that I’ve been holding on to for the perfect project. Its day in the sun (or perhaps clouds, based on recent weather) has finally come in the form of a quilt for a newborn girl.

Noble Blooms front
“Noble Blooms”, Rachael Arnold, February 2014, 40″x40″. Photo by Carl Pfranger.

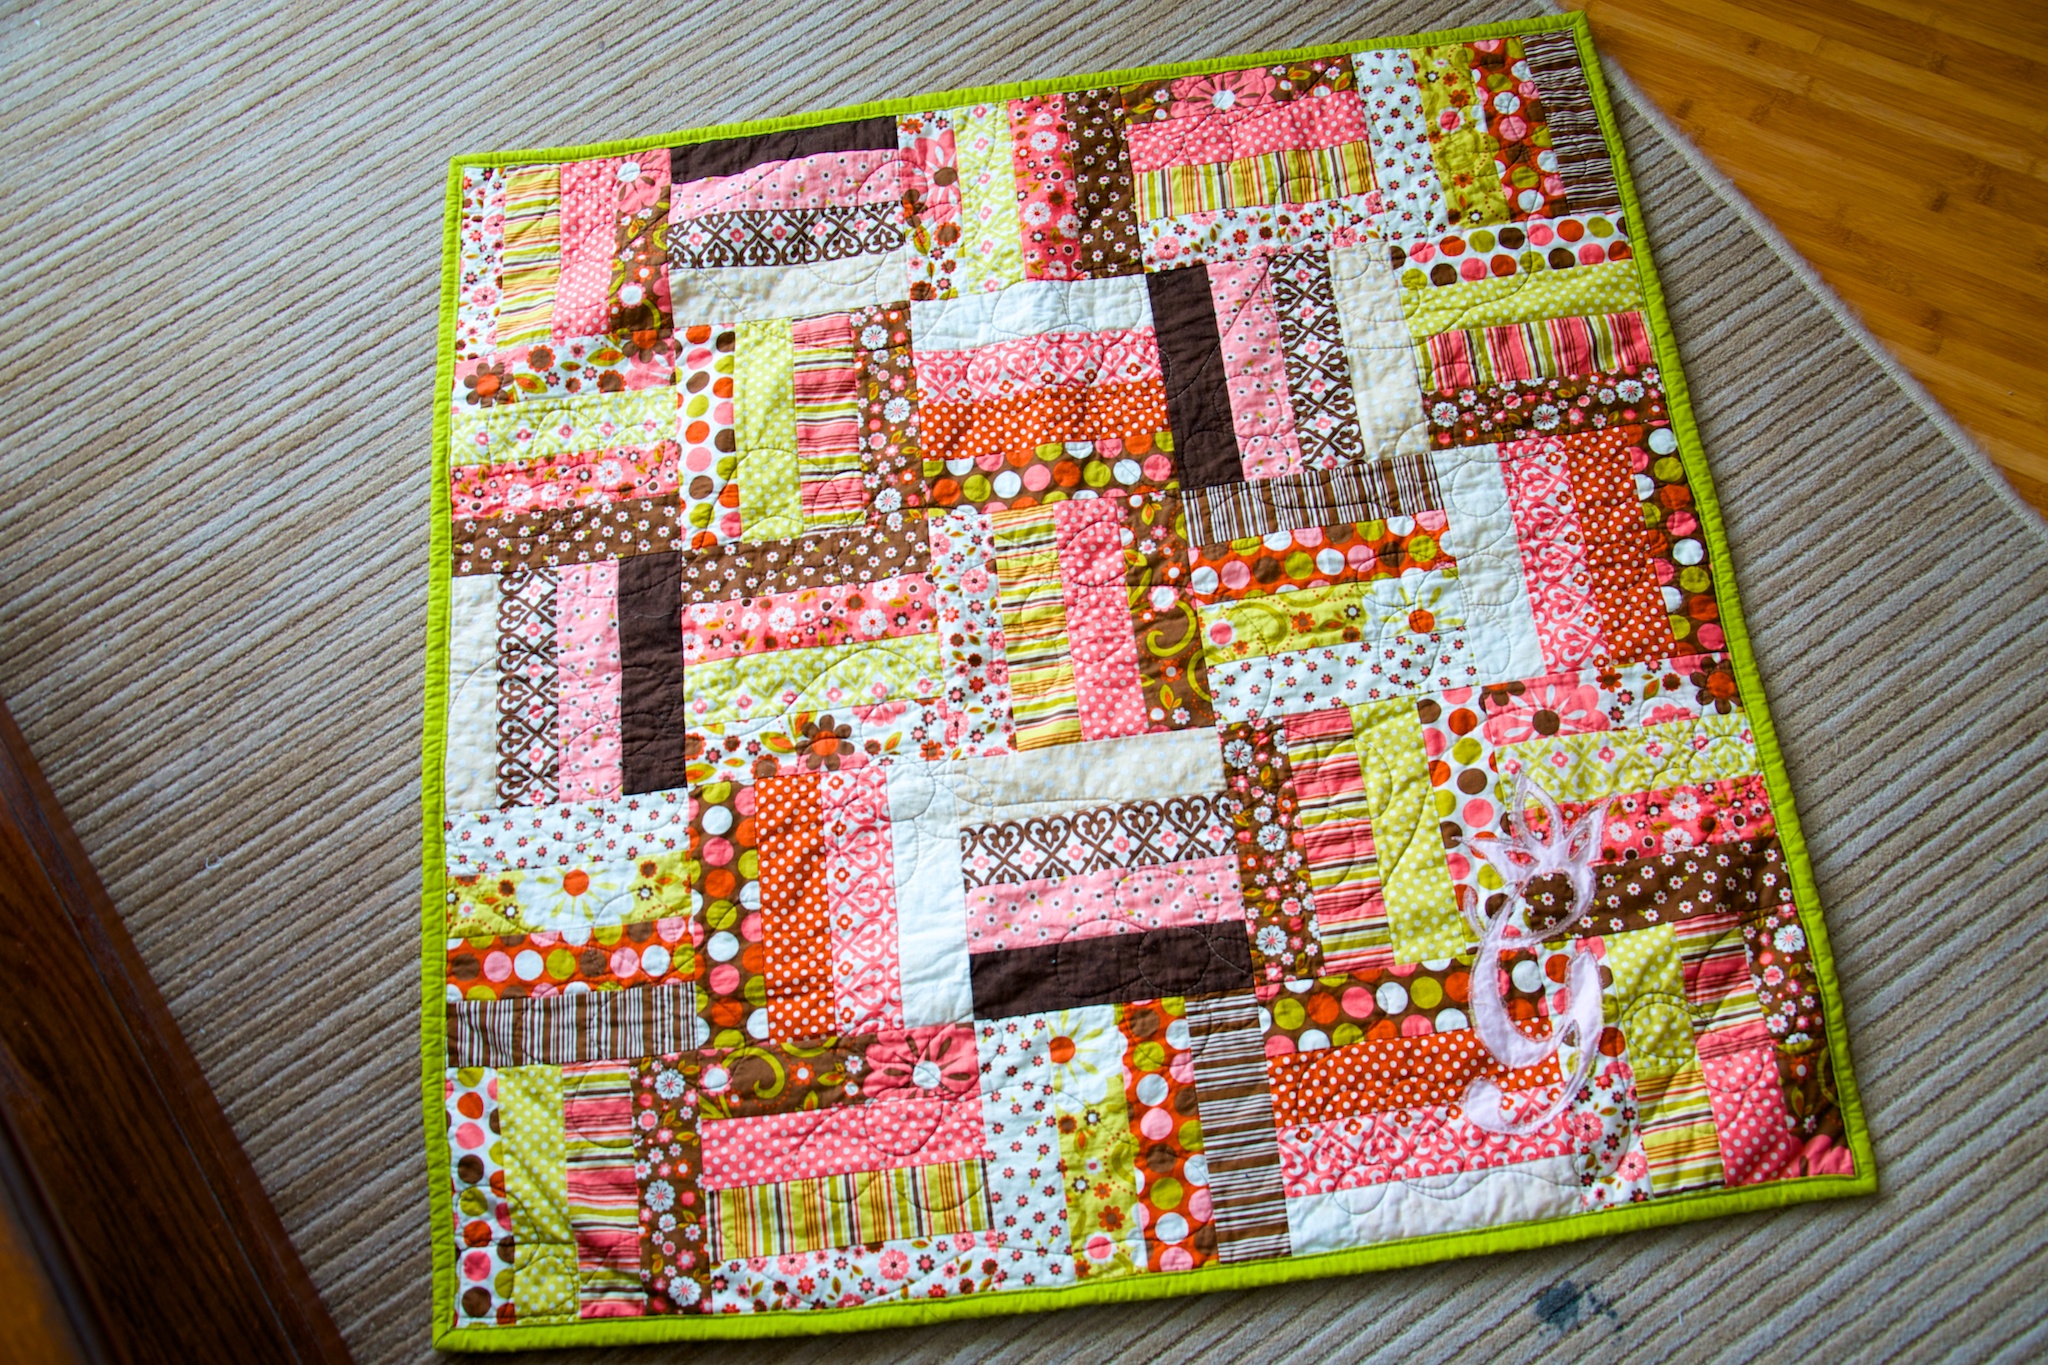
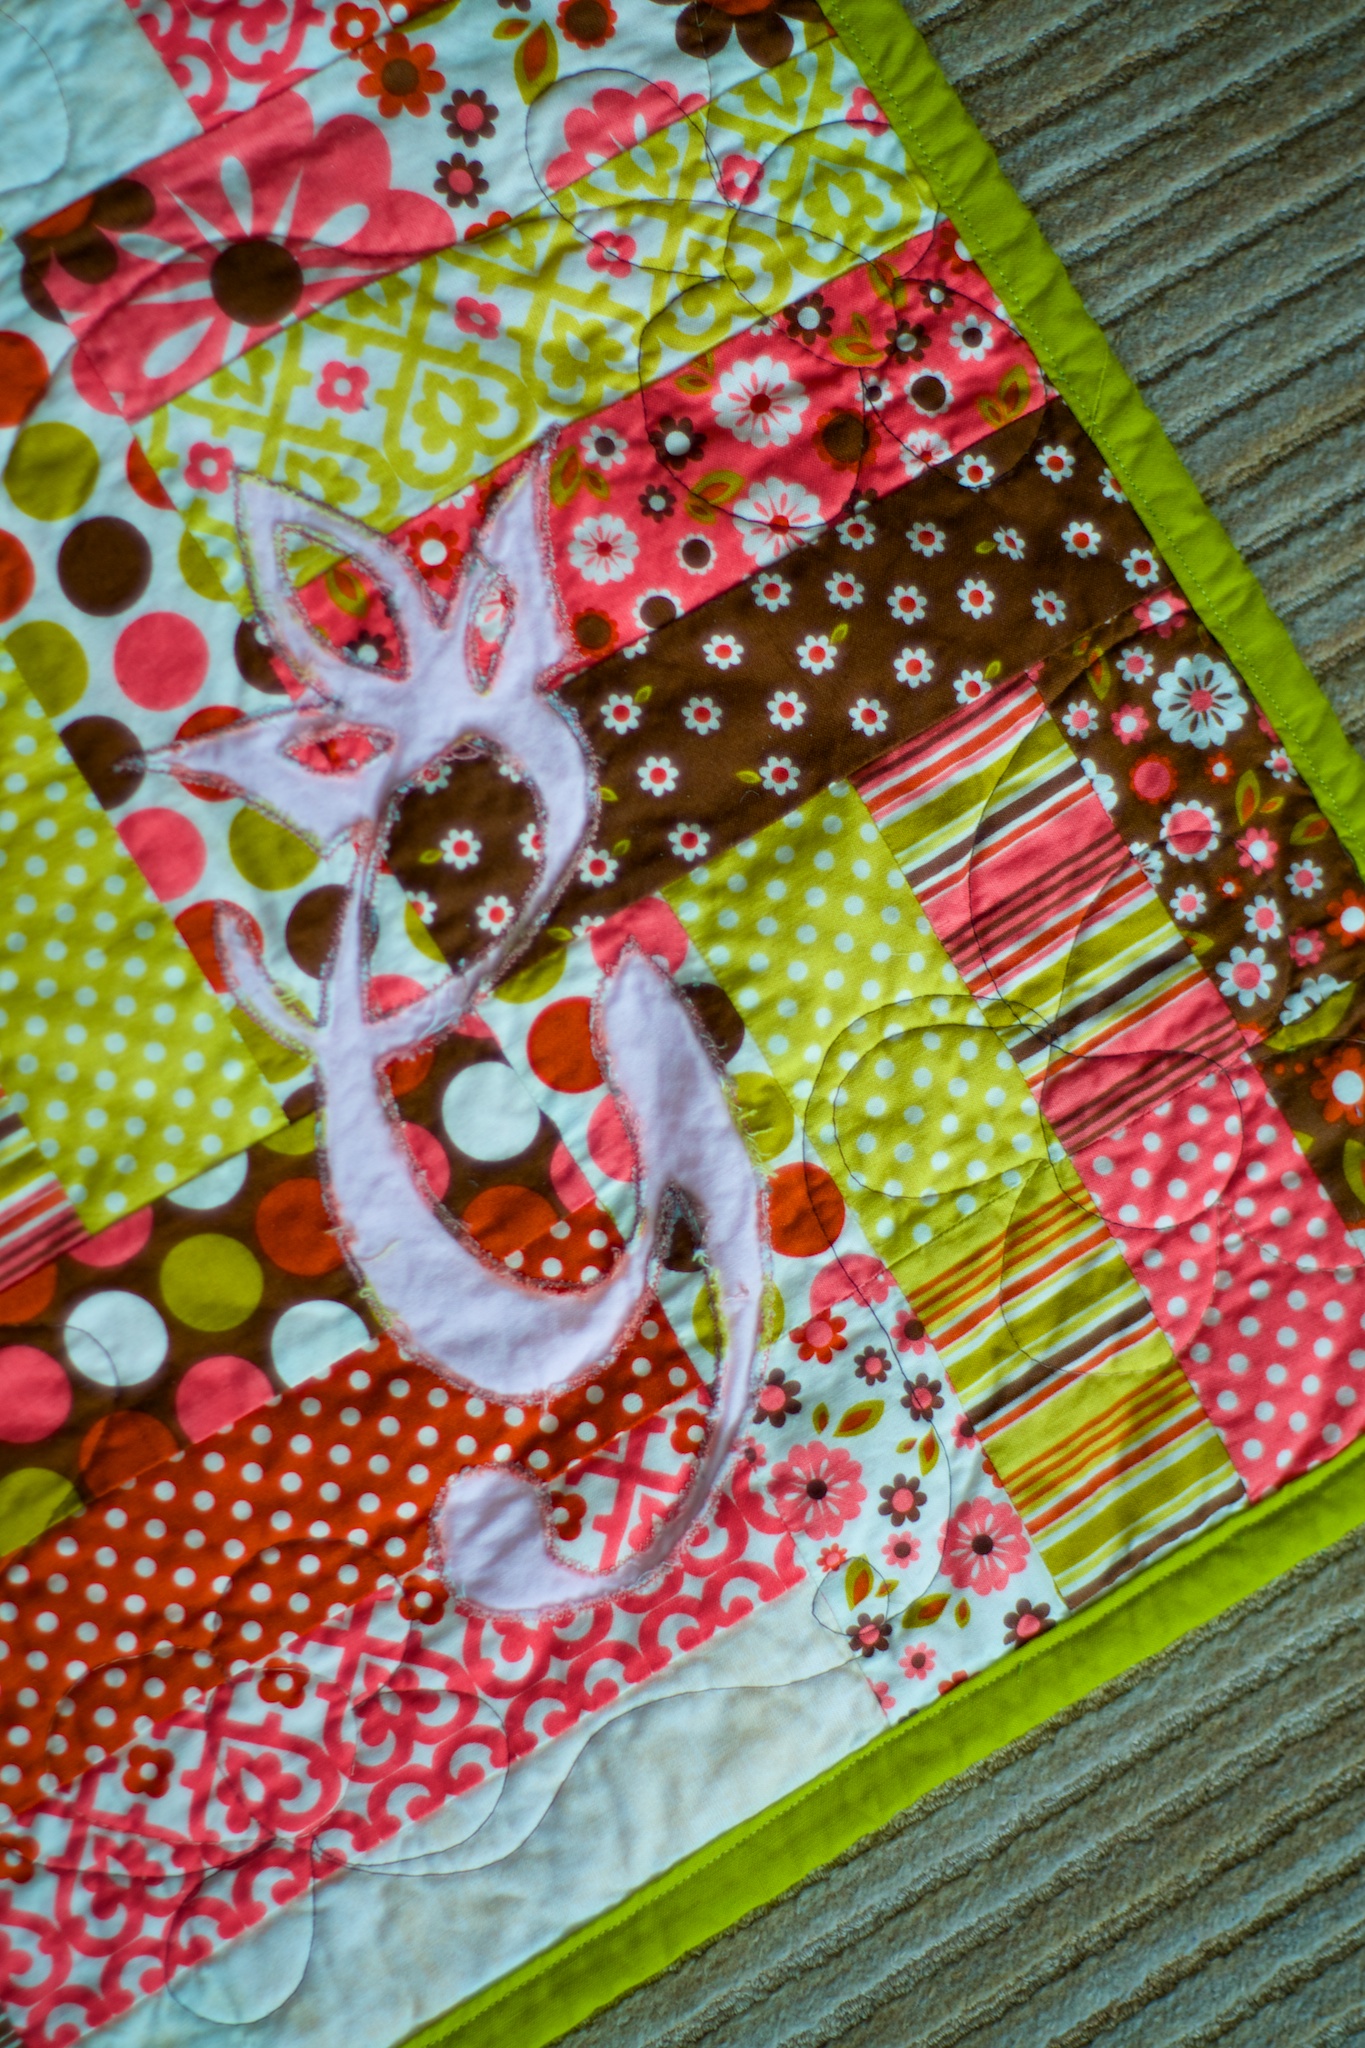
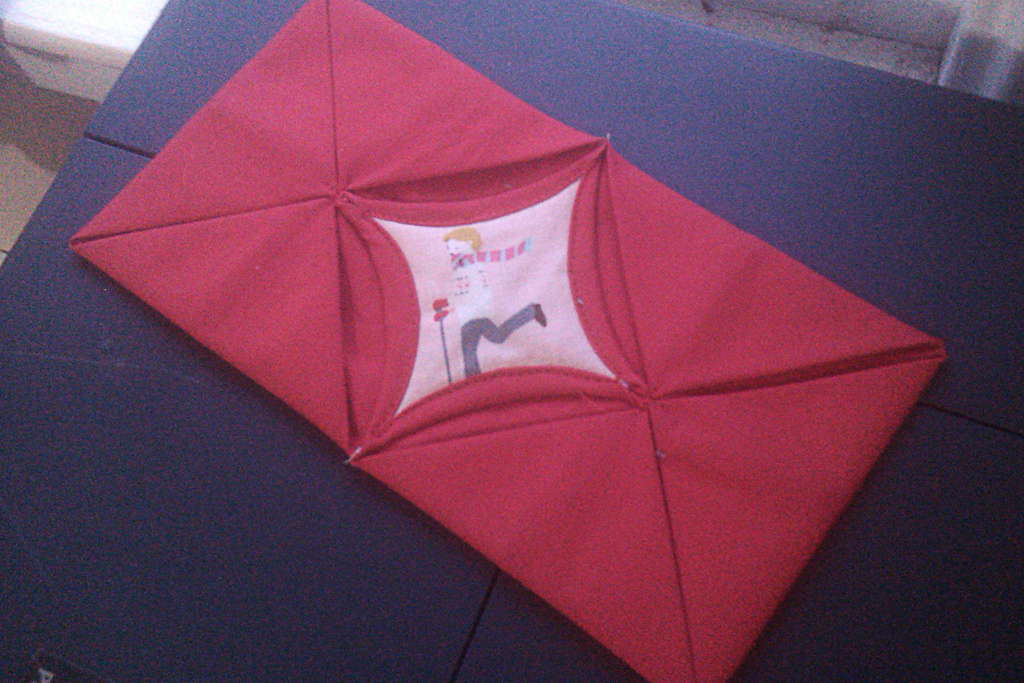
Because the Rolie Polie only had 23 strips, I had to add in one of a coordinating dot from my stash to finish up the strip sets needed for the 8″ blocks. To personalize the quilt, I did a reverse raw-edge applique of her first initial in one corner. The pale pink solid (exact type unknown) doesn’t stand out as much as I’d hoped in the curly, light typeface I used, but that’s okay. You can also see in that corner that I was one block short of the 25 needed for the quilt, so the very last one is pieced from two strip sets.

Noble Blooms Detail
“Noble Blooms” (detail), Rachael Arnold, February 2014, 40″x40″. Photo by Carl Pfranger.

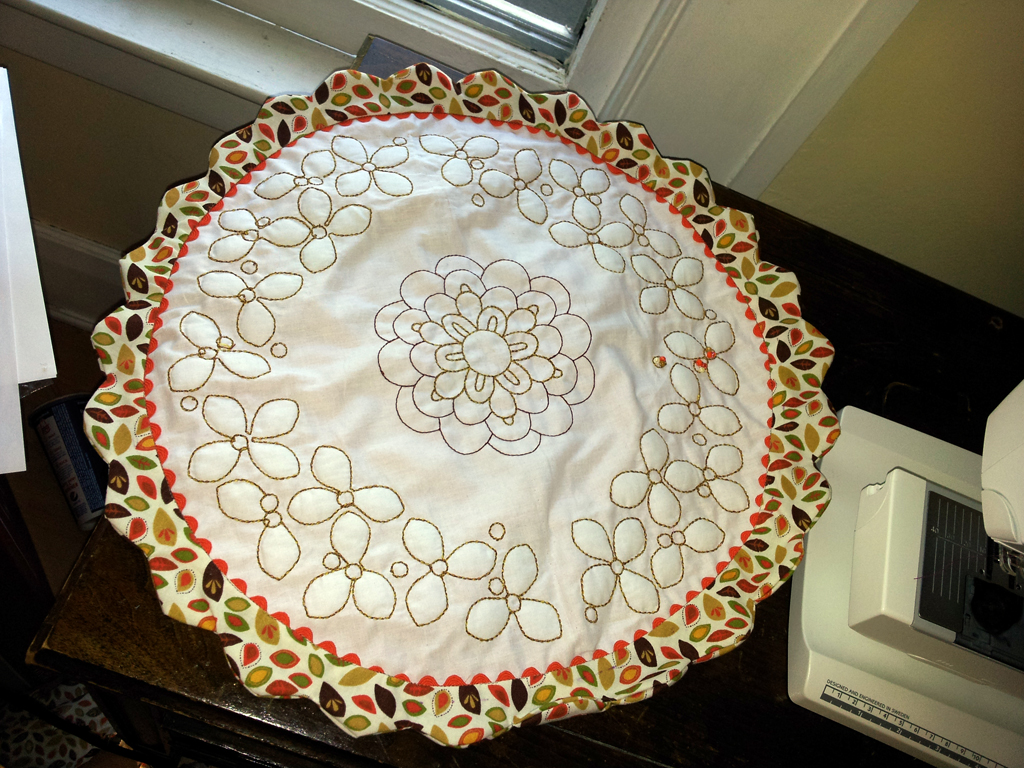
The piecing was a breeze but the quilting was not. I decided to try a new FMQ design (don’t scrutinize my sloppy first attempt!), so I used leftovers from the top to make a doll quilt/FMQ tester. The tension left something to be desired, but was good enough. Moving on to the quilt, I broke two needles. Then, my darning foot broke! I was able to finish up the quilting with my floating embroidery foot, but it was rather obnoxious and puts a kink in the progress of other projects.

Noble Blooms back
“Noble Blooms” (back), Rachael Arnold, February 2014, 40″x40″. Photo by Carl Pfranger.

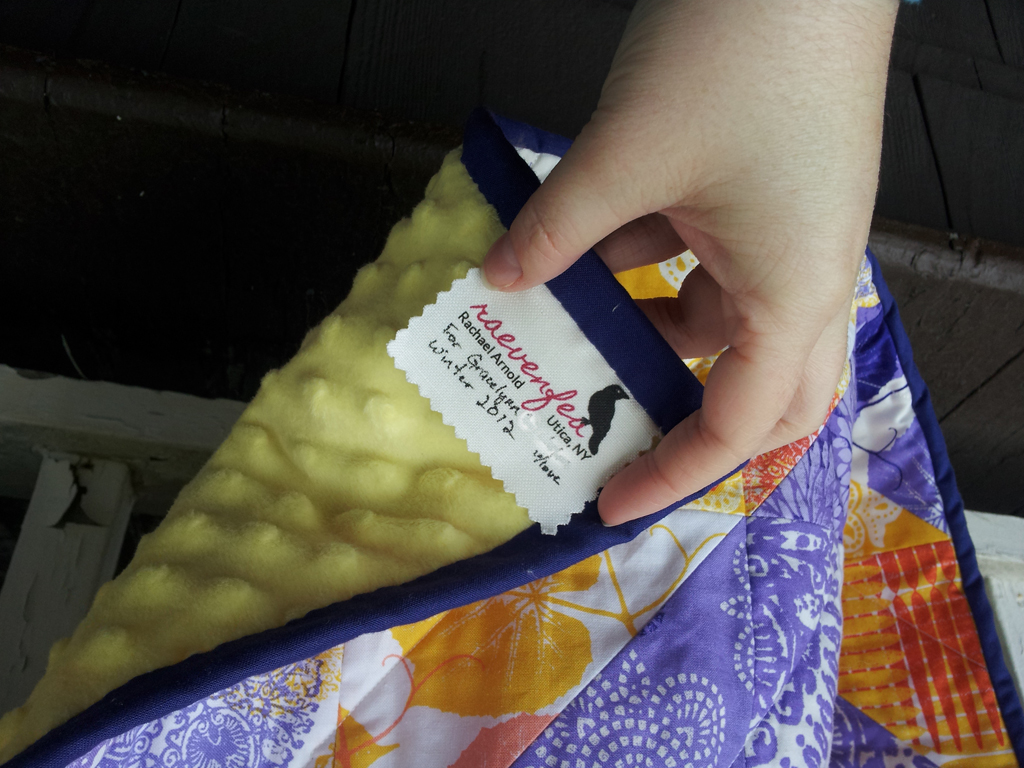
The back is a Minky that came from my stash (actually, the result of an incorrect shipment when I ordered the paisley backing for the Peter Rabbit quilts. Thank you, Fabric.com for your great customer service). In between is a low-loft cotton, likely Pellon Nature’s Touch White or Warm & White—possibly even both, as it’s joined stashed pieces. The quilting was done with a Gutermann brown-to-cream variegated thread. It’s bound in a lime solid from stash.

Noble Blooms set
“Noble Blooms” and accompanying items, Rachael Arnold, February 2014, 40″x40″. Photo by Carl Pfranger.

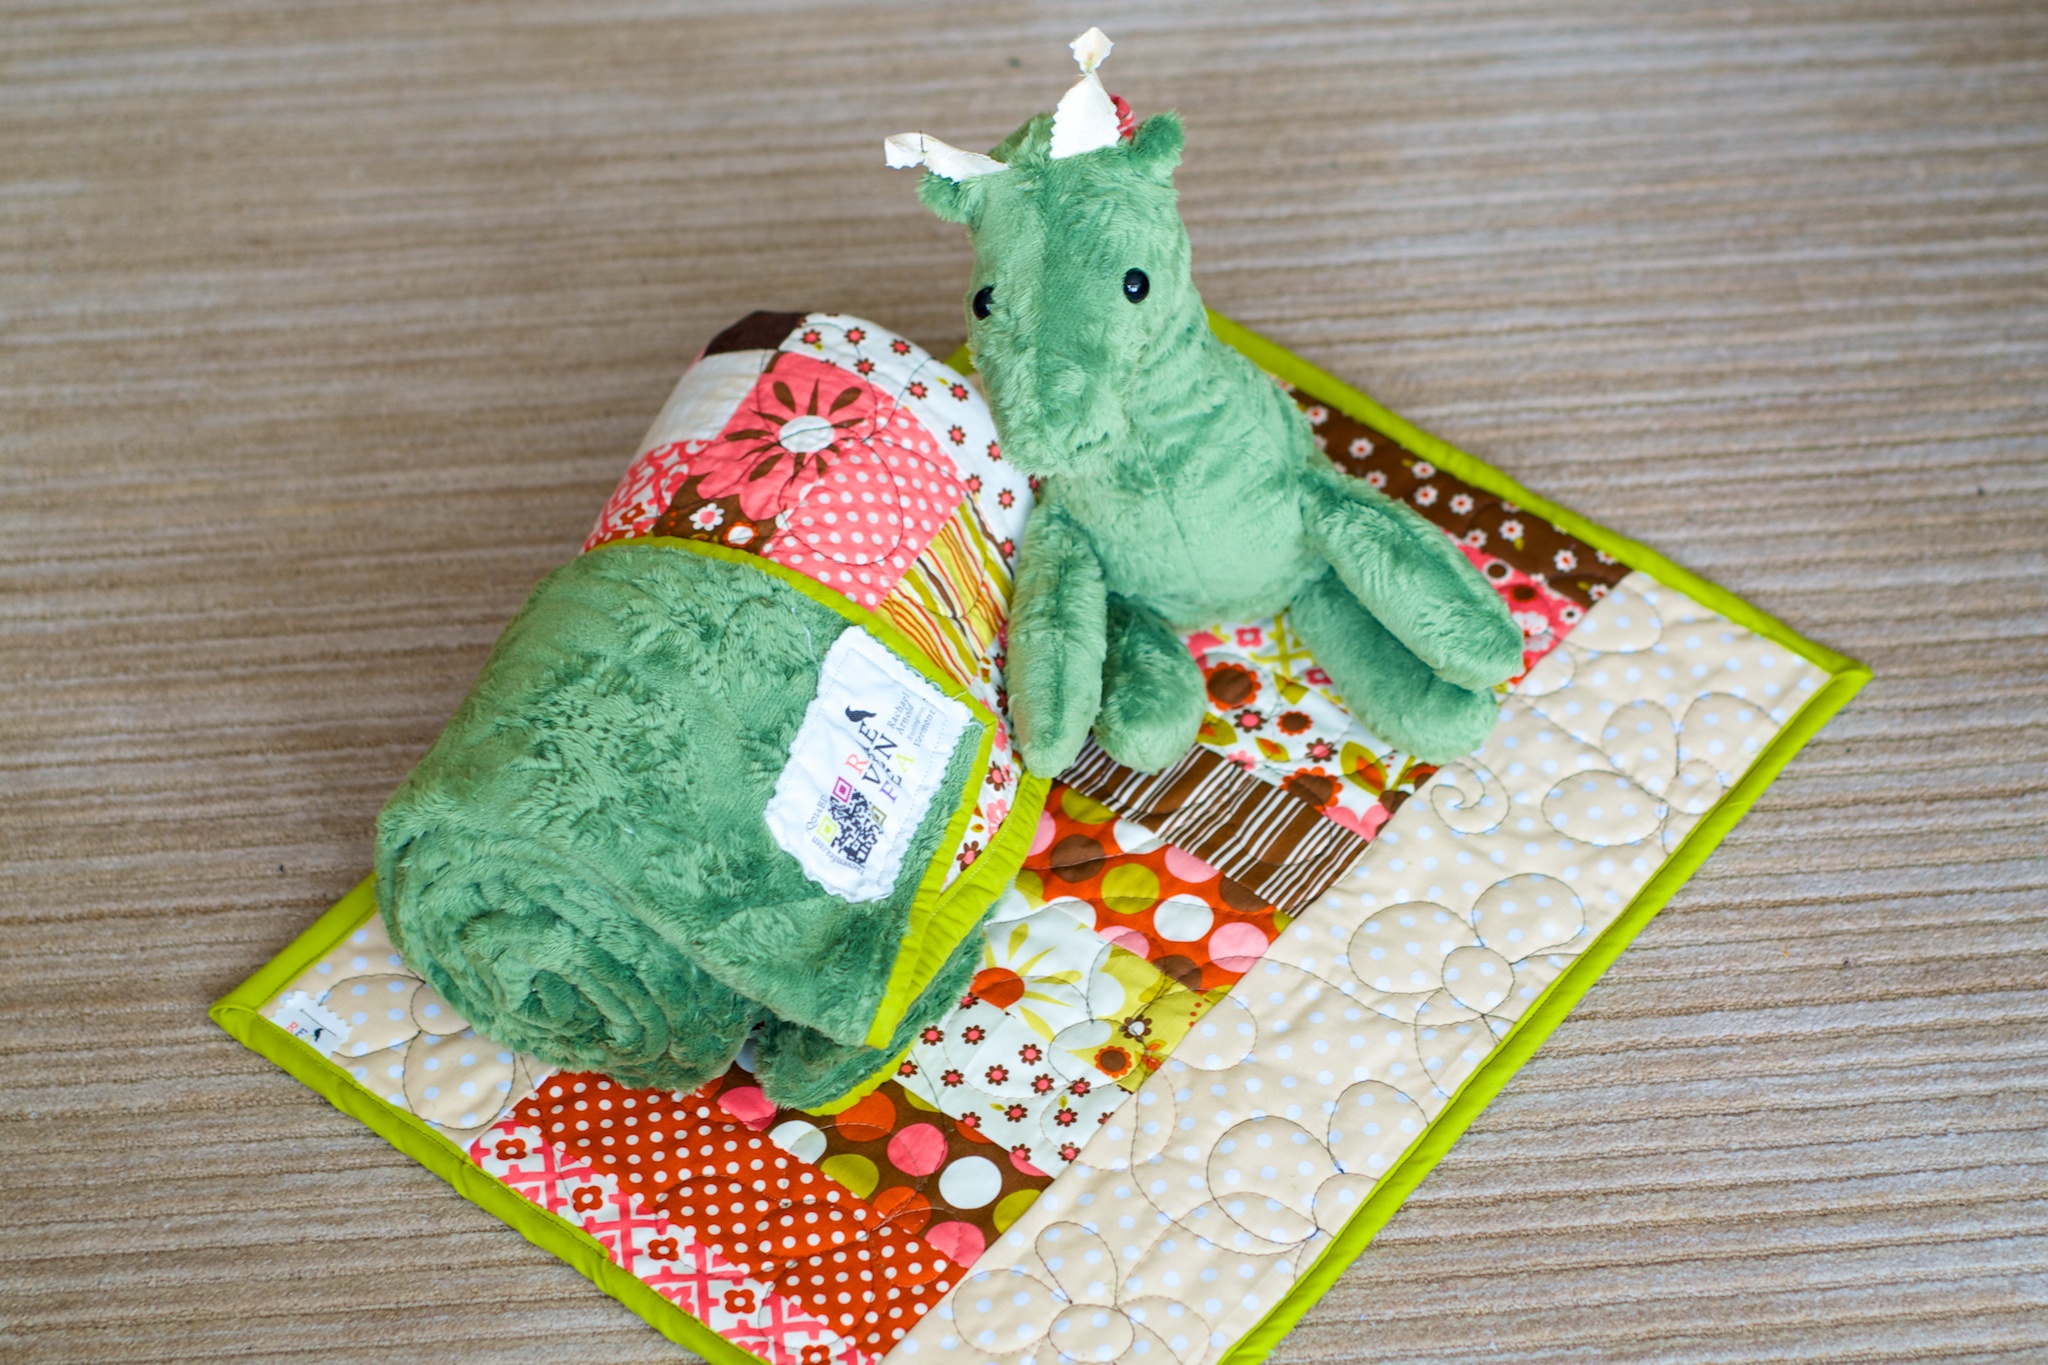
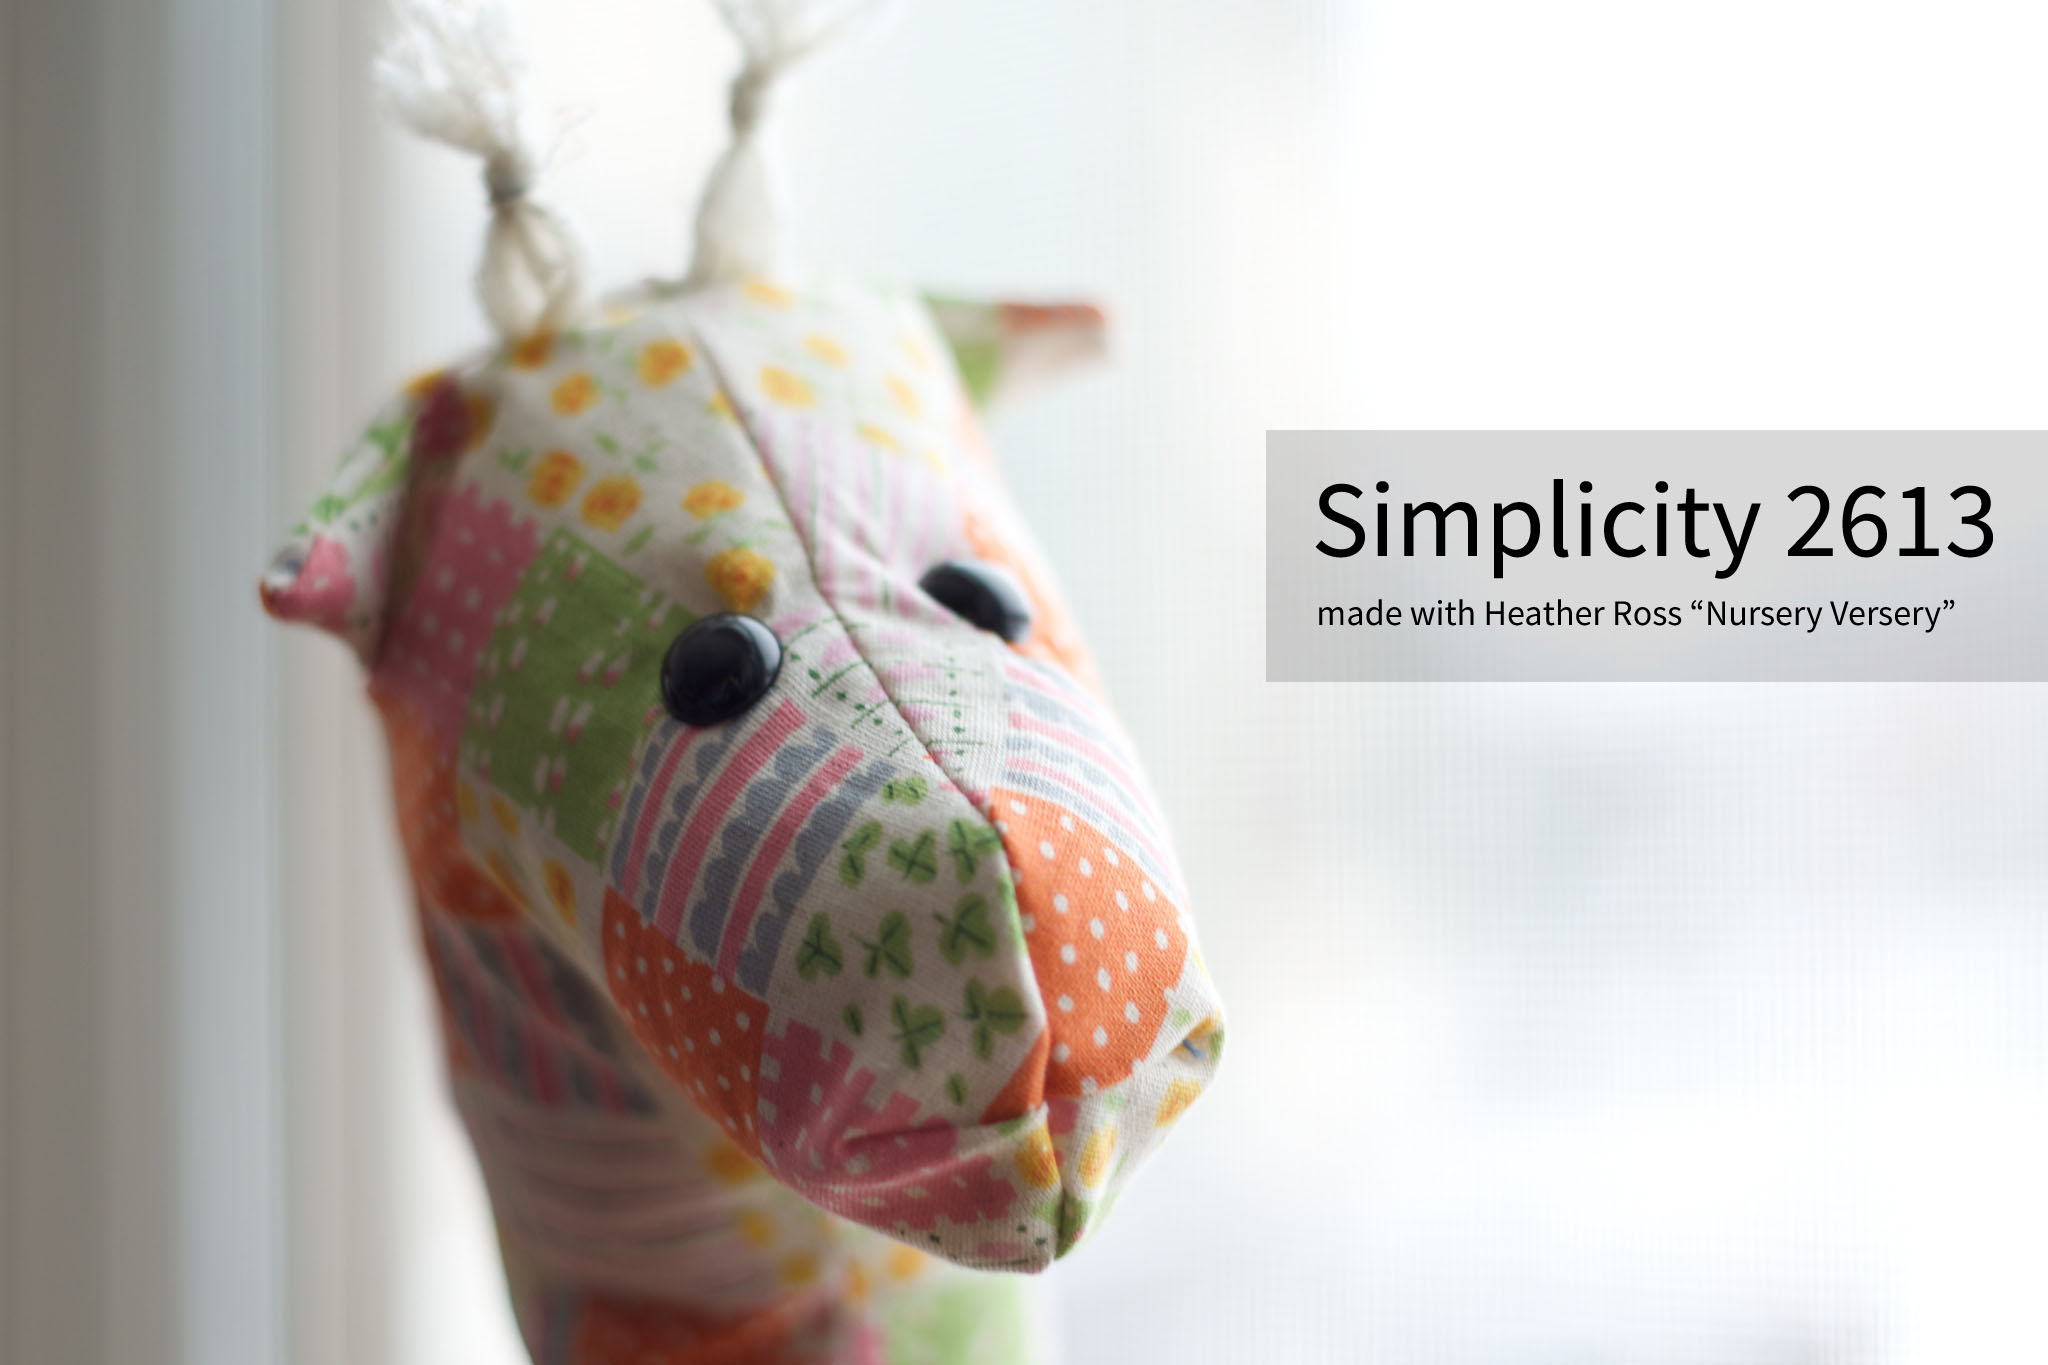
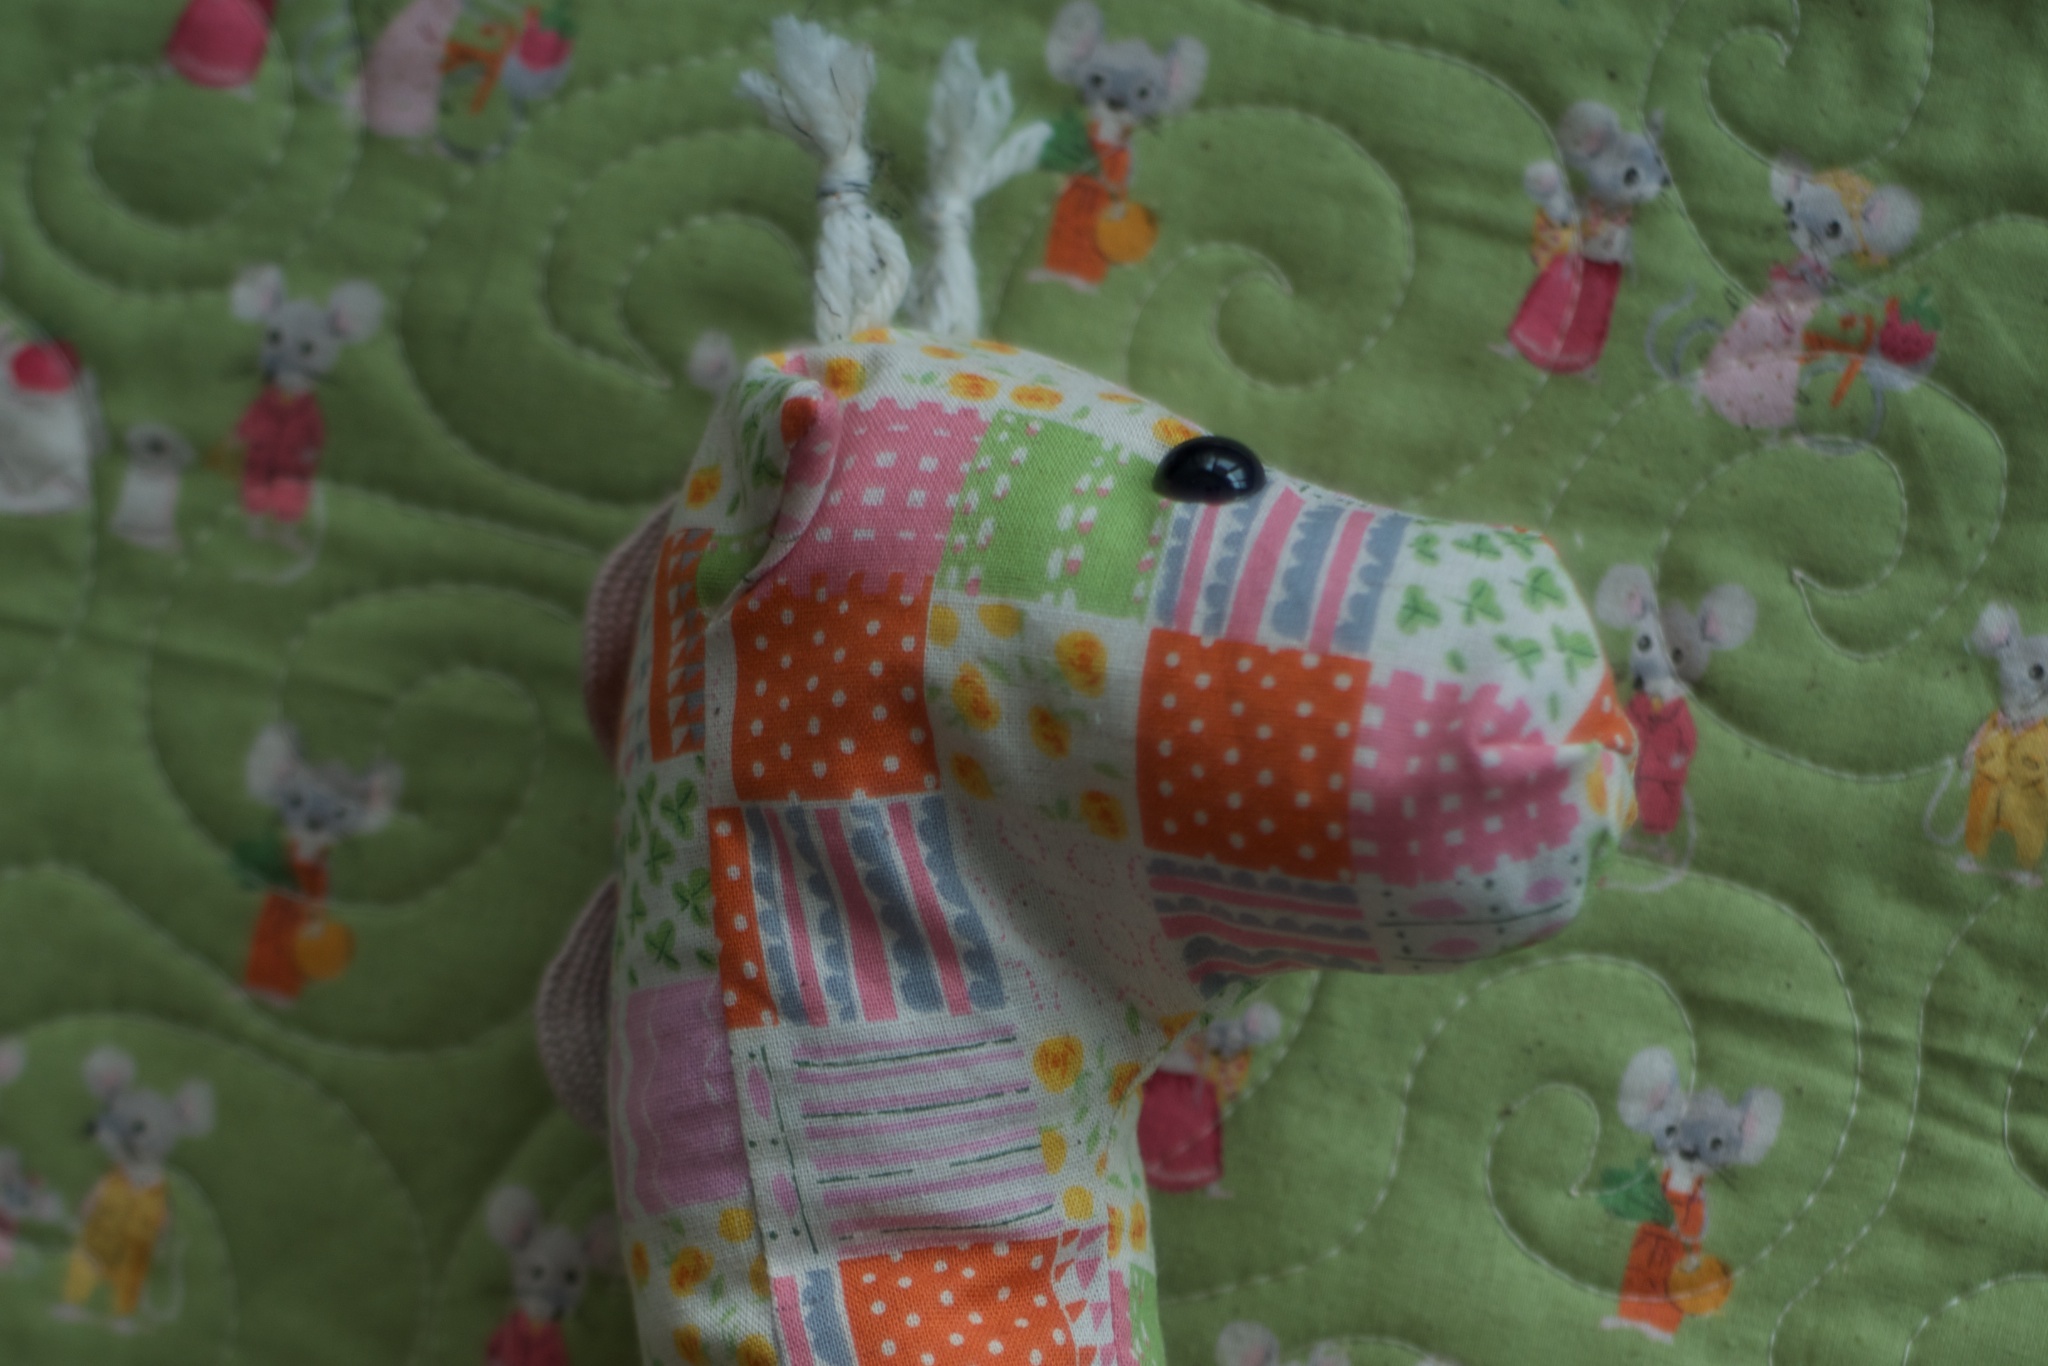
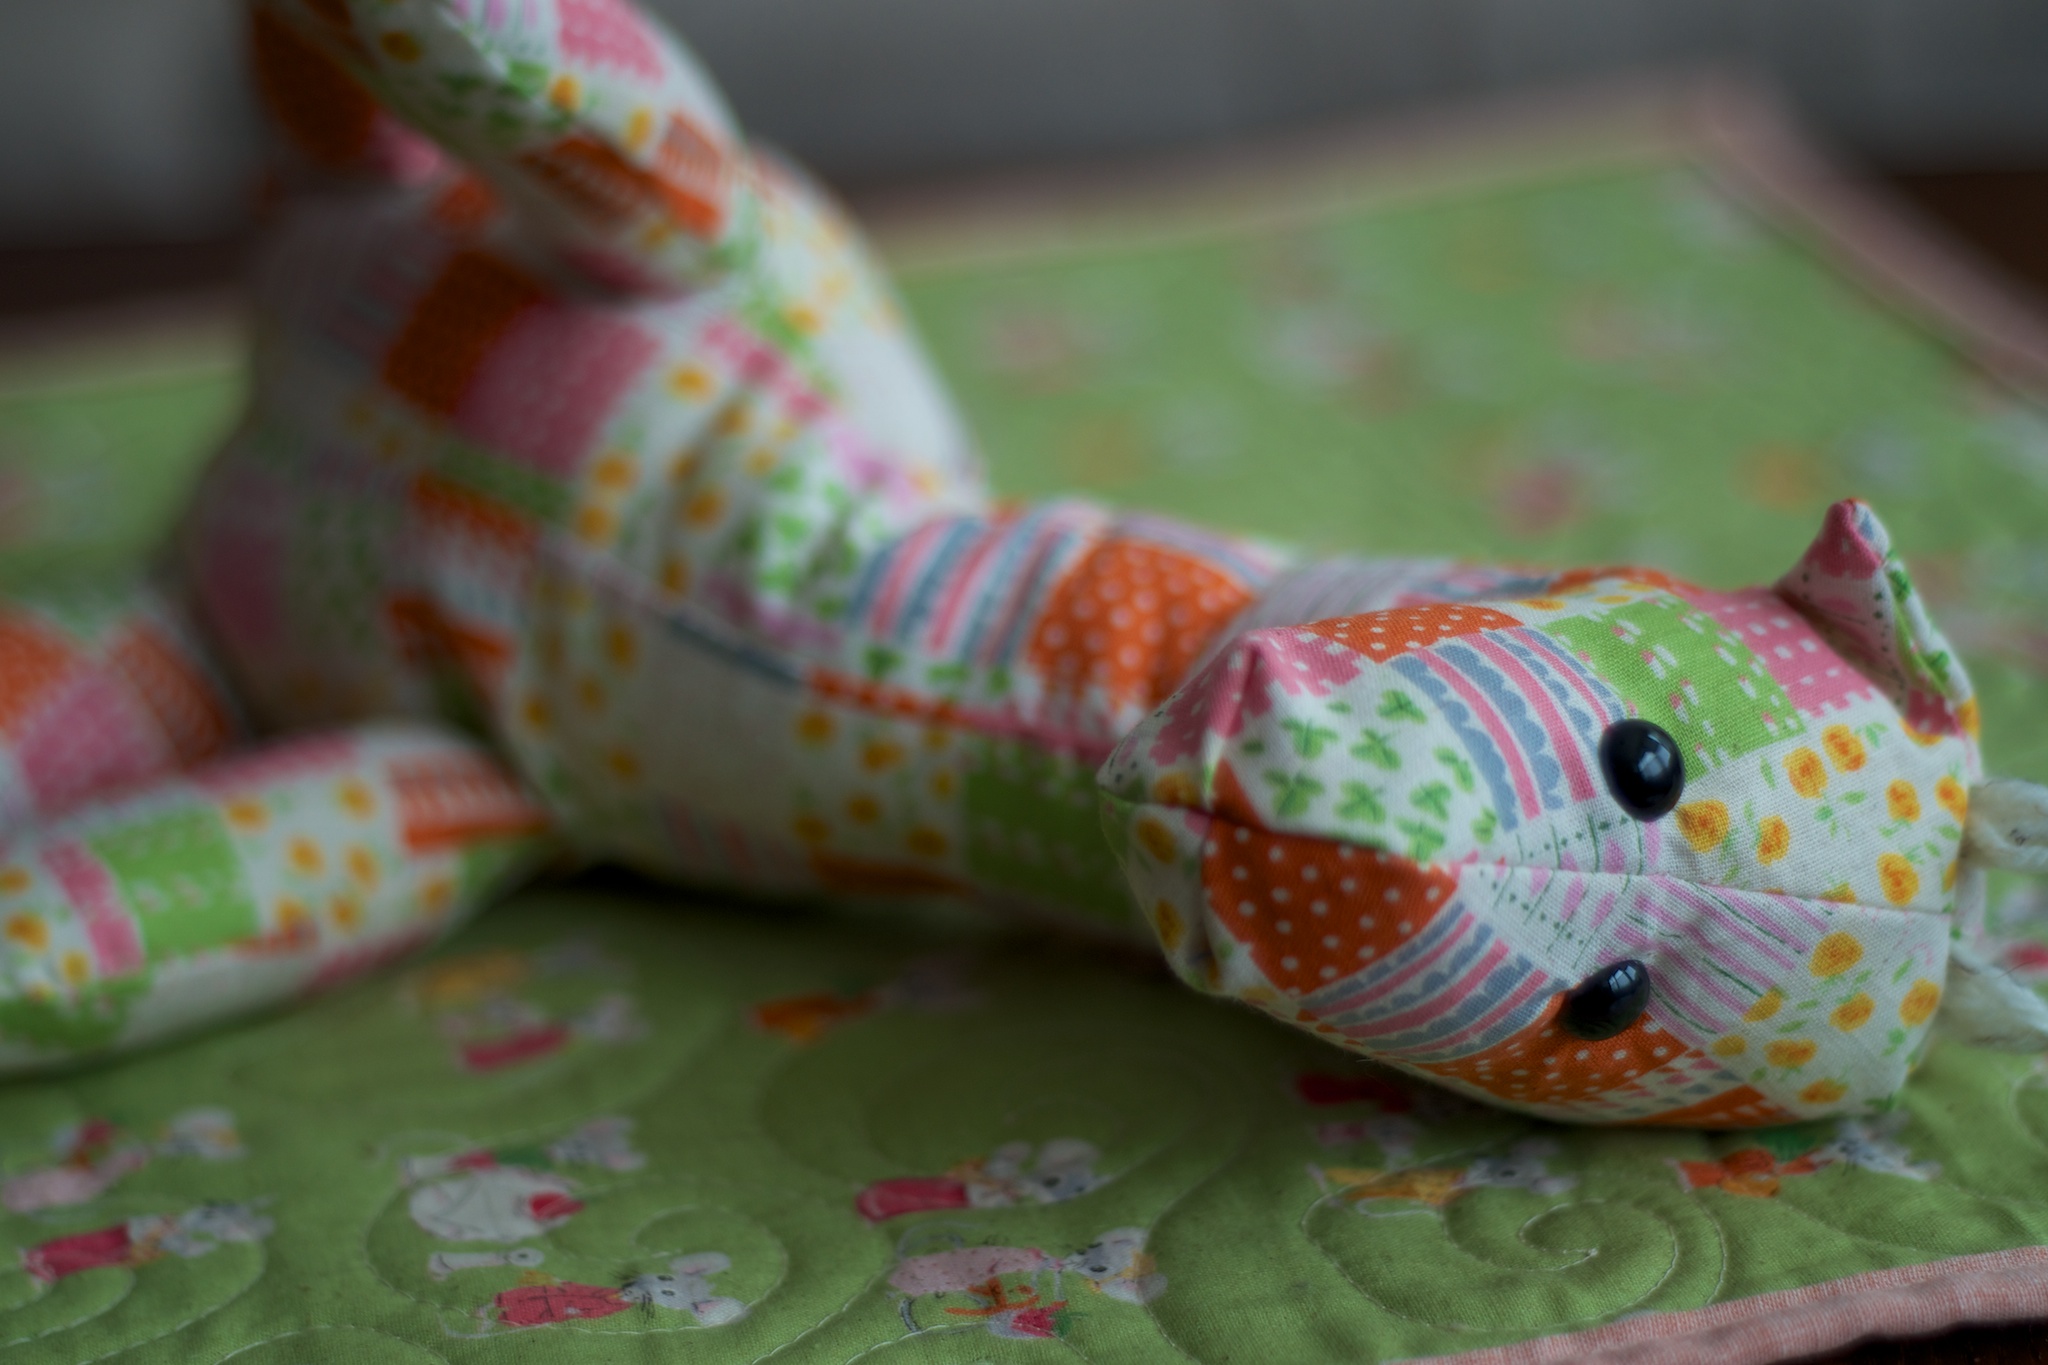
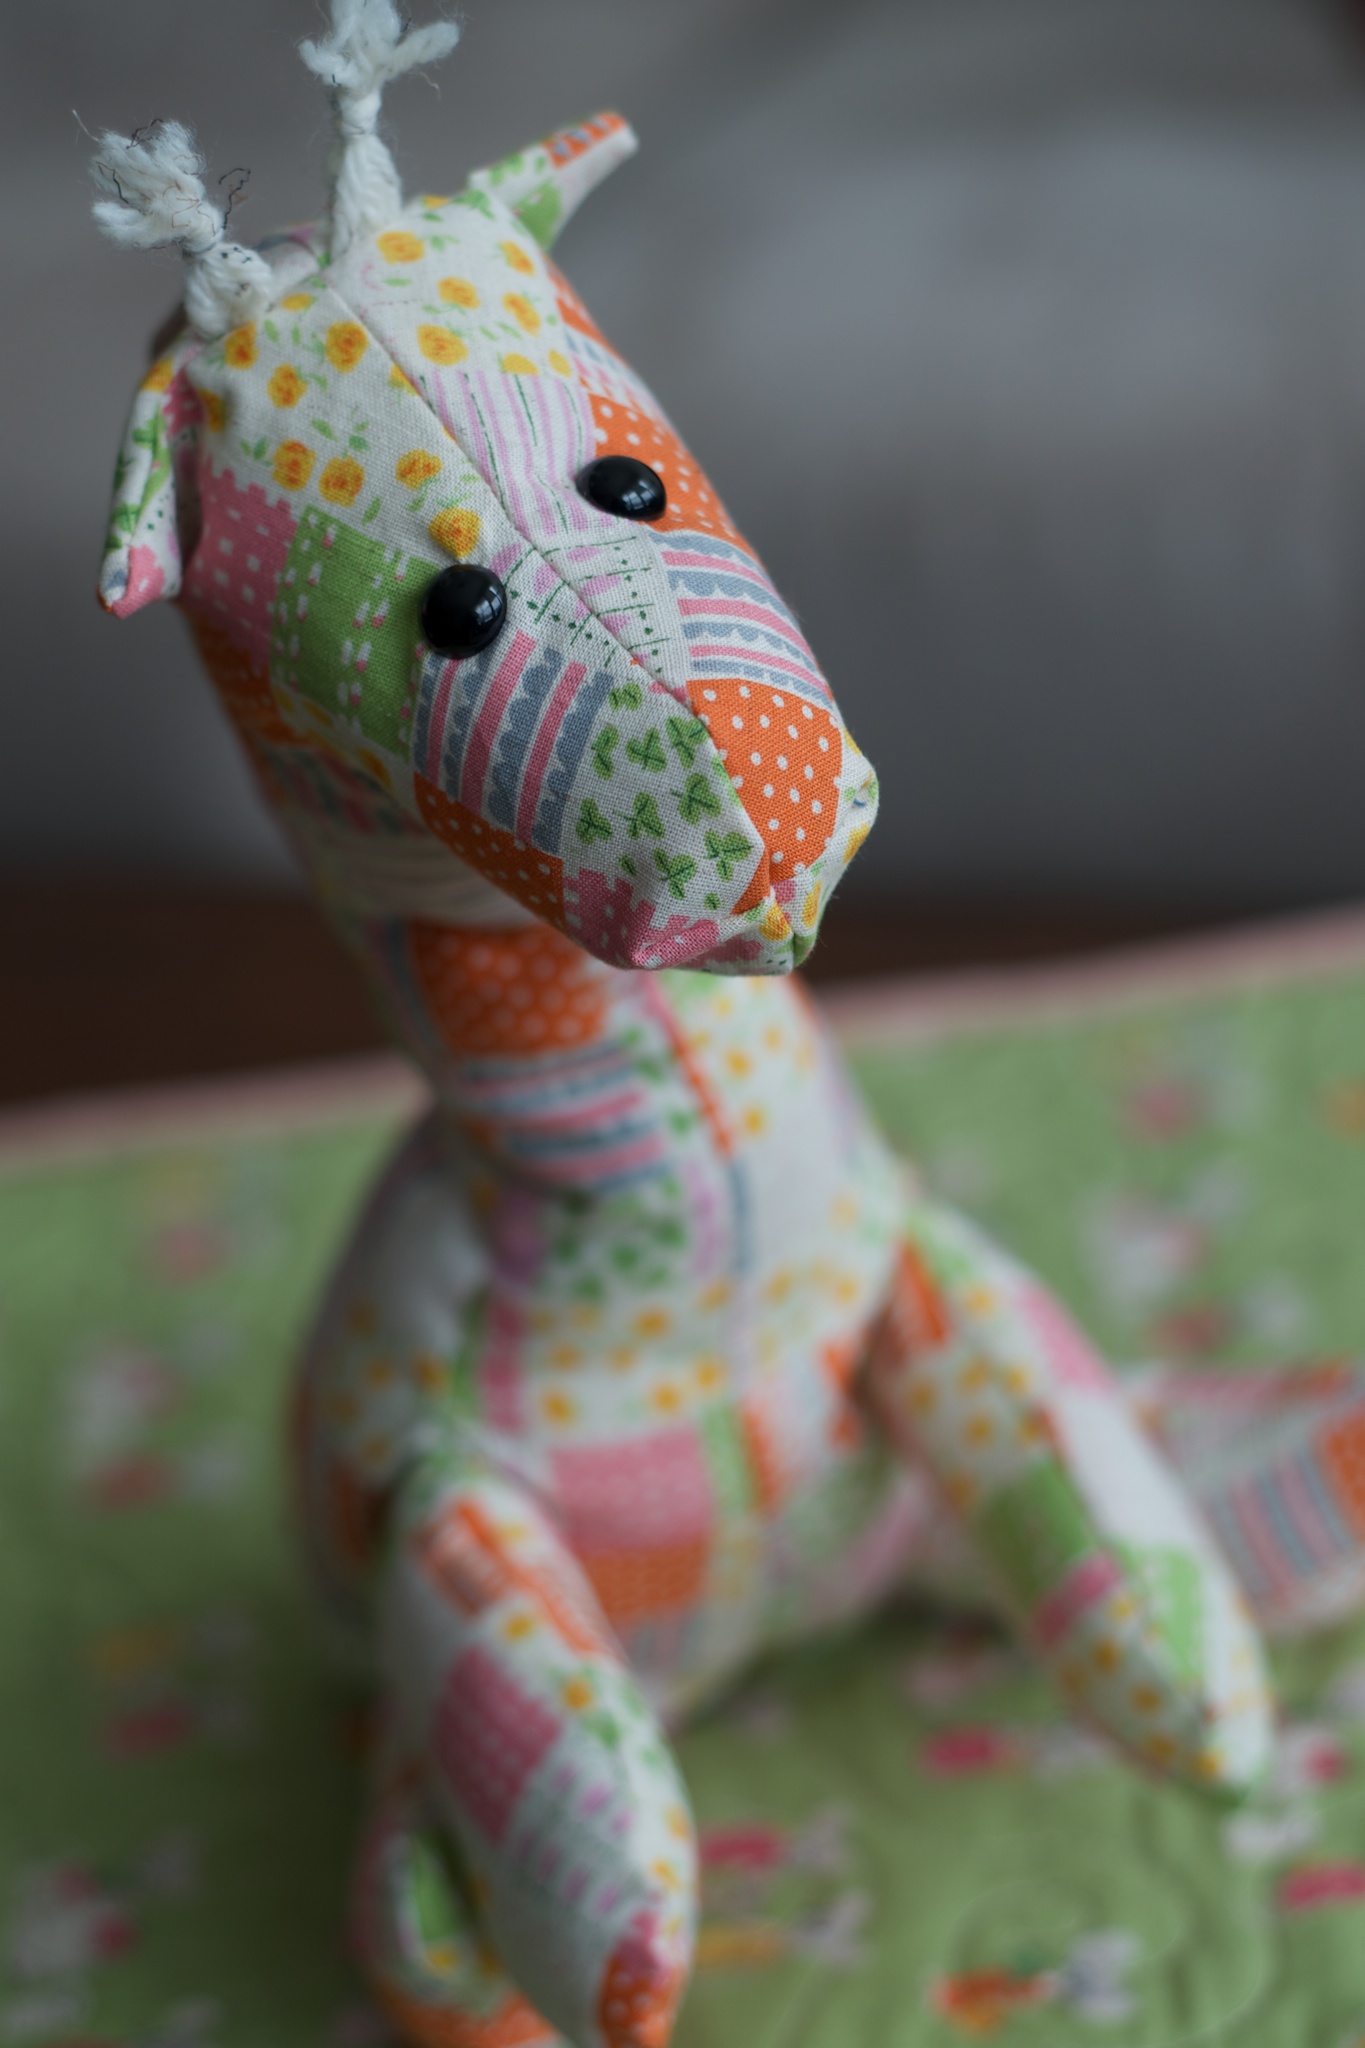
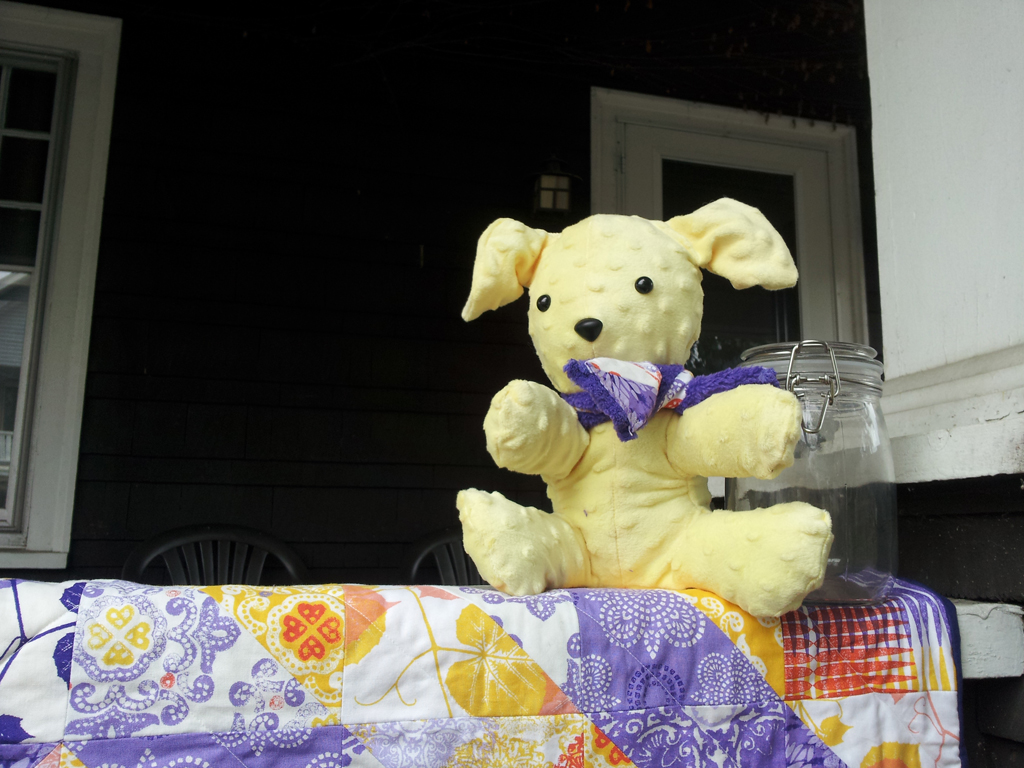
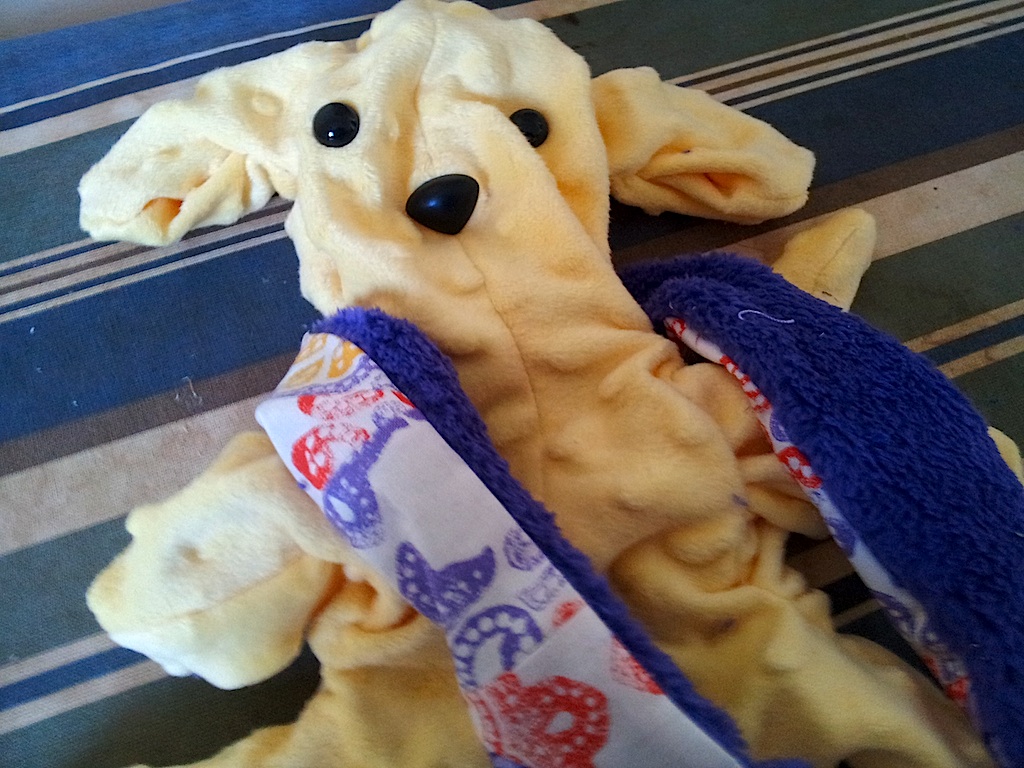
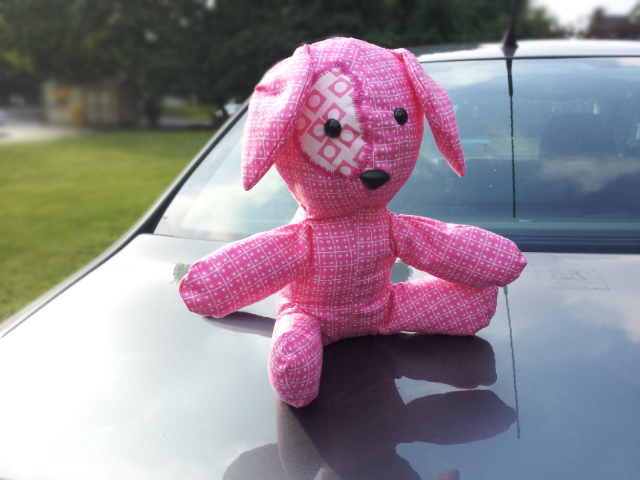
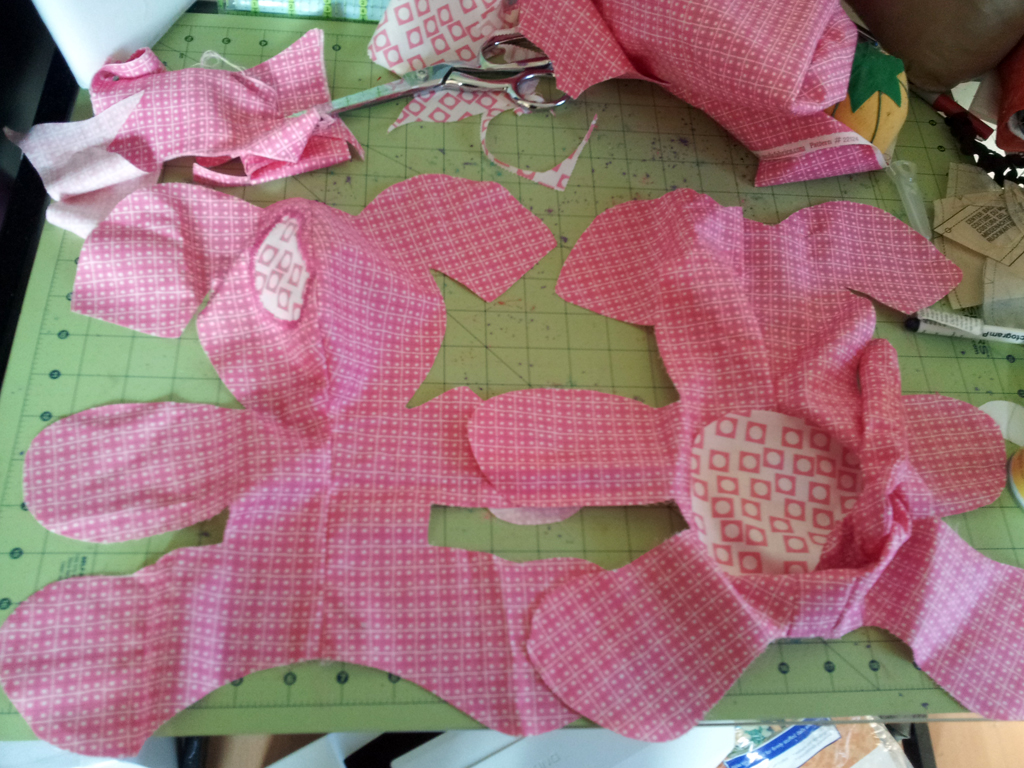
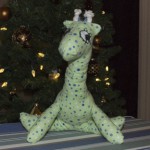
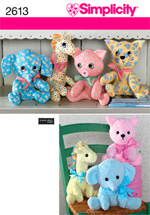
A Minky giraffe made with backing leftovers completes the shipment. I tried something new with this round of Simplicity 2613 giraffe-making: the ossicones and neck-hair details are made with pinked fabric from the quilt. The ossicones especially worked out so well that I might continue using fabric in the future. As it was, it was a great way of eating up more scraps.

Noble Blooms Giraffe
“Noble Blooms” and accompanying items, Rachael Arnold, February 2014, 40″x40″. Photo by Carl Pfranger.

I hear that the Impressions Baby Quilt and stuffie that I sent her sister are well-loved possessions, so I hope that the baby comes to love her own set just as well.

Noble Blooms
“Noble Blooms” (detail), Rachael Arnold, February 2014, 40″x40″. Photo by Carl Pfranger.

It’s probably a bit gauche to mention this when the result is a gift, but this project was entirely from stash—fabric, batting, thread, giraffe eyes and stuffing, … everything. Go go gadget stash busting in 2014!

March 6th, 2014

A Nursery Versery Shower Gift

Posted in Crafting

  • Fabric Designer: Heather Ross
  • Fabric: Nursery Versery
  • Gifts
  • Quick project
  • Simplicity 2613
  • Simplicity pattern
  • Stuffies

With the emergency surgery needed for one quilt, I didn’t manage to finish the quilt for my friend’s soon-to-be-born daughter. I knew I needed something quick that would go with it, since we flew down to visit and attend her shower, so out came my trusty copy of Simplicity 2613.

Heather Ross Simplicity 2613

The quilt uses Heather Ross’ Nursery Versery fabric (among others) and Nido was having a sale, so I picked up extra for this project. I had a bit of yarn and large rickrack that coordinated for the ossicones and tufts of hair on the neck.

baby-bailey-stuffie-2

It rattles, thanks to some sort of plastic capsule I had around and pearled barley from my cupboard.

baby-bailey-stuffie-rattle

Once I finished the stuffed giraffe, I thought the gift needed a little something more, so I grabbed a FQ of another Nursery Versery print (that will also be the backing of the baby quilt), paired it with a pale yellow and white flannel (backing) and pink linen (binding) from my stash, and made a whole-cloth doll quilt to match.

baby-bailey-stuffie-3

She’s not due until April, so I still have time to finish up the quilt, but I’m happy to have made these accessories in time.

baby-bailey-stuffie-4

February 17th, 2014

Impressions Baby Quilt

Posted in Quilting

  • Fabric Designer: Ty Pennington
  • Fabric: Impressions
  • Finished projects
  • Gifts
  • Impressions Baby Quilt
  • Simplicity 2613

Baby quilt two of the fall rush is complete and delivered.

I was inspired by all the diamond HST quilts in blogland, and decided to throw in a heart just for good measure. It finished at around 41″×45″.

It’s backed with a solid piece of Minky fabric. It’s wonderfully soft and cozy.

Because of the Minky backing, I didn’t want to quilt it too closely. So, I just echoed the diamond inside the middle of the HSTs, and made a couple of echo lines inside the heart. Her initials are also in the middle of the heart. The density (or lack thereof) is pushing the limits of the 80/20 batting I used, but I think it will be ok.

Because of the lack of pieced backing, I didn’t make a custom label. I just used one I had printed from Spoonflower, and added a few details in handwriting.

To complete the set, I made another modified Simplicity 2613 dog out of the leftover Minky, along with a small scarf of leftover top pieces and some other fuzzy purple fabric I had in my stash. I like how the pattern goes together with the Minky… it will be used again, I’m sure.

Now it’s on to new projects…

November 20th, 2012

Foto Freitag

Posted in Crafting

  • Impressions Baby Quilt
  • Simplicity 2613

I haven’t sewn much in last couple of weeks. My motivation is about as deflated and floppy as this not-yet-stuffed dog I made to go with the baby quilt I have yet to photograph for you. Time got away from me—I need to get it in the mail, ASAP!

November 9th, 2012

Ever-changing Corset Creation

Posted in Historical

  • Plumleigh Augusta Babbage
  • Simplicity 2613

Despite the lack of updates, I haven’t entirely forgotten about that giant Steampunk outfit plan that I’m supposed to be working on. I finally took a stab at putting the corset together this weekend, in a form slightly modified from my original plans, but one that should still work.

In May, after having C&K try on the mockup, I knew I needed to modify it to an underbust.I drew out the new top while they were wearing it, and then ripped apart the mockup and modified my pattern pieces according to the drawn lines. The other major modification is that the budget got the best of me and I decided to forgo using a traditional separating busk in lieu of hooks and eyes. I found these great filigree ones on sale, so there will be four of them, and likely a few more hidden ones. This is not going to be used for tight lacing or everyday wear, so I think it should hold up.

I have the fashion fabric and drill interlining all pieced together for both sides (one shown here, with some bones in place). I’m now in the process of sewing in the boning casings. After that will just be the lining and grommets, and deciding on what to lace it with.

I’d completely forgotten that I had this homespun in my stash. When I uncovered it, the whole corset look clicked in my head—I like it much better than the other options I’d laid out (and C&K said that they had no preference at all).

It’s a bit annoying to match the lines, and it’s by no means perfect, but there aren’t any absolute glaring mismatches. Luckily I have plenty of fabric so that I needn’t be hampered by a restrictive cutting layout.

I hope to finish it this week so that I can get started on the other torso-covering pieces. It’s September already!

Also, here’s a look at the dog modification I made from Simplicity 2613 now that it’s been delivered:

The concept needs work, but I like it (and so did the recipient!).

September 4th, 2012

Indecision Killed the Craft Project

Posted in Crafting

  • Advice oh sage ones?
  • Simplicity 2613

I’ve been procrastinating on larger projects (quilts, the Steampunk costume) by making small crafty things. The problem is, I’m now at a stand still, because I can’t decide whether to continue embellishing or just stuff them and sew ’em up.

One is for a class. It’s supposed to be either a table mat or a pillow. I don’t know what I want it to be. Probably a pillow, as it’s not all that flat. It is also supposed to have a ton of beading. I started the beads, but I’m just not feeling them.

What do you think. Beads or no beads?

The other is yet another stuffed animal from Simplicity 2613.

I’m trying to modify it to look like a dog. In doing so, I decided it needed an eye spot, and maybe one on its back. But, I can’t decide if it actually needs the one on its back or if that is overkill. It really looks a bit more like a pig than a dog at this point, I think. I’m leaning toward no spot on the back (it’s just sitting on the back piece in the photo, not actually attached).

Most of the time when I hit this point, the project ends up in the unfinished and forgotten pile, but I need to finish both of these up in the next couple of weeks—the former for a discount at the next class, the latter for a gift. Maybe inspiration will hit between now and when I get off work this evening.

Any suggestions while I’m ruminating?

August 23rd, 2012

Bits of Progress

Posted in News

  • Organic Spins
  • Piecing
  • Plumleigh Augusta Babbage
  • Simplicity 2613

I’ve been working on a handful of projects at one time lately, so I haven’t finished anything, but there has been progress in my sewing room in the past couple of weeks.

First, I tried a second technique for Cathedral Window (the quilt-as-you-go one that doesn’t require batting or backing). I’m not a big fan. It’s just fiddly in a way that doesn’t inspire me. Now I have to figure out something to do with this odd little rectangular orphan:

May 14th, 2012

Simplicity 2613 Take… 5?

Posted in Crafting

  • Pattern review
  • Simplicity 2613
  • Toys

There must be something in the water at Carl’s company, because many of his coworkers have become or are becoming parents recently. I made one of these elephants in the craziness of the week before Christmas, but forgot to take photos.

This one, I made this week.

January 13th, 2012

Rattle Giraffe

Posted in Crafting

  • Simplicity 2613
  • Toys

Once again, I’ve gone back to Simplicity 2613 to whip up a baby gift, this time for one of Carl’s coworkers. Rather than sew the elephant for a third time, I chose to make view B, the giraffe. To be entirely truthful, I constructed this a while back, but never finished stitching the felt eyes on or stuffing it (which is how I “sewed” it despite my sewing machine being in the shop).

The pattern cover

Courtesy Simplicity Co.

For the mot part, the giraffe was as easy to build as the elephant, however I did find a few issues to keep in mind.

Issues

The shoulder curve

The arm openings are very tight, so a tool to help push in stuffing is very helpful. More importantly, I found that the quilter’s flannel I used wanted to separate at the shoulder seam. For best results, reinforce the curves with a second line of tighter stitching just inside the seam allowances. Since I didn’t realize this until after I’d begun stuffing, I darned over the corner with matching thread. The hidden reinforcement would have been better.

The importance of a proper stuffing hole

When I constructed the body, I was on auto pilot sewing all the pieces together and forgot about leaving an opening for stuffing in the suggested center back seam. By the time I realized my mistake, the only remaining logical place to leave open was the side neck seam, since I didn’t want to rip any stitches out.

It wasn’t until I actually began stuffing that I realized how unwieldy it was to stuff through the neck. In hindsight, it would have been worth it to rip out the back seam to leave a proper stuffing opening.

I still can’t figure out how to get the limbs to fall as cutely as they do on the pattern envelope. I think it has to do with the stuffing, but it is quite mysterious (unless of course they used hidden pins for photogenic toys).

A note on the neck ruff

Double-sided fringe

The suggested construction calls for fringe with adornment on only one side, so that you can sew the unadorned side straight into the seam. Mine was double-sided, so I first sewed the center-back seam together, then topstitched my fringe down on top of it, folding the bottom edge under for a nice finish. The top edge was sewn into the side seam as one piece with the back.

Just keep in mind that you can use any fringe/ribbon—with adornment on one or both sides—even though the pattern instructions aren’t provided for the latter.

Rattle construction

Like the two elephants I made from the pattern, I added a small rattle-like creation to this stuffed animal. It’s really quite simple to make.

Start with the metal bases of two tealight candles (mine are from a pack of Ikea ones, but I imagine any will do, so long as they have metal-ish base). It is best to use the bases of un-used candles, so you don’t have to deal with melted wax. The candles I have just slip out of the base with a slight tug on the wick. I put the container-less candles into other, larger candles that have burned to the bottom (leaving a wax cylinder) so as not to waste a perfectly good tealight.

Partially fill one with grains from your pantry (in the past I’ve used basmati rice, but this time was couscous. I liked the result a bit better). Play with the amount for desired sound.

Two tealight candle bases, one with couscous

Place the second candle base over the first, trapping the grains inside. You might have to add a small crease in the side of the inner one to get them to fit.

Halves of rattle combined

Wrap in duct tape to waterproof/seal the halves together.

In the future, I want to try using hot glue (or perhaps melted wax) to seal the rattle, because the duct tape muffled the sound a bit, but alas, I have no hot glue gun at present. My last roll of clear duct tape was less muffling than this new roll of yellow. The whole thing is very unscientific, so play around to find what suits you best.

The result was another quick creation that I hope the new baby will enjoy.

January 7th, 2011

Baby Quilt Sneak Peak

Posted in Quilting

  • Simplicity 2613
  • The Baby quilt
  • Toys

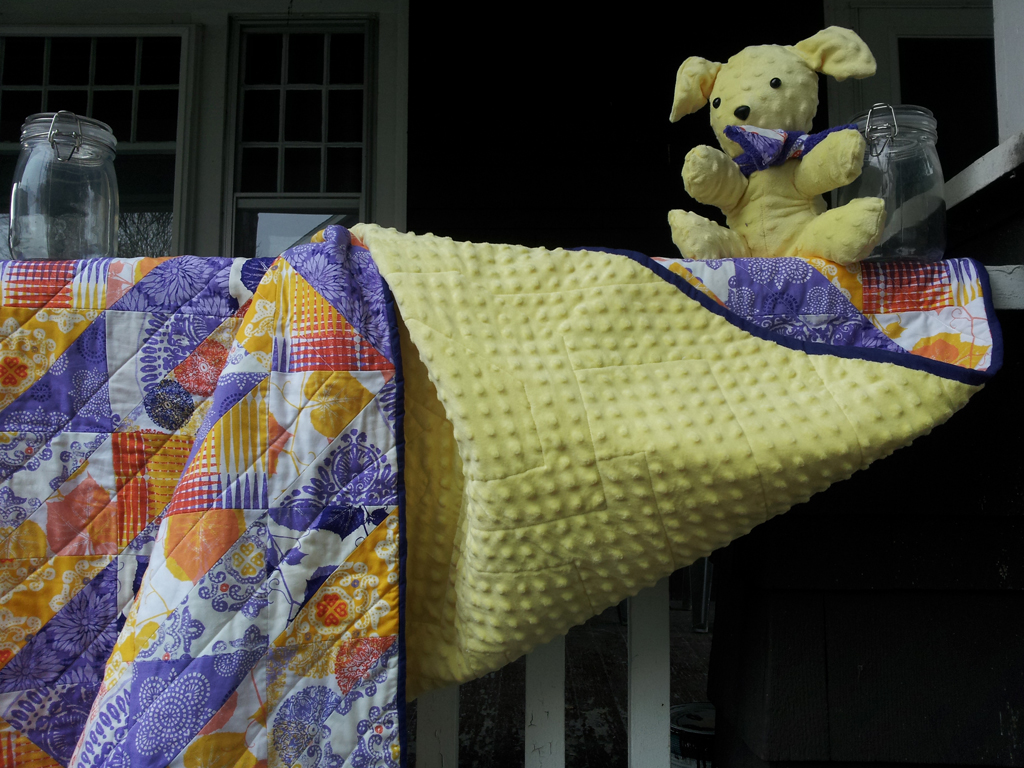
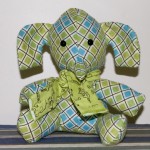
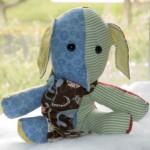
I’m visiting my friend Sammi and delivering the baby quilt this coming weekend. Here’s a sneak peak of the quilt, and a shot of the elephant I made out of the leftover material. It’s Simplicity 2613 again. I used each of the four colors for each piece, and the border fuzzy yellow fabric for the ear inserts. The scarf is made from the backing fabric with little pieces of selvage on the end—they made perfect fringe.

The quilt is in the wash right now; I’m having a bit of an issue getting the yellow chalk lines out that I used as a grid for quilting. One wash didn’t work, so if they’re still there, I guess I’ll just have to claim they were a design decision or something. At least they match the color scheme. I learned my lesson about using chalk in the future though, that’s for sure.

October 24th, 2010

 Previous Posts

© 2008–2023 Raevenfea