Nine-Patch Animals
Posted in Quilting
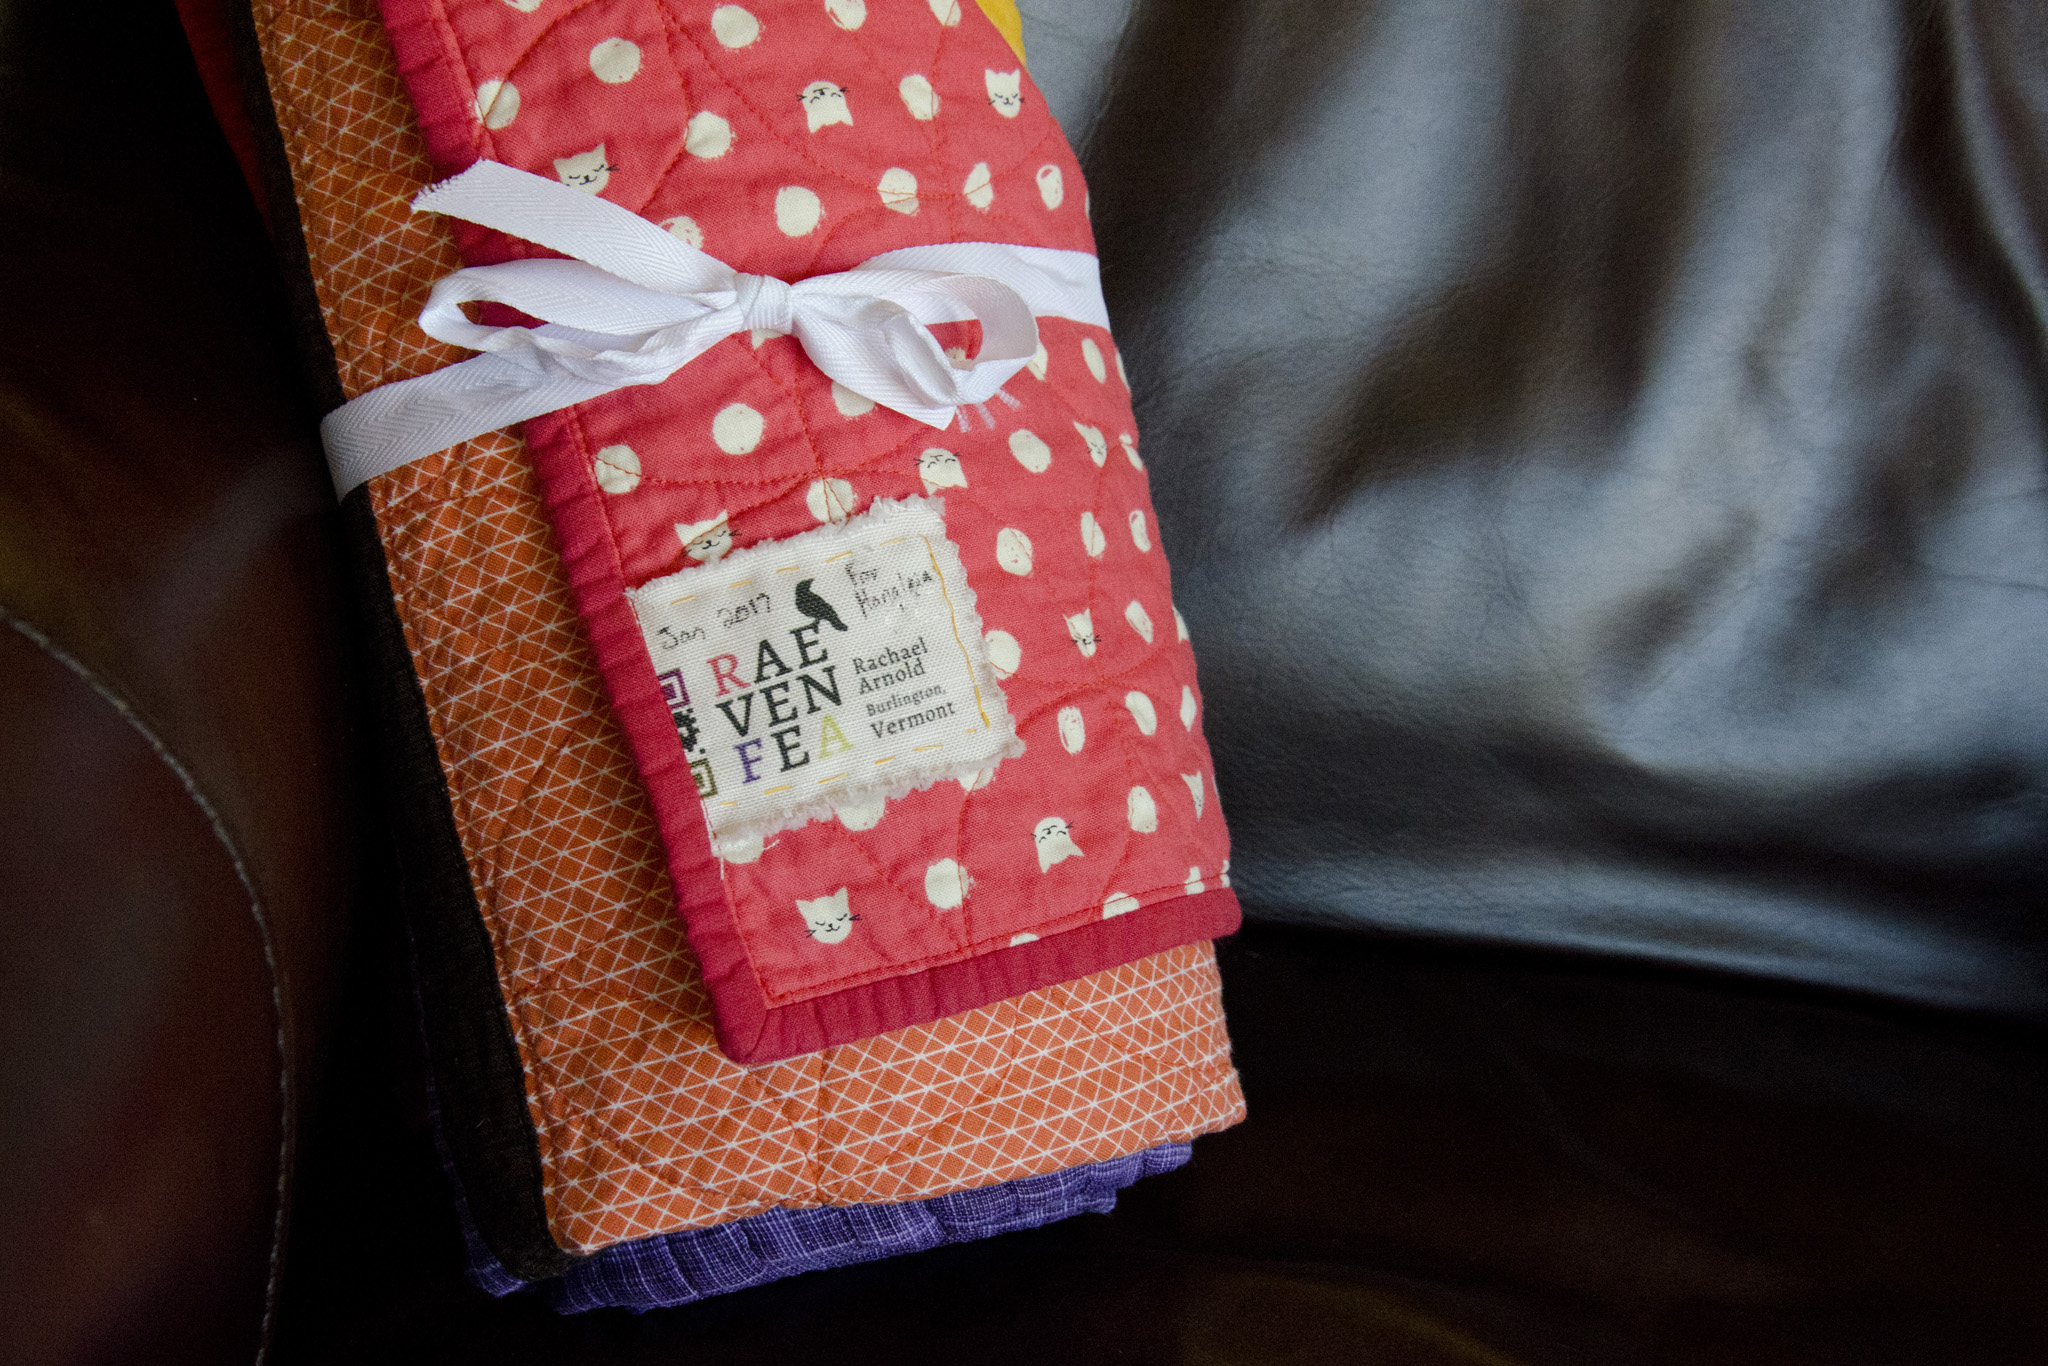
This is quilt three of four that I’m behind in blogging about from 2017, and was the 5th baby quilt of the year (of seven total quilts)! I threw it together quickly in October, trying to beat his birth. Then it sat around in my house waiting for me to remember to ship it, so was a few months late, just like this post.
This has been the year of baby quilts, it seems. Or the year where only baby quilts were prioritized, perhaps. A baby boy is joining a family of three girls who have already received quilts marking their births (Impressions Baby Quilt, Noble Blooms, Jewelry Box), so after finding out, I quickly set out to make one for him, too.

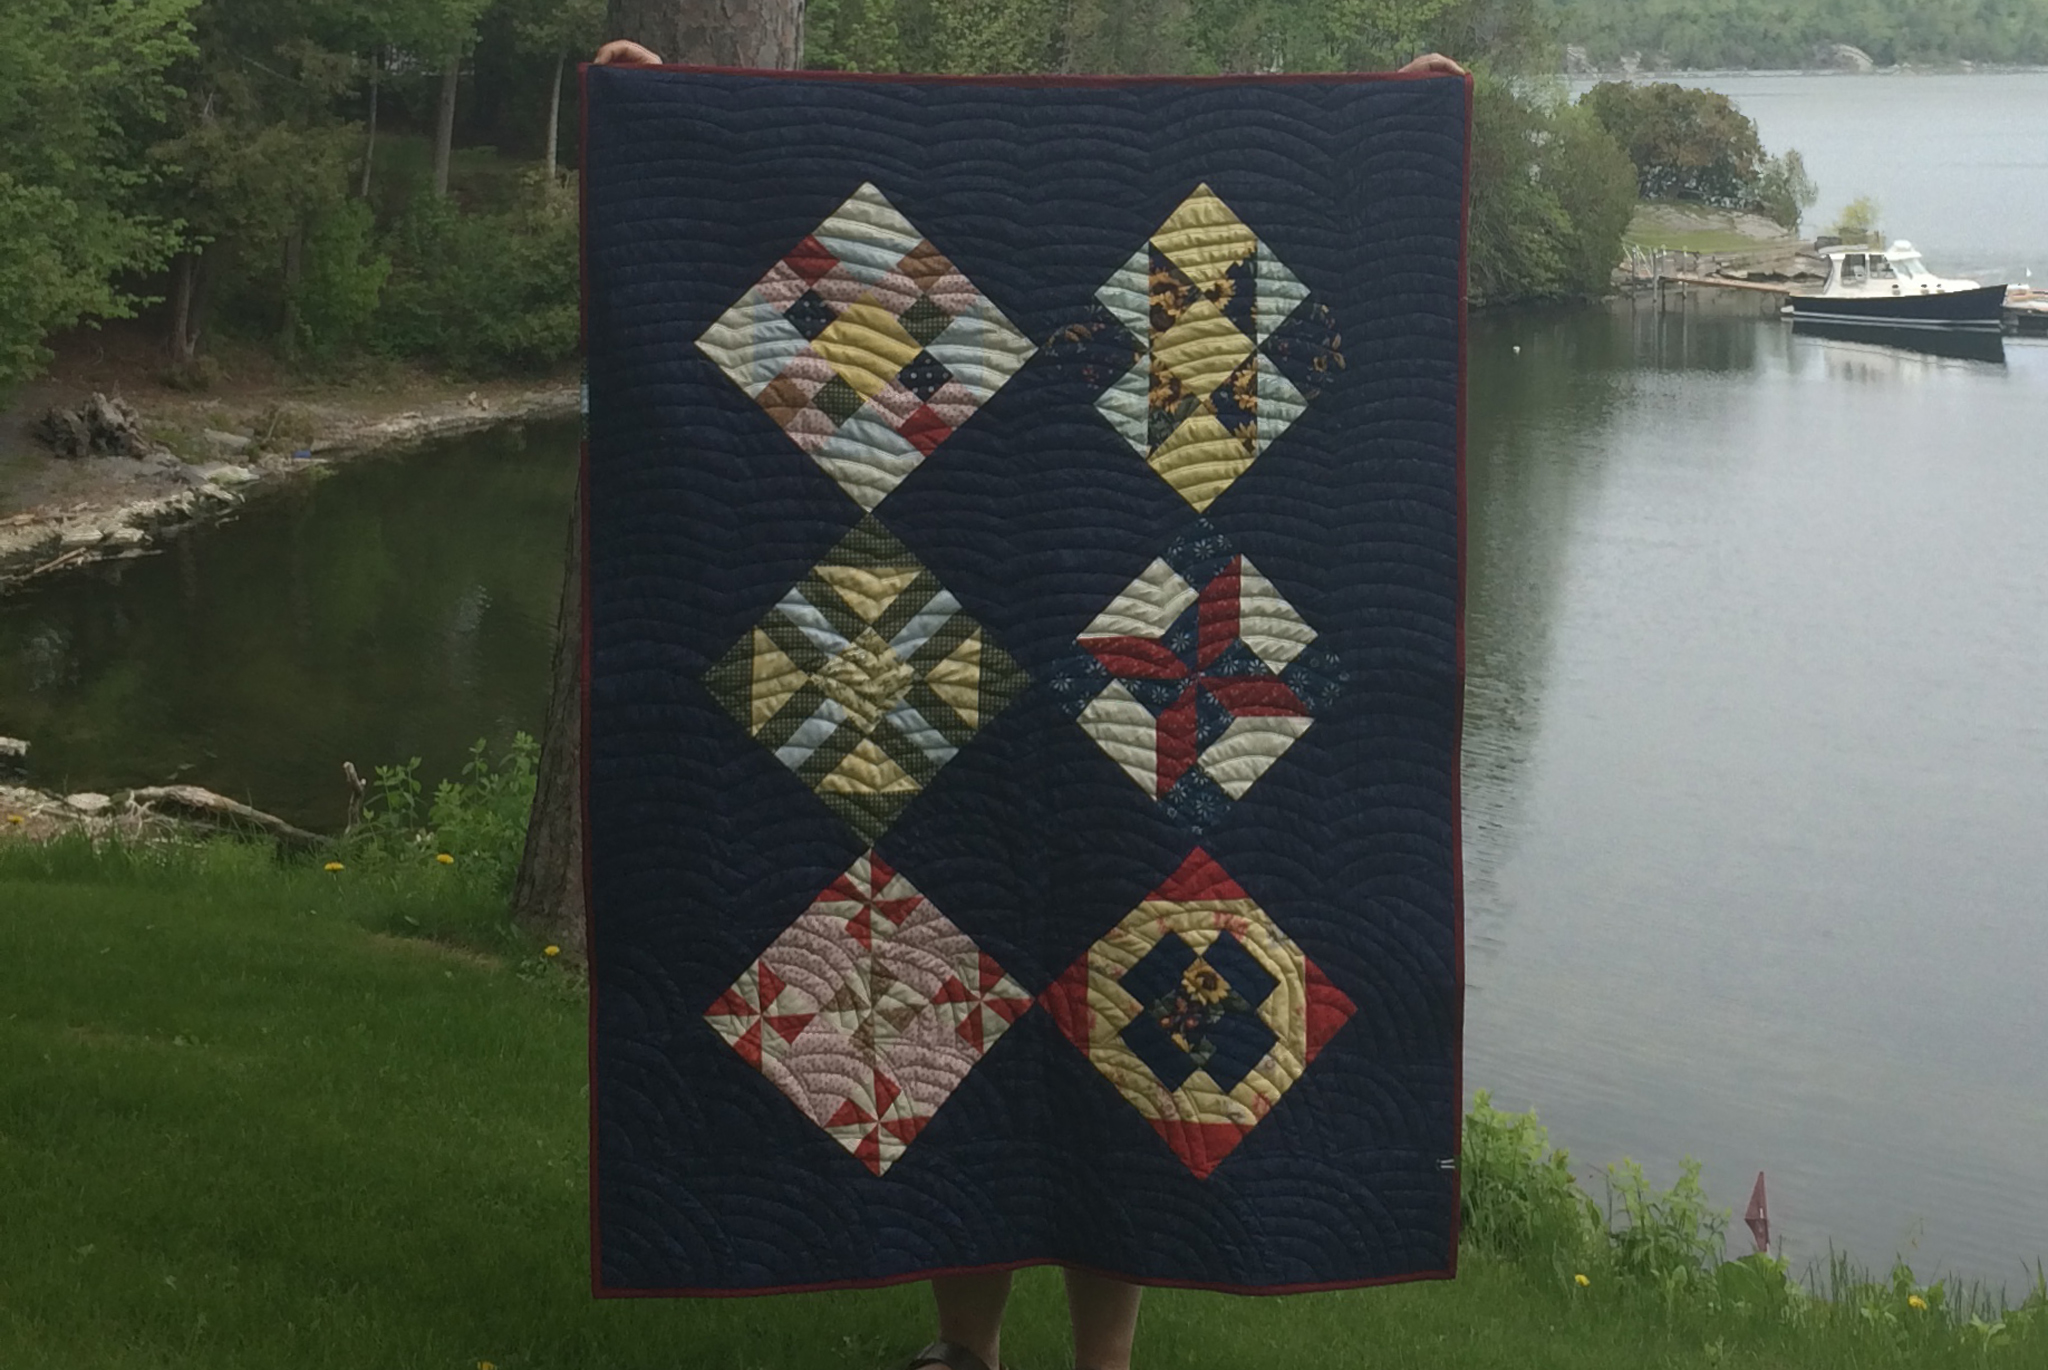
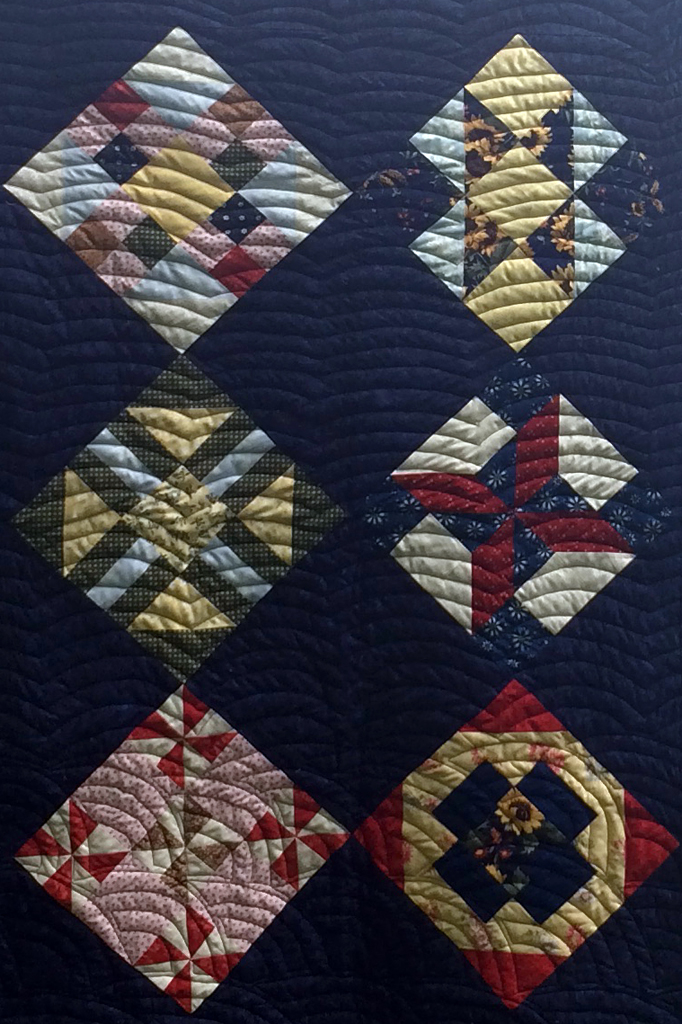
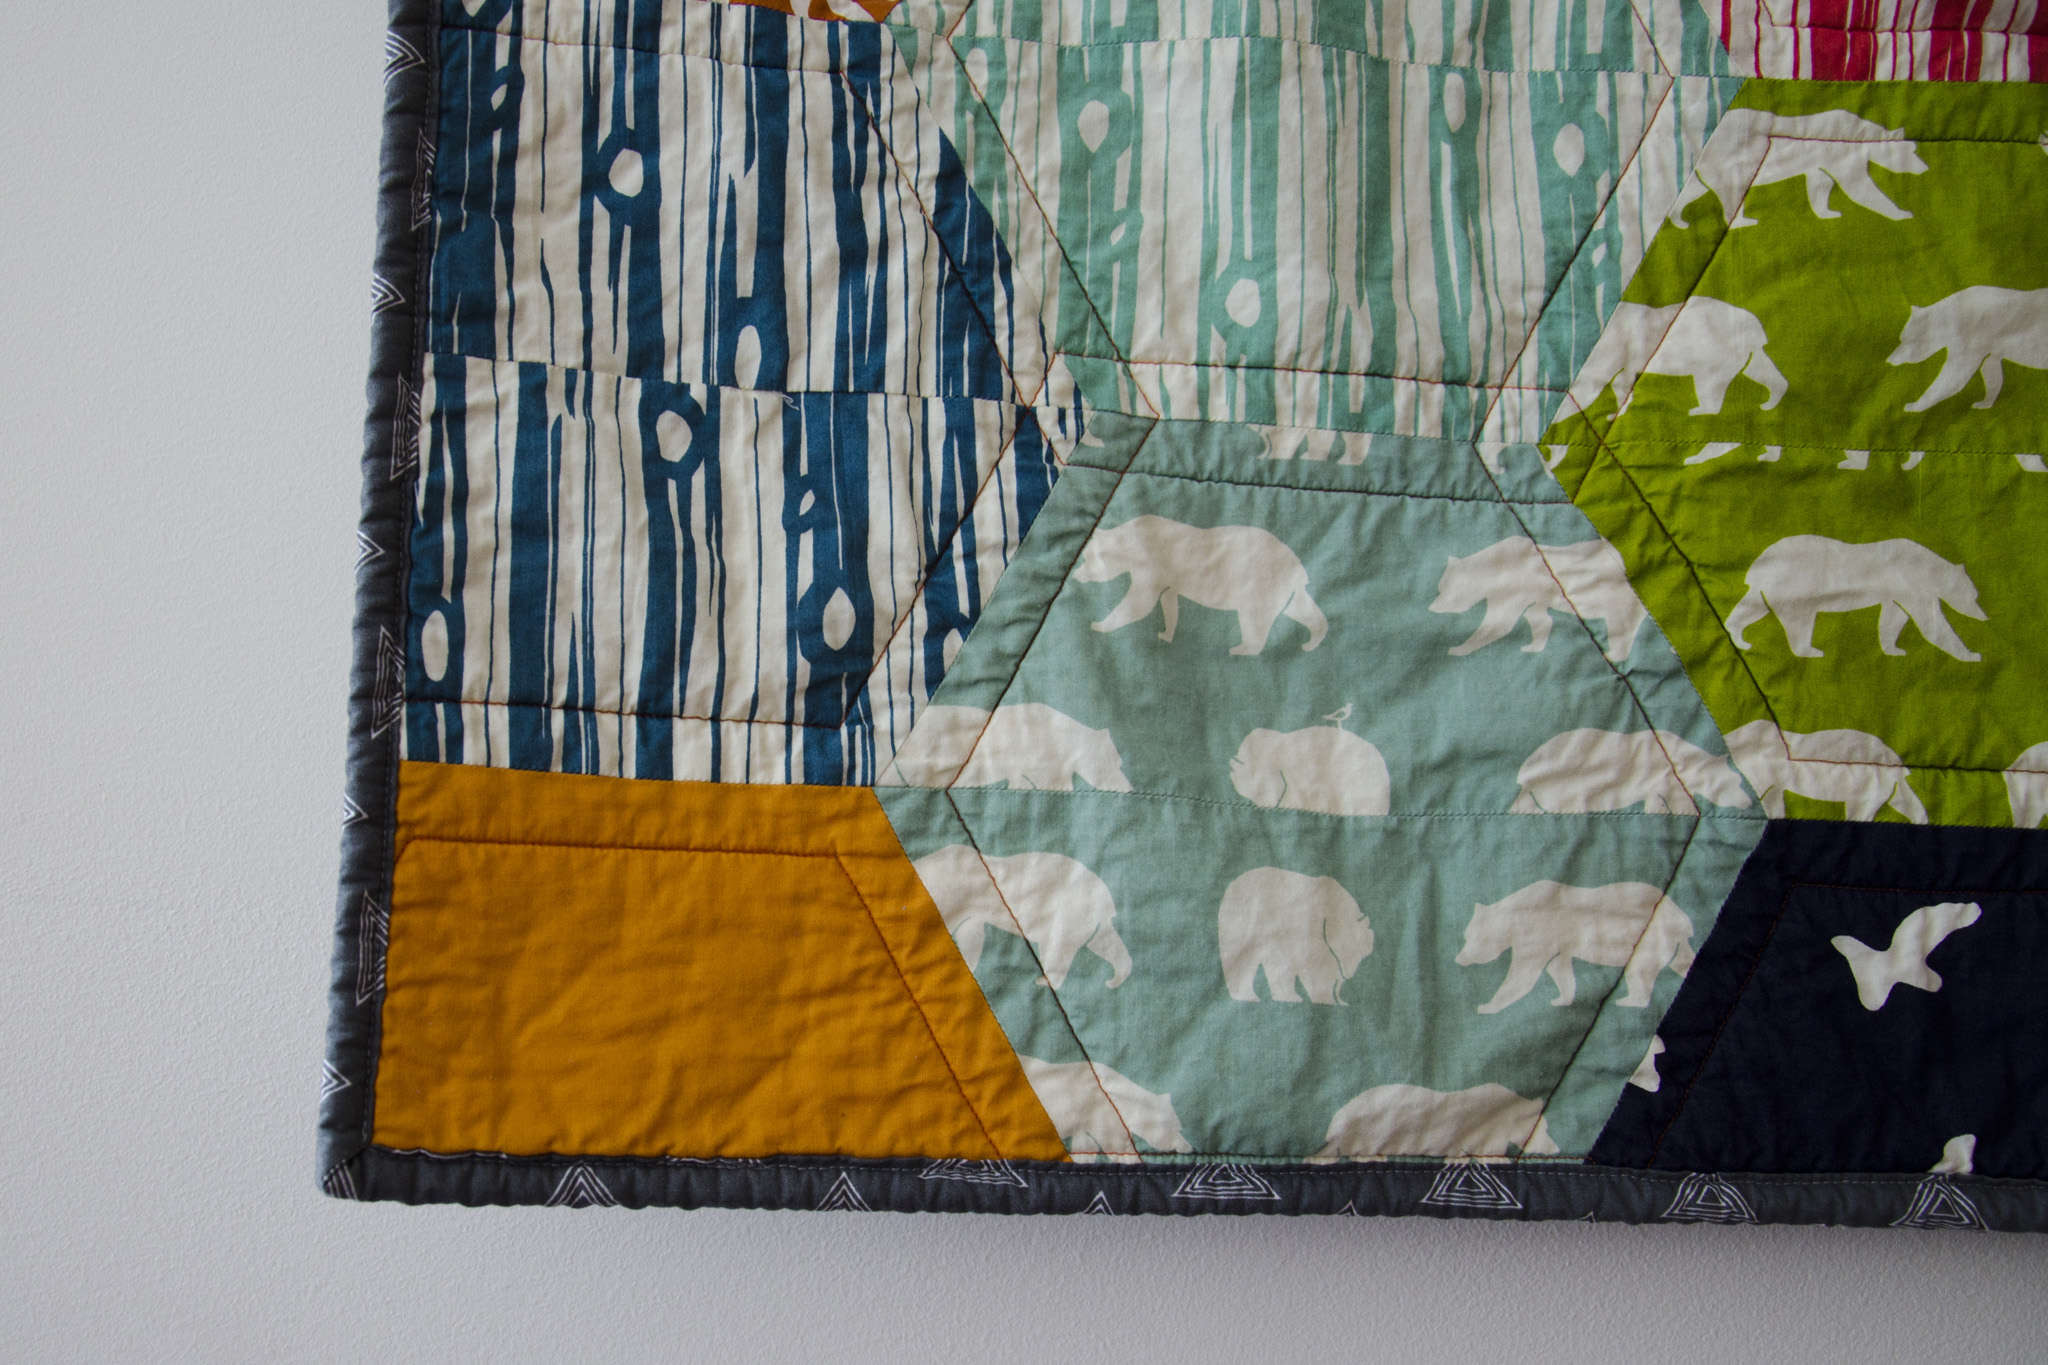
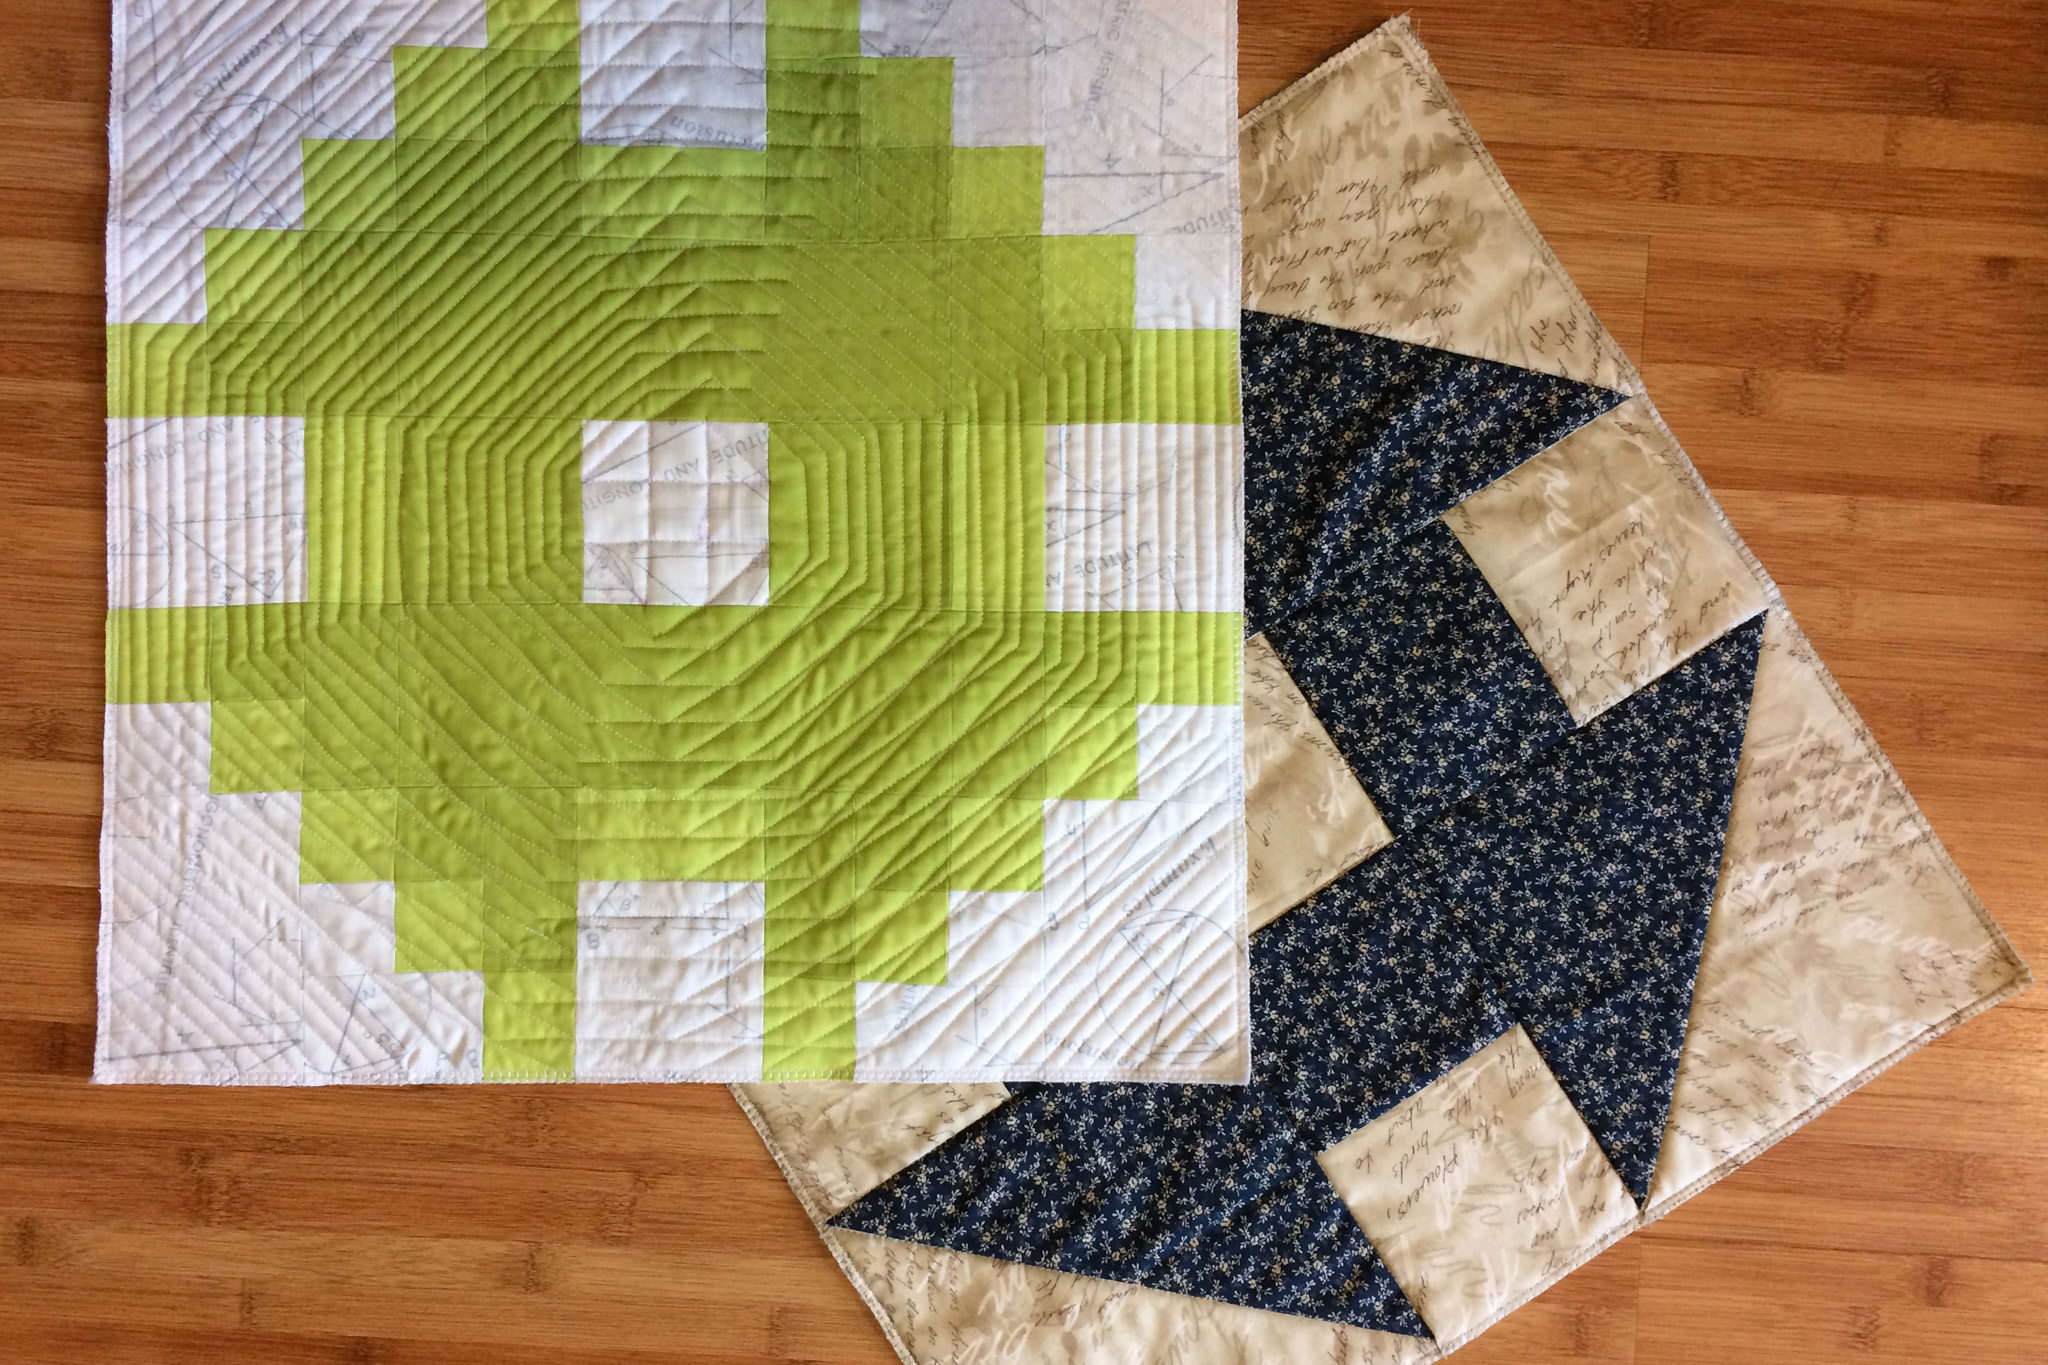
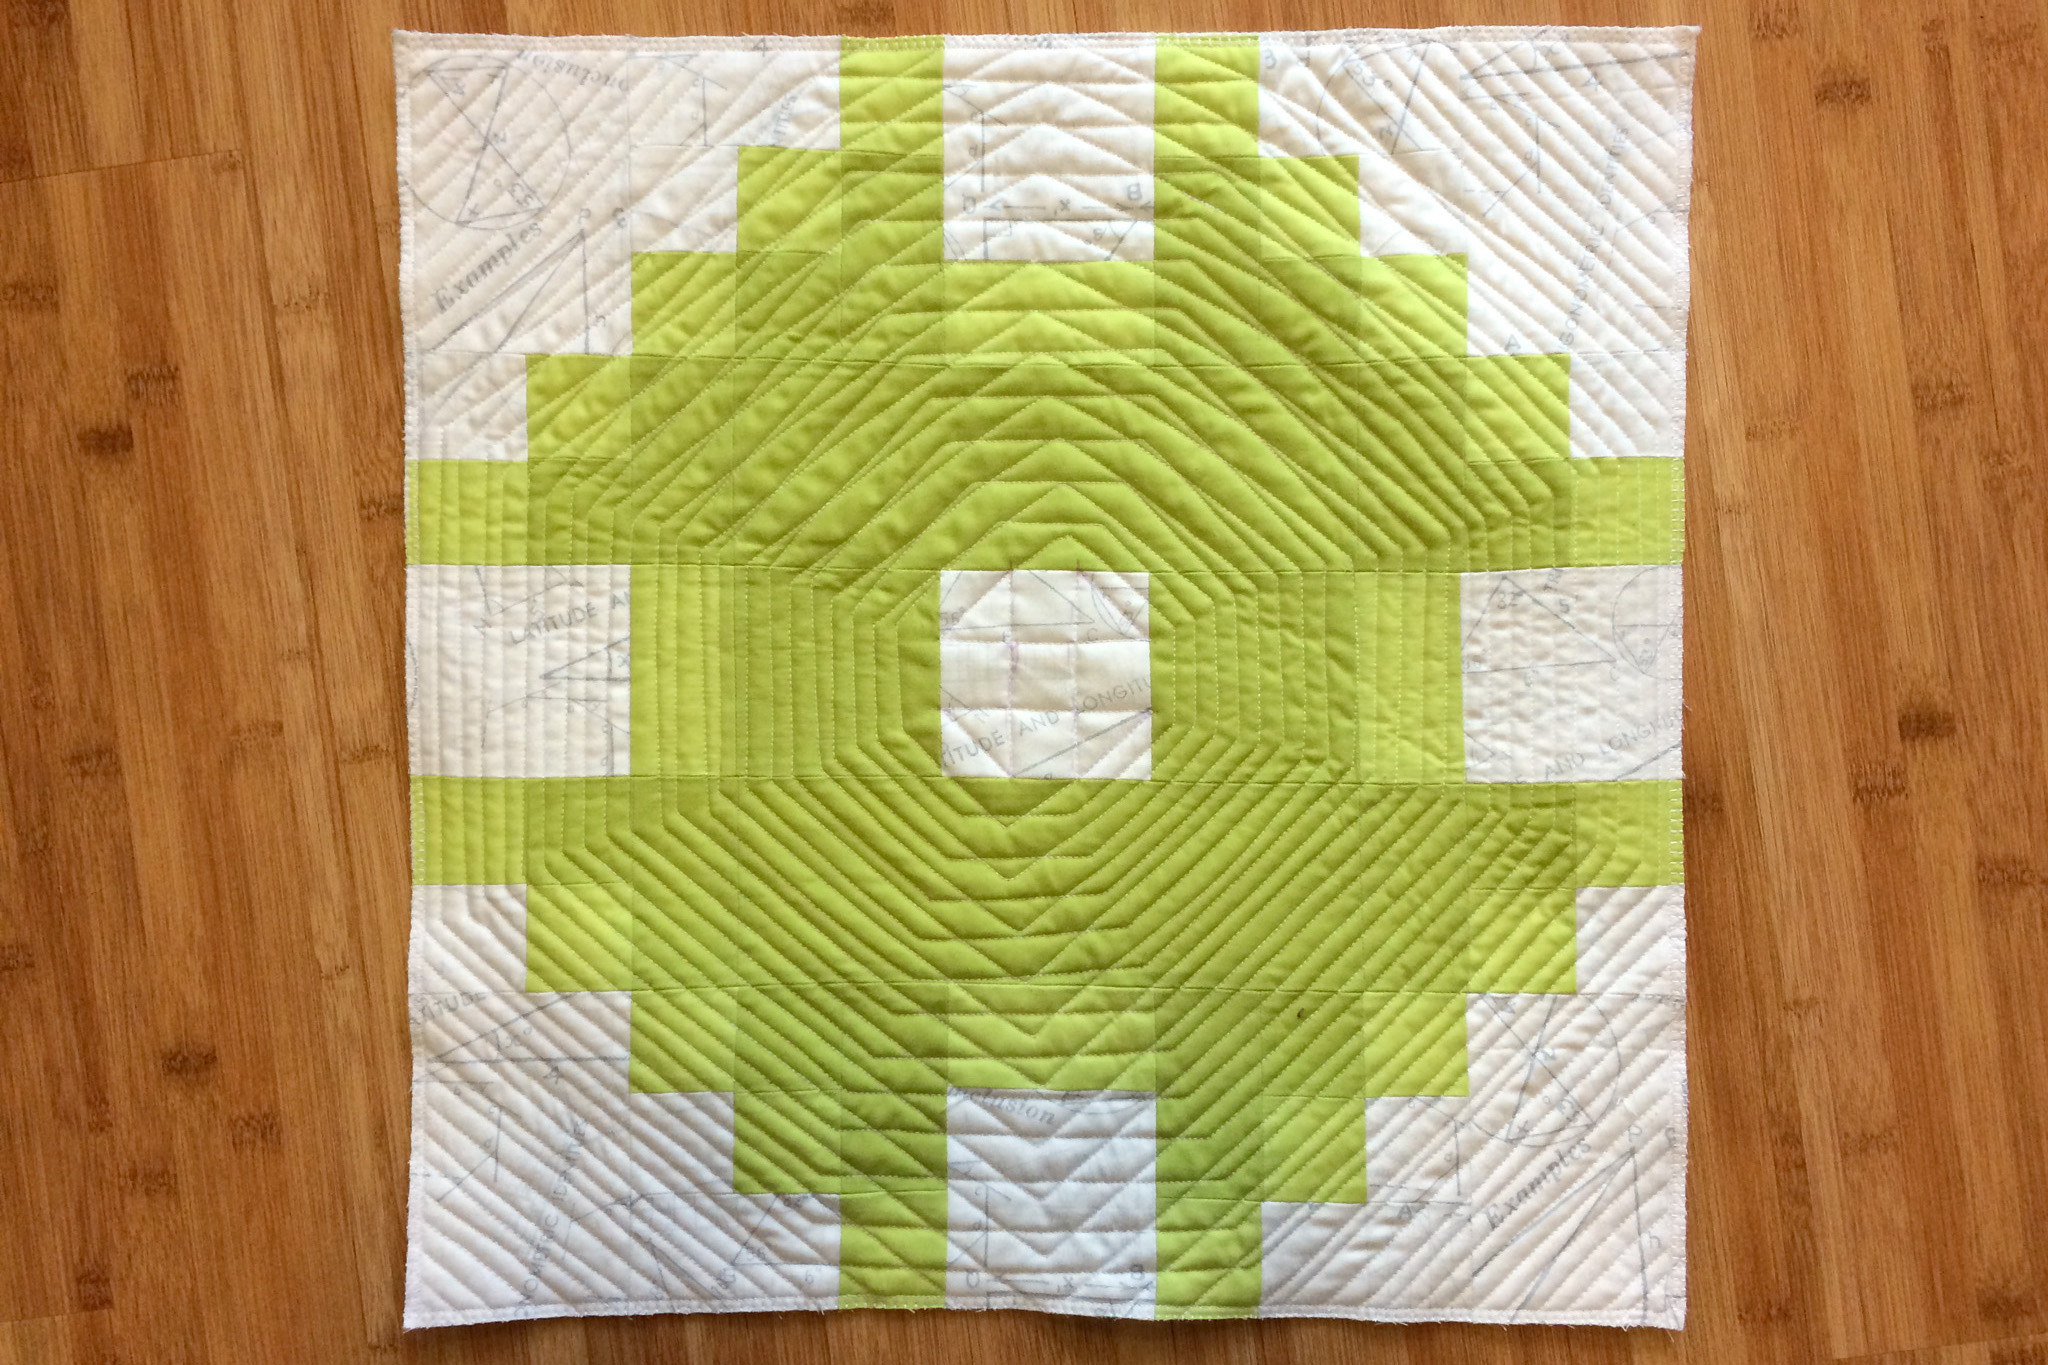
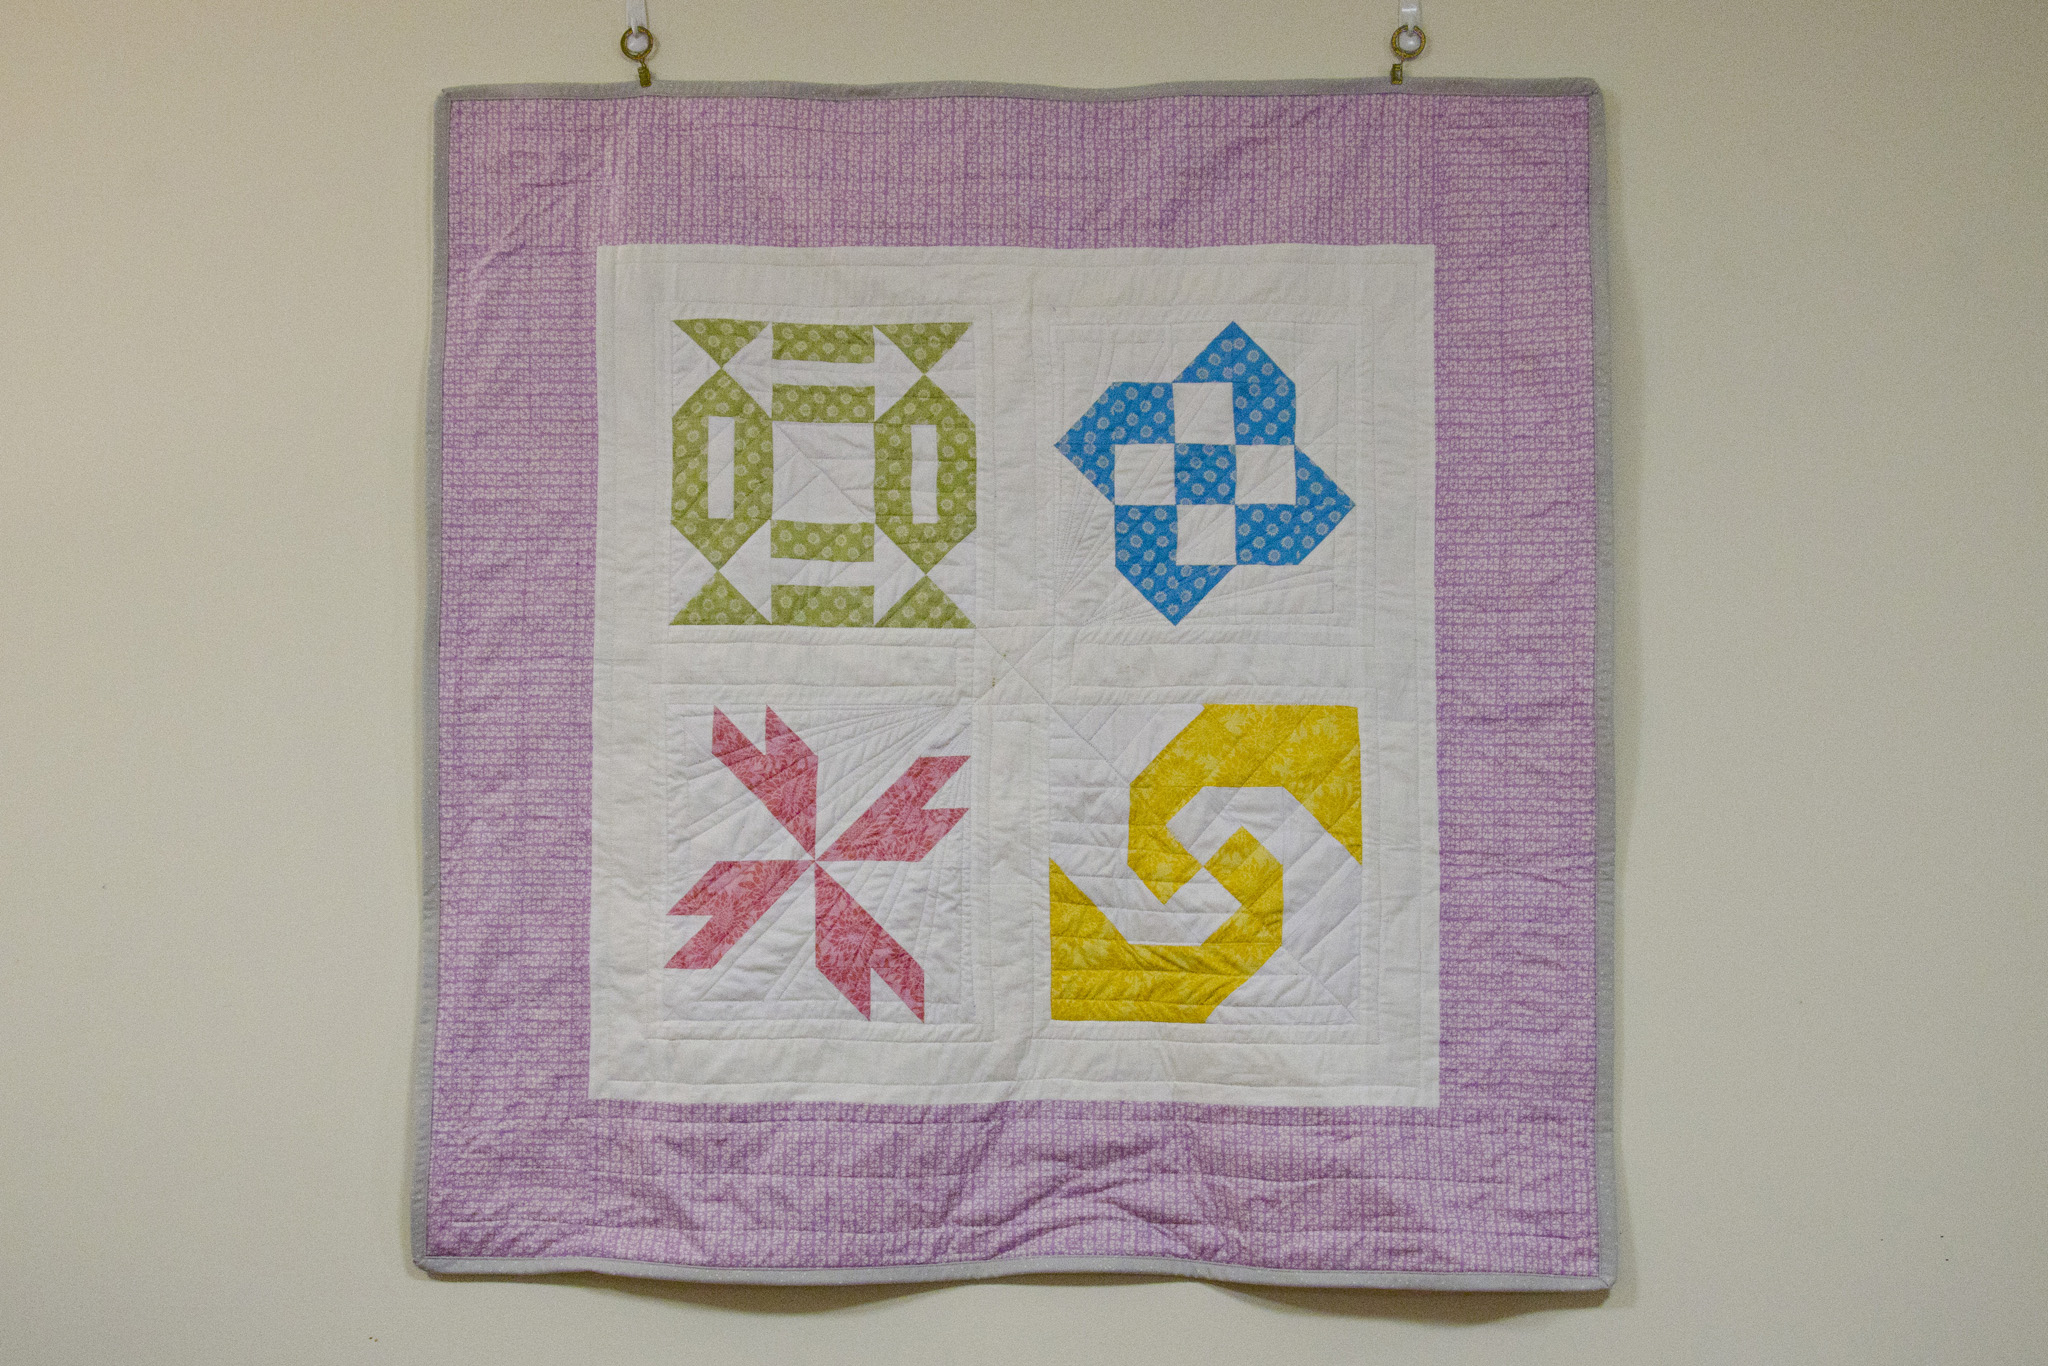
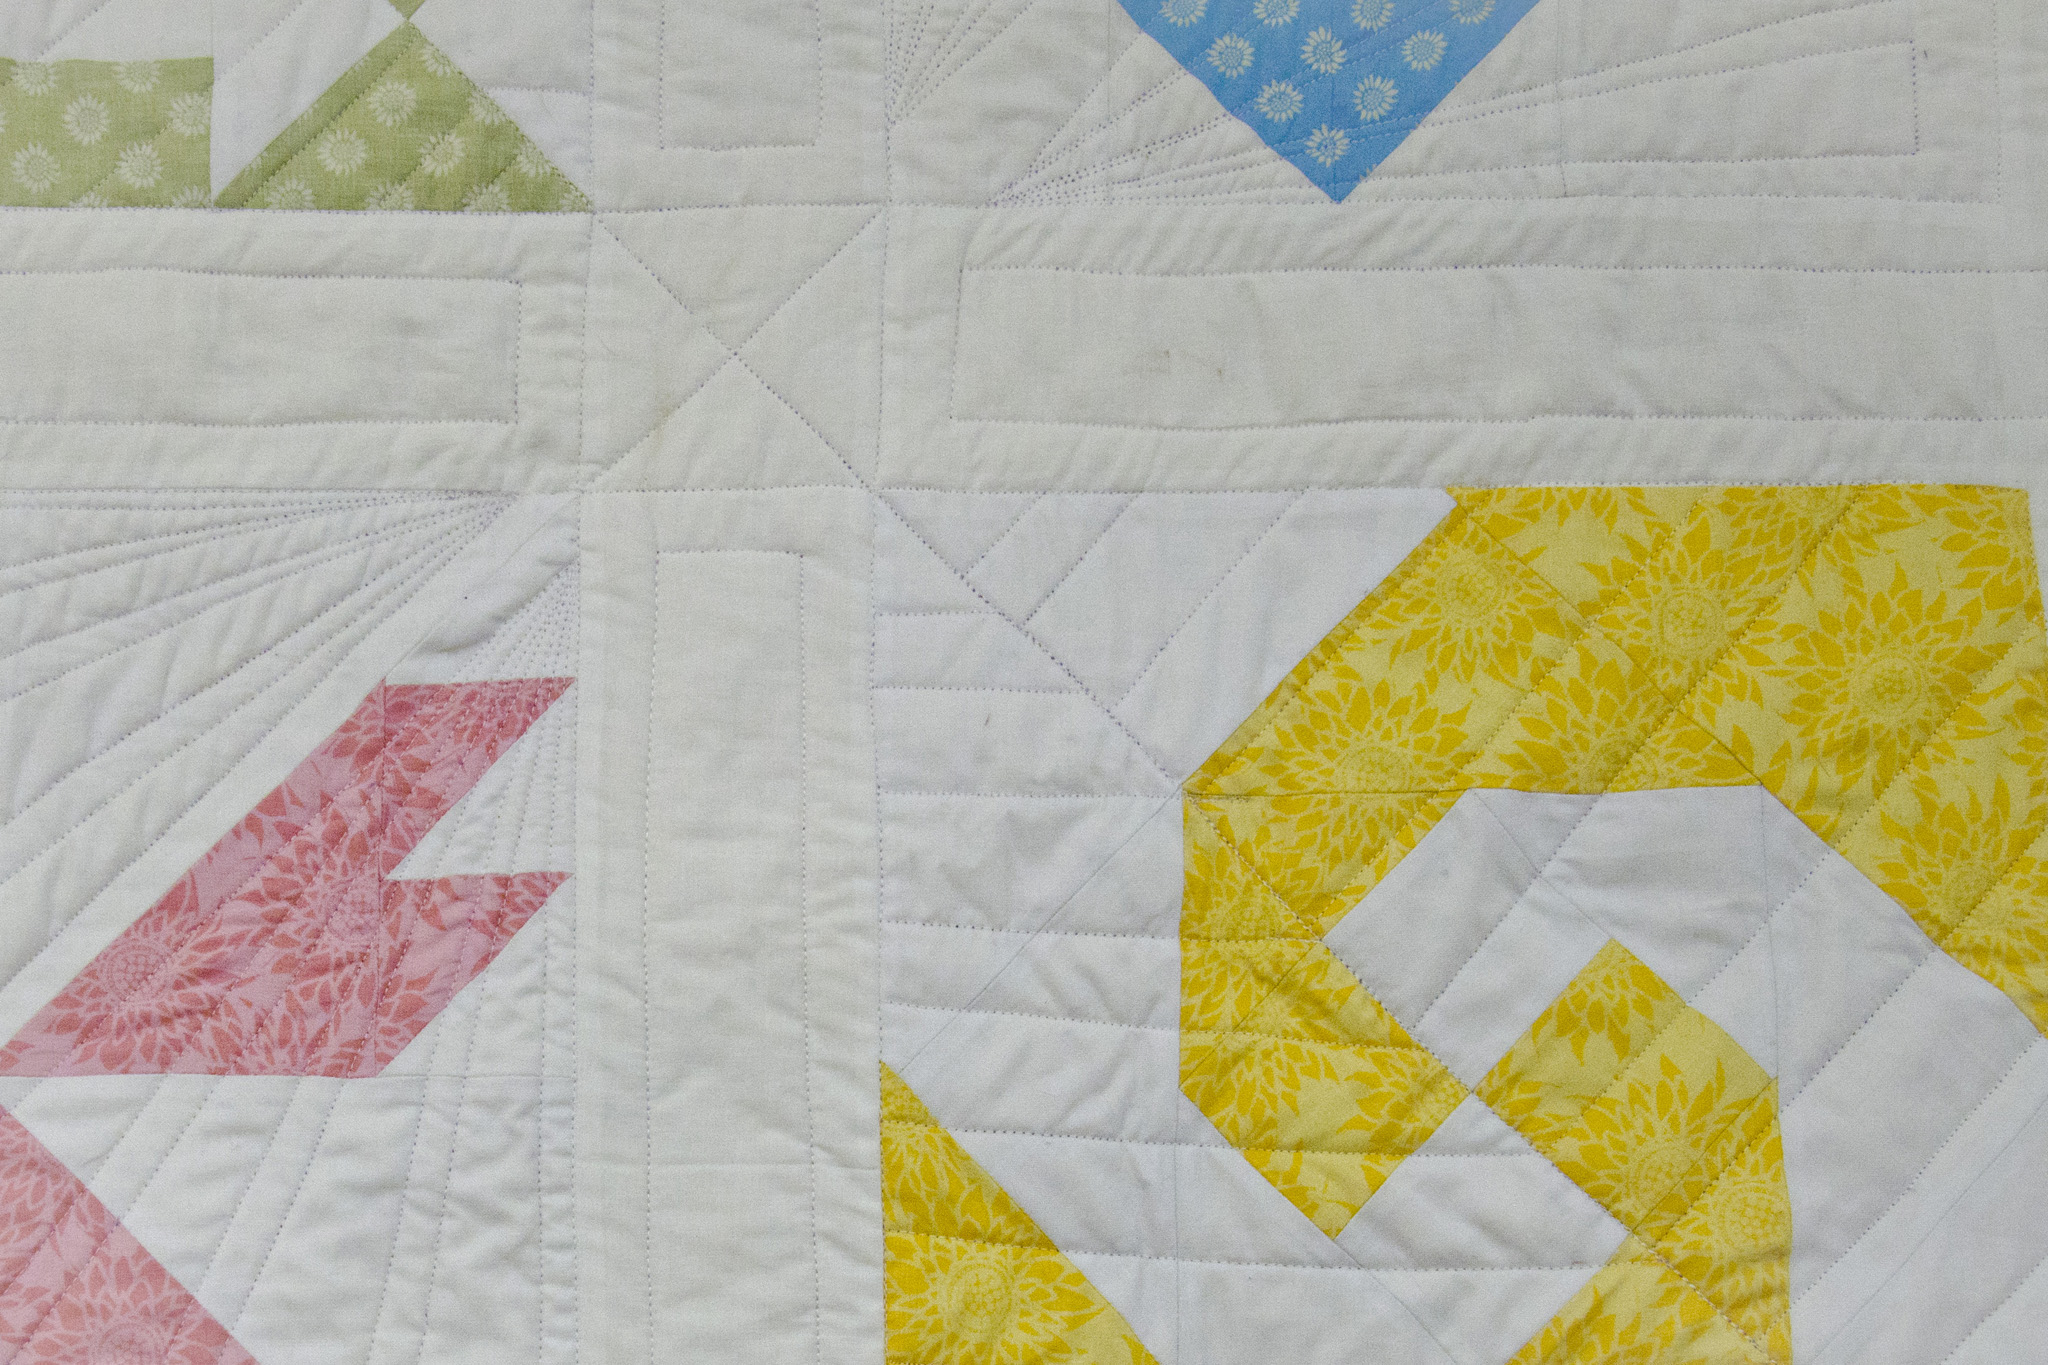
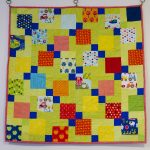
I dug into my stash for inspiration, and found a charm pack from the line Apple Hill Farm. It was a small pack though, containing only 23 charms. After wracking my brain for a good, quick design that goes well with 5-inch precut squares, I settled on a disappearing nine-patch layout that needed 36 patterned charms. I dug through my scrap bin and cannibalized a few coordinating charms from other packs, and ended up with enough. I paired the printed charms with two greens from stash (Kona Cactus and Limelight), and one last print—Cotton+Steel blue confetti dots—to tie everything together.
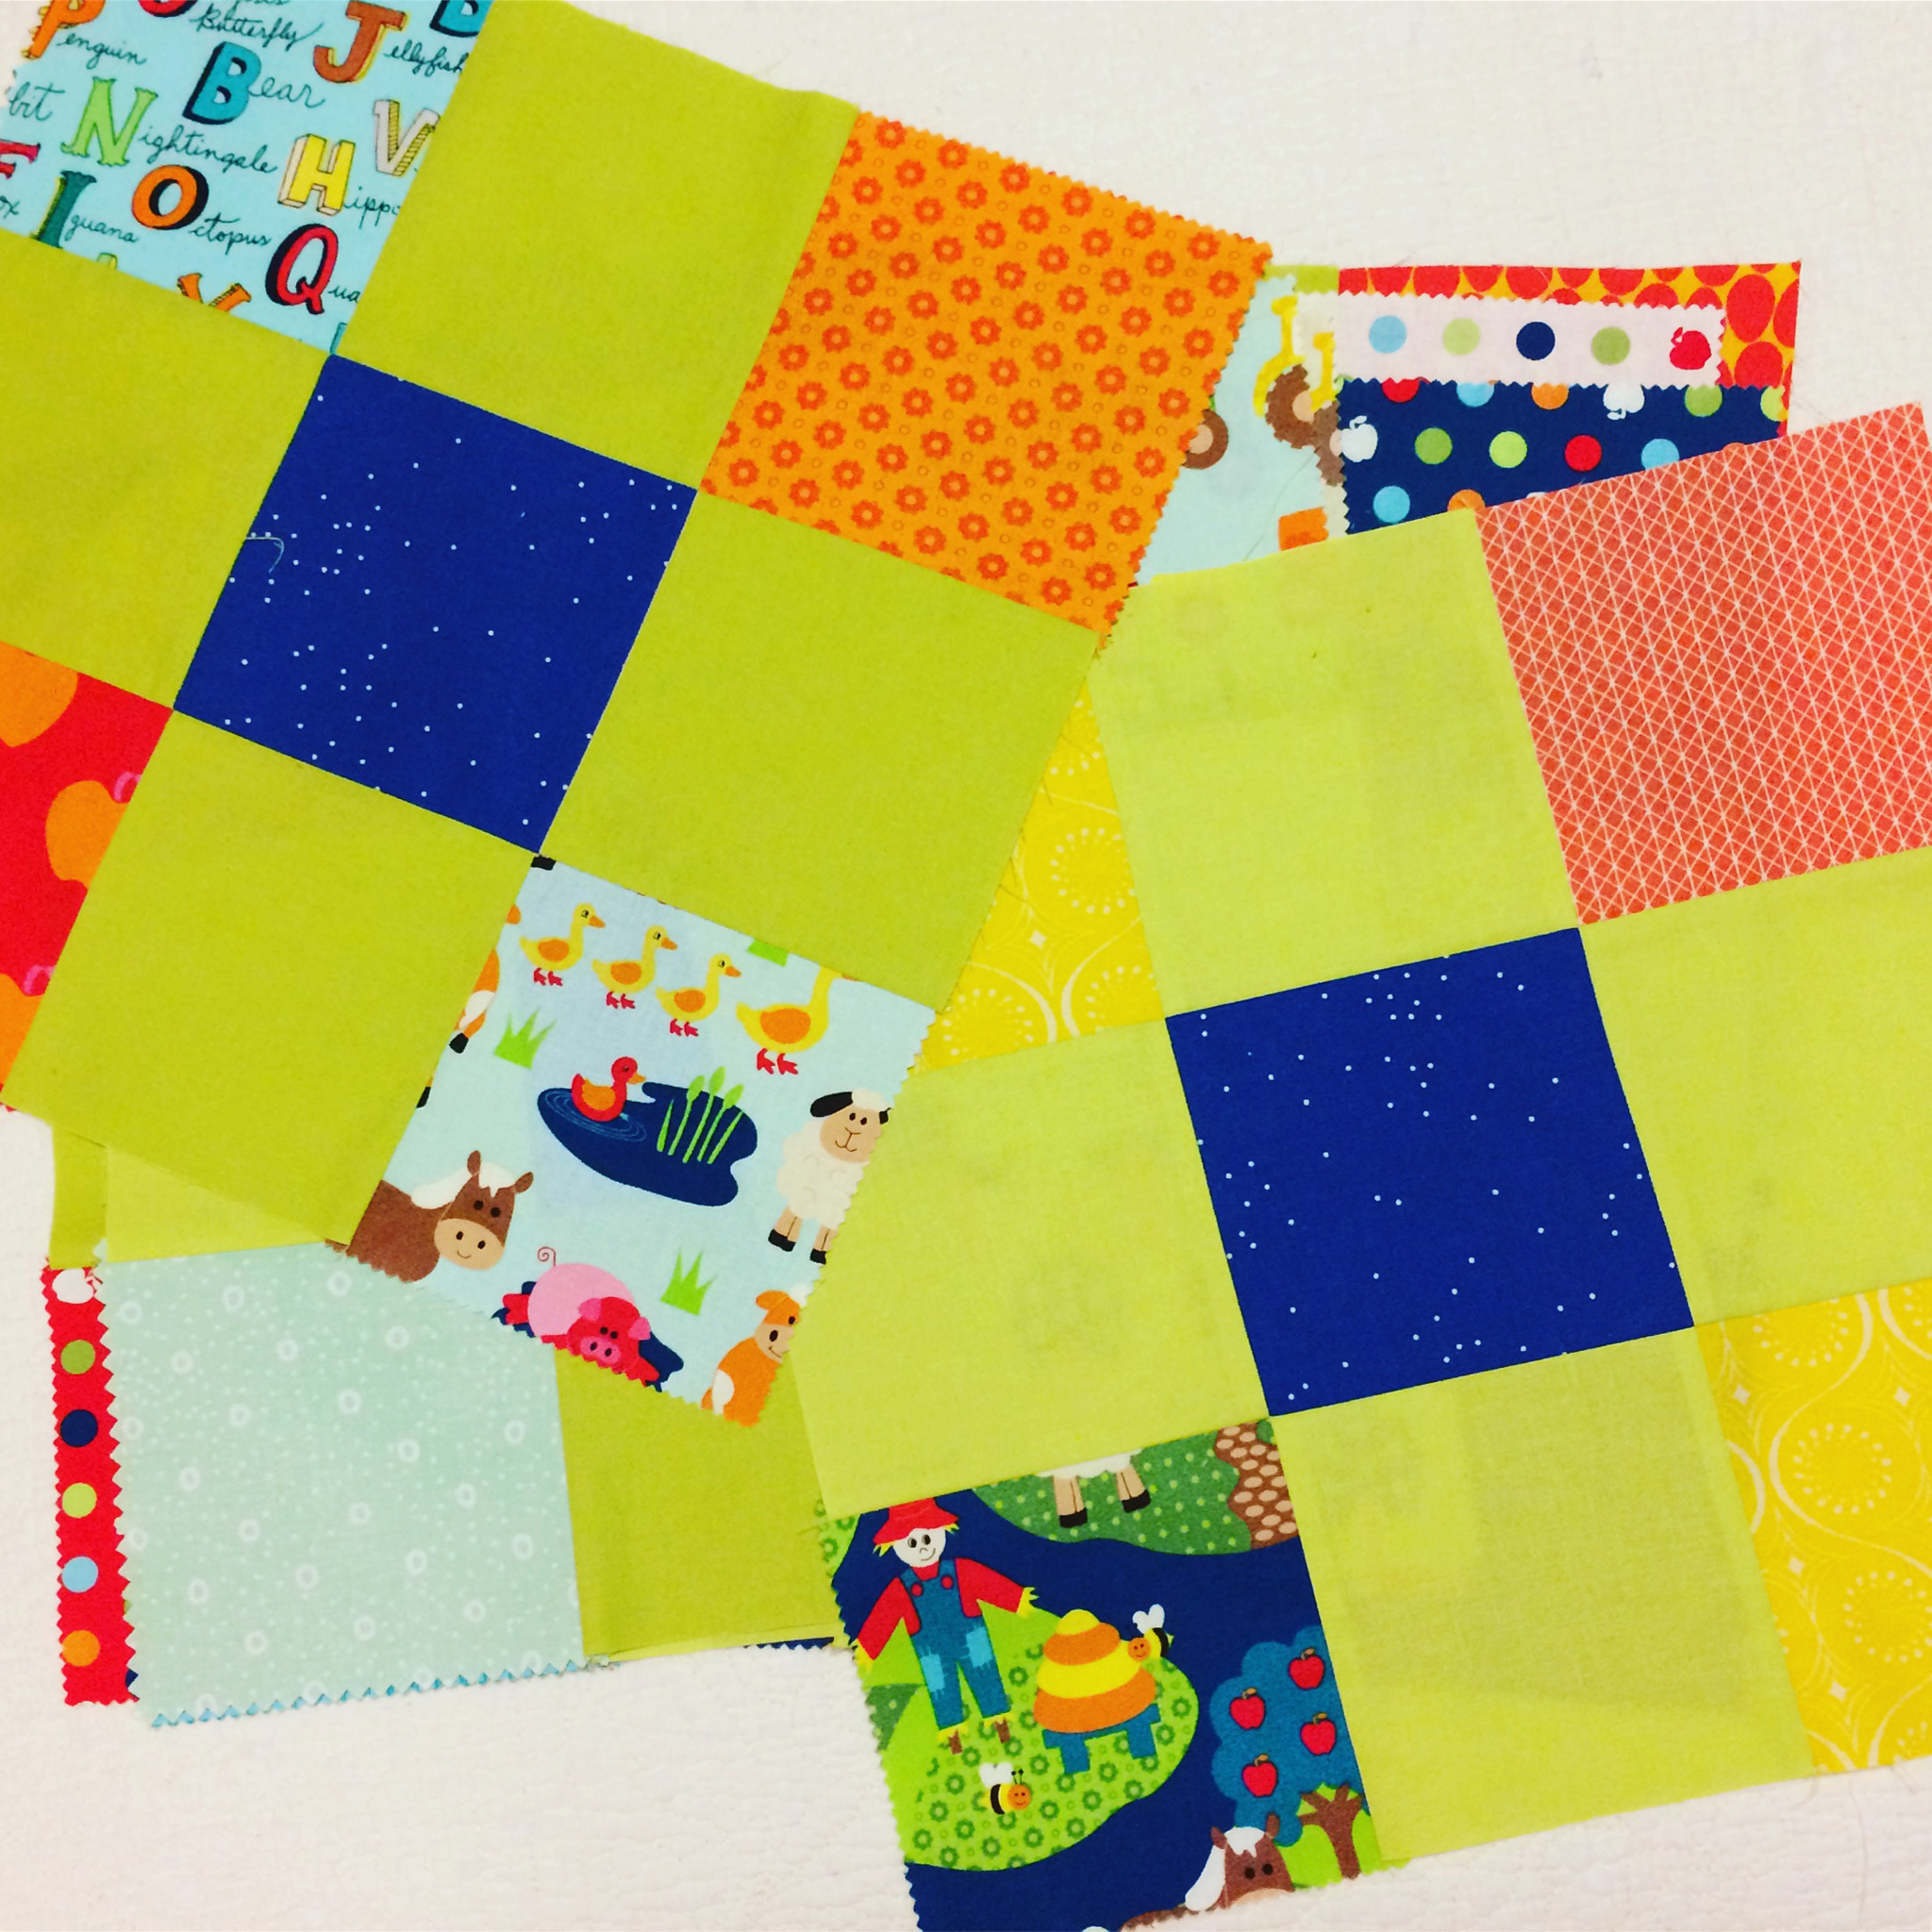
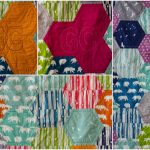
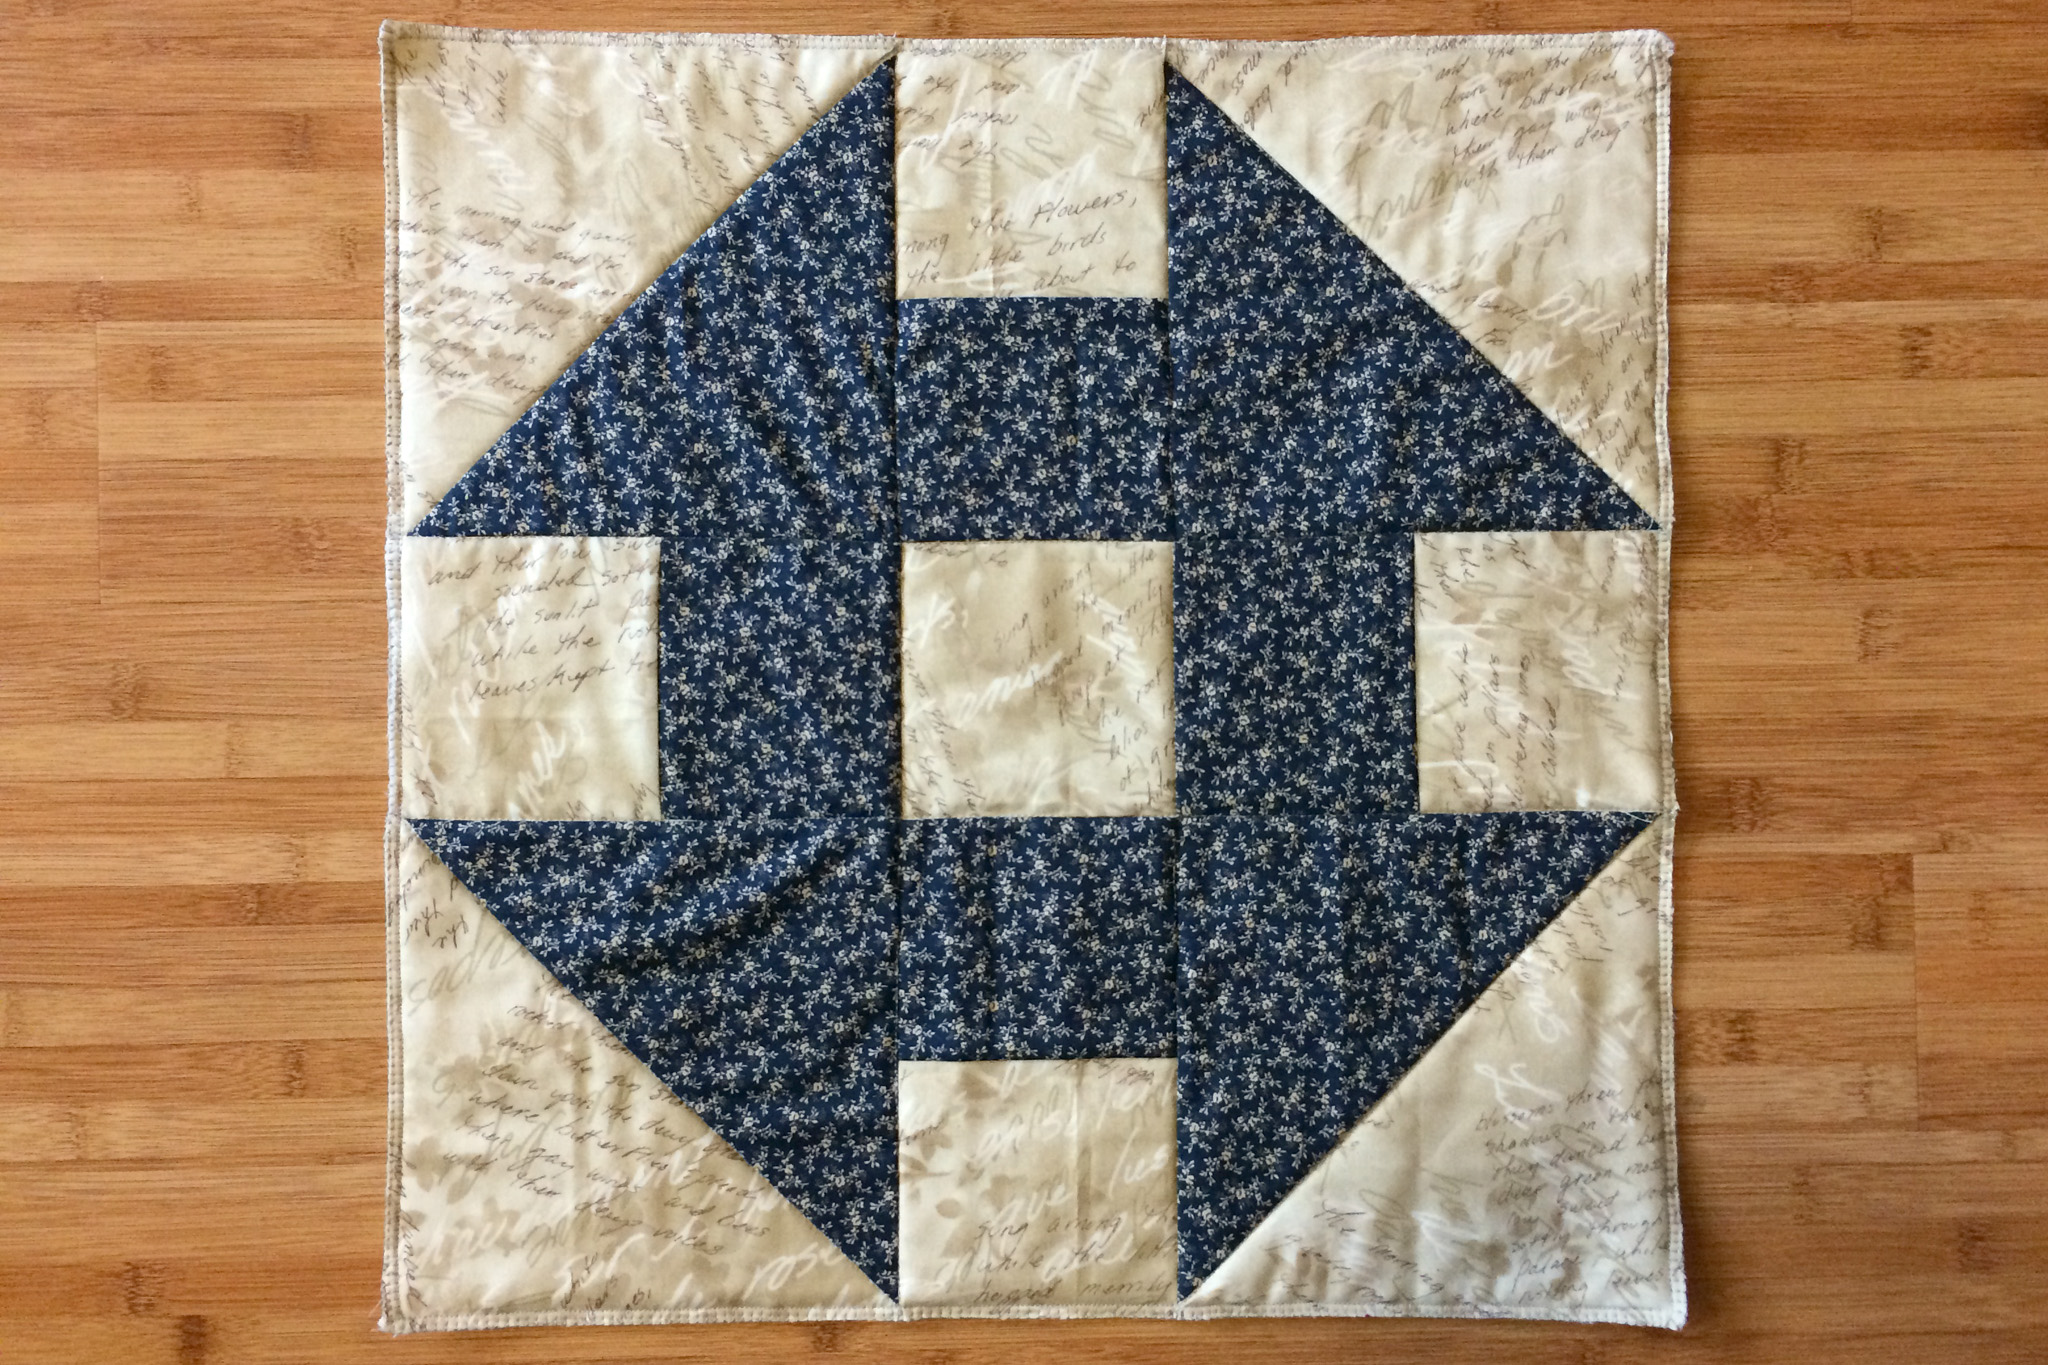
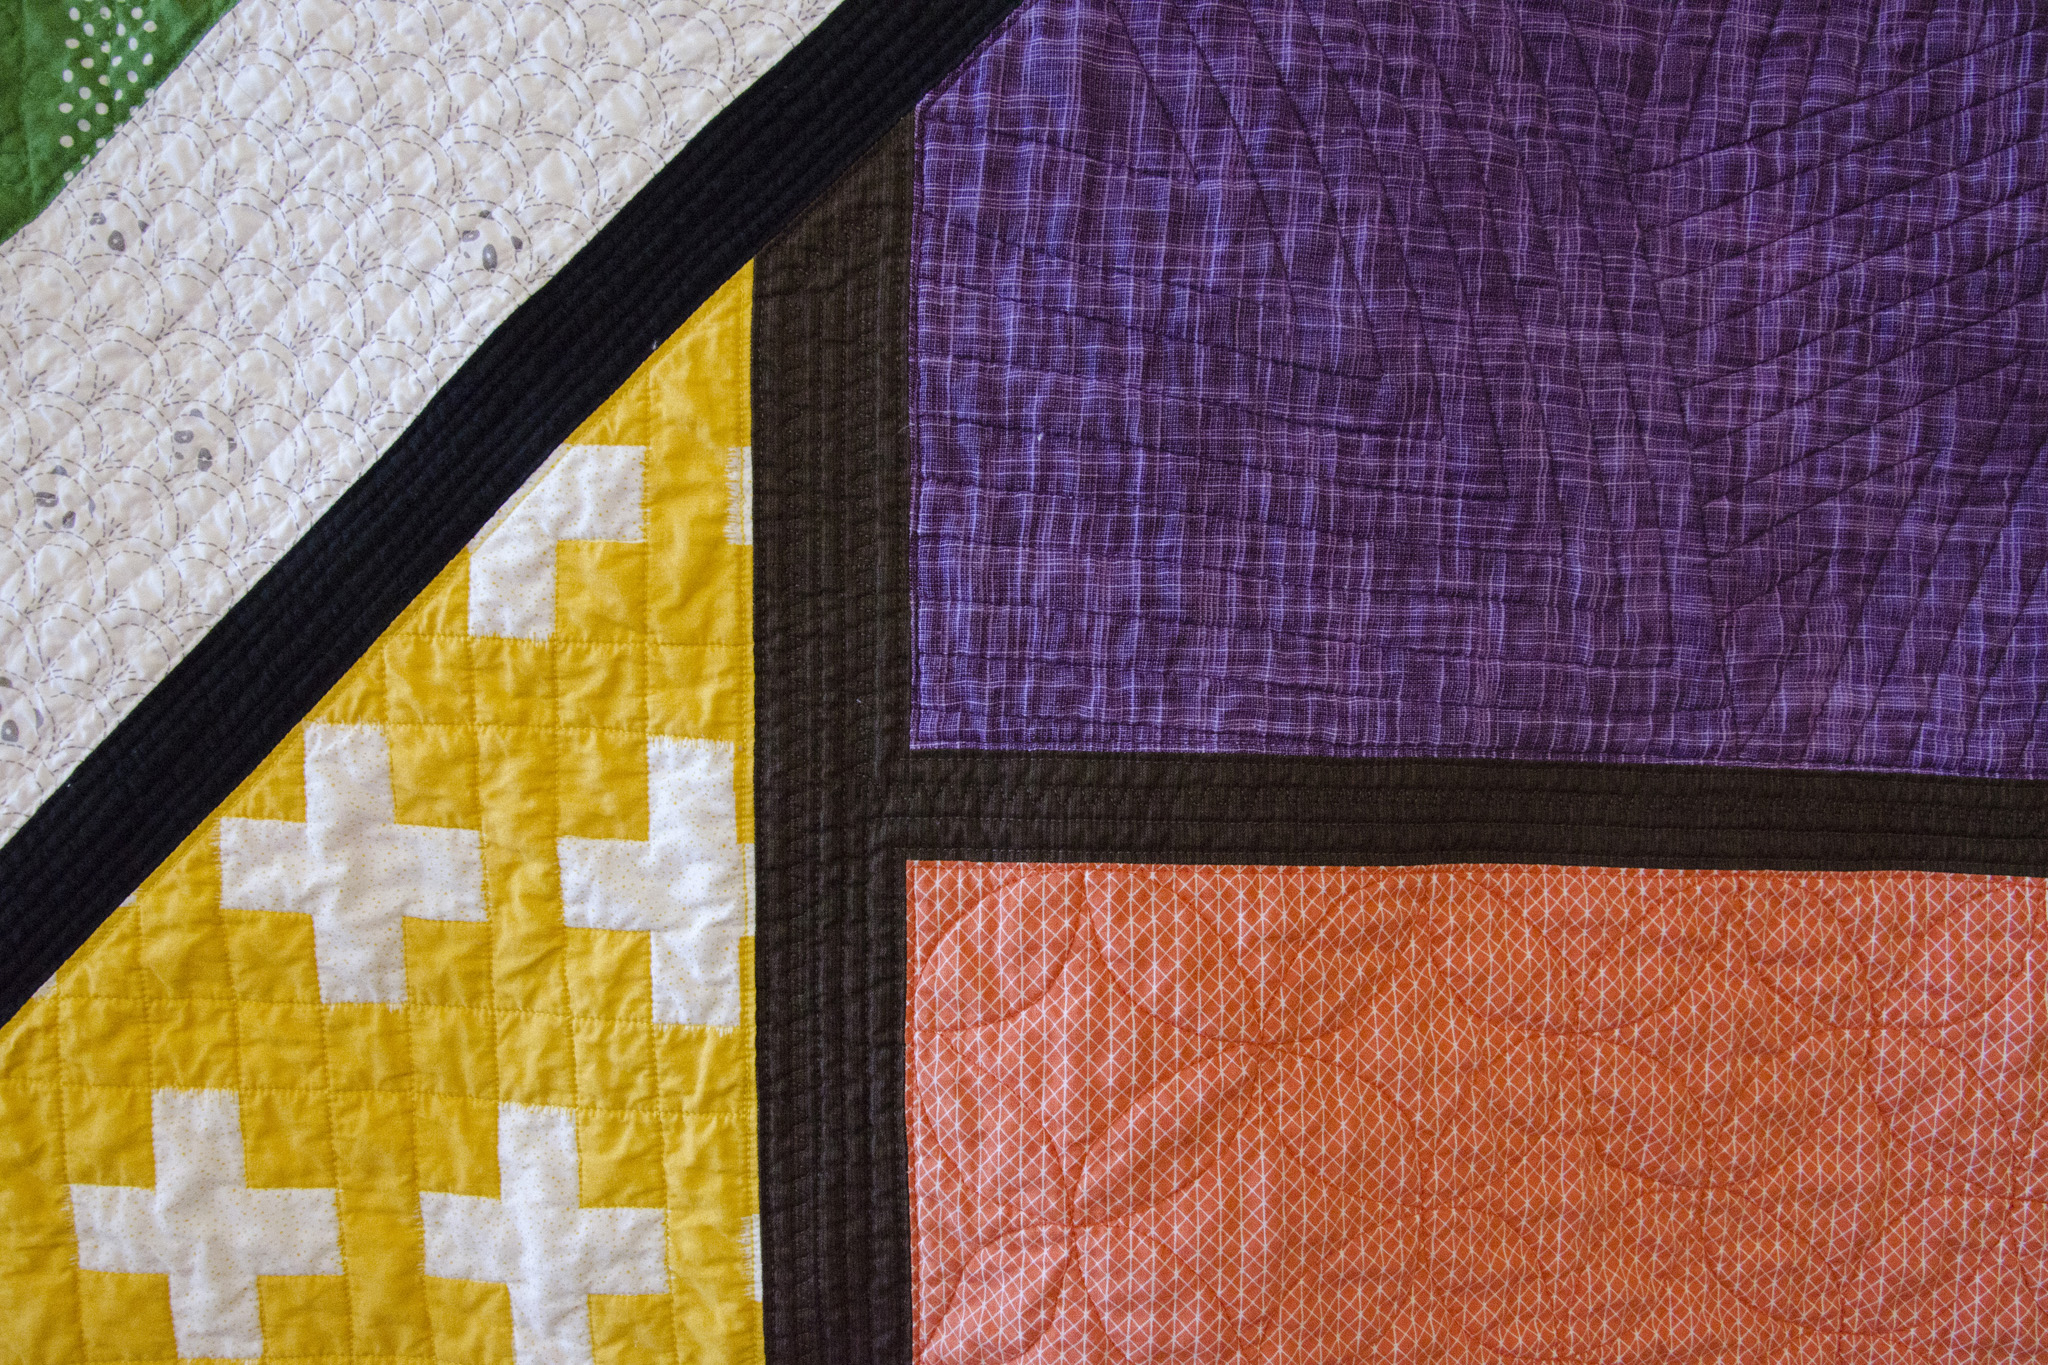
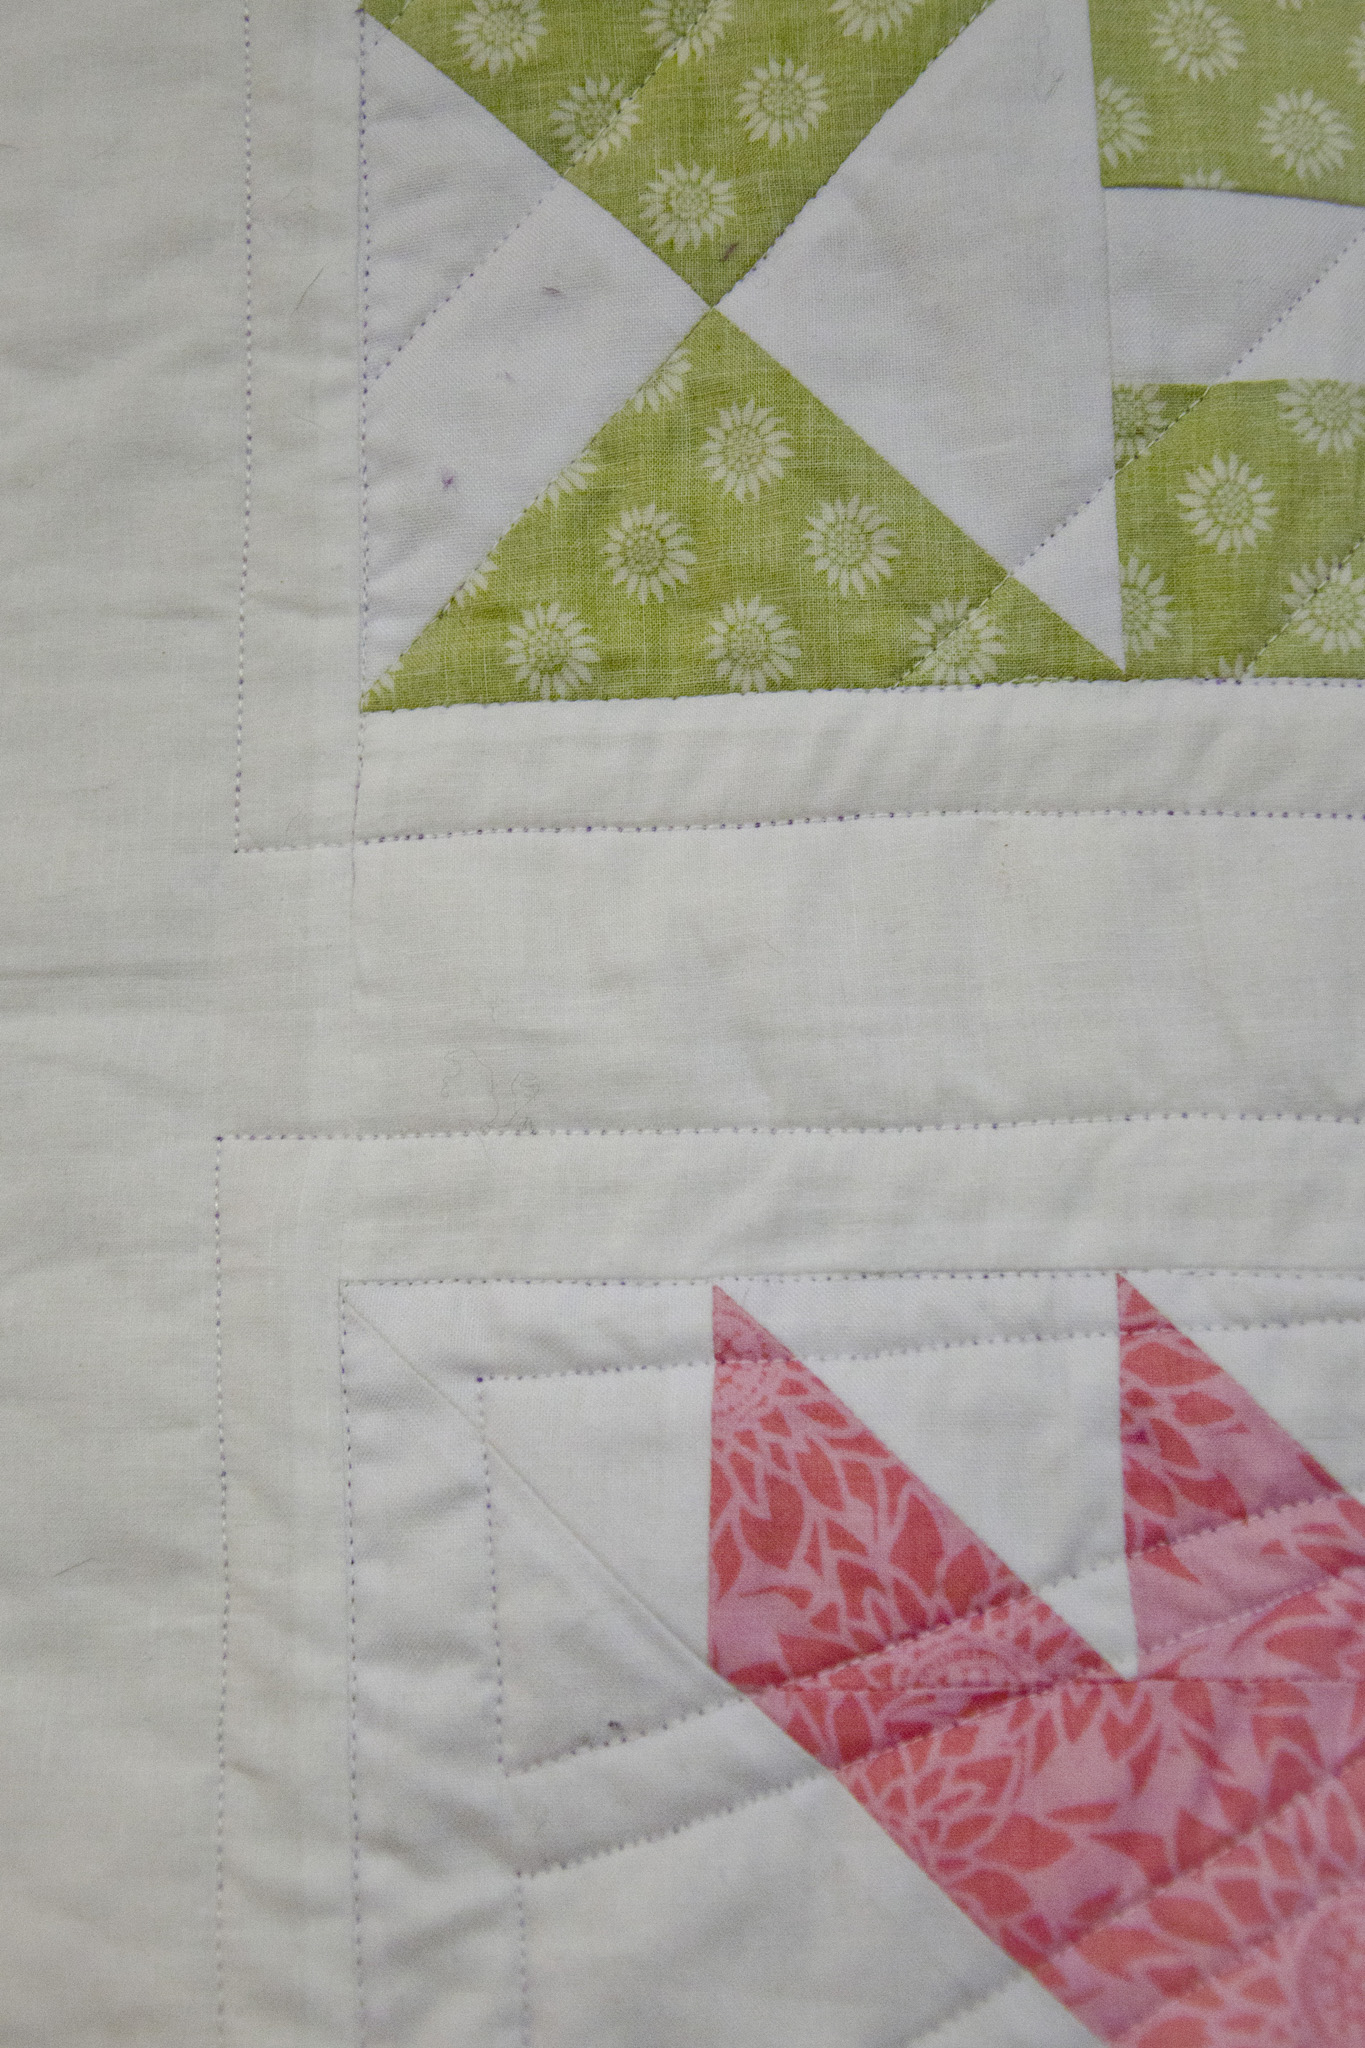
I posted about disappearing nine-patch blocks a long while ago. They make a great pattern that is simple to piece, since you start with large pieces and slice the nine-patch blocks apart to create the look of complex, smaller piecing. For this design, the four corners were patterned fabrics, the centers were blue dots, and the solid green filled out the middles. I mixed the greens on a couple of the nine-patch blocks to let me shift between the two colors within the quilt. I didn’t have quite enough of either green to do the whole quilt, so I wanted to get a little creative with using the two.
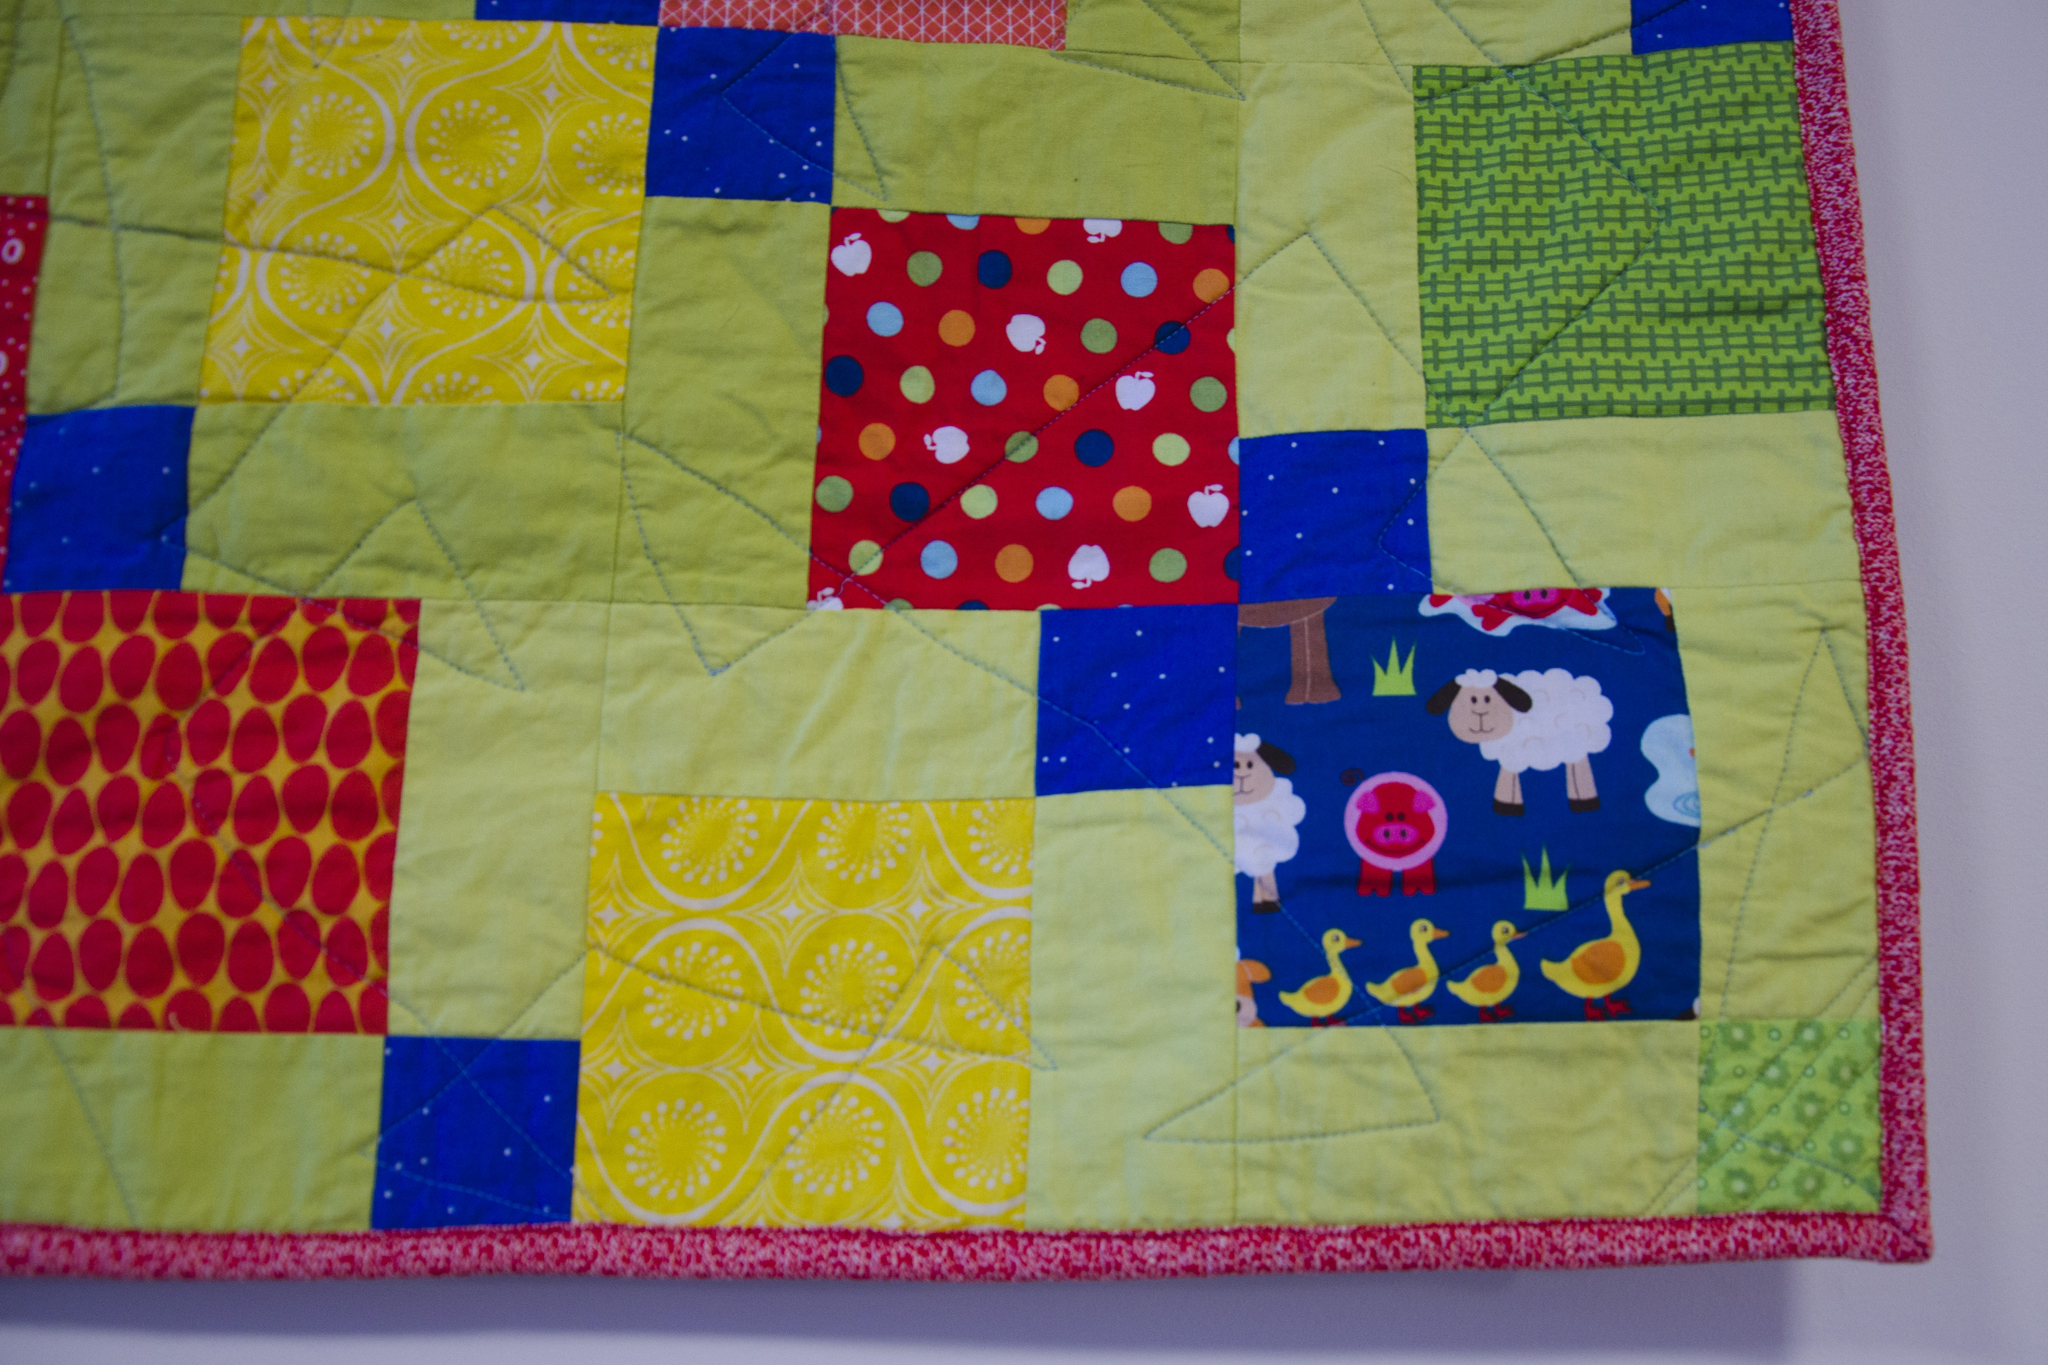
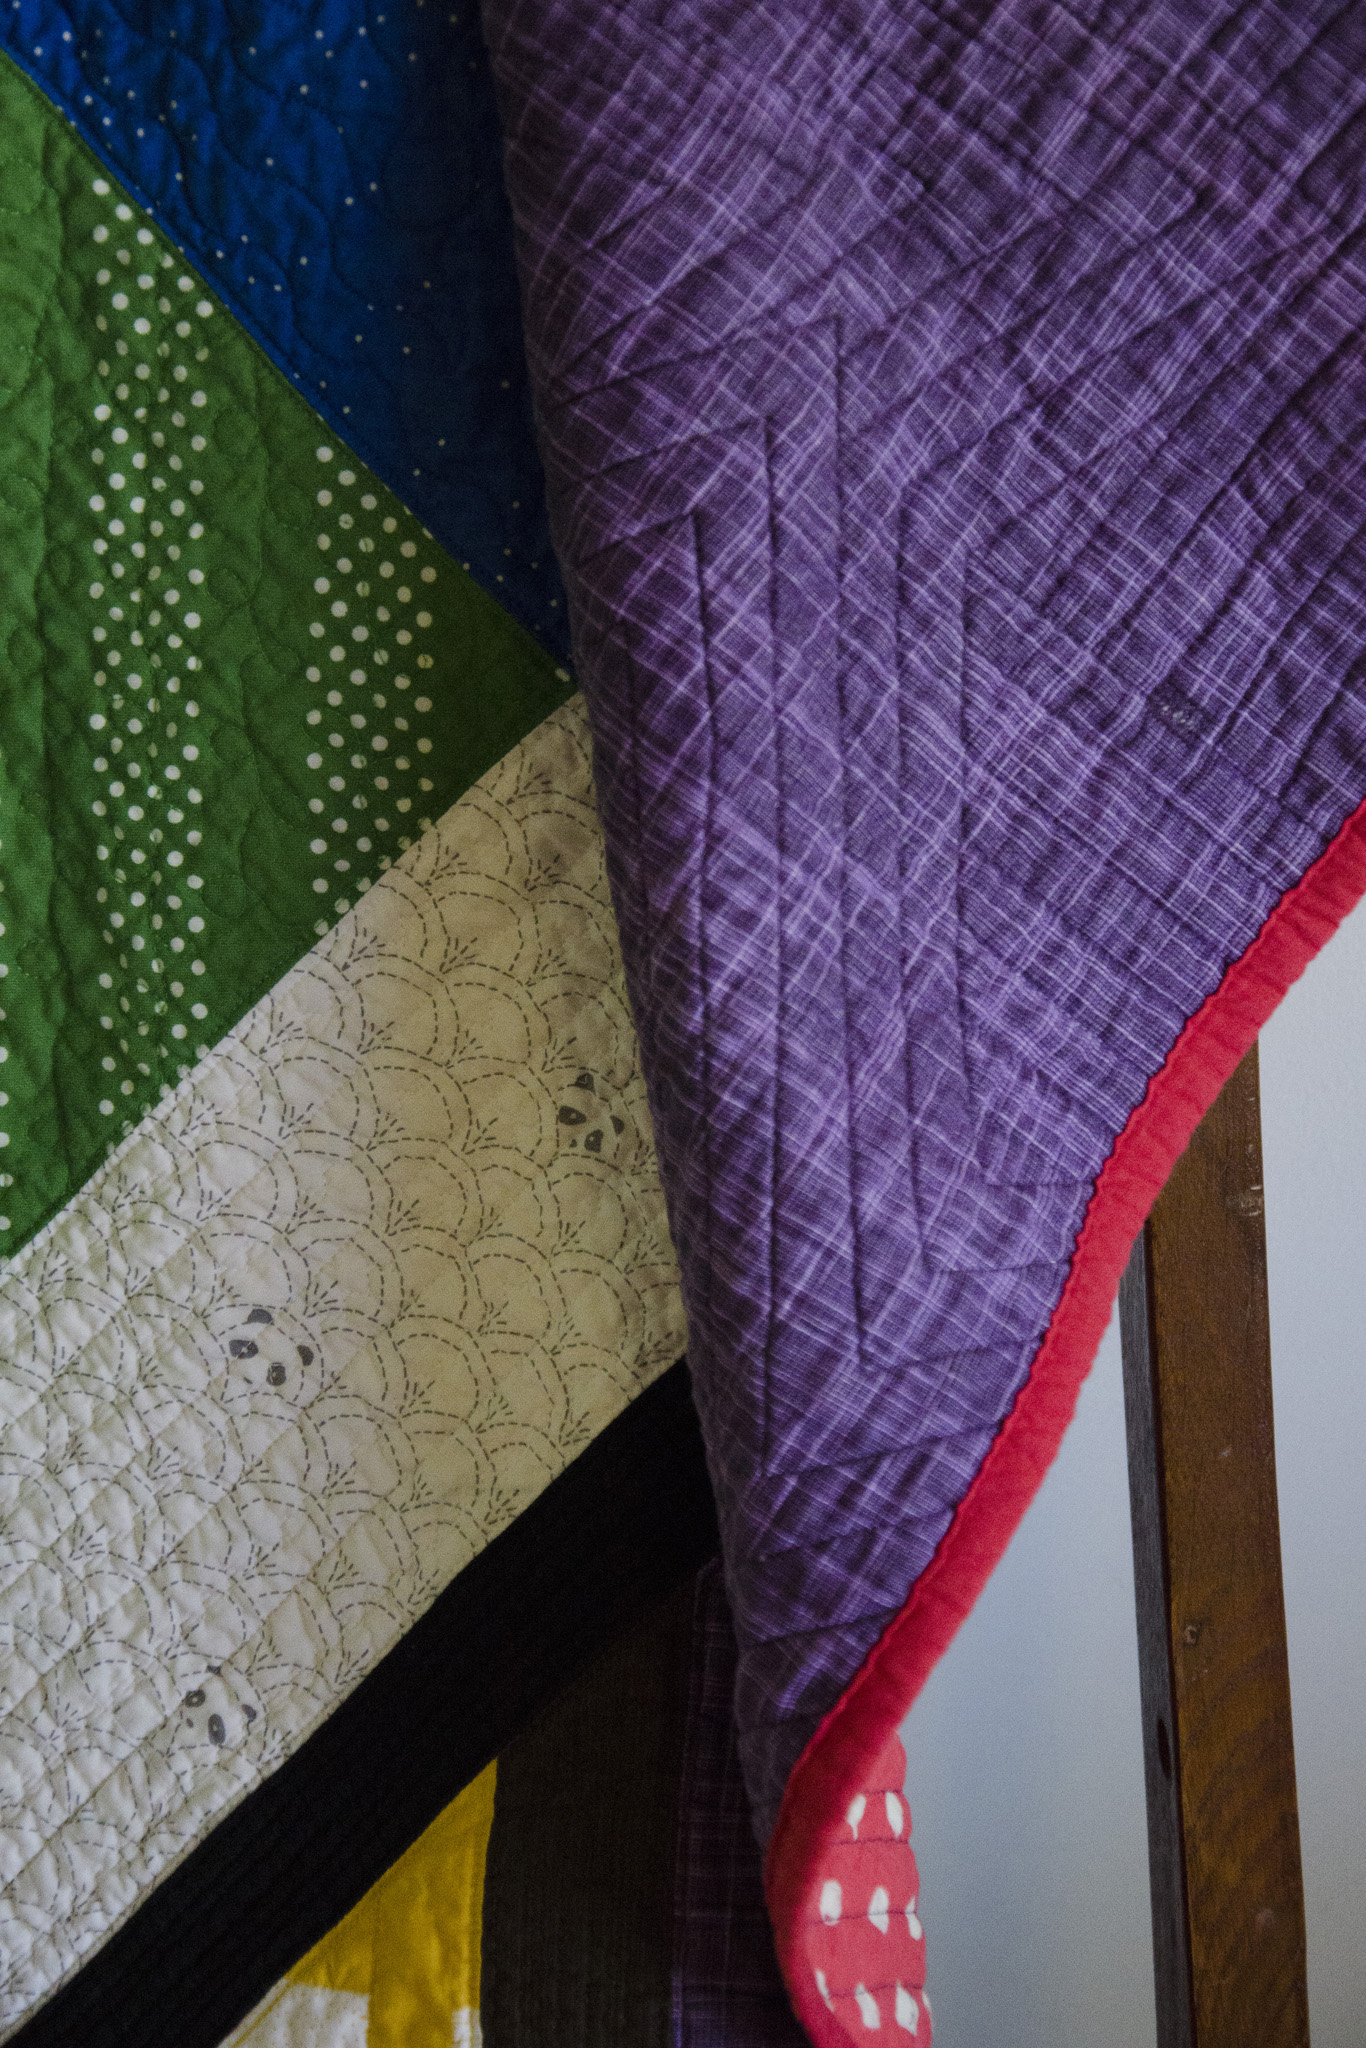
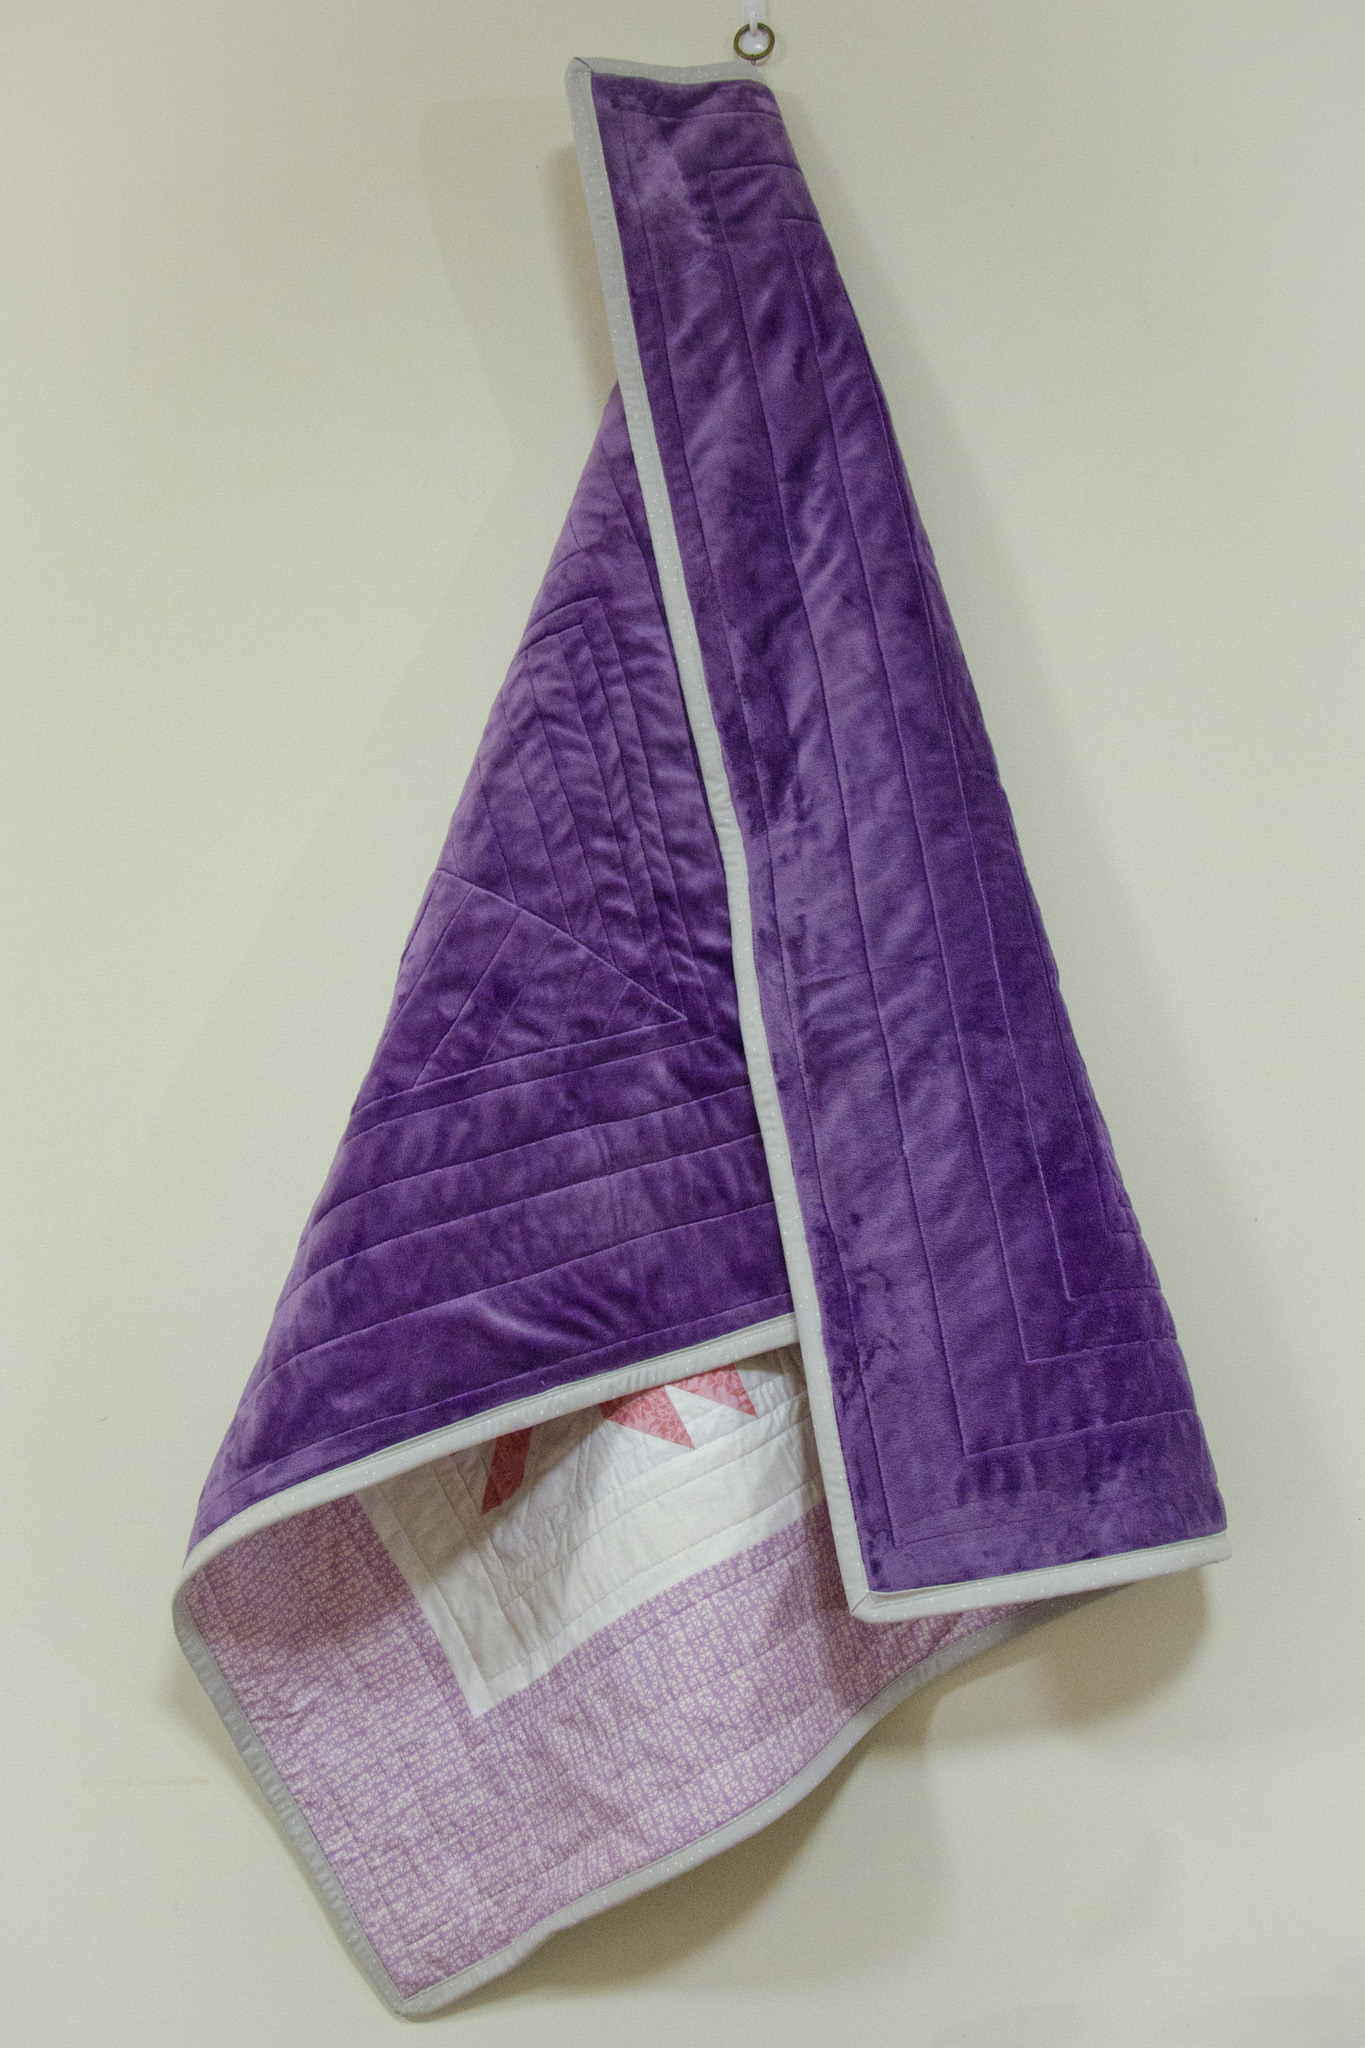
I quilted it with an all-over angular meander using a light blue 40wt Aurifil thread. I don’t know if it was the thread, the unknown high-poly-content, low-loft batting (from the scrap drawer), or my machine, but this was a nightmare to quilt. I started out trying to free-motion quilt it, but after 4 broken needles, skipped stitches, and a few thread breaks, I switched to my walking foot. Jacquie Gering’s Walk (thanks for the b-day present, Mom!) talked about using reverse on sections of designs like this, and that was a brilliant tip.
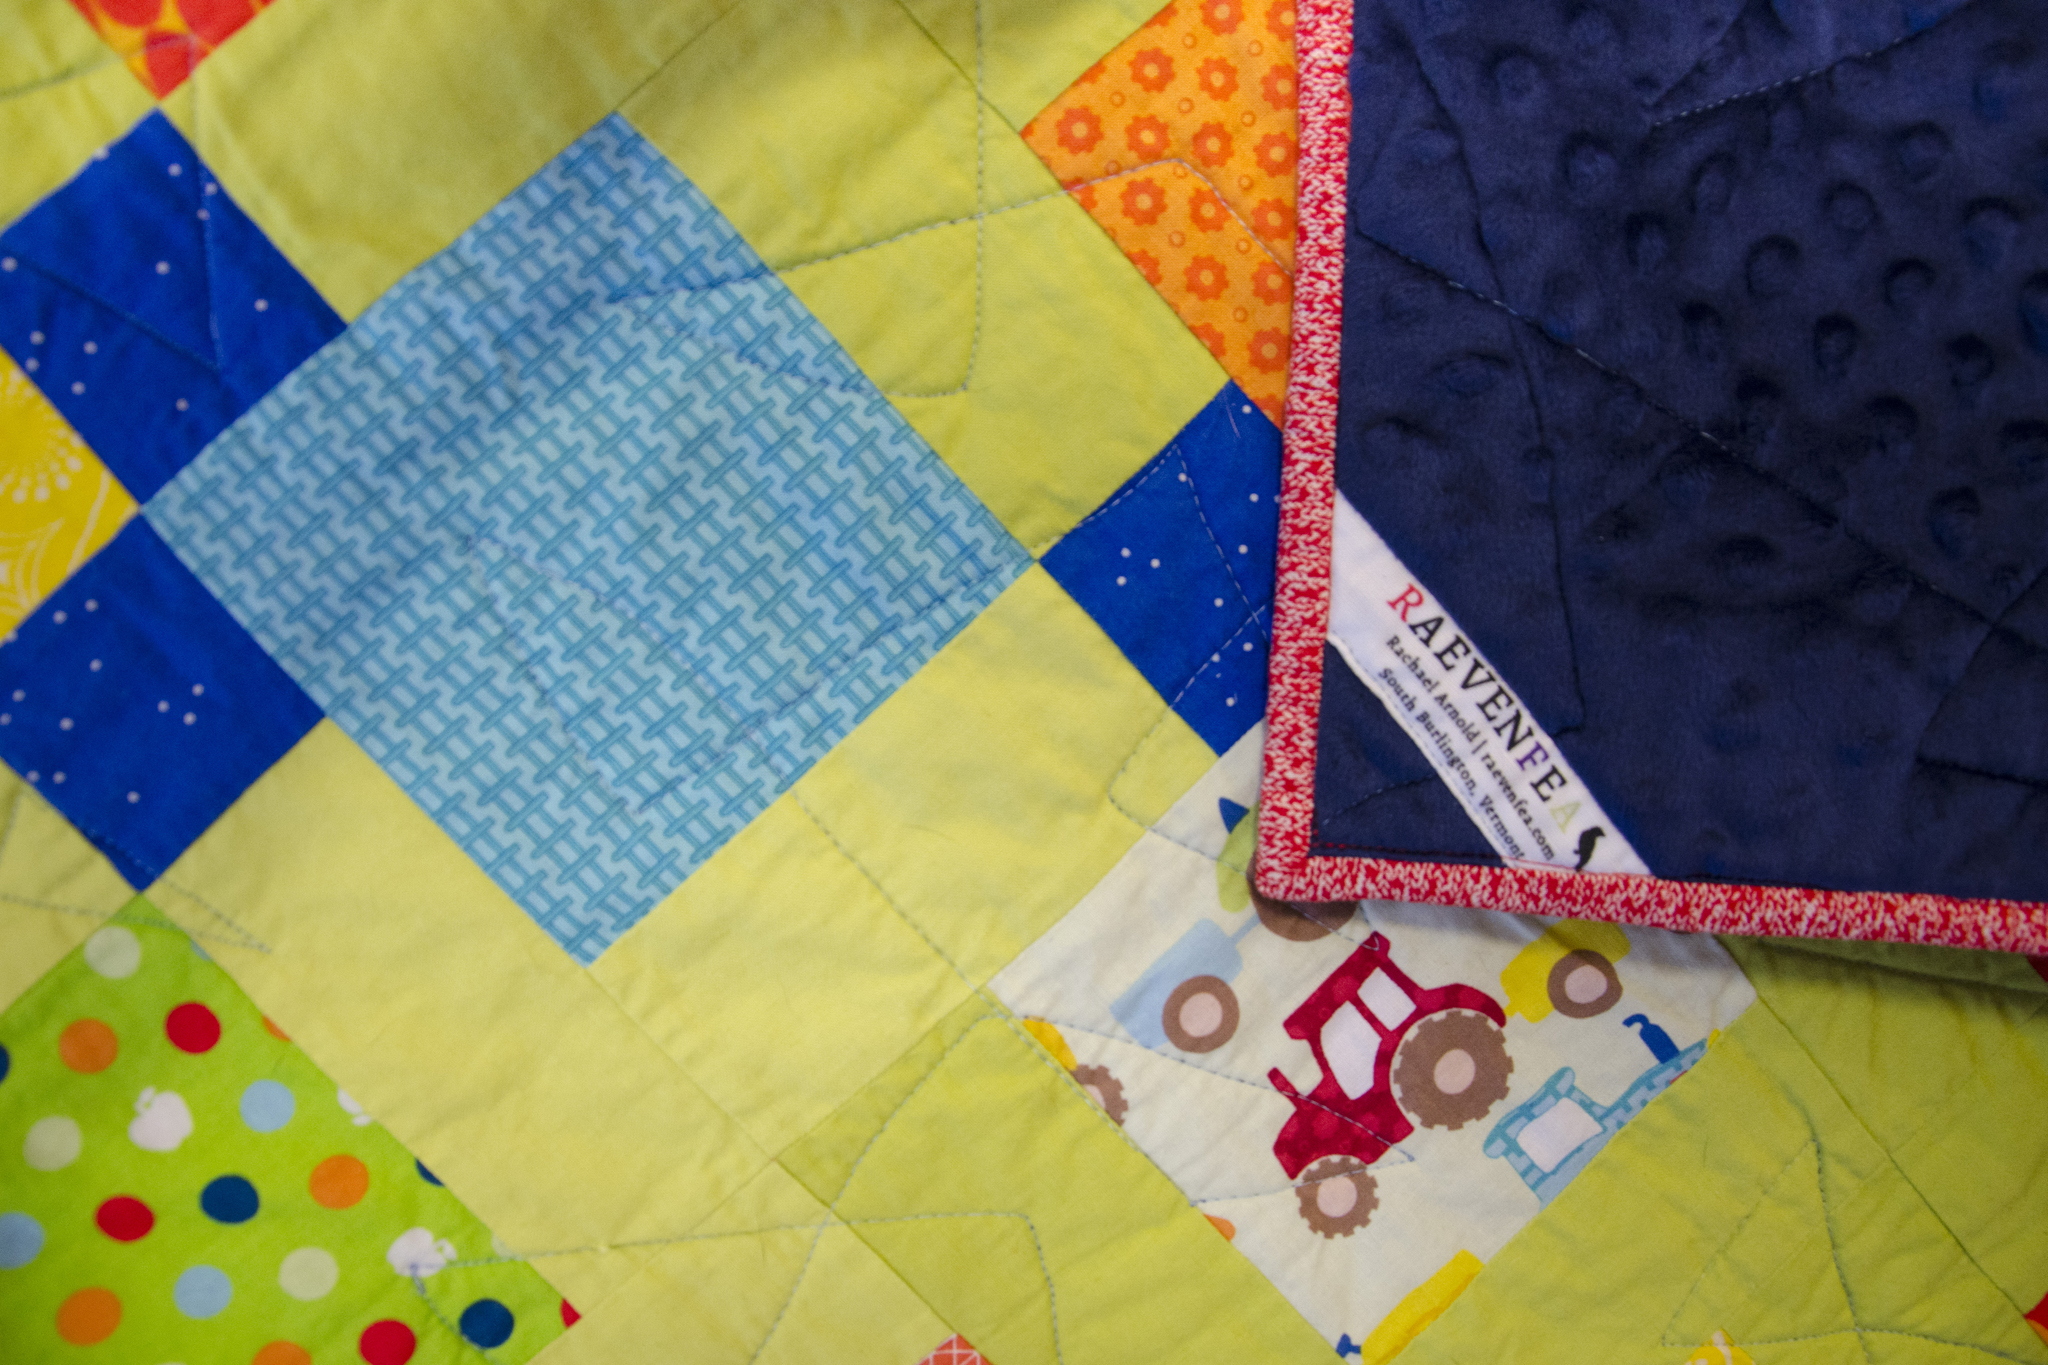
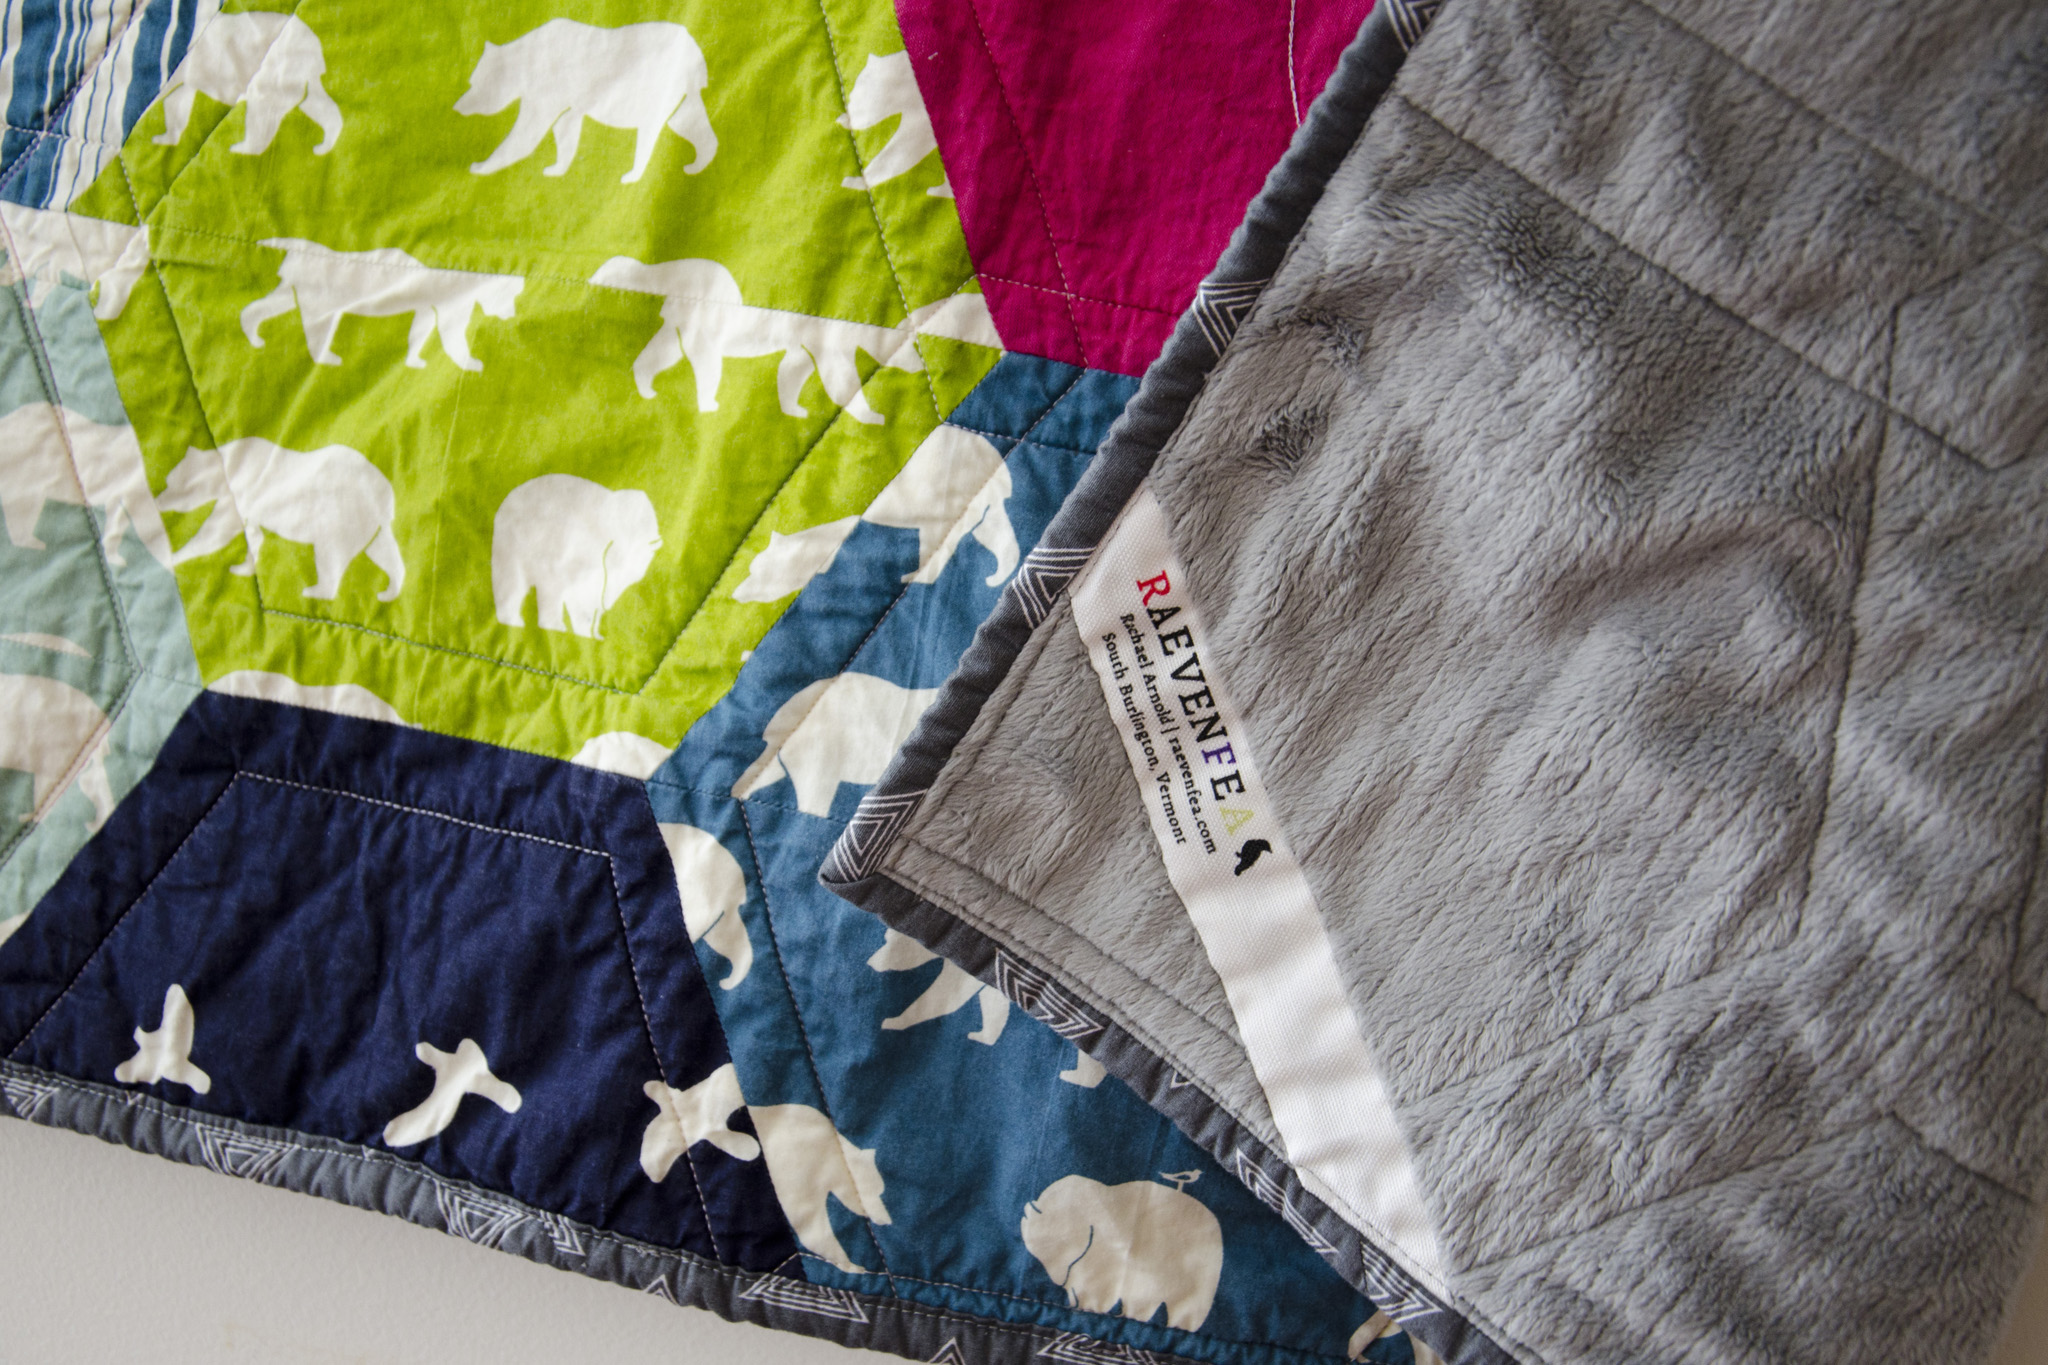
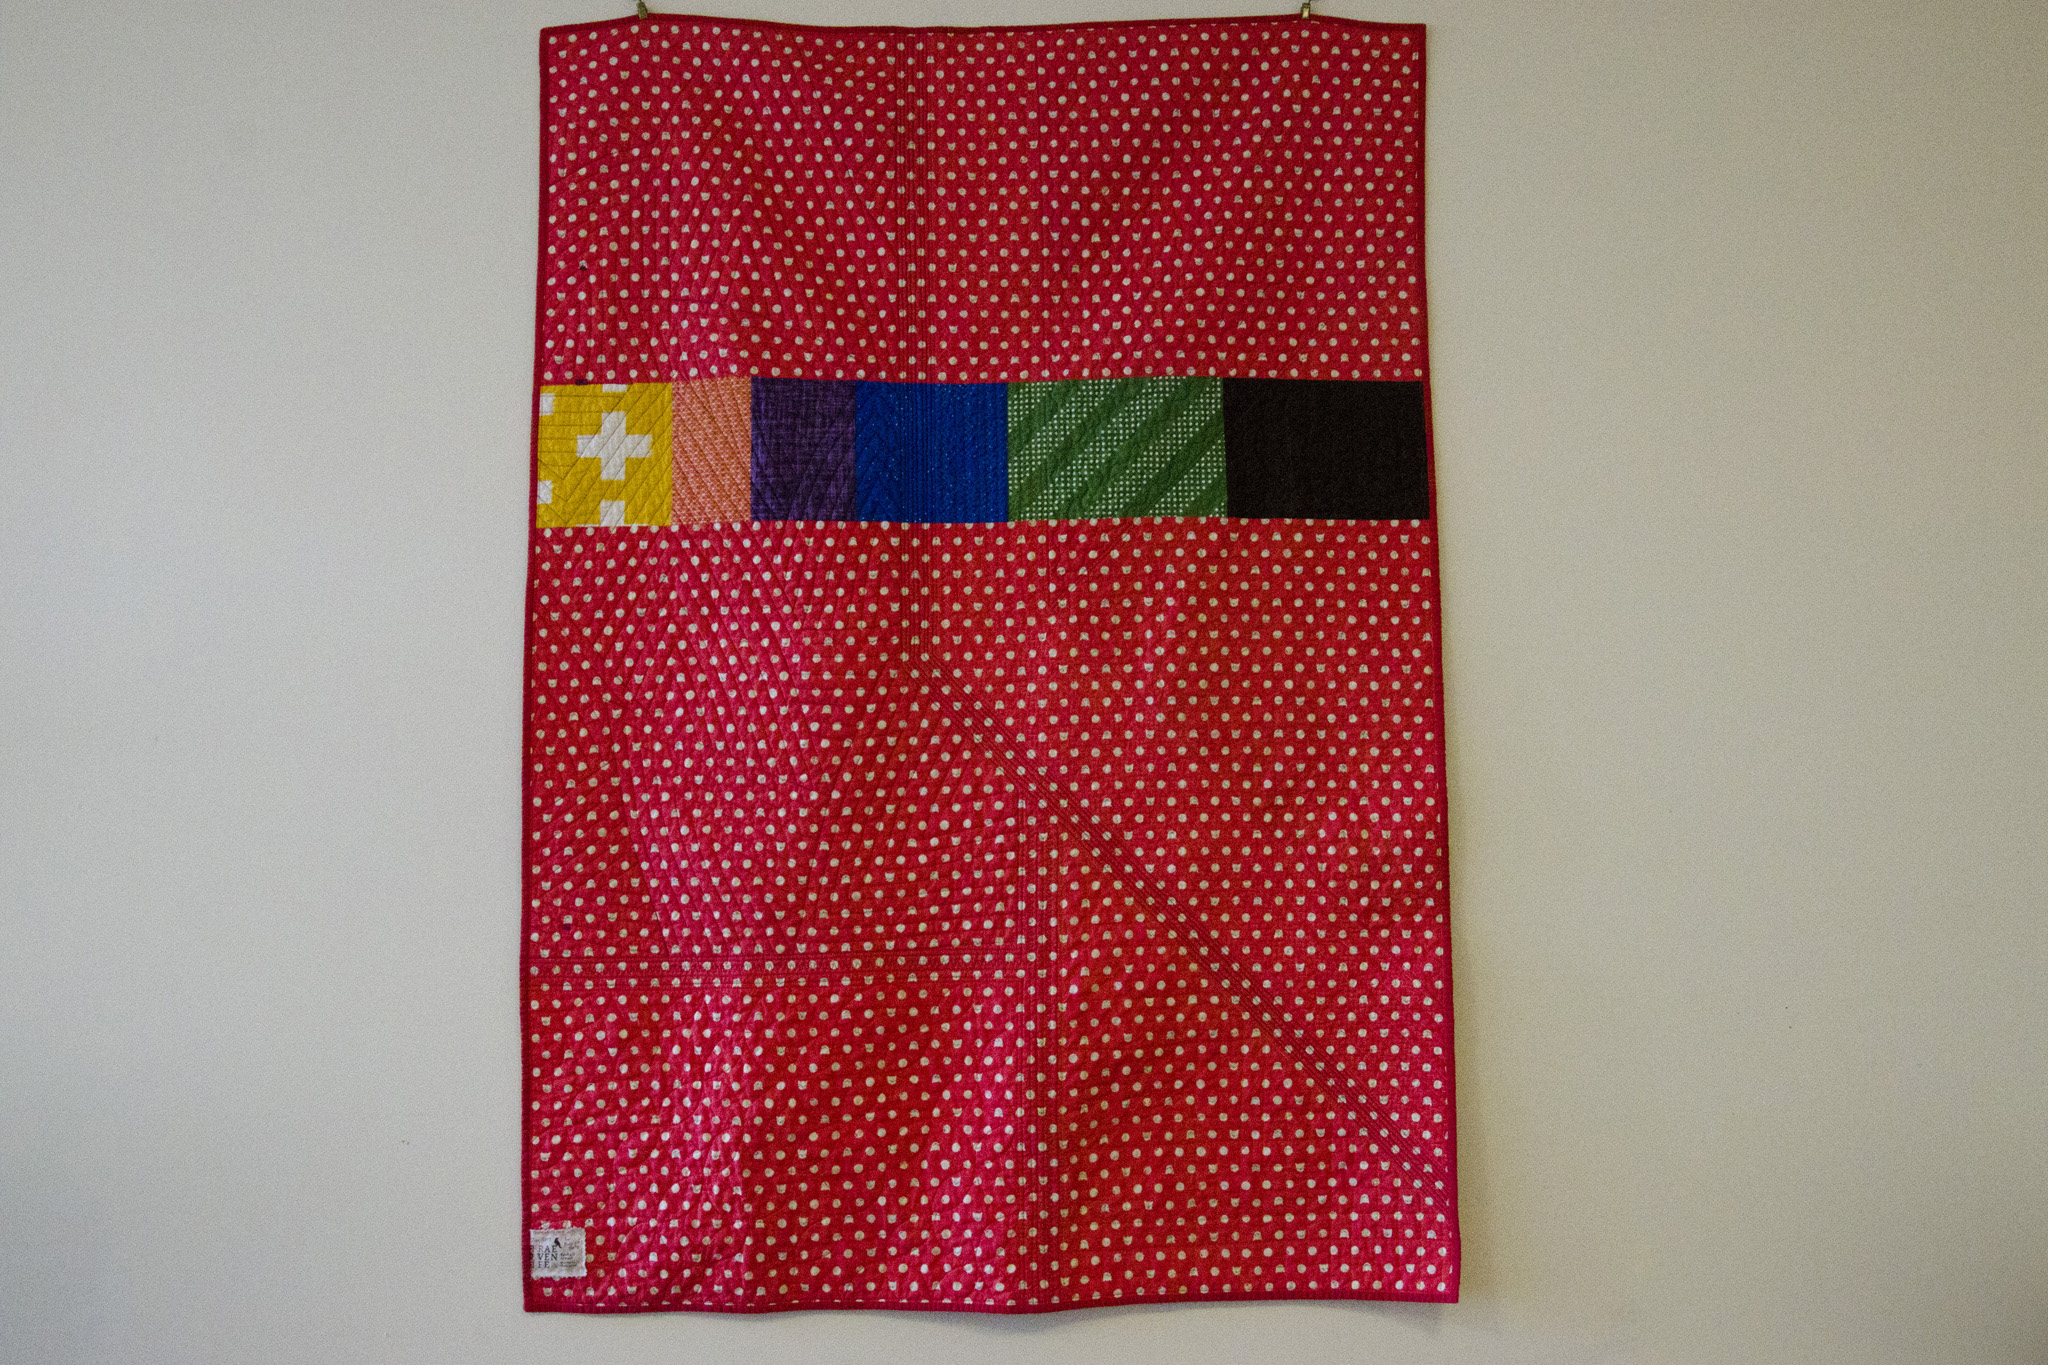
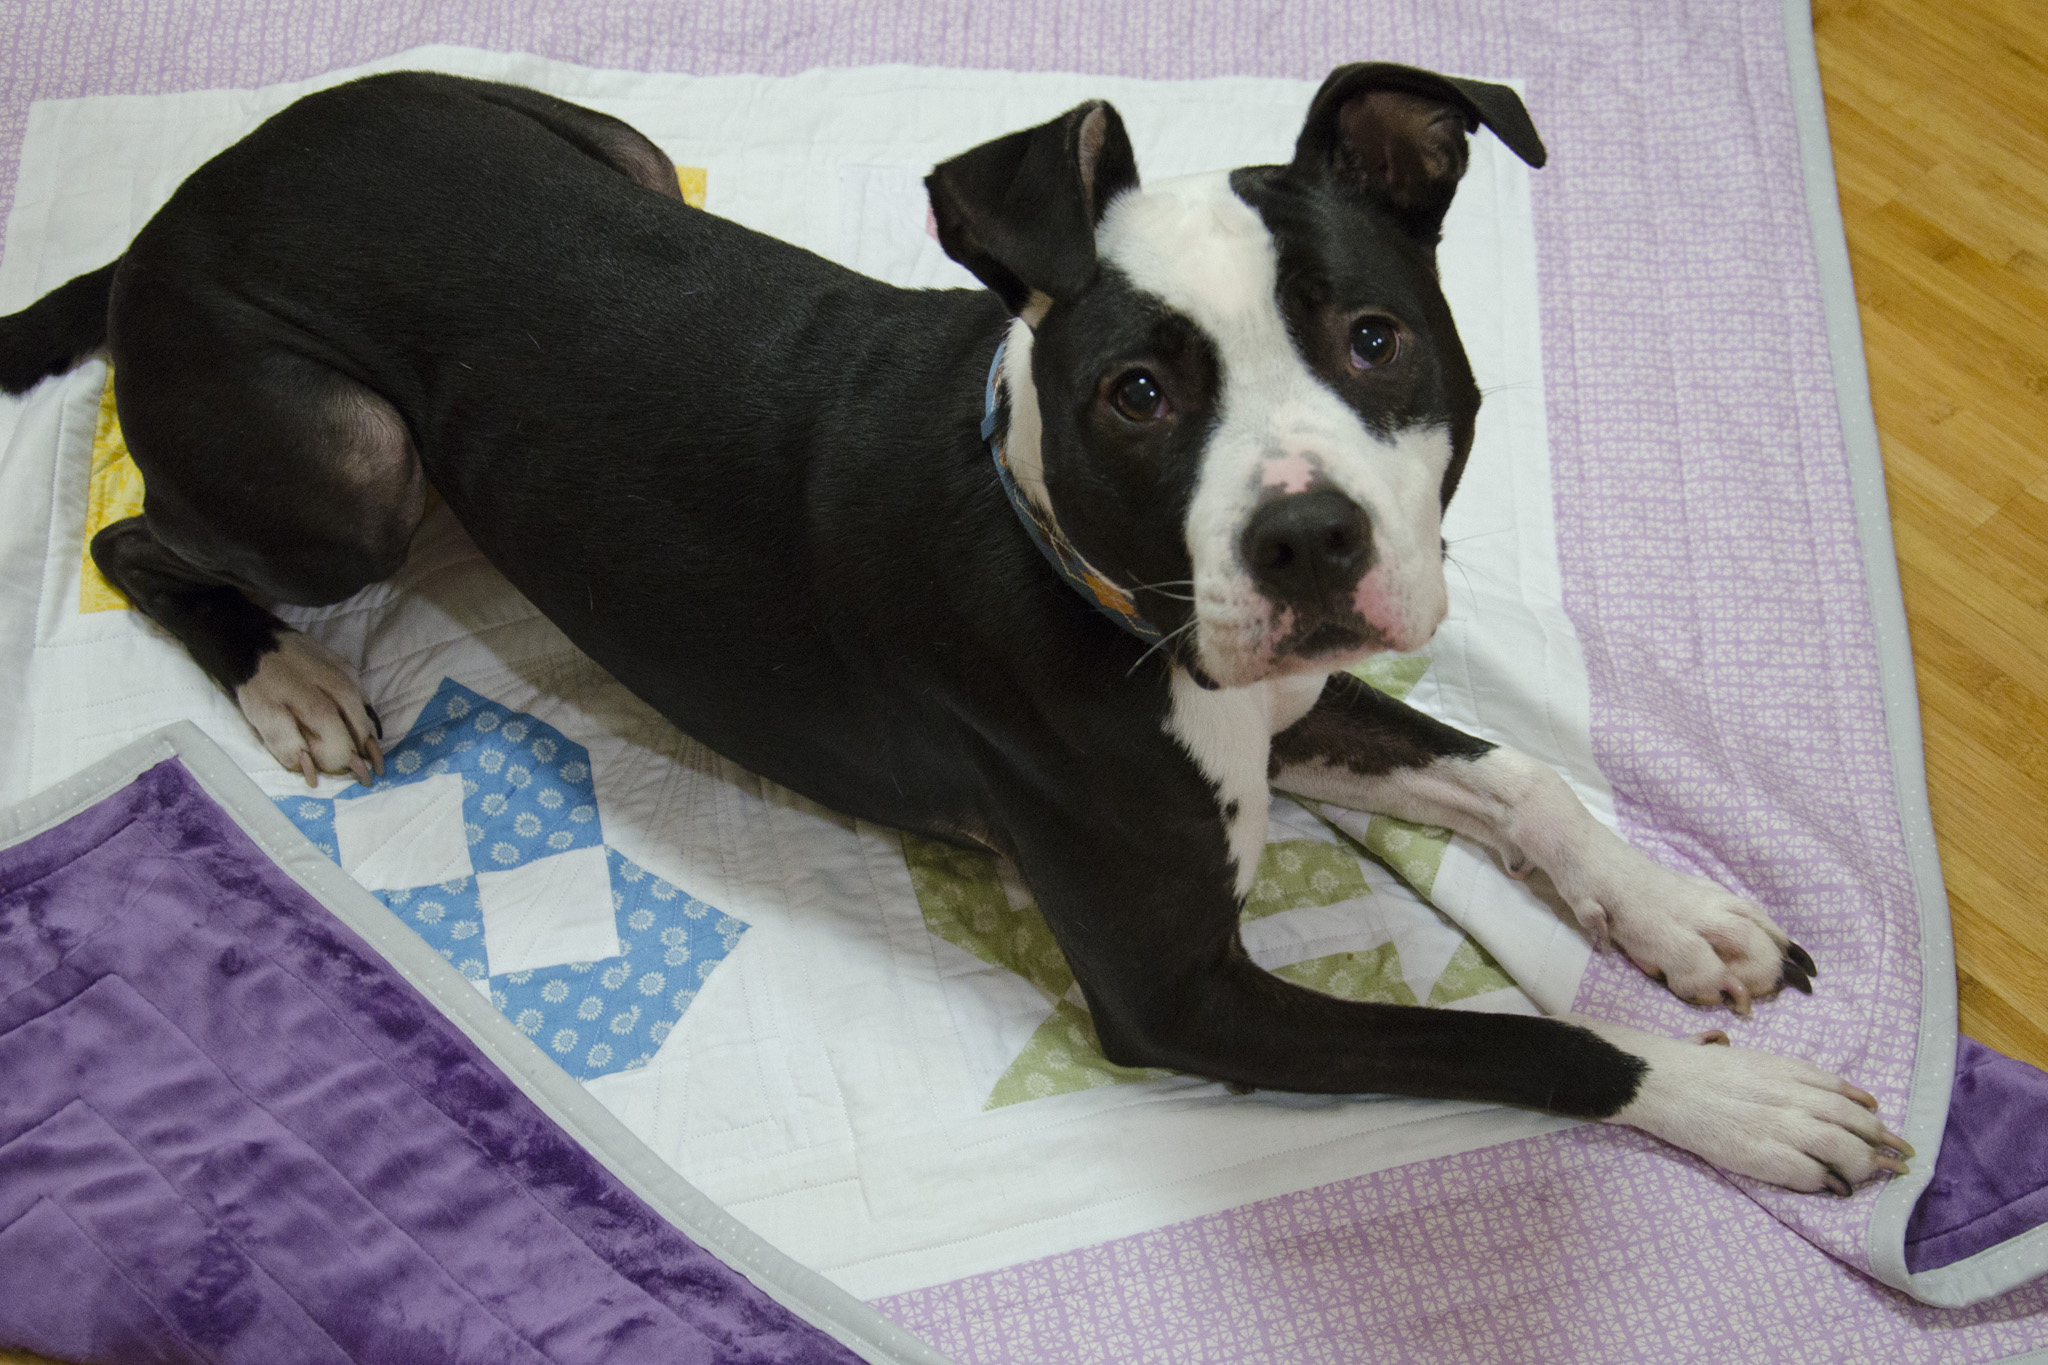
It’s backed with a navy dimple dot cuddle fabric and bound with a red print from a Sock Monkey collection that I’ve been hoarding since the early days of my quilting hobby. It comes in a bit smaller than the three quilts for his sisters, but it’s still a nice play mat size. Alas, the poor guy won’t be getting a hand-made stuffy any time soon like his sisters did. Maybe I’ll get my act together by his first birthday!