Sampler on Point
It’s been some kind of a year. I have four quilts that I’ve finished but not blogged about, starting with this one that was finished back at a quilting retreat in May. I never did get around to getting more photos of it before giving it to my mother-in-law just prior to her starting chemotherapy in July. I’m hoping to catch up on posting the others between now and the end of the year. We’ll see!
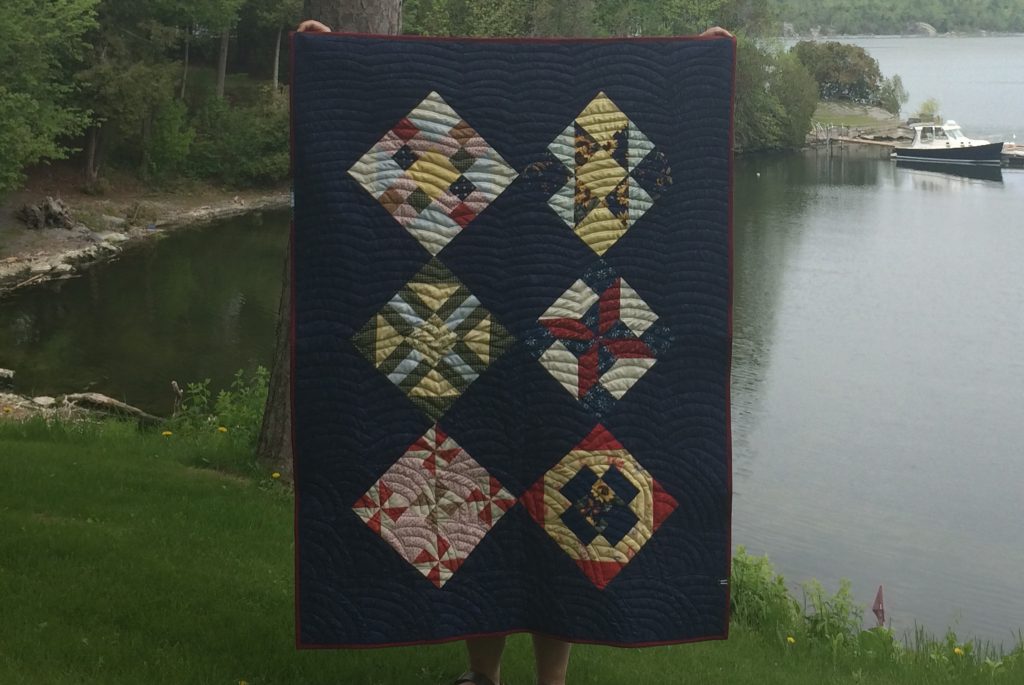
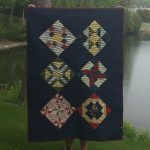
Once upon a time, I was involved with two different monthly sampler quilts at the same time. Then I moved halfway through the year and this one ended up with five finished blocks in a box, one unfinished block kit, and a no urge to piece them into a top. This one especially didn’t call to me—it’s really not my style at all, and no amount of sketching could change my apathy (to be blunt). But, I’ve been on a mission to clean out my old works in progress, and realized at the guild retreat last fall that I could go super simple with the layout, try a new technique (setting blocks on point), and end up with a reasonably-sized quilt with minimal effort. So, armed with six 12″ squares and three yards of a dark blue tonal fabric, I went to work.
Setting blocks on-point isn’t that difficult, it just requires a few 4-letter words—one of which is math. The most important number is the square root of 2 (√2, or 1.414), followed closely by remembering that you add 7/8″ to a square for triangle seam allowances (think half-square triangles).
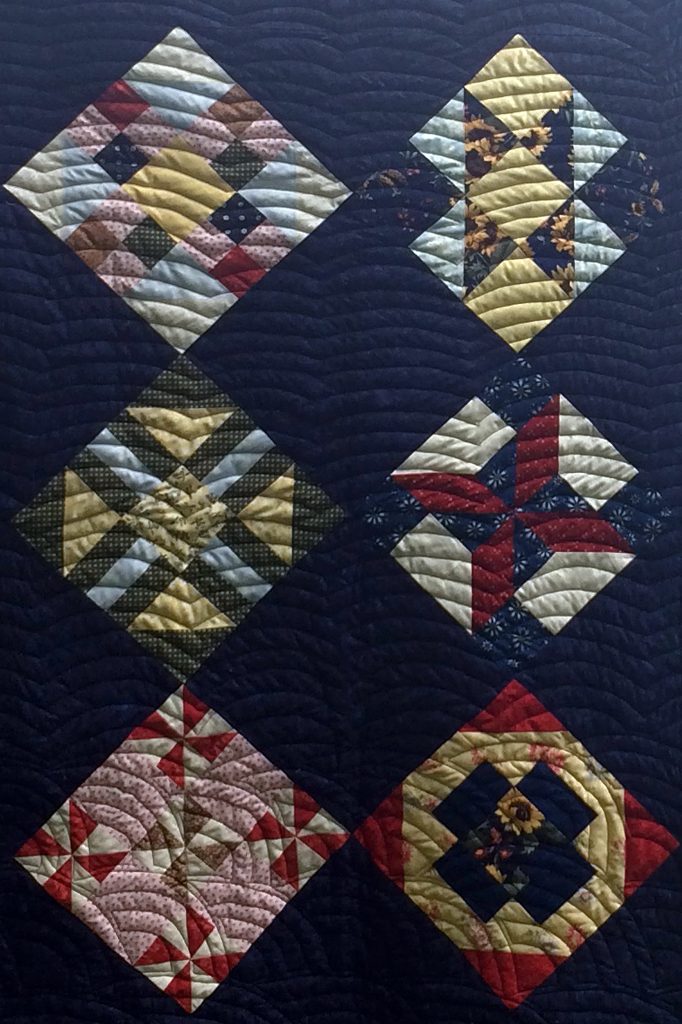
The other thing to consider is your fabric’s grain and bias. The reason we cut corner triangles as half square triangles, but side or setting triangles as quarter-square triangles is so that the outer edge is always on-grain, which makes those edges less likely to warp as we add borders or binding. (A secondary reason is to keep directional prints facing the right way.) A good tip when sewing your setting and corner triangles to your blocks is to always have the bias edge on the bottom, touching the feed dogs. That way the presser foot doesn’t stretch the bias edge (less of an issue for sewing machine brands with even feed feet or if piecing with a walking foot). That said, I broke the rules for a couple setting squares to conserve fabric (quarter-square triangles eat up fabric!) as I feel comfortable working with the bias while piecing borders and my fabric was non-directional. Do what works for you.
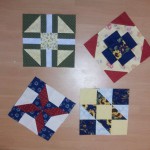
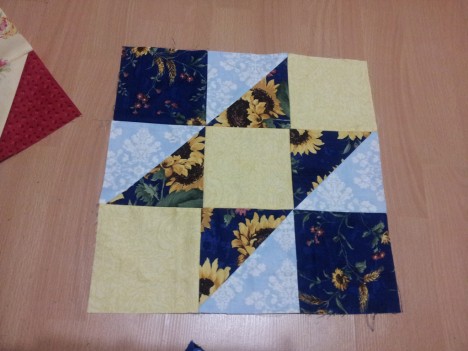
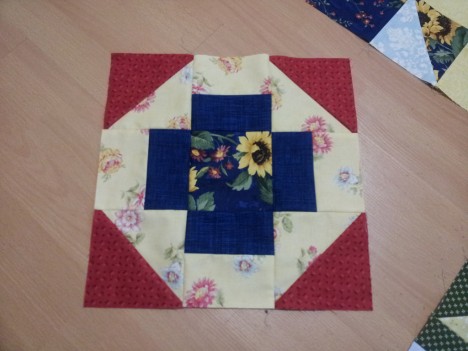
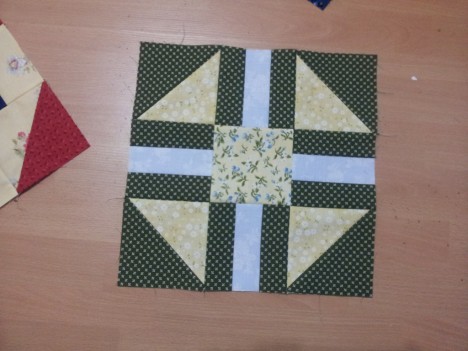
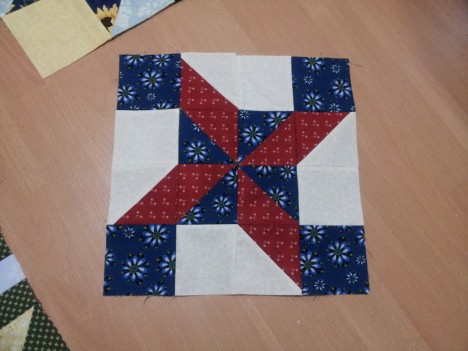
I talked about four of the blocks back in 2013. The other two are “True Blue” and “The Windmill” (which actually contains five windmills). I added a 6″ border on all sides to bring the size up to 46″x63″.
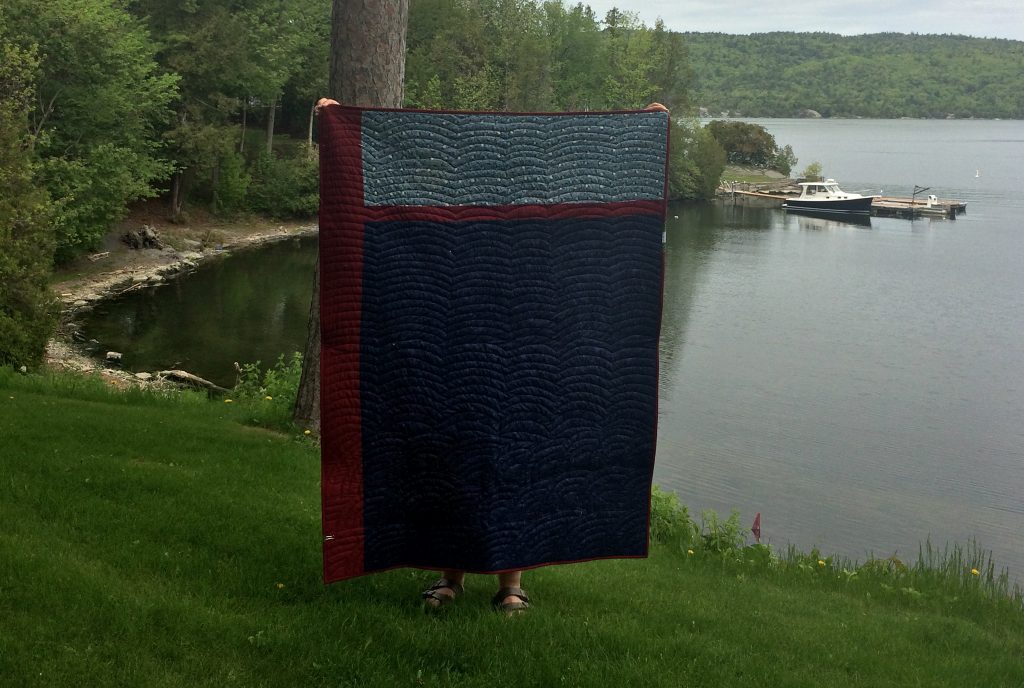
While digging through my reproduction fabrics scrap box for other scraps, I realized I actually had yardage stored in the box! So, the backing of the quilt is made from the remaining blue tonal, a half yard of a Windham repro, and the rest of a dark red solid (also used for binding). I used Quilter’s Dream Wool batting because I had a package on hand and to see how I like it for possible future projects (I was not a fan of quilting it, but it does make for a nice quilt).
It’s quilted in a mix of a modified Baptist Fan pattern and echoed scallops using a navy Aurifil 50wt. While I liked how the fans looked, I honestly got really bored quilting them, so switched to the much faster scallops. It’s machine bound in a solid with a little scrap of piecing leftover from a block. I’m happy to have another old work in progress finished!
Special thanks to Trista for holding the quilt, and Basin Harbor Club for the awesome location. The view was much better than my photography skills.

