Over the past few weeks, I’ve posted about trying two different Cathedral Window techniques. The first was a technique that actually constructs a four-patch with the window sewn in to the seams—you can see a video demonstration here. The other was the traditional quilt-as-you-go technique (one of many online tutorials can be found here).
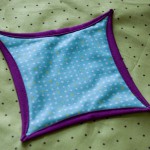
The final project I’ve dreamed up can’t use the traditional method, and will require an absolute ton of calculations for the other method, as I’ll be making different sized windows placed in a somewhat arbitrary manner, so I needed to come up with a way to make a faux cathedral window that can be appliqued on wherever I want it. Here’s how.
Shh, don’t tell Carl, but I’m admitting it: I could do much of my quilting and crafting on a cheaper machine. But, my fancy Husqvarna Viking Ruby can make certain things much simpler—if I know how to use them. So, here is the first in what I hope will be an ongoing series about using advanced features of the machine. For those of you who own other machines, I hope this inspires you to figure out how to do it on your own machine.
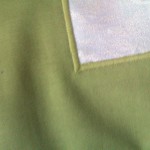
So, here is how to miter corners when satin stitching around an applique using a Ruby. These instructions will also be very similar for how to do it on a Diamond or Diamond DeLuxe, but the screens might be slightly different.
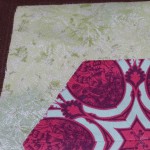
After watching Superior Threads’ videos on using fusible thread for applique, I was determined to try it out for myself. In fact, I rushed to the store and bought the only fusible available: Gütermann’s polyester/nylon blended fusible. It was perfect timing, considering I was just starting the Kaleidoscope/Tula quilt, which has a lot of applique on a large scale.