
Machine Minutes—Mitering Corners for Applique
Posted in Learning
Shh, don’t tell Carl, but I’m admitting it: I could do much of my quilting and crafting on a cheaper machine. But, my fancy Husqvarna Viking Ruby can make certain things much simpler—if I know how to use them. So, here is the first in what I hope will be an ongoing series about using advanced features of the machine. For those of you who own other machines, I hope this inspires you to figure out how to do it on your own machine.
So, here is how to miter corners when satin stitching around an applique using a Ruby. These instructions will also be very similar for how to do it on a Diamond or Diamond DeLuxe, but the screens might be slightly different.
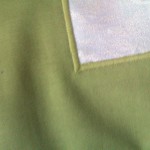
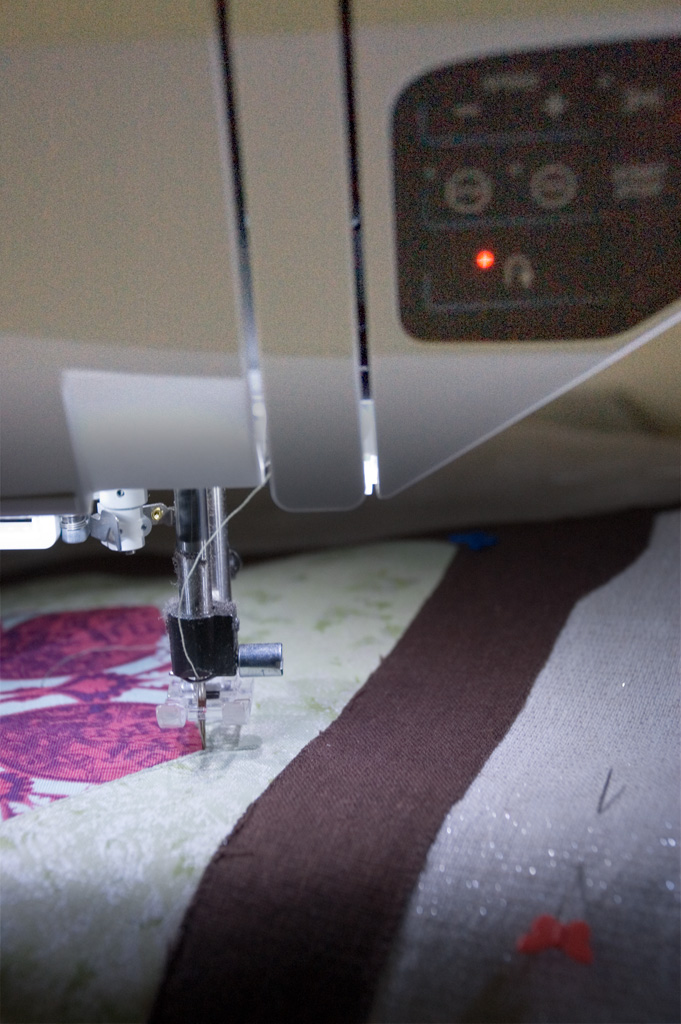
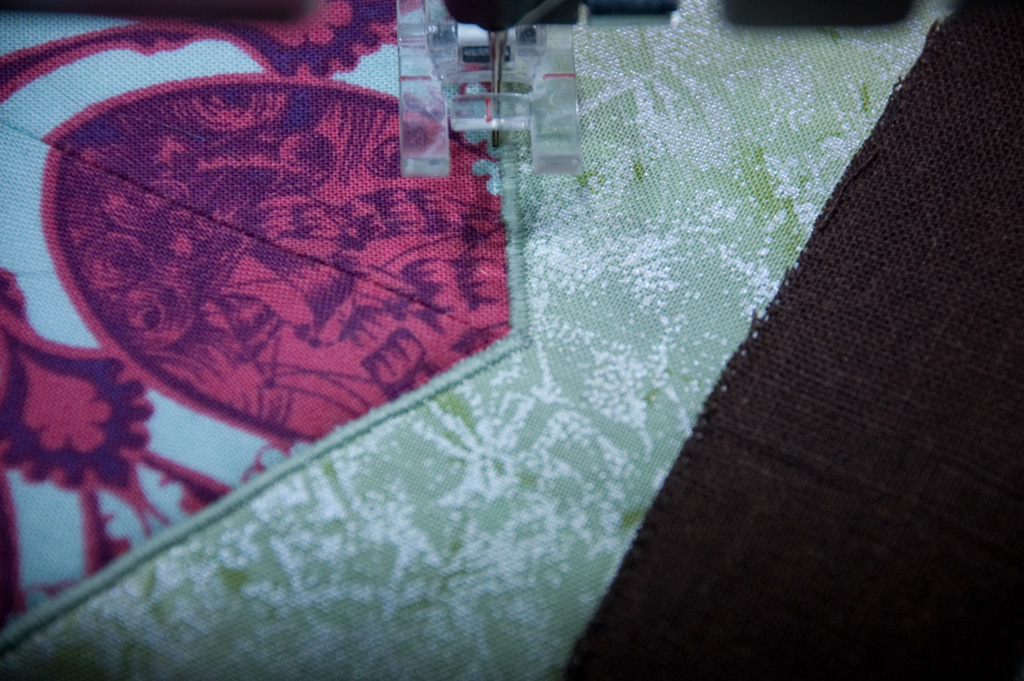
First, prepare your fabric by fusing, hand basting, gluing or whatever other method you prefer. In my photos, I’m reverse-appliqueing a hexagon with layers fused by fusible thread, but the same concept will work for squares and certain triangles as well (and possibly many other shapes—use your imagination).
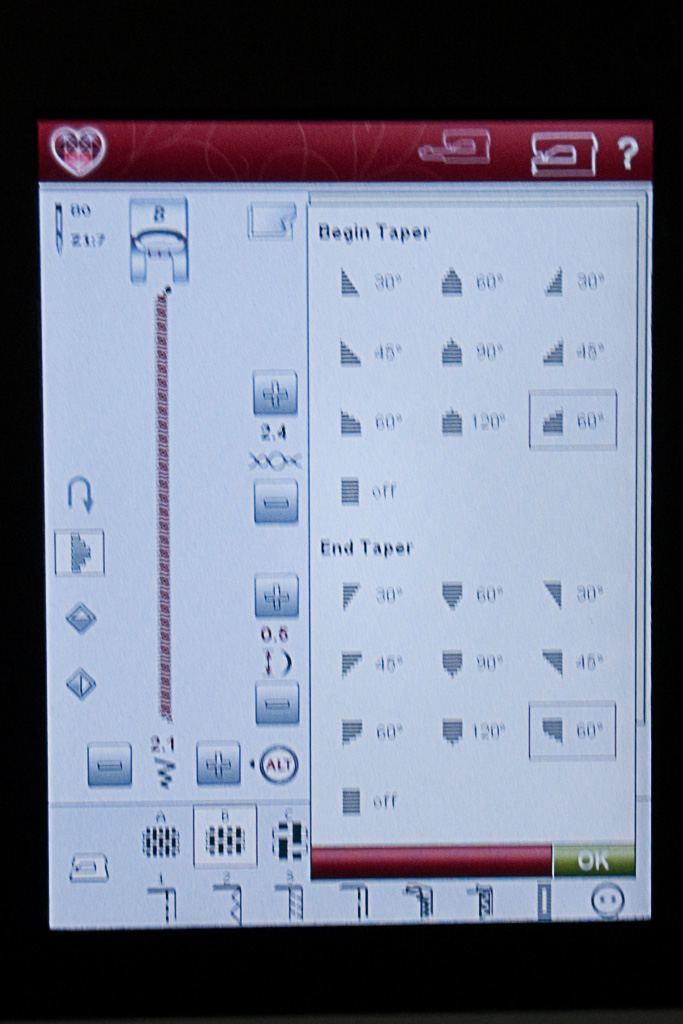
Choose stitch Z1:7, which is the tapering satin stitch. Choose your width (the default is 6.0mm) and length (default is .8mm, I generally prefer using .5mm). The wider the stitch, the more obvious the taper will be. Make sure to enable needle-down so that you can pivot your fabric on the needle.
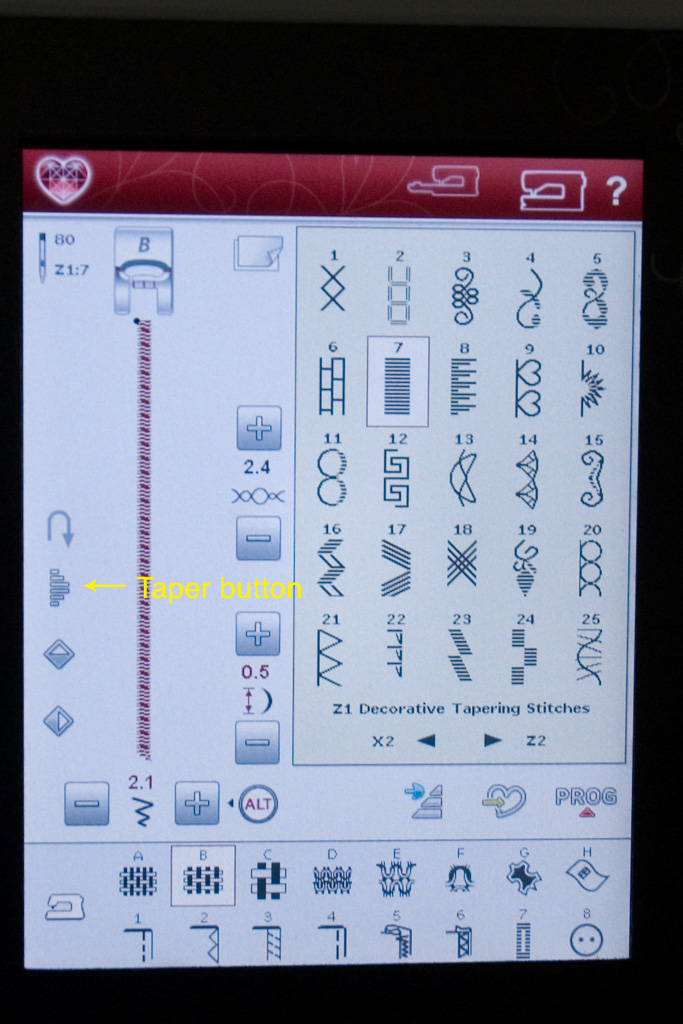
Set up your tapering by hitting the taper button on the left side of the screen. Choose your tapers. For my hexagon, I need 60º tapers angling out to the right. A square will be 45º. We’re going to start with only the end set to taper, and the beginning with taper off. By starting with no taper in the middle of a run, we don’t have to deal with figuring out the exact starting point of the taper.
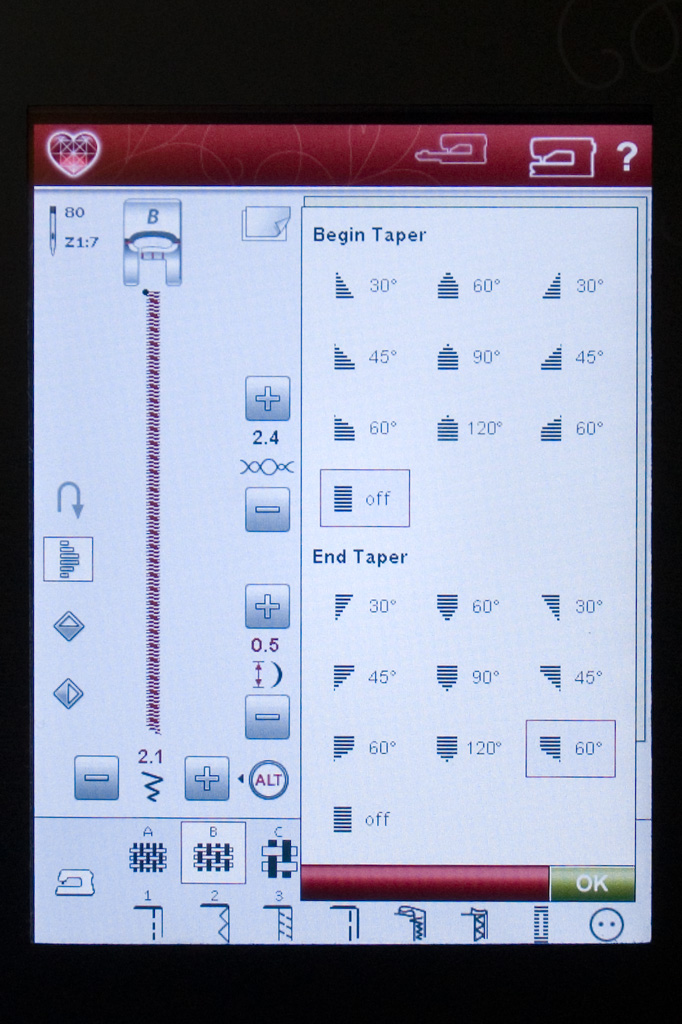
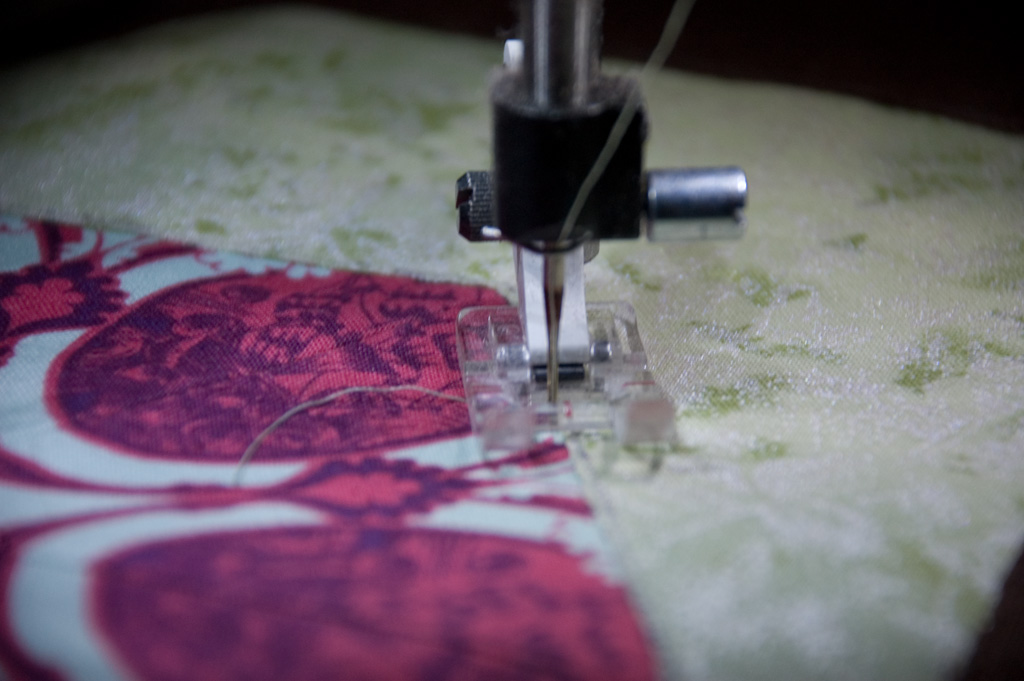
Sew to the start of your end taper, then press the reverse button to tell the machine to begin tapering. Continue sewing until the machine pauses and turns the reverse off on its own—it will fix the stitch at the end of the taper.
Now, modify the beginning taper to use the correct angle. I need the 60º starting taper that angles out from the right.
Rotate your fabric to go in the next direction, then begin sewing again. It will automatically taper the beginning of the stitch, then widen to the full width. Once you reach the end of this run, hit the reverse button again, and continue to sew so that the machine finishes the end taper. Rotate, sew, rotate, sew.
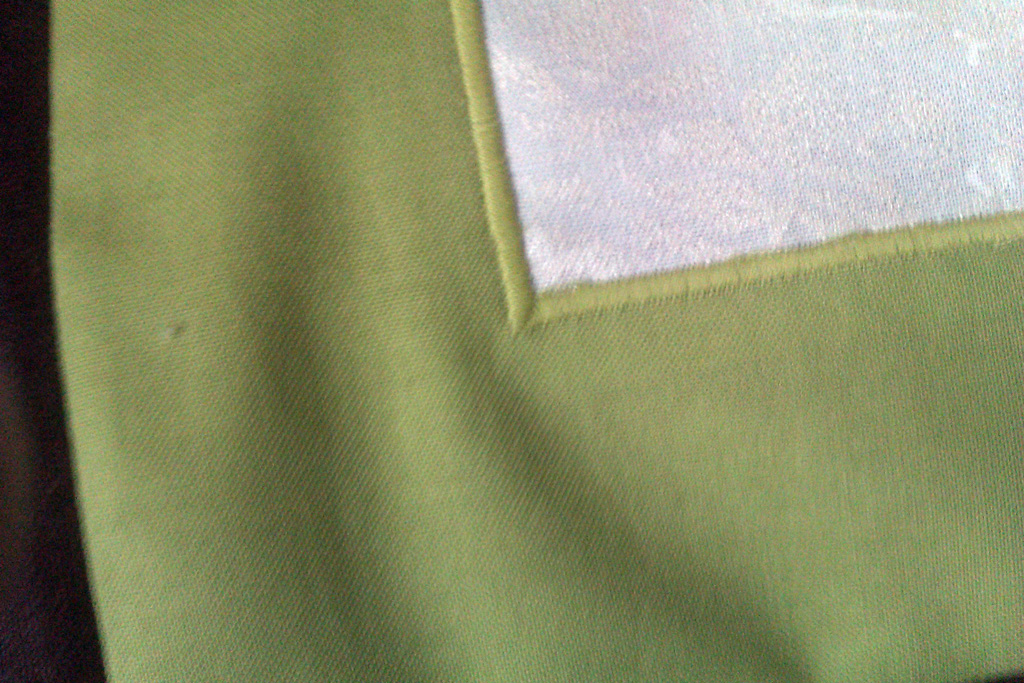
Once you are all the way back to the starting point, overlap your old stitches by a few more stitches, fix the stitch, and cut. The beginning and end points should be virtually indistinguishable from the rest of the sides.
That’s it!
Doing it without the fancy machine
To do a tapering satin stitch, all you really need is a machine that you can do a zig-zag stitch on and the ability to reduce the width and length of the stitch. Being able to move the needle position and a needle-down setting are also useful, but not required. It’s just not nearly as simple as with the fancier machine.
You’ll want to practice this on scraps first, because you have to figure out how many stitches to take in the taper and how much decreasing needs to be done to go from the full width to the point instead of letting the machine do it for you.
Again, the easiest way to do this is to start in the middle of the run with your full stitch width. If your machine doesn’t have a designated satin stitch, select your zig-zag stitch and reduce your stitch length to .5mm (or to a very small number, if your machine doesn’t measure by mm).
Sew to the beginning of the corner to be mitered. Now you have to start manually tapering by manipulating your stitch width.
Decrease the stitch width a little bit. Take two stitches (so that it goes to both the right and left). You want to make sure that the outer side continues to be straight in line with the rest of the row of stitches, which may require changing the needle position or manually moving the fabric over.
Decrease again and take two stitches. Continue doing this until you have come to a point. Now, pivot the fabric and increase the stitch width a little, take your two stitches, increase again, etc. until you are back to the full width.
What other advanced features do you want to learn?
2 Responses to “Machine Minutes—Mitering Corners for Applique”
Mary
10:45 am | 02/12/12
Thanks for sharing! I just got a Ruby and am just loving her! I have a lot to learn ! Definitely a step up from my Brother 8500D.
Rae
4:39 pm | 02/13/12
Best of luck with your new girl! I have so much to learn with mine too, but it is so amazing compared to the Singer I had before.