Faux Cathedral Window Applique Tutorial
Over the past few weeks, I’ve posted about trying two different Cathedral Window techniques. The first was a technique that actually constructs a four-patch with the window sewn in to the seams—you can see a video demonstration here. The other was the traditional quilt-as-you-go technique (one of many online tutorials can be found here).
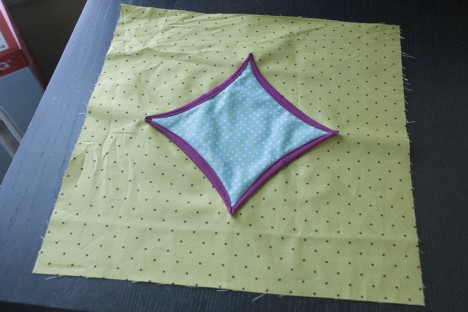
The final project I’ve dreamed up can’t use the traditional method, and will require an absolute ton of calculations for the other method, as I’ll be making different sized windows placed in a somewhat arbitrary manner, so I needed to come up with a way to make a faux cathedral window that can be appliqued on wherever I want it. Here’s how.
Materials & notions
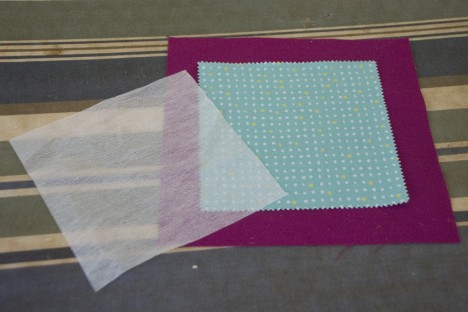
For each window, you need:
- One feature square of desired size (mine is a 5″ square)
- One piece of fusible interfacing the same size as your window square
- One border square, 2″ larger than your feature square (thus, mine is 7″)—This will always be 2″ larger than the feature square. It might help if this square is cut on the bias, as you’ll have a stretchier edge to turn, but it’s not vital. Mine was on straight-of-grain.
You’ll also need background fabric of whatever size you want for your project. In this demo, I’m just using a 12.5″ square from my stash, in my project, it will essentially be a whole-cloth quilt background.
You’ll want thread that matches your border fabric, or invisible thread. An applique pressing sheet is helpful, but not required.
Making the window
To prepare the border fabric, we need to fold under the edges and make it fusible.
Start by drawing lines .75″ in from the edge to use as a guide. Make sure to use a marking medium that won’t be set by heat—one that disappears with heat would be great.
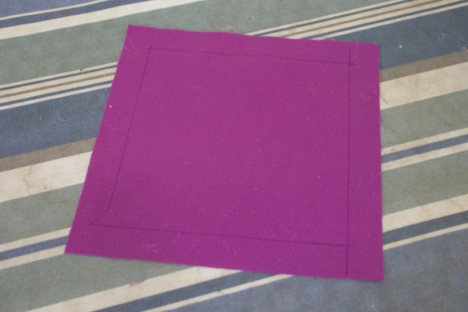
Now, fold in on those lines and press. You’ll also turn in the corners so that you have mitered corners on the inside.
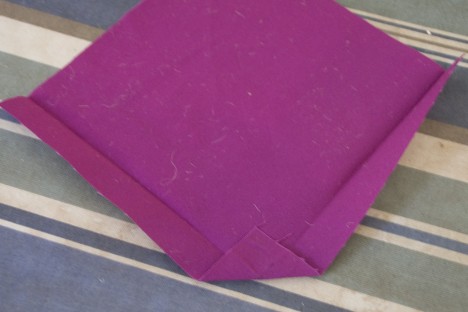
To make the unit fusible, insert your fusible interfacing with fusible side up into your square—you want the fusible side to fuse onto your background. Place it so that it is on top of the corner triangles, but under the edges.
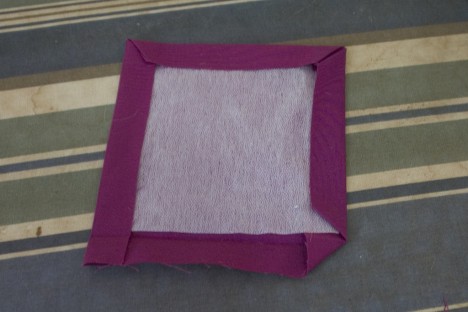
Press the edges so that they fuse to the interfacing, but don’t press the uncovered interfacing—this will help hold all of your folds down. This is where an applique pressing sheet comes in—you can turn it over and press to get everything very flat, and then peel the piece right off the pressing sheet.
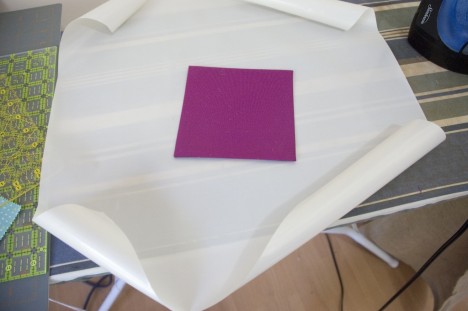
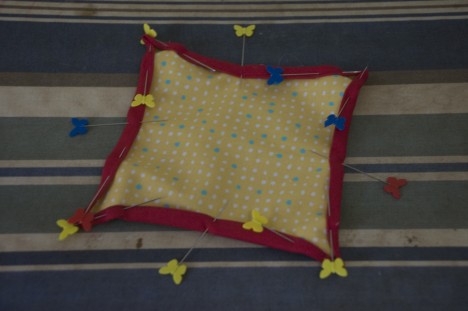
At this point, you can pin your edges over and sew them down to have something easily fusible to anything, but I found it easier (and definitely faster) to fuse to your background, then sew your edges down—this becomes the applique stitching.
To add to your background, first fuse the base in place.
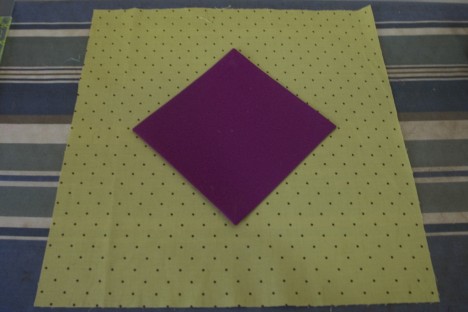
Then add the feature square and pin the edges over.
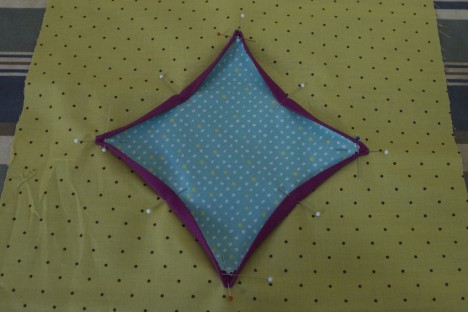
Now, stitch your edges down.
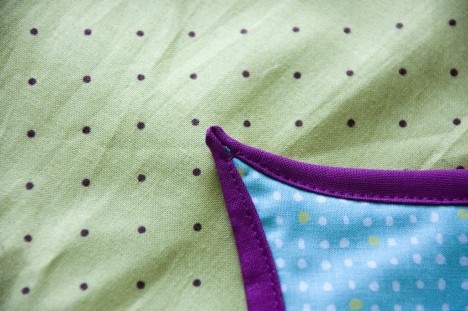
The back will look like this when you’re done:
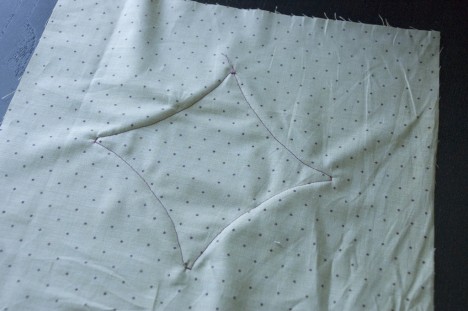
And you’ll have a stand-alone cathedral window on your background!
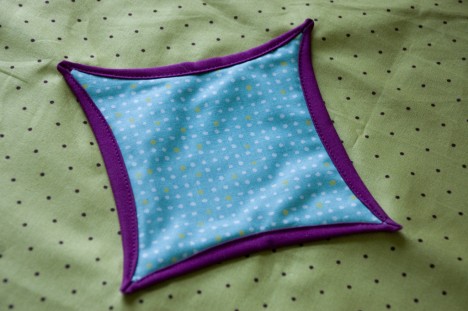
If you use this technique, let me know in the comments. I’d love to see what you make!
Now it’s time for me to start making these from my actual project fabric:
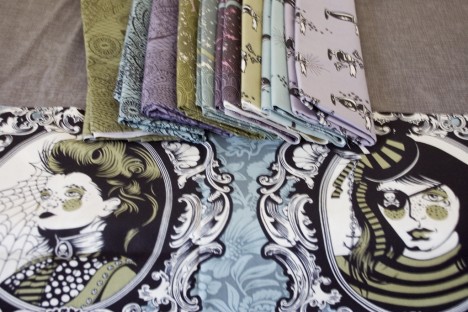
It’s becoming a theme; I get ahold of Tula Pink fabric and all thought of a simple project goes out the window.
I think the top of this is supposed to be finished around the end of June, so stay tuned.

Comments are closed.