Wheeling Ruffles (Sevillanas)
For a time in 2011, I took Flamenco lessons. I’m mostly uncoordinated and soon decided to devote more time to my other fledgling hobby (quilting!), but was inspired to design this quilt. The design and fabric went hand-in-hand: I found the border print and designed the quilt around it. After building it out in Illustrator, I decided it needed ruffles—a decision that stymied immediate progress as I debated buying a ruffling foot or doing it all by hand.
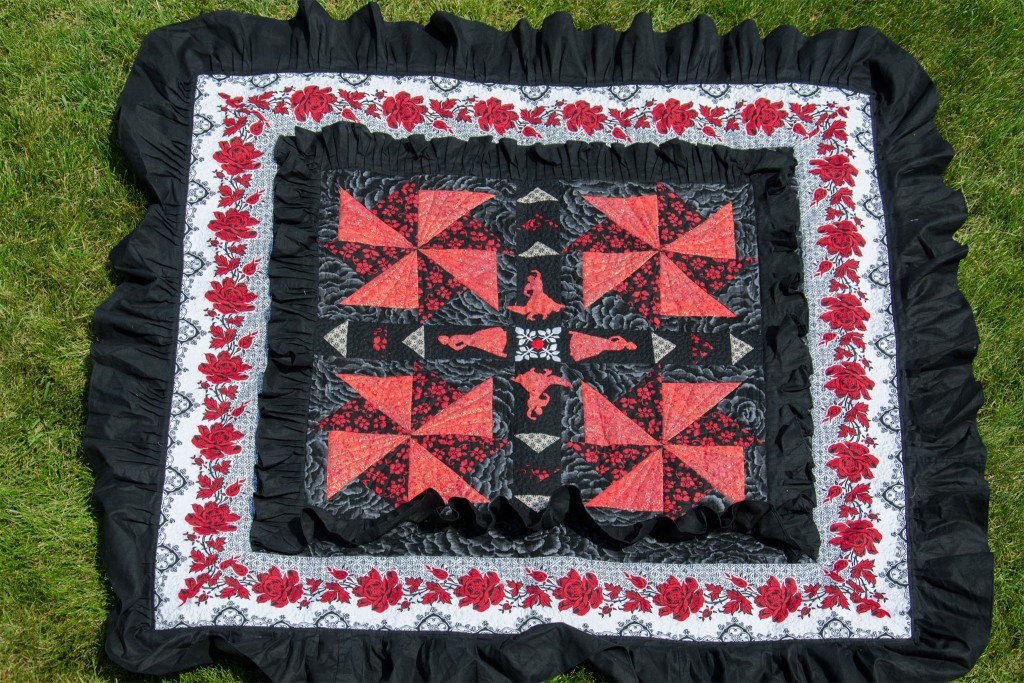
Fast forward to 2015: the fabrics were tucked away in a box, I’d since bought a ruffling foot for other projects, and my quilting aesthetic has shifted away from the quilt design and the style of the fabrics. I decided to make the quilt anyway, mostly to play with ruffles and to mark one more unfinished project off the list (and reduce my stash at the same time).
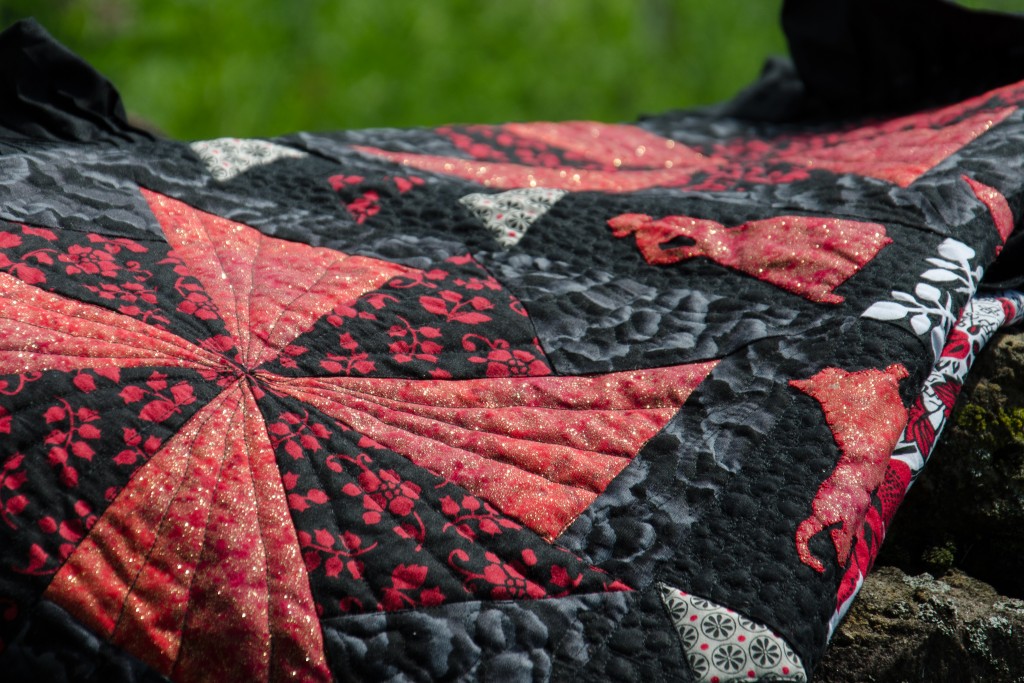
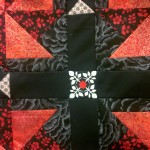
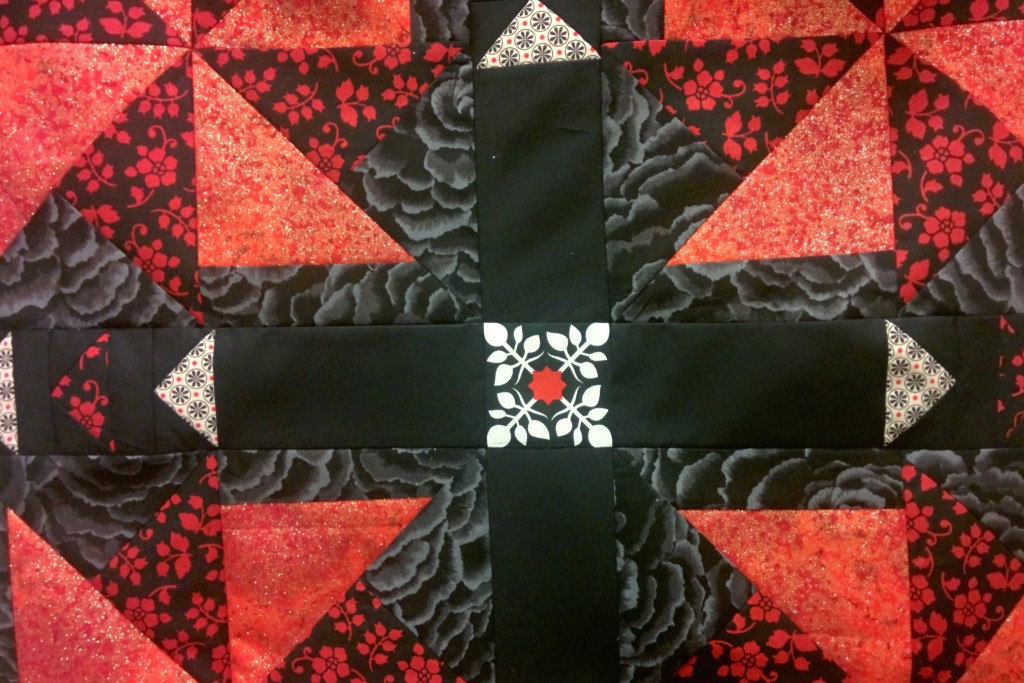
The center medallion piecing is all straightforward pinwheels and flying geese, with a bit of machine applique added to the sashing (raw-edge via Steam-a-Seam 2 Lite, sewn with a ‘hand look’ applique stitch on my machine) . Instead of a plain inner border, however, there’s a ruffle—because what is a Flamenco-inspired anything without ruffles?
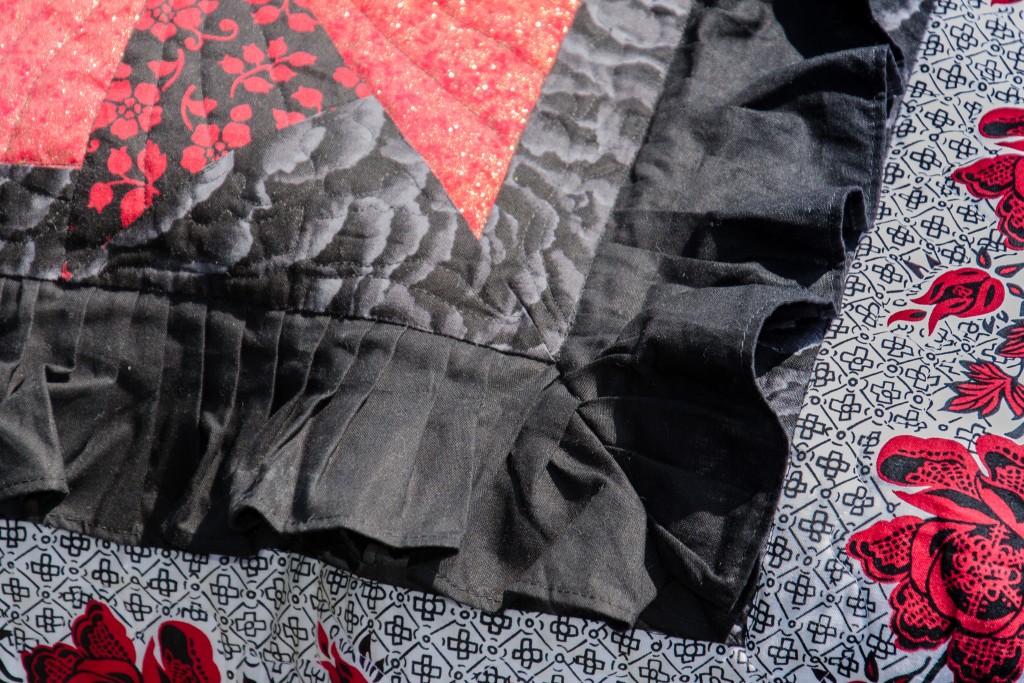
To make the 3″ ruffled inner border, I cut 3.75″ x width-of-fabric strips, sewed two strips together with a flat-felled seam, used a rolled-hem foot to finish one side, then gathered it all with the ruffling foot using a standard stitch length (2.5 on my machine) and a tuck every 6 stitches. Once ruffled, I pressed it all to keep the pleats in place, then sewed the ruffle and a 3.5″ strip of background fabric to the medallion. Because ruffles are a bit hard to predict length for, I made sure mine were longer than I needed and used the exactly-cut background fabric (35.5″ long) to measure and gauge length as I sewed the seam. I mitered the corners of the inner border, trapping the ruffles there, mostly because it was an easy solution to handling the corners and I liked how it looked.
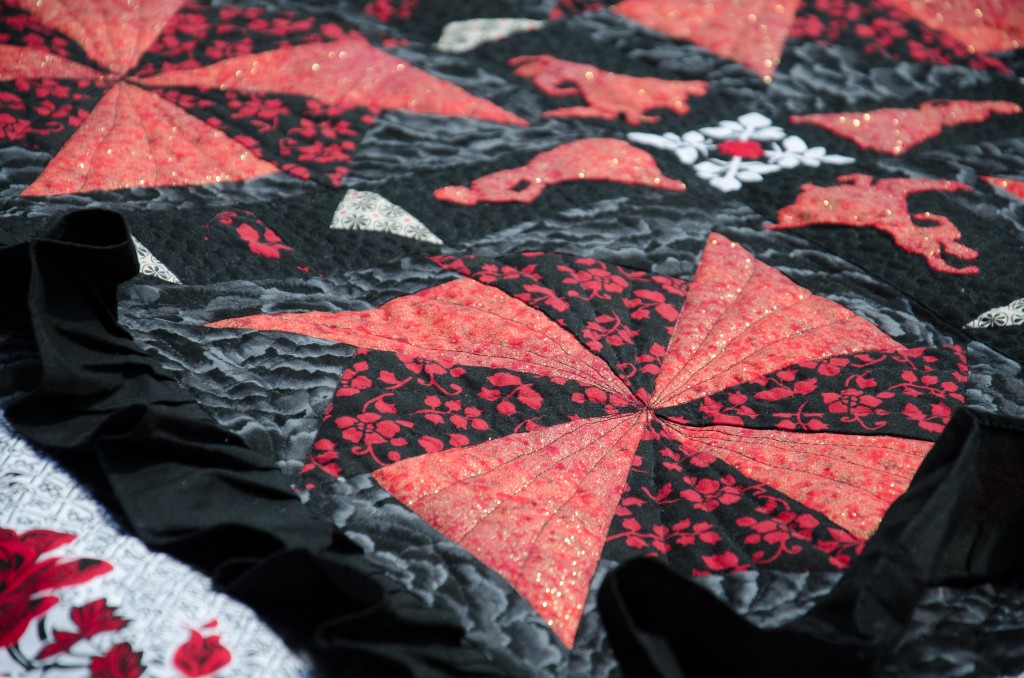
The outer border uses strips of a border print, finished with mitered corners. I planned on adding another ruffle after the printed border just like the inner one with a background strip below, and then a final binding ruffle. But, when I attached the first side of this outer riffle, I found that the cheap border print fabric bunched and pulled far too much, so modified my plan to just use a ruffle on the binding. It worked out fine, and saved me having to purchase another 1.5yds of black for the second ruffle (they sure do eat up fabric!).
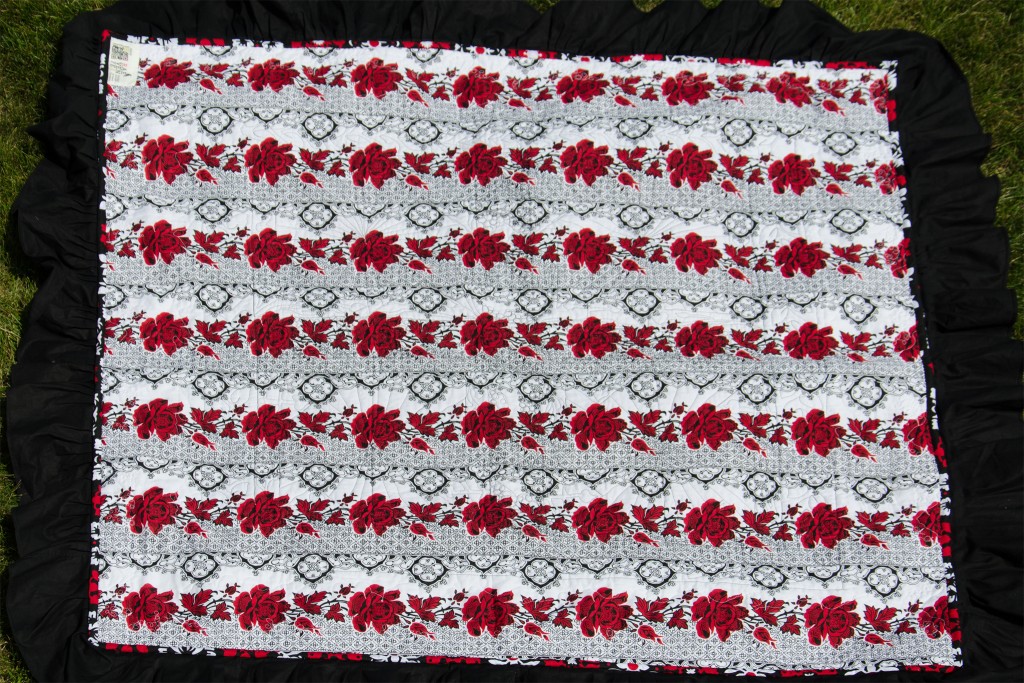
The back is pieced together from leftover border print. I must have purchased what I did with that plan in mind, as I had the perfect amount. The quilting is a mix of Gutermann 100% Cotton thread in black and white, with Pellon Eco 70/30 as batting. I free motion quilted a mix of pebbles, stitches in ditches, vines and leaves based off the center square motif, little loops, and echoed the printed design in the outer border. It’s bound in the leftovers of the fabric I used to fussy cut the center square, and has a 6″ ruffle attached.
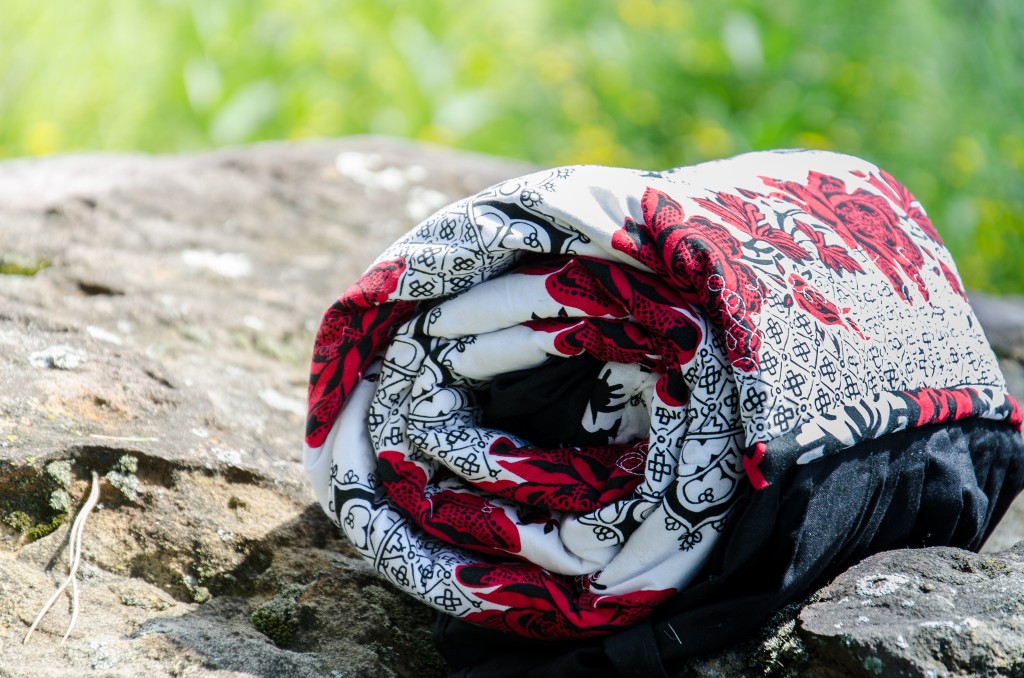
At 47″ square (+ 12″ of ruffle), this can either be a large wall-hanging or a kid quilt. I don’t know where it’ll end up, yet, but it feels great to cross another unfinished project off the list.
Known fabric list: Michael Miller Fairy Frost and Rouge et Noir Petals; Windham Toni Floral Toss; Springs Creative Saroya Lace Stripe and Saroya Abstract; Free Spirit Black Solid.

