Raevenfea

Maker of various fabric things

  • Subscribe

To be a bit cliché, this shoemaker is a professional Web Developer and her child is this blog, but it was past time to launch what I have of a new design. All the content is still here, everything else is a work in progress (kind of like most of my sewing projects)!

Posts tagged: Cosplay

Halloween 2015: Mary Sanderson

Posted in News

  • Cosplay
  • Halloween
  • Mary Sanderson

Winifred: Don’t get your knickers in a twist! We’re just three kindly old spinster ladies.

Mary: Spending a quiet evening at home.

Sarah: Sucking the lives out of little children!

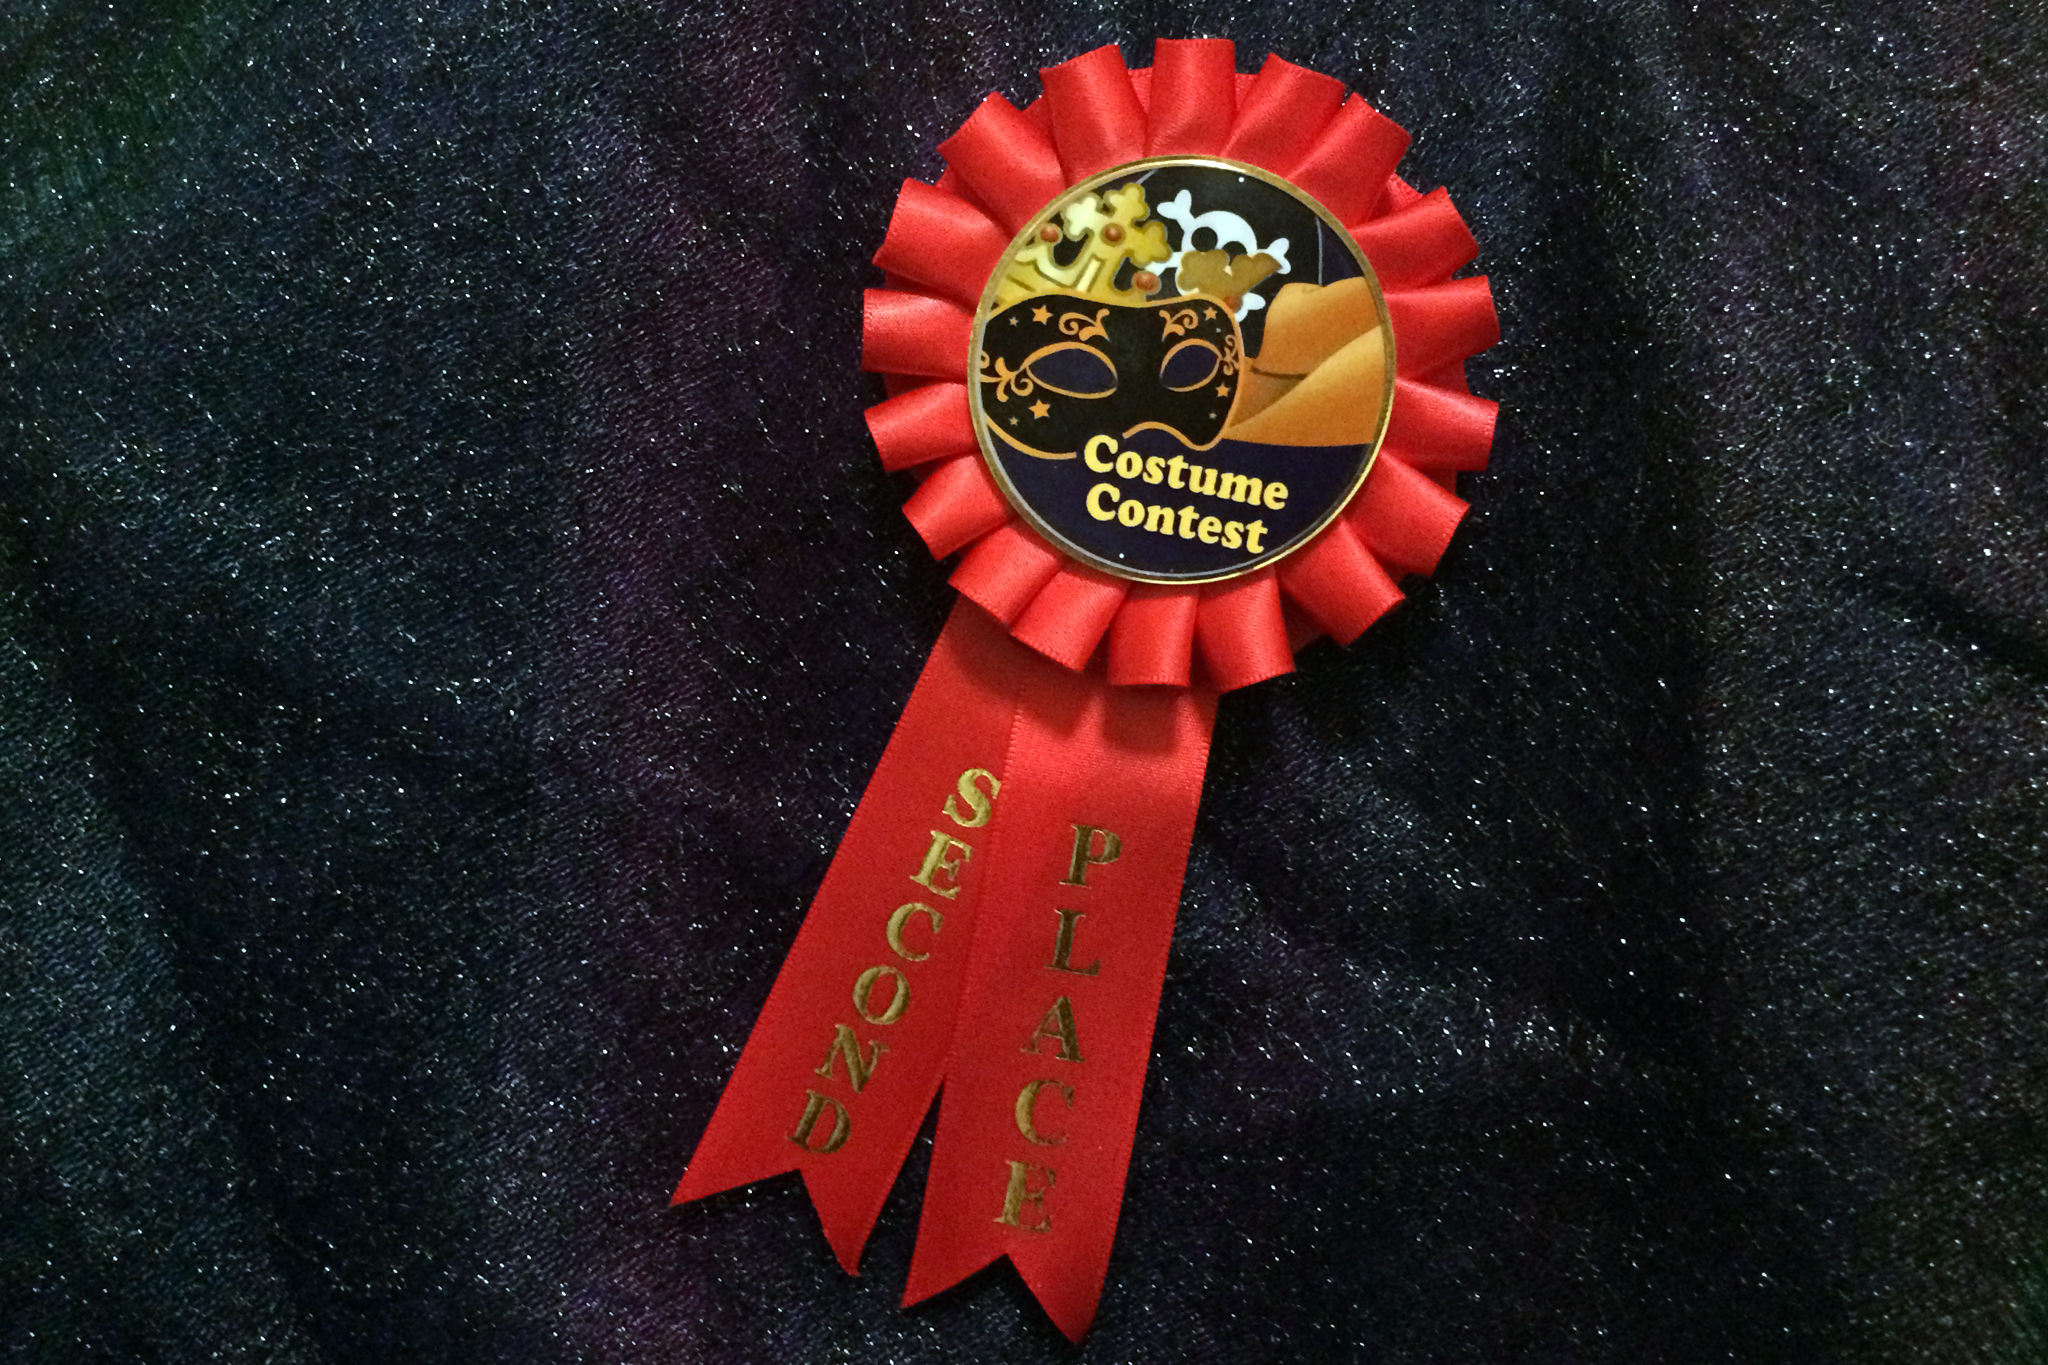
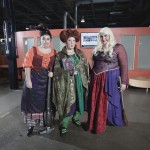
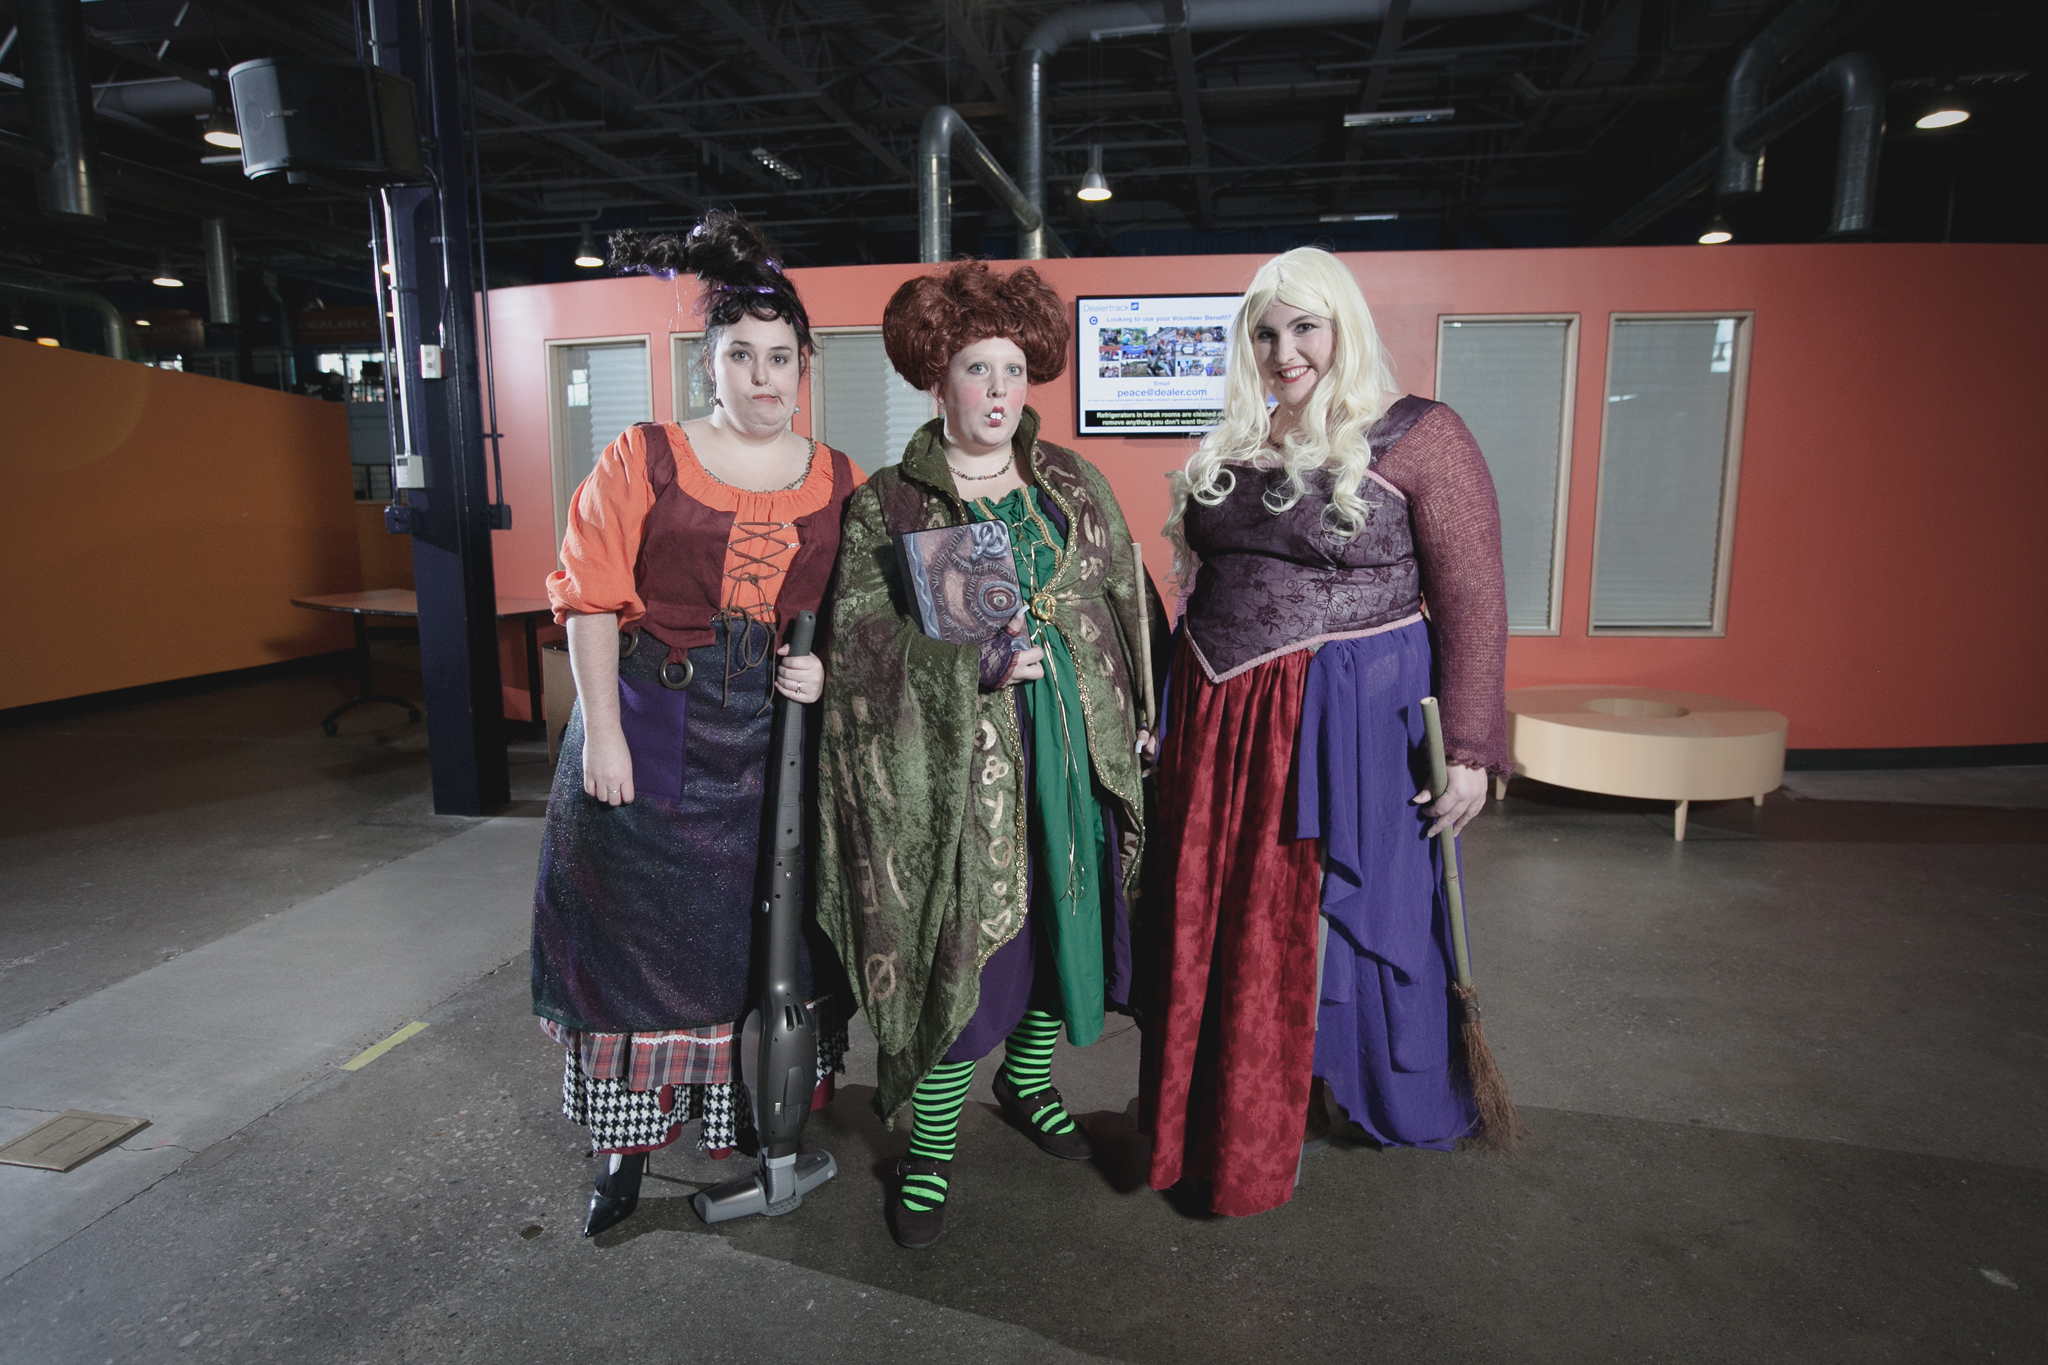
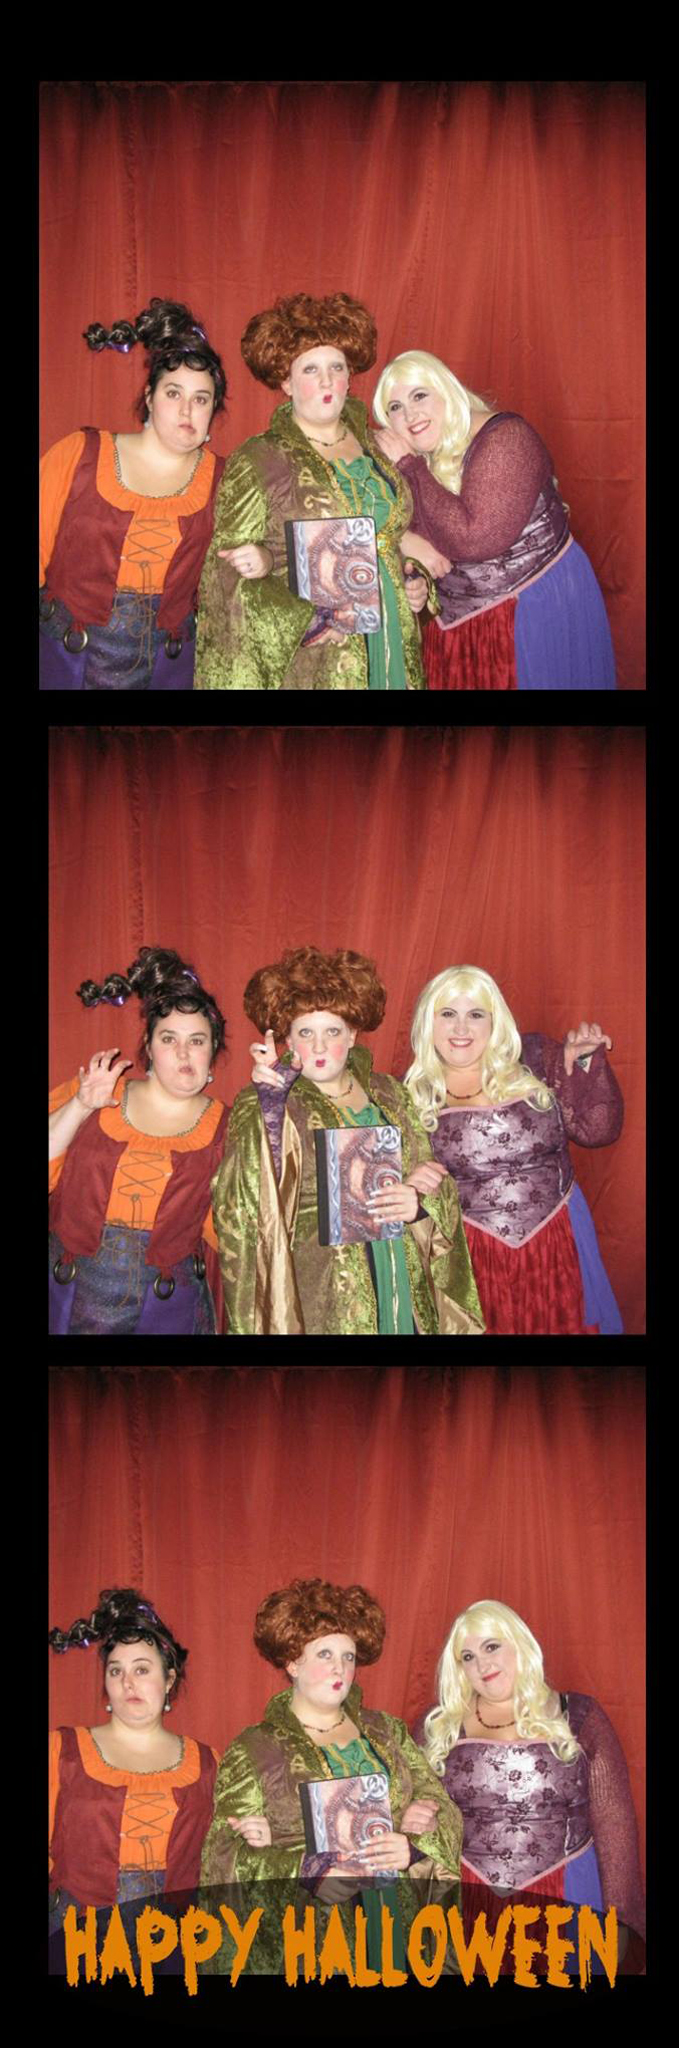
The big reveal (two months late): two of my teammates and I dressed as the Sanderson sisters from the movie Hocus Pocus, and won second place in our company costume contest! I was Mary.

Sanderson Sisters
Me, Sarah, and Bethany as Mary, Winifred, and Sarah Sanderson. Photo by John Sappo.

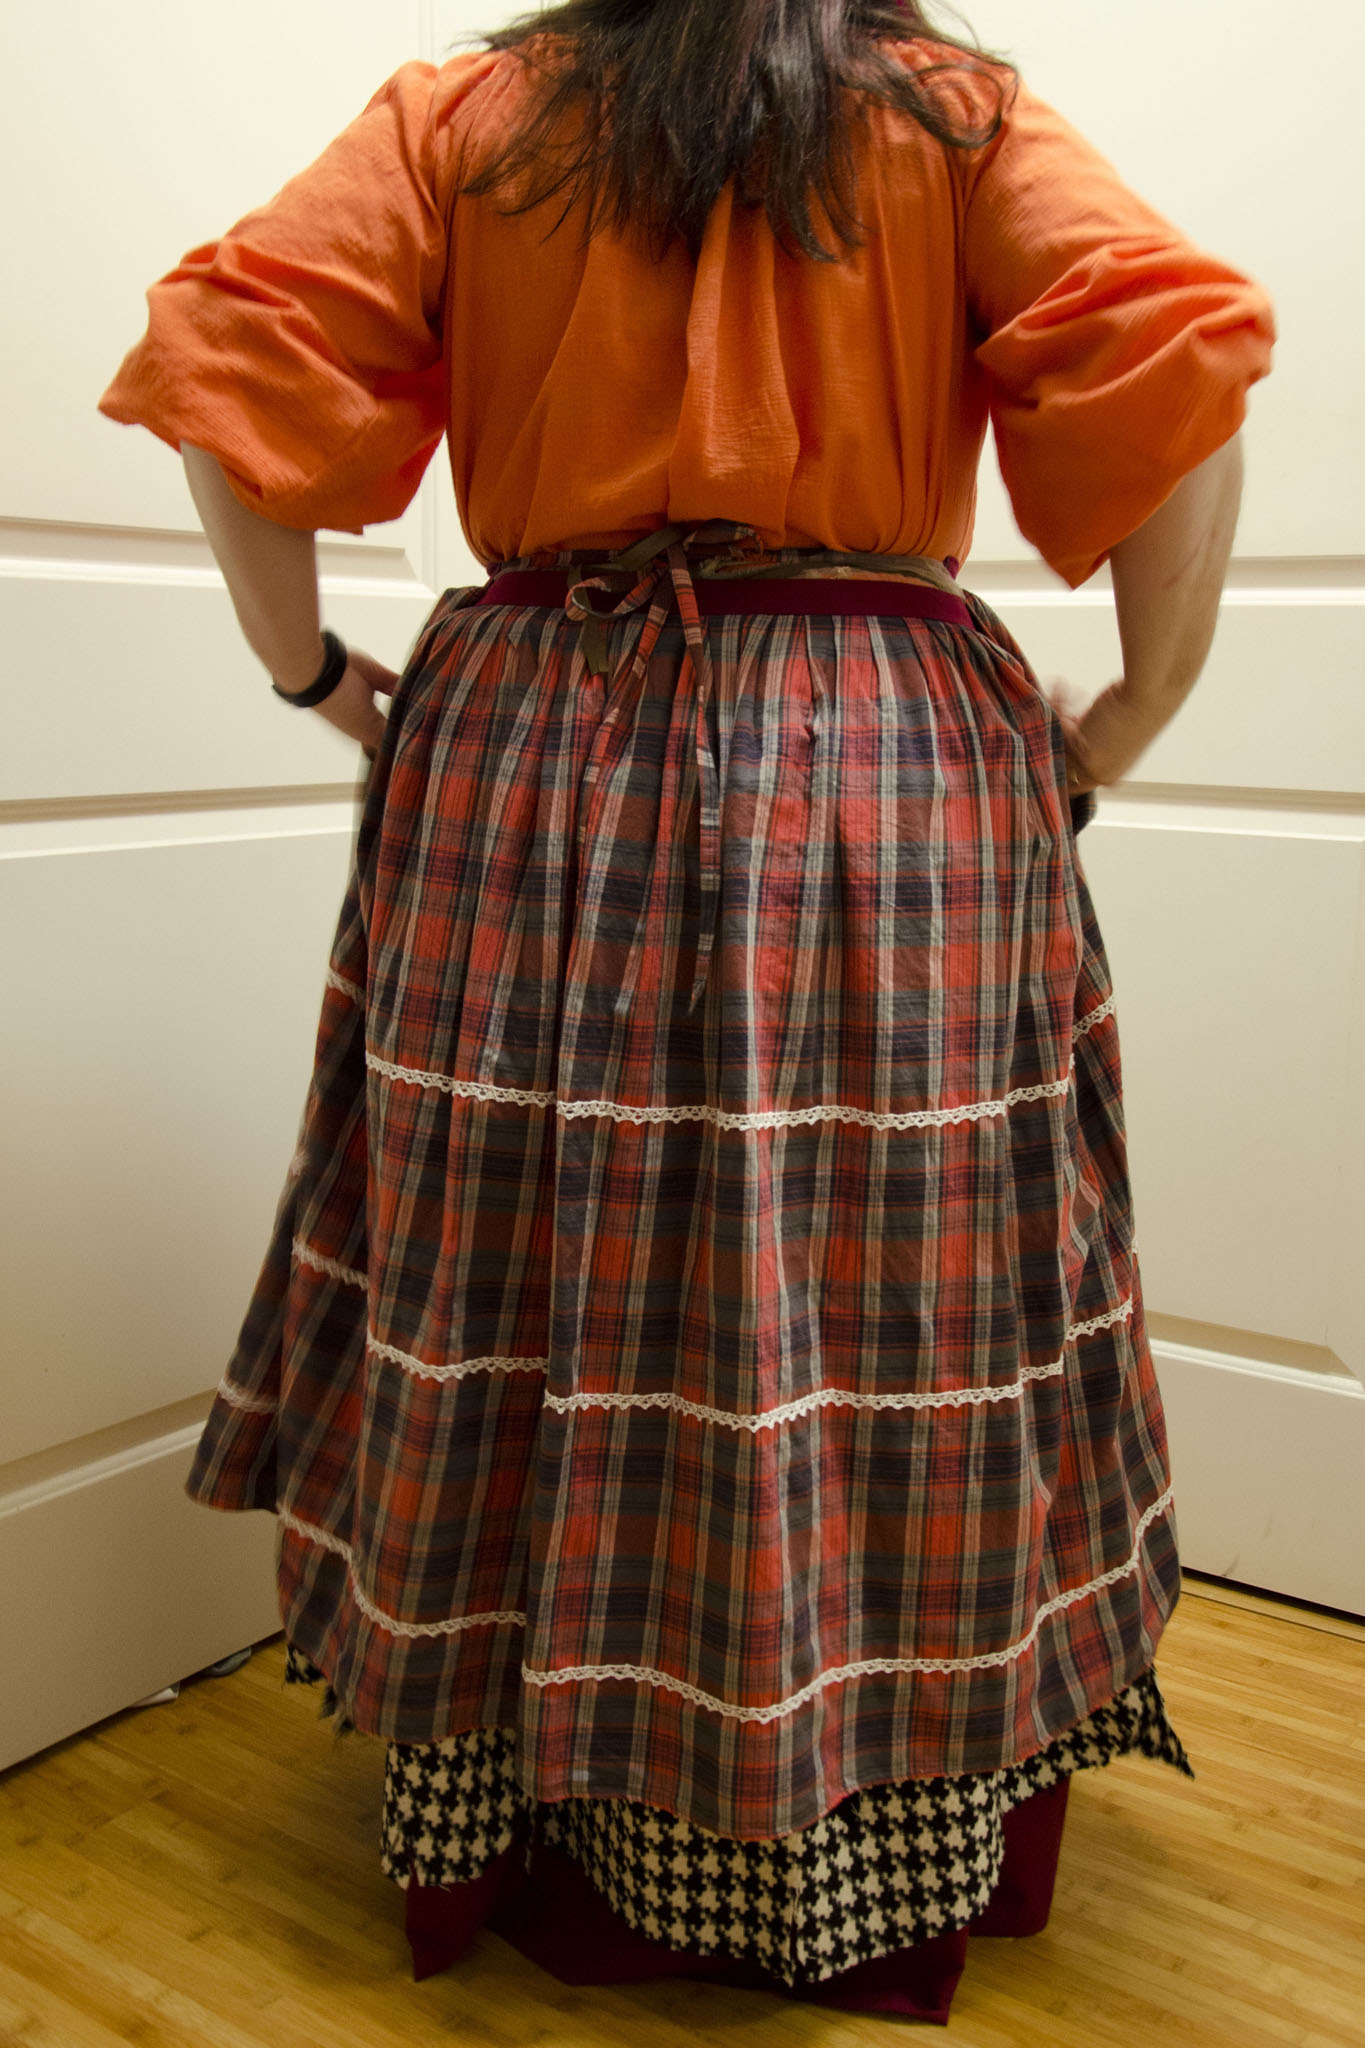
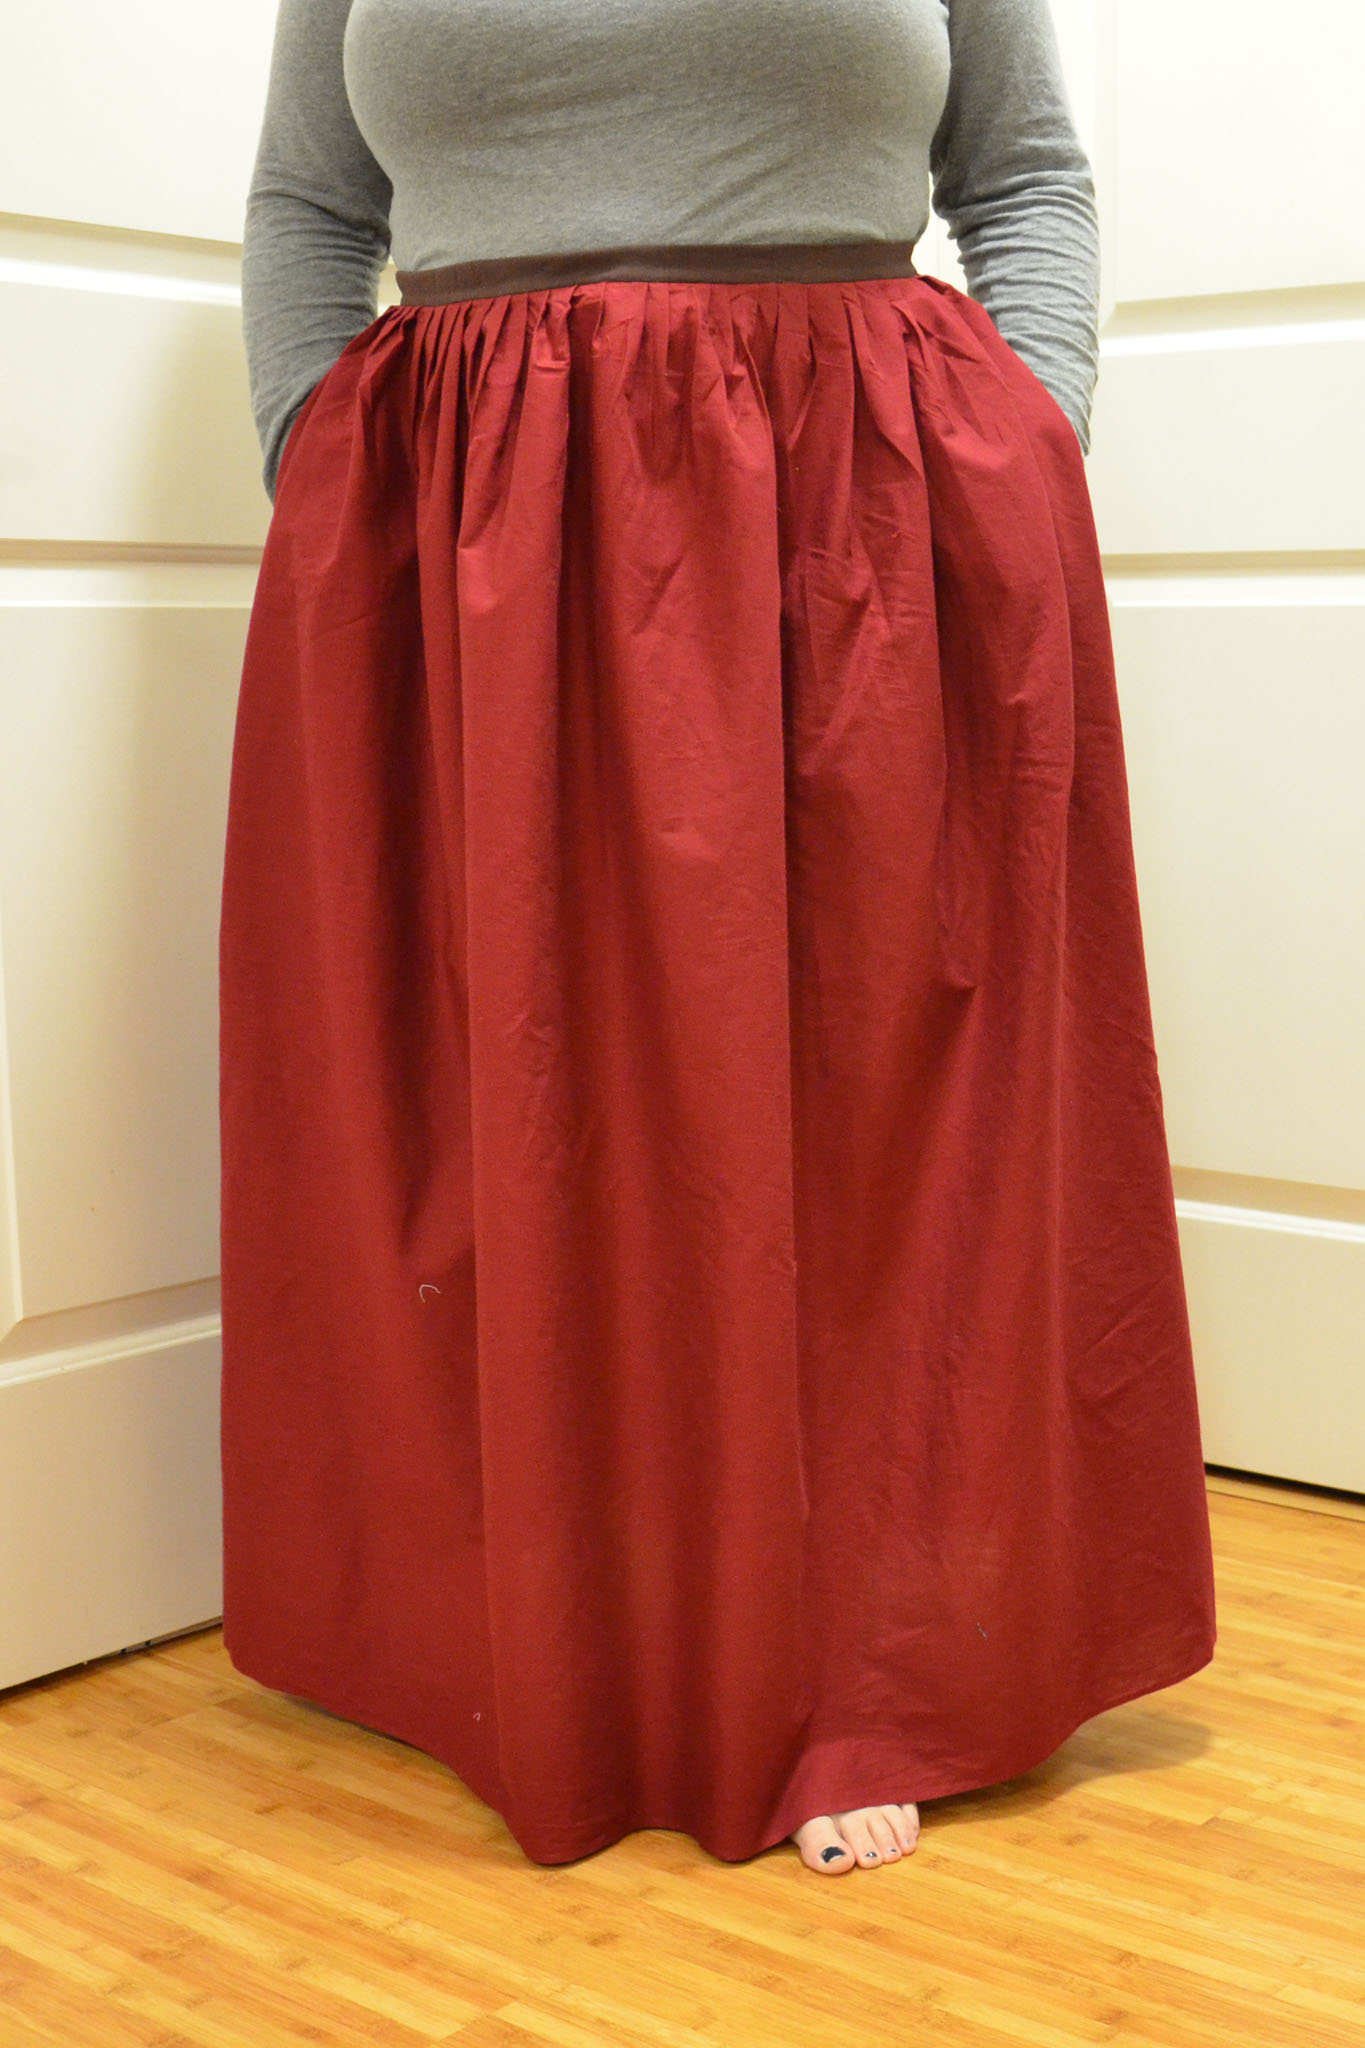
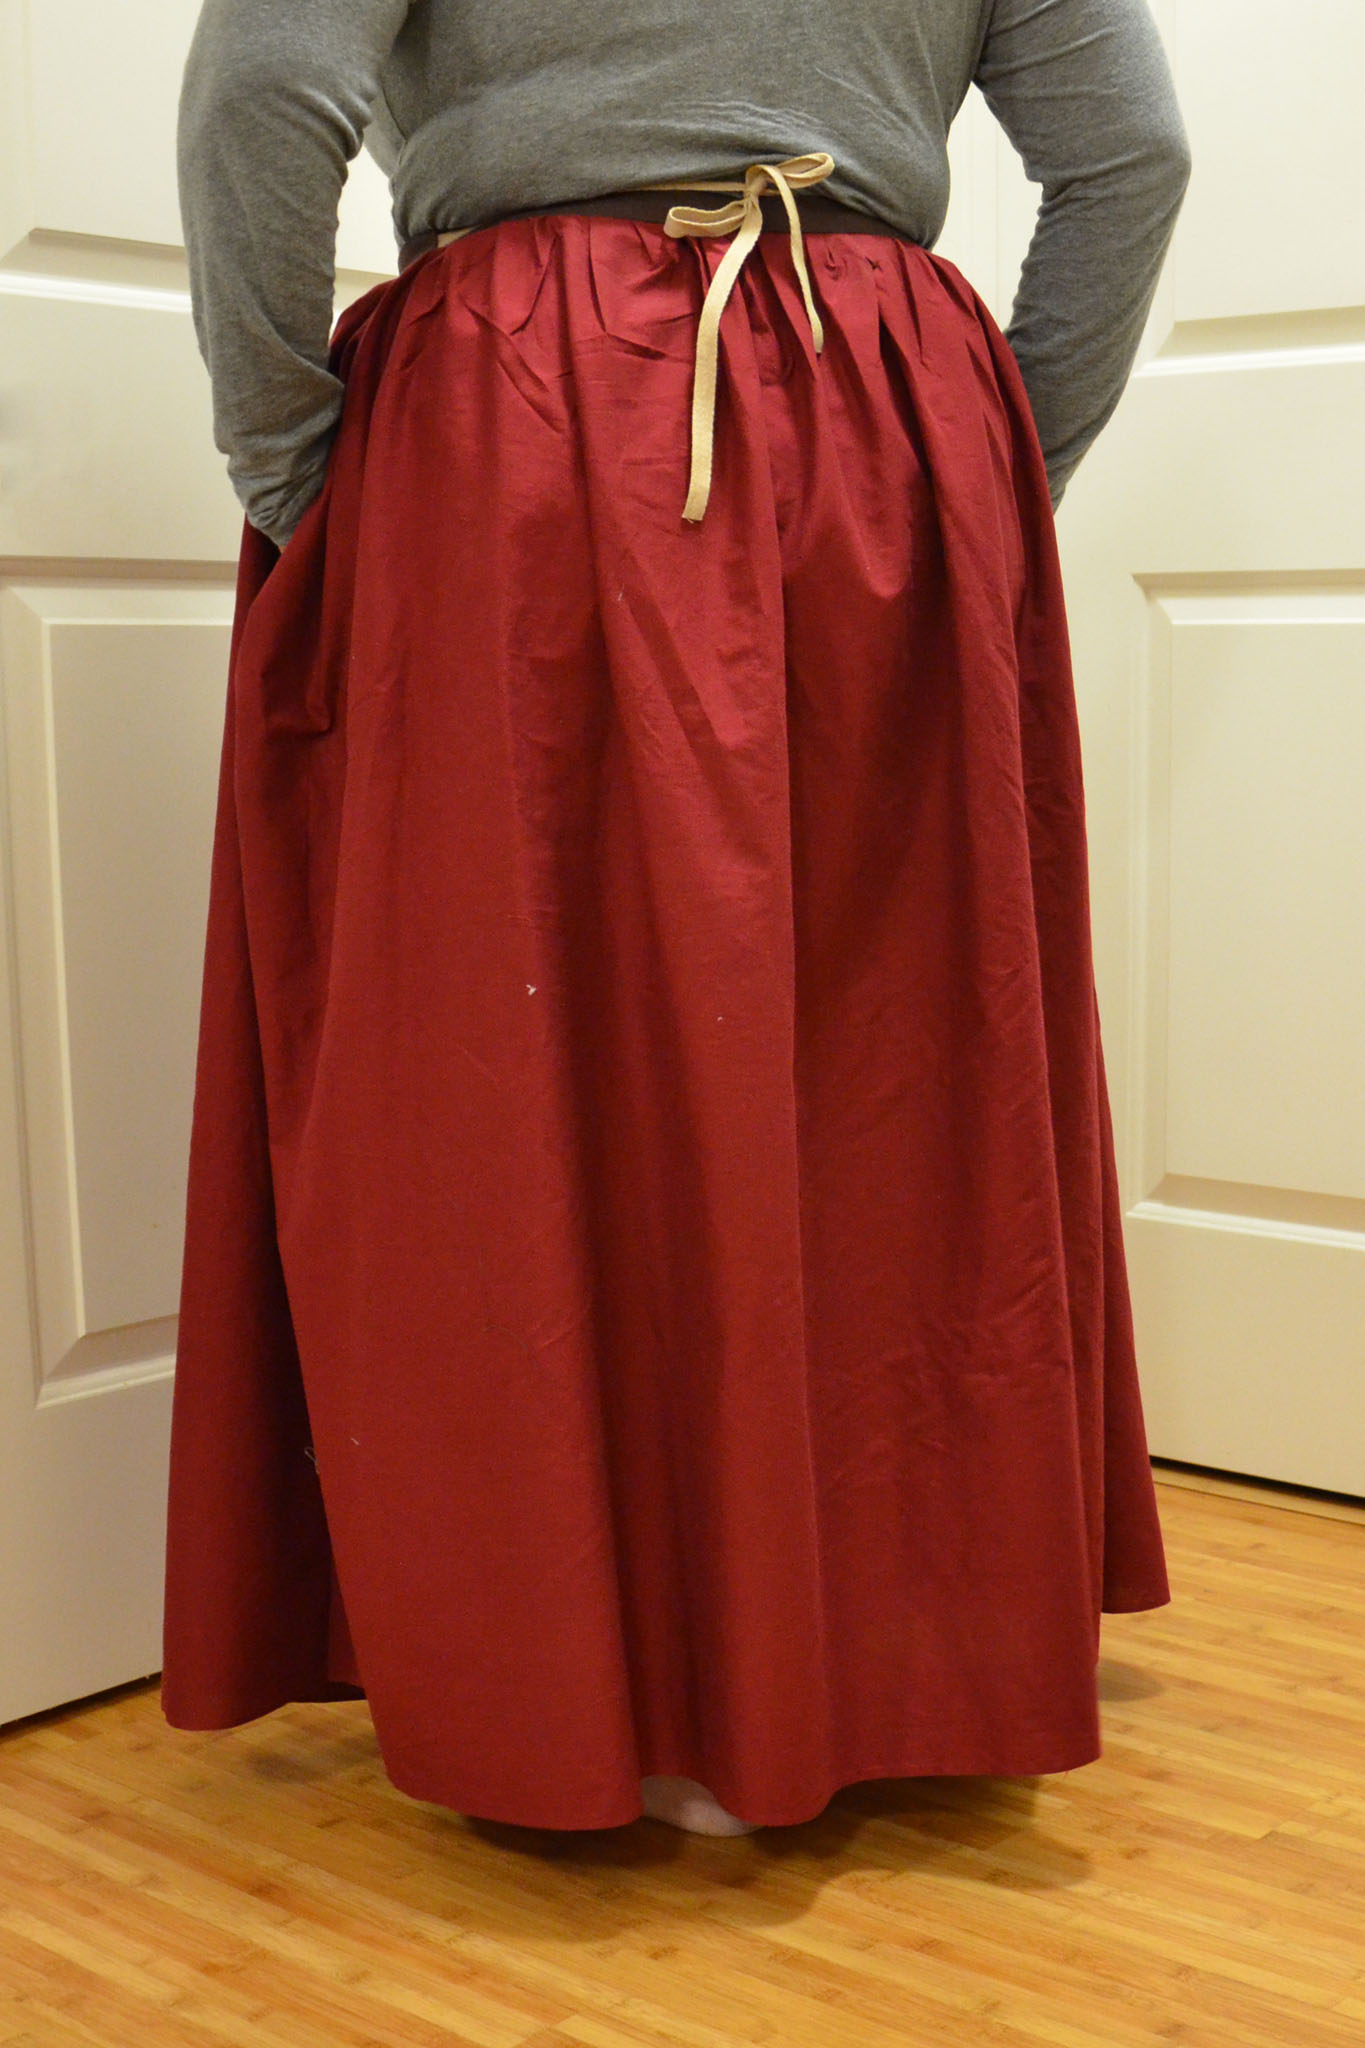
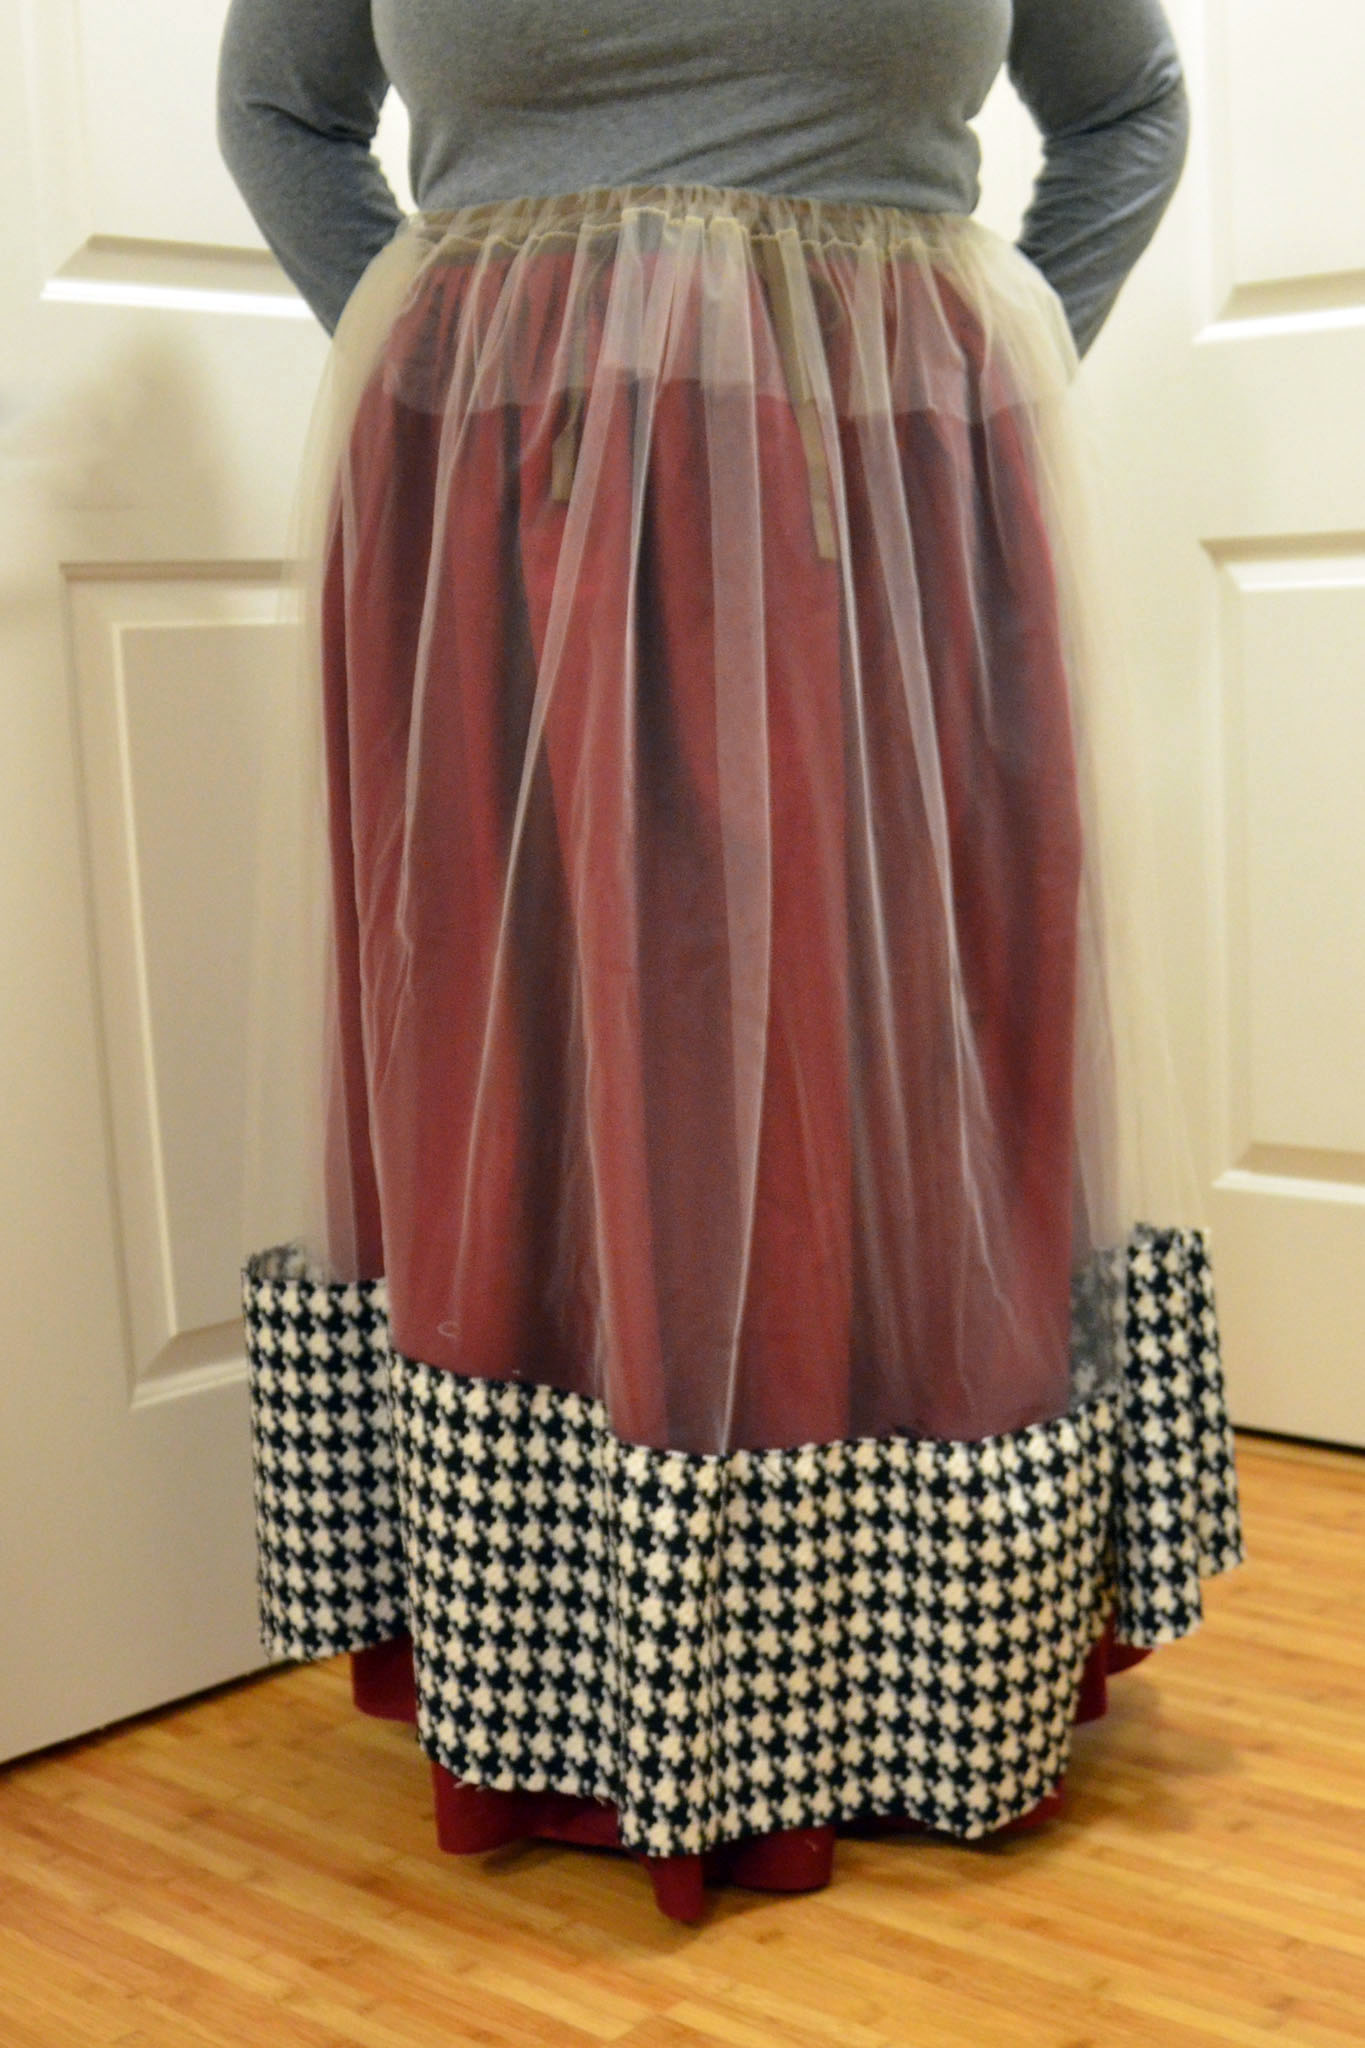
I ended up hacking the bodice, apron, wig and cape together without in-progress photos and never technically finished it (safety pin lacing holes for the win), so this post will just show photos of the ‘finished’ costume as I wore it for our office contest with a few notes on modifications. I showed you the various skirts and chemise in previous posts.

Rachael Arnold as Mary Sanderson
Photo by Bethany Robinson.

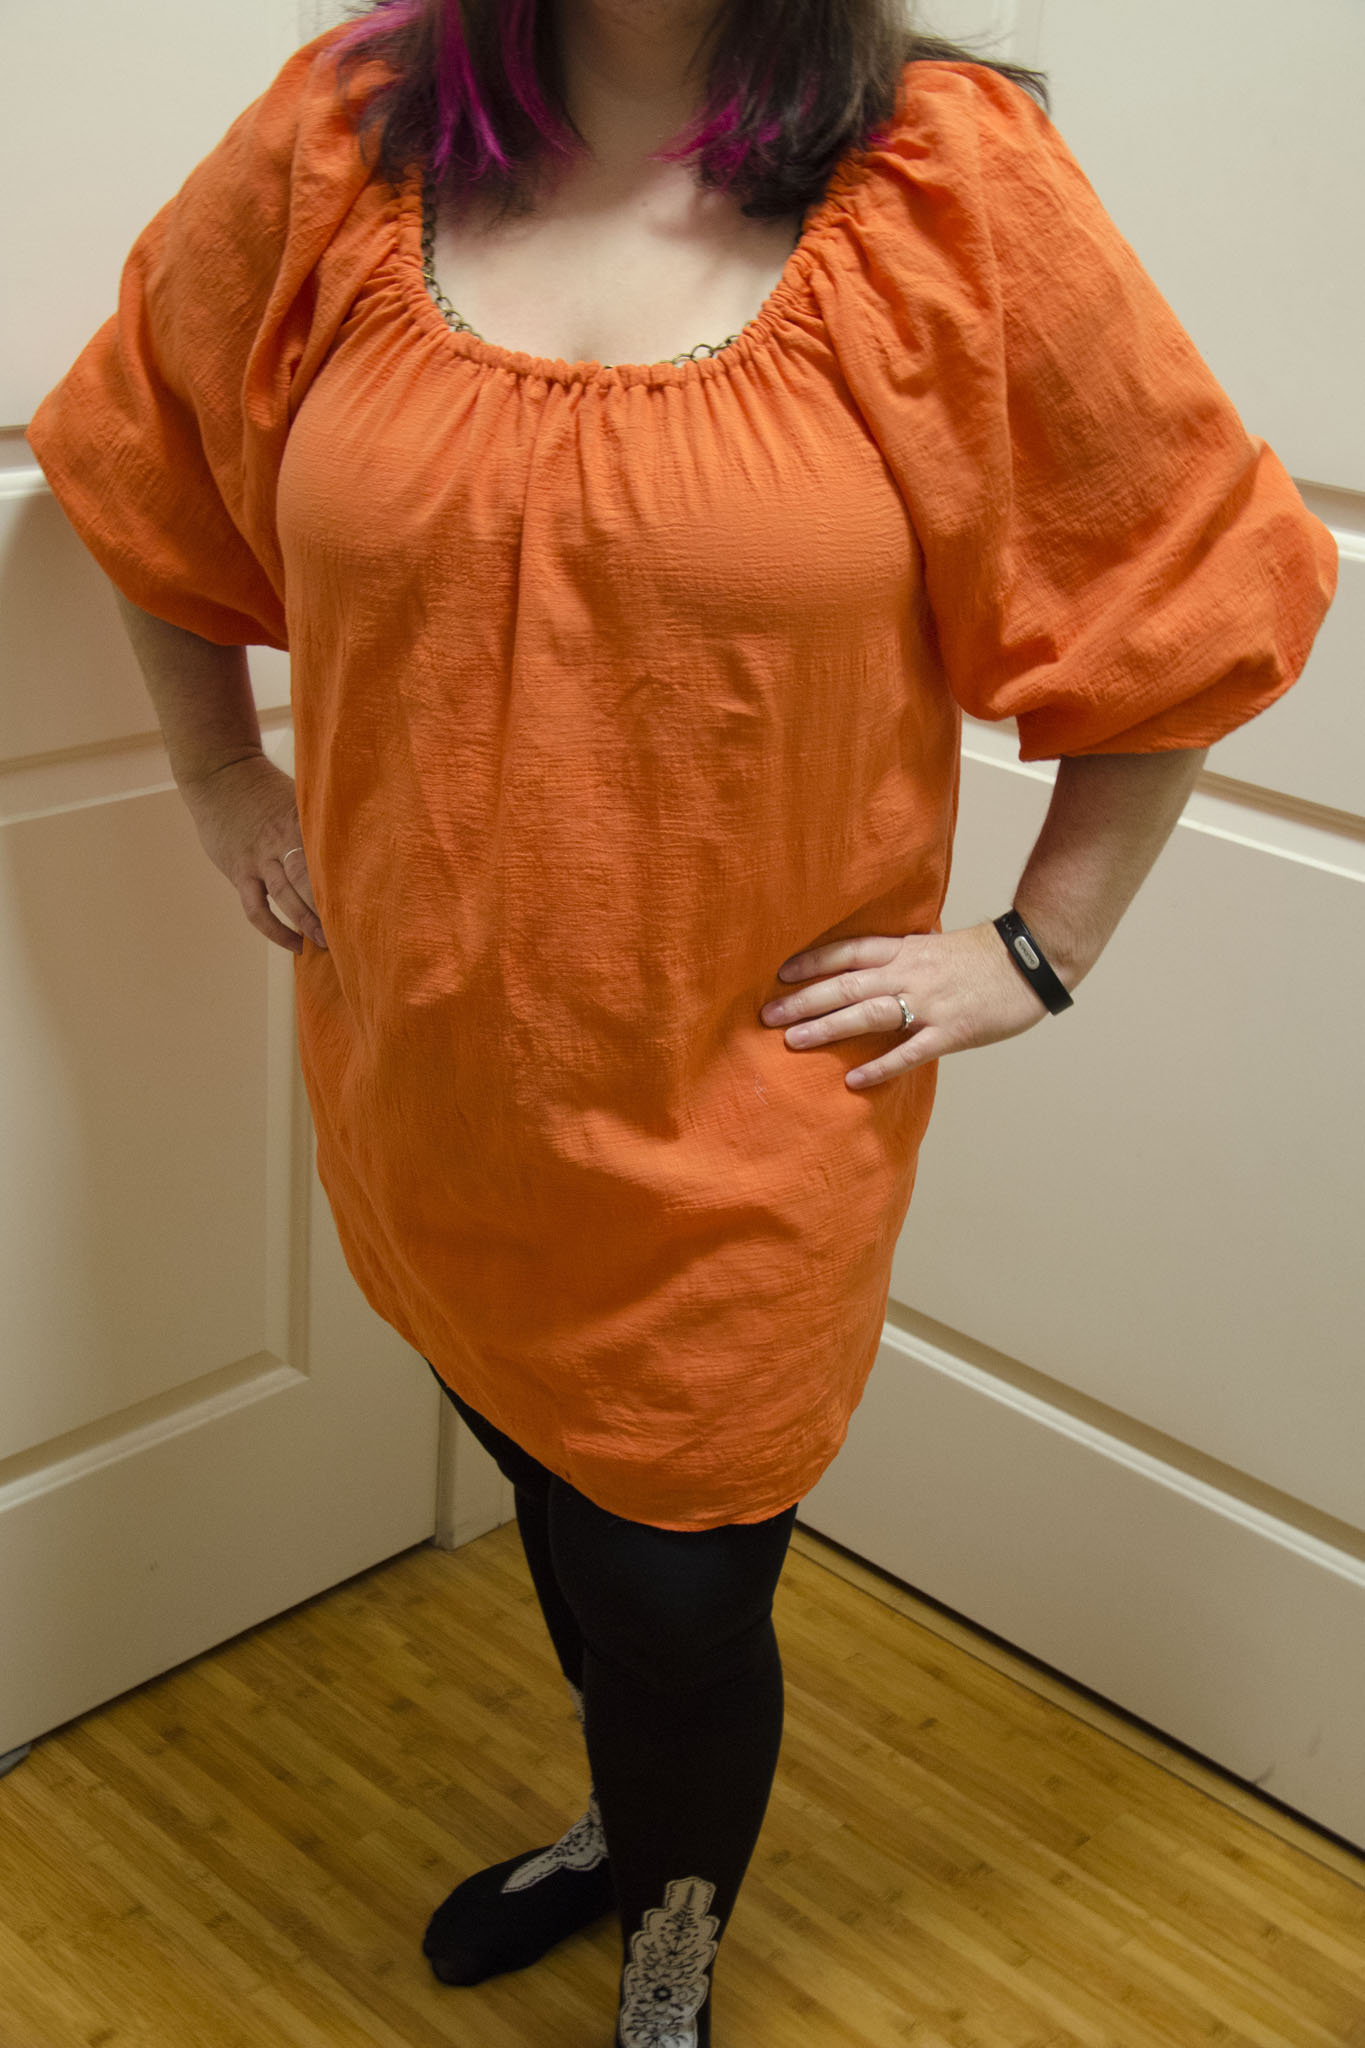
The bodice (from Simplicity 5582) ended up being very straight forward, except that I bag-lined it instead of using bias tape to finish the edges. I wore my (also not completely finished, despite being made in 2012) regency corset under everything, as the bodice is made of a fashion knit with interfacing and a cotton lining, thus had no shaping ability. I have yet to finish the lacing holes and used safety pins the day of. The fit is horrible. Despite matching my waist measurements, there was no way the bodice would close (partly because of the added bulk from the skirts). I added an extra inch to the front, but it still wasn’t enough.

Mary Sanderson details

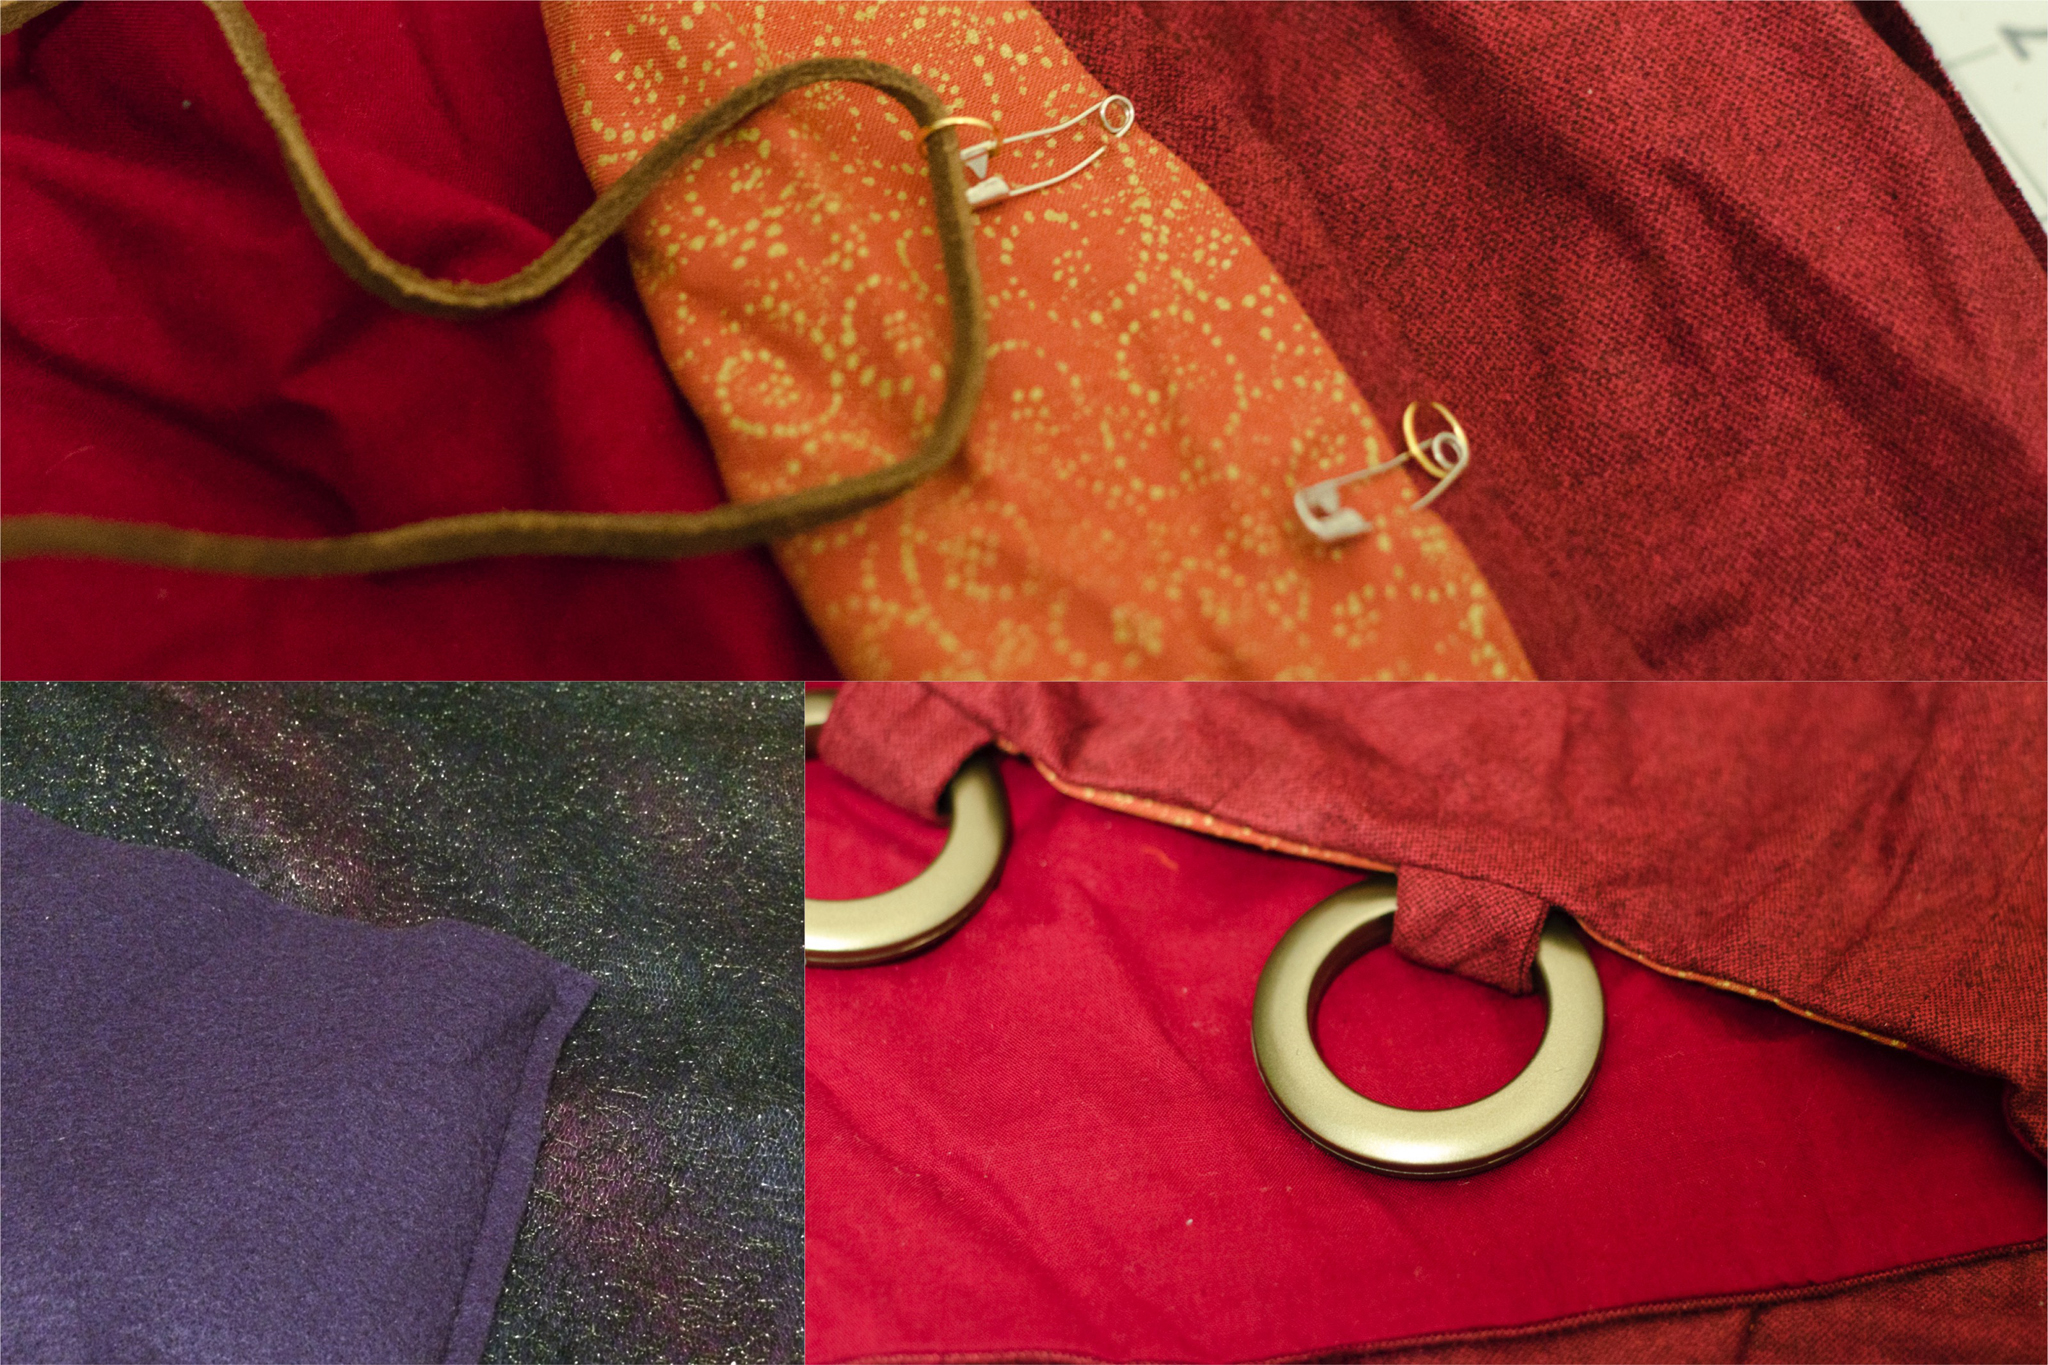
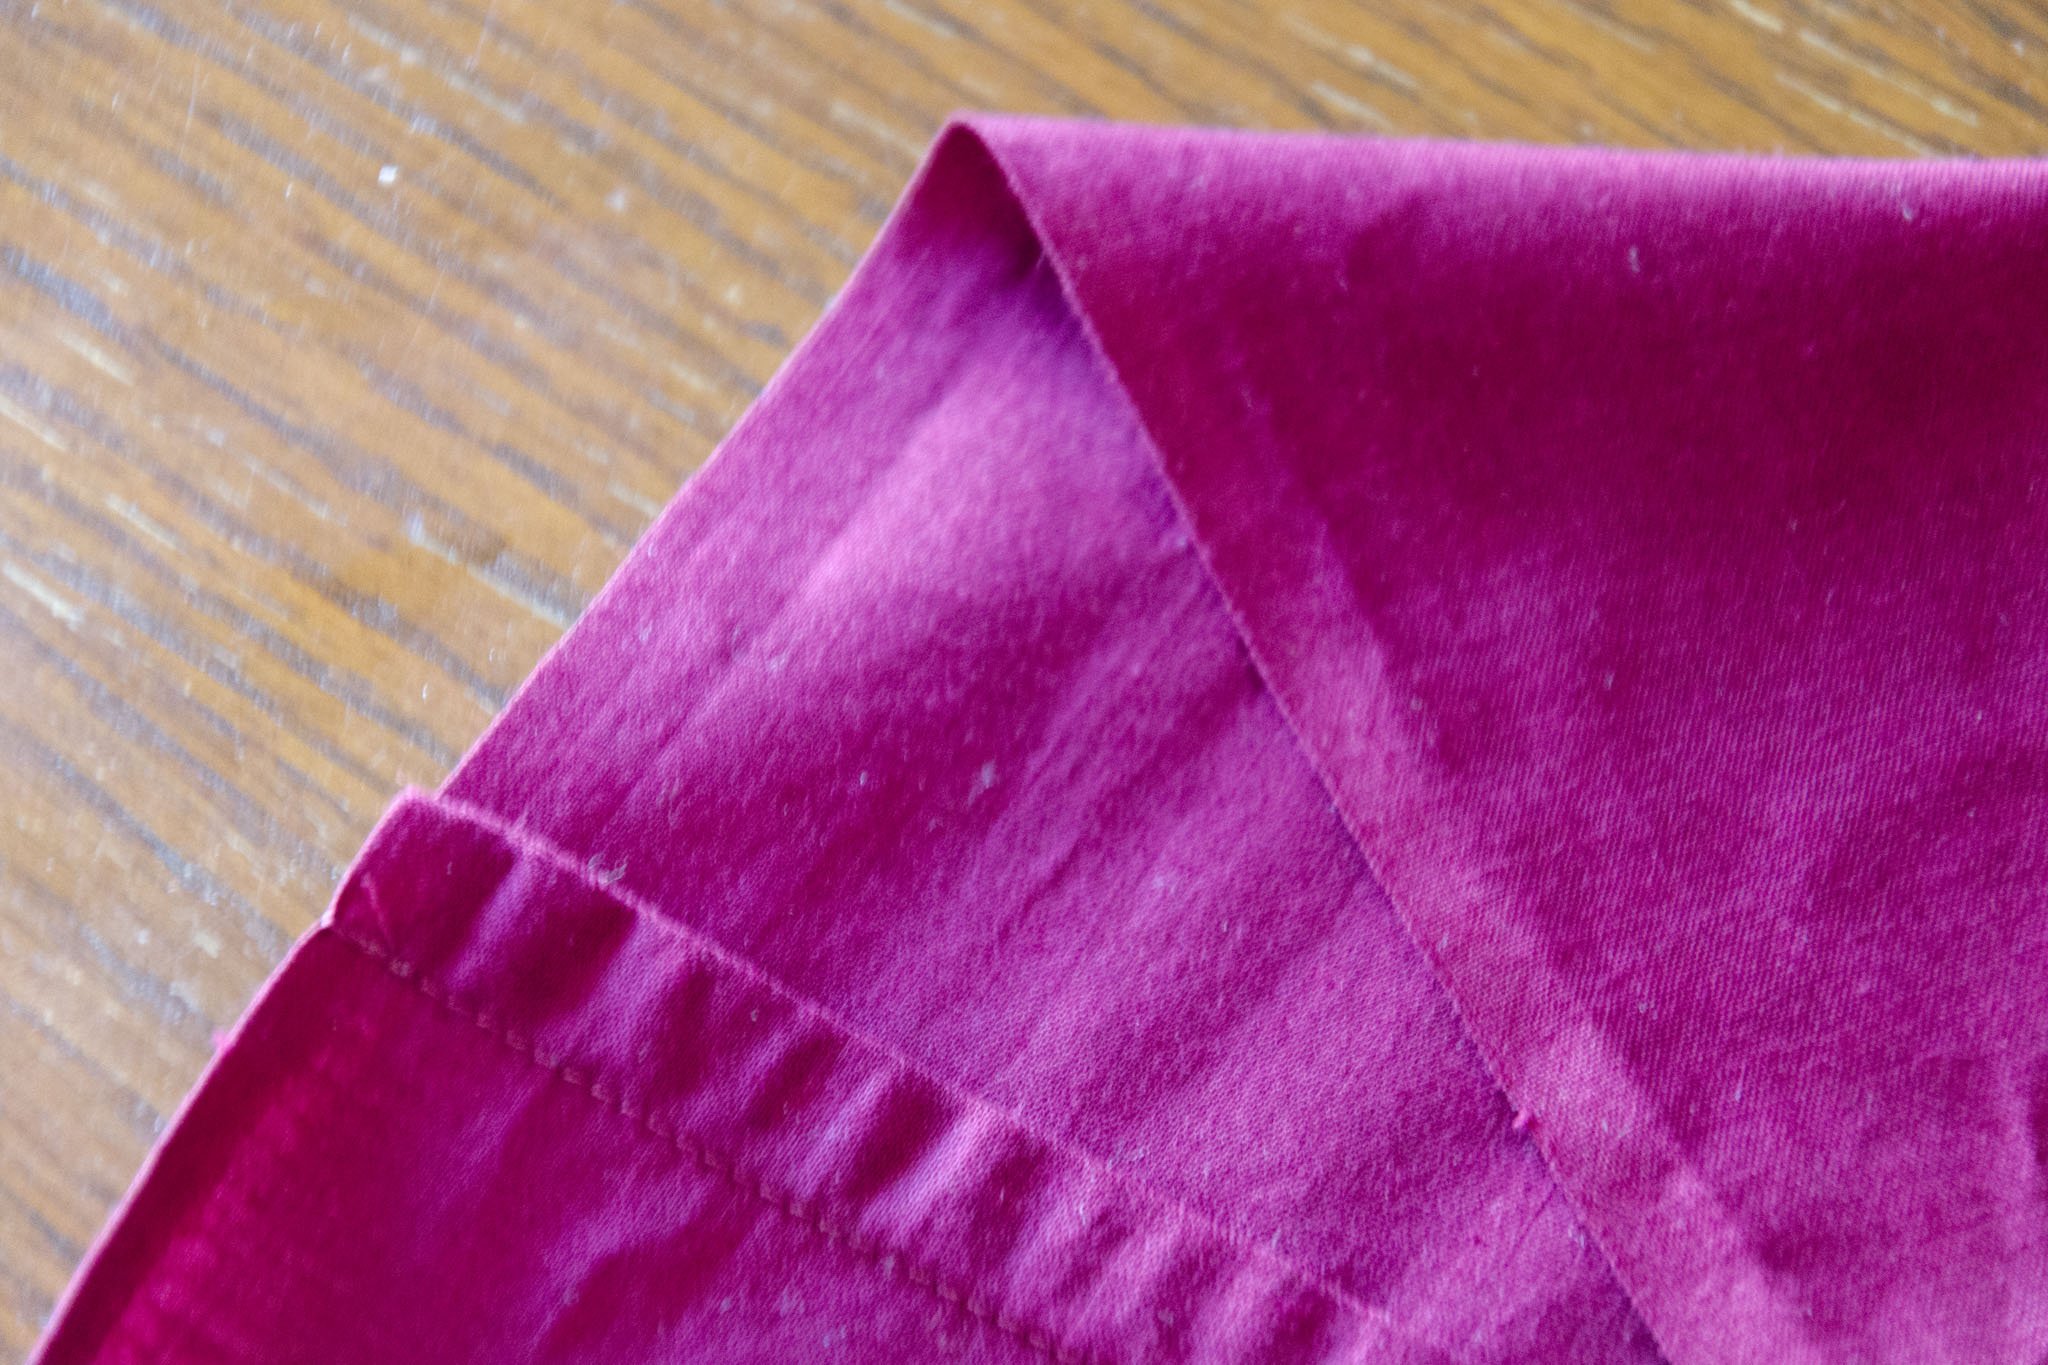
The cape is attached at the shoulders (more safety pins), and was only hemmed at the top: the sides are unfinished (the knit doesn’t ravel), and the bottom is selvage. I had to seam it up the middle due having two pieces of the fabric, and not enough forethought. I chose to use the knit because it had a printed pattern that looked like a rough texture, while being simple to work with for a costume.

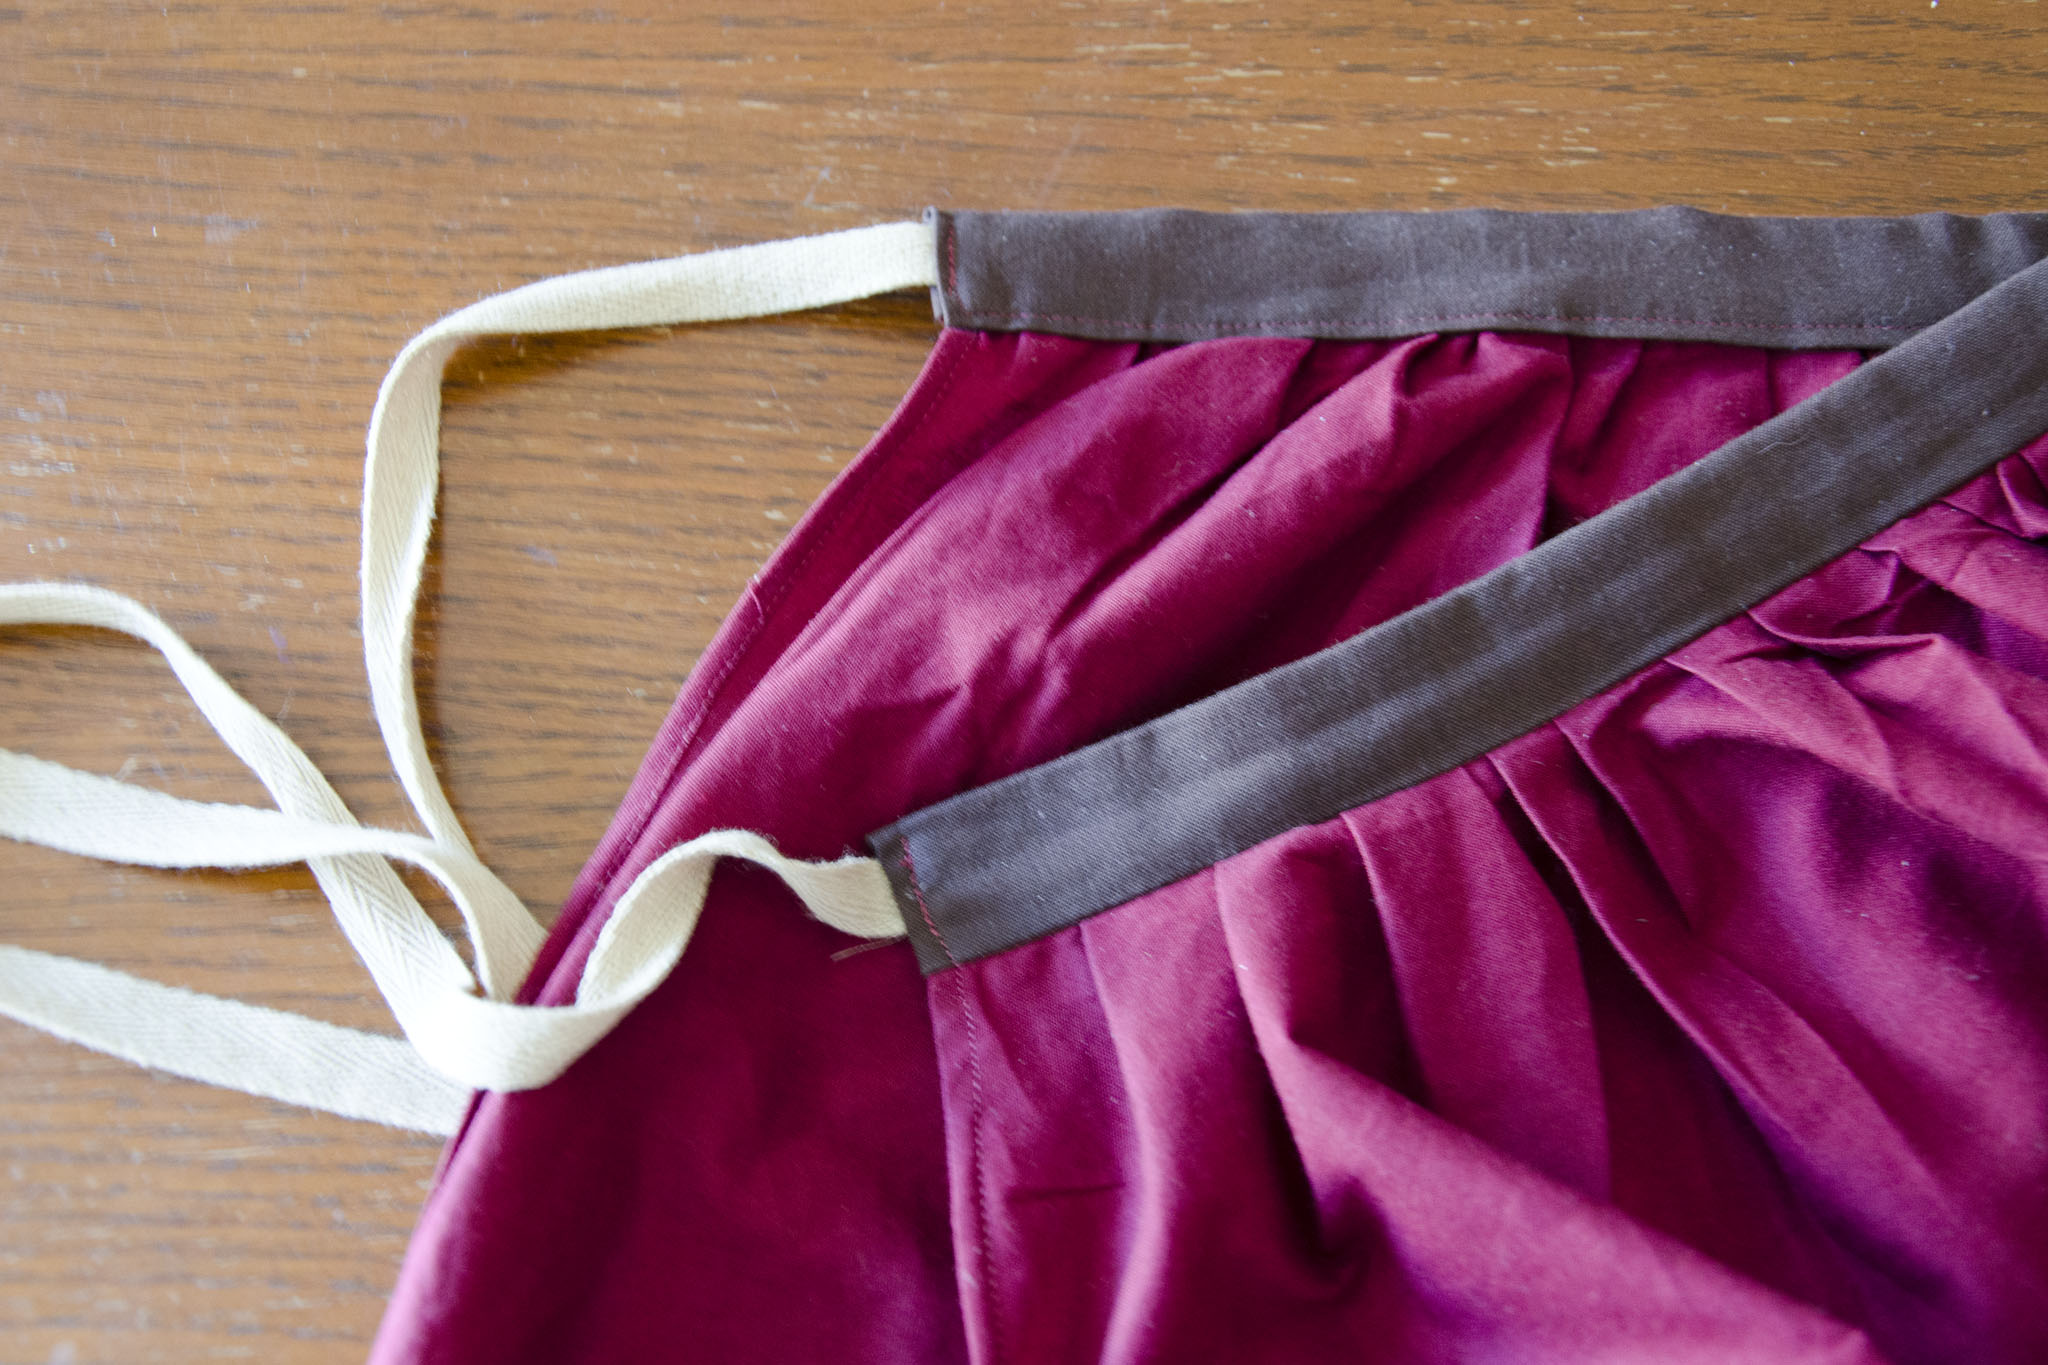
The apron is just a rectangle of fabric (actually three (felt and fashion tulle), layered, to get some texture). attached to a waistband, with patch pockets. I couldn’t find any multi-colored fabric with the right boucle texture.

Mary Sanderson wig details

The hair was fun—it’s a mix of my own and a structured wig piece. I made a base out of a styrofoam cone painted black with wire in the top, then hot-glued hair clips to the bottom. Then, I attached a hair extension piece that matches my already-dark-brown hair and clip-in purple pieces to create the structure for the shape. When wearing it, I twisted my own hair up onto the base and used a ton of pins, which held it all in place. Since I already have bright pink highlights, it was a little more jazzed up and multi-colored than Mary’s, but worked out surprisingly well.

ss-film-strip

If I wear this costume again in the future, I’ll finish up the lacing on the bodice, and add the accessories that really make something like this work (rings, earrings, proper shoes), but it was a lot of fun for an afternoon at work!

Sanderson Sisters second place

December 27th, 2015

More Halloween 2015 Costume Pieces

Posted in Historical

  • Chemise
  • Cosplay
  • Halloween
  • Mary Sanderson
  • Skirt

It’s time to show two more pieces for my halloween costume: a third (a final) skirt and a chemise.

hp-overskirt-front

The skirt is made in the same manner as the petticoat, although I used self-fabric ties for the front because I ran out of twill tape. This time the fabric was wide enough to use the selvedges along the side seam, and the skirt is supposed to be short, so two yards did the work. The plaid fabric wasn’t quite right, so I topstitched lace in a few places before constructing the skirt. It’s still not very close to the original fabric, but it’ll do for a costume.

hp-overskirt-back

The chemise was made using Simplicity 5582. Because there is an incredible amount of ease built into the pattern I didn’t bother with any sort of bust adjustment or other fitting since the ease would leave plenty of room. I did add an additional 7.5″ to the length, though, to change it from a blouse into a knee-length chemise. It’s very much costume construction with pinked seam allowances and elastic at the arms and necklines, but done is better than unfinished couture.

hp-chemise

One costume-specific detail is the attached necklace (made from a 30″ chain from the jewelry section at the big-box craft store). Although source photos show it is definitely attached, none are clear as to how. I decided to use hooks (of hook and eye fame) sewn to the neckline elastic casing to catch the links of the chain. Then, it’s easily removable if I want to repurpose the chemise, but will stay in place while I’m wearing the costume. The tension from the short length of the chain keeps it from falling below the neckline.

hp-chemise-detail

Stay tuned for later this week when I can reveal the final pieces.

October 25th, 2015

A Historical-ish Petticoat

Posted in Historical

  • Cosplay
  • Halloween
  • Mary Sanderson
  • Petticoat

I’m doing a group costume for Halloween with two of my coworkers. The who I’m portraying is a secret until then, but the how involves three different skirts for maximum authenticity. This is layer one.

The character is historical, but we’re not going for historical accuracy (nor did the original costume designer). This petticoat is almost-historical, albeit for about 100 years later than the character’s base time period.

hp-petticoat-front

It’s made from 3 yards of 44″-wide cotton, plus stash scraps and twill tape for the waistband. The hem is approximately 106″, so nicely full and swishy.

hp-petticoat-back

I used my rolled-hem foot to finish off the side slits, then sewed the rest of the side seam with a french seam. Those techniques are not historically accurate at all (well, maybe the narrow hem, a little).

hp-petticoat-1
A narrow hem makes a nice finish on the side openings

At 5’3″ with a short inseam, the 44″ width was the perfect height for me, so I used the selvage as a hem, which made the work very quick. A more historically accurate skirt would have put the selvages along the side seam, but the fabric width was too narrow for the fullness I wanted, and I didn’t want to sew any additional seams.

hp-petticoat-3
Selvage hem and french seams made construction quick with little chance of raveling.

Thanks to American Duchess for a great tutorial on this style of petticoat making.

hp-petticoat-2
My pleats were rather haphazard, but they work just fine, and the double waistband makes fitting adjustments a breeze.

I also finished the sewing part of layer two, although it needs to be thoroughly distressed before it’s technically complete. This layer is far more costume construction than historical, using a half yard of the fashion fabric, with tulle for the rest, which will be hidden by the overskirt. The same two-part waistband structure is there, but I sewed a channel for the ties and gathered the center by way of stringing the bias tape through, then tacking the ends so it doesn’t spread out again. It’d be a bit unwieldy for cotton, but works well for the light-weight net. The hem (or lack thereof) will be even more uneven by the time it’s fully distressed.

hp-second-skirt

I’ll try to post more progress posts before Halloween, if I can do so without plot spoilers. Otherwise, you’ll just have to wait until November!

October 1st, 2015


© 2008–2023 Raevenfea