
Hybrid Pinwheel Tutorial
Posted in Quilting
I’m evidently stuck on designing with pinwheels lately, so when I was thinking about how to make the quilt currently titled “Organic Spins”, pinwheels popped to mind yet again. As the design progressed in my head, however, I realized that I didn’t want a ton of seams in the background of the quilt. So, the idea of making a whole-cloth quilt with appliqued pinwheels came about. But, it still requires piecing part of the pinwheel together before being able to applique it on.
Last week, I played around with some scrap fabric to make a proof of concept. I finally cut into my fabric and started piecing at the Utica Modern Quilt Guild meeting/sew-together on Saturday.
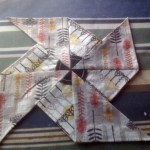
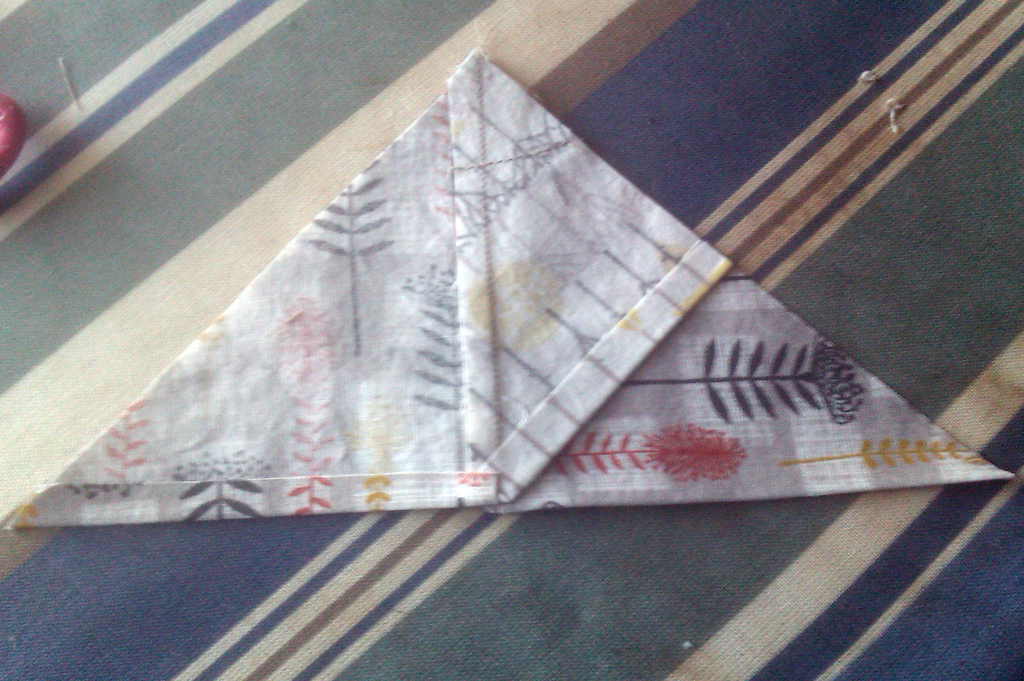
Here’s the final product:
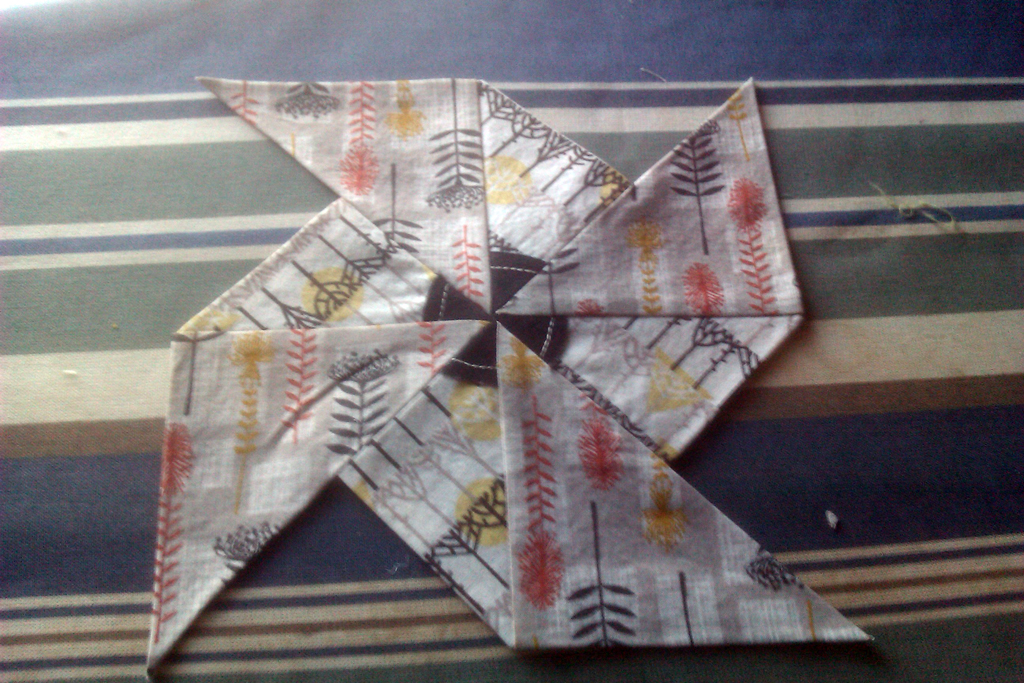
This one finishes at about 10.75″ across. It’s the middle of three different sizes I’m using (well, plus one much teenier size that will be paper pieced).
What you need
For this particular size, you need:
- Four large triangles—for best results, cut two 4 5⁄8″ squares in half. They’ll finish at 3.75″ along each leg.
- Four small triangles—cut two 3 5⁄8″ squares in half. They’ll finish at 2.75″ along each leg.
- One 3″ diameter circle, cut into quarters.
-
 ¼″-wide Lite Steam-a-Seam 2 fusible web—this makes turning under the un-sewn edges so simple.
You can make larger or smaller pinwheels if you want to do math. The pinwheel will be about four times wider than the finished length of the legs of the small triangles. The legs of the small triangle are half the length of the hypotenuse of the larger. It involves the Pythagorean theorem. I cheated by drawing it out full size in Illustrator, checking the sizes, then adding 7⁄8″ for seam allowances for the HSTs. The circle can be whatever size you think looks best—or leave it off if you want.
Using HSTs means that the smaller triangle will be off by 1⁄16″ or so unless you actually want to cut to 1⁄16″ precision. You can get more exact measurements easier using QSTs, but I wanted to avoid sewing bias-to-bias, preferring the stabilization of always sewing one on-grain–edge to one bias-edge. In practice, the small mismatch wasn’t an issue, since my blocks didn’t need to be sized accurate to the mm, seeing as they’re going to be scattered about on a single piece of cloth.
Sewing the circle
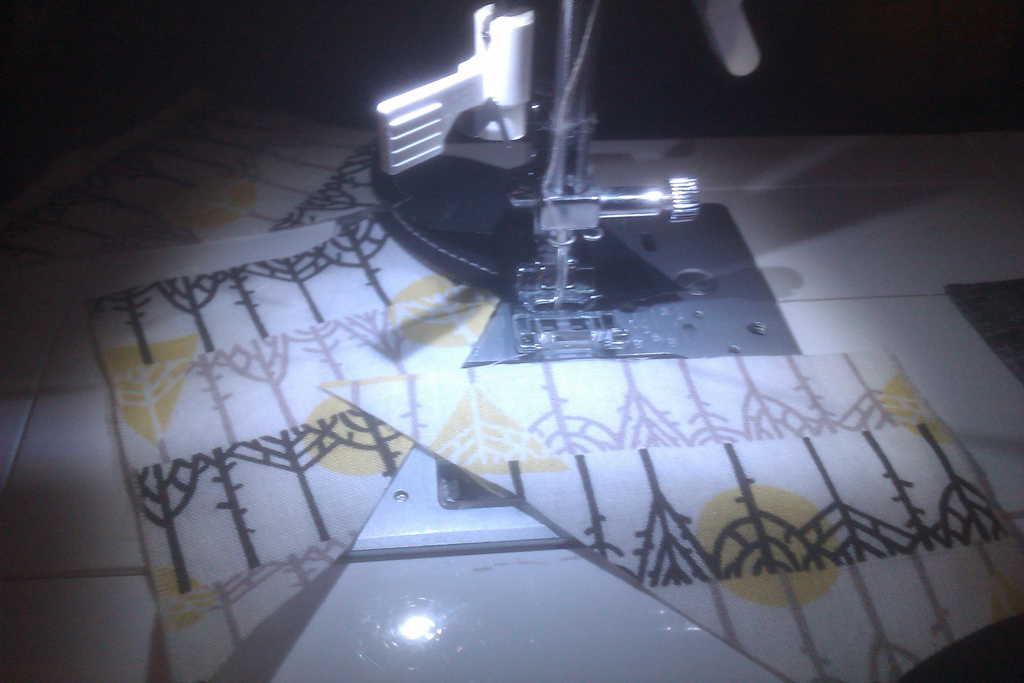
I decided to do raw-edge applique for my circles. To do so, take a small triangle and a quarter of the square, line up one edge of the circle with the point of the triangle and sew 1⁄8″ or ¼″ in from the circle edge. For best results, use a tear-away stabilizer underneath. Trim the overhang off the edge so that the triangle is once again a triangle.
Piecing the pinwheel

Sew the hypotenuse of the small triangle to a leg of a large triangle, lining up the points with the circle so that there is a dog-ear only on one end. Stop and secure your stitches ¼″ before the edge of the large triangle so that you have room to finish the edge.

Trim the dog-ear and press seams toward the larger triangle. Doing so will let you nest seams later, but if you really prefer to press seams open, you can do that. Place a strip of Steam-a-Seam right along the edge of the small triangle, then fold over and iron to secure the seam.
Trim the corner of the smaller triangle where it overlaps the edge of the larger, to reduce bulk, then put a strip of Steam-a-Seam on the edge of the large triangle, fold and press.
I love the ¼″ Steam-a-Seam, because it makes it easy to press under the right amount without having to use a ruler each time, and it make sure the edges are secure.
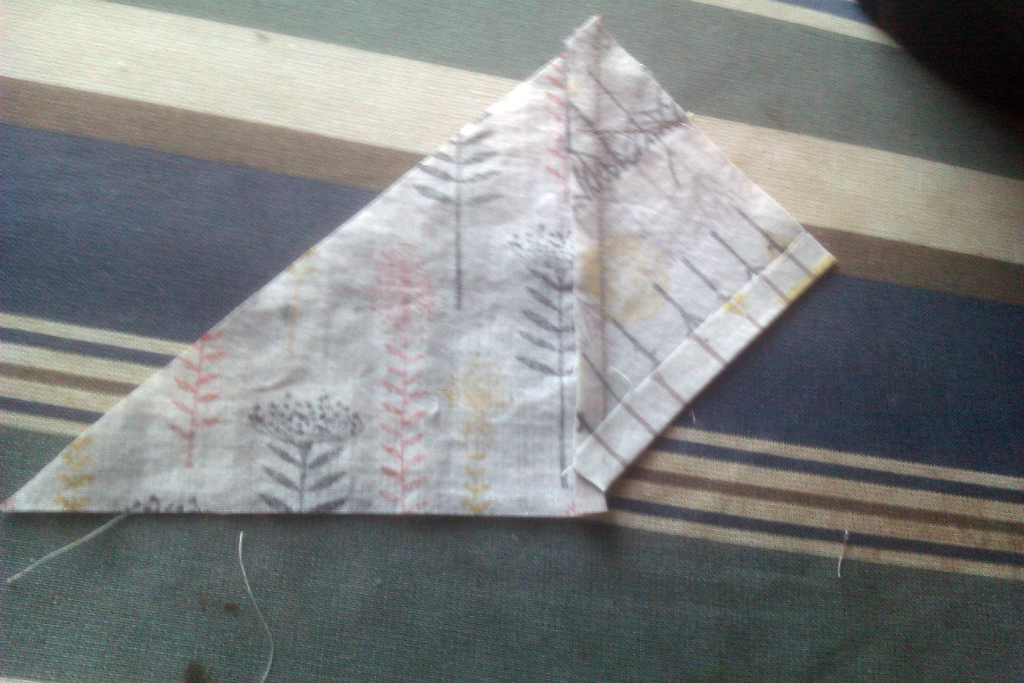
Sew two large+small triangle units together along the edge of a small triangle, stopping at the edge and securing the stitch.

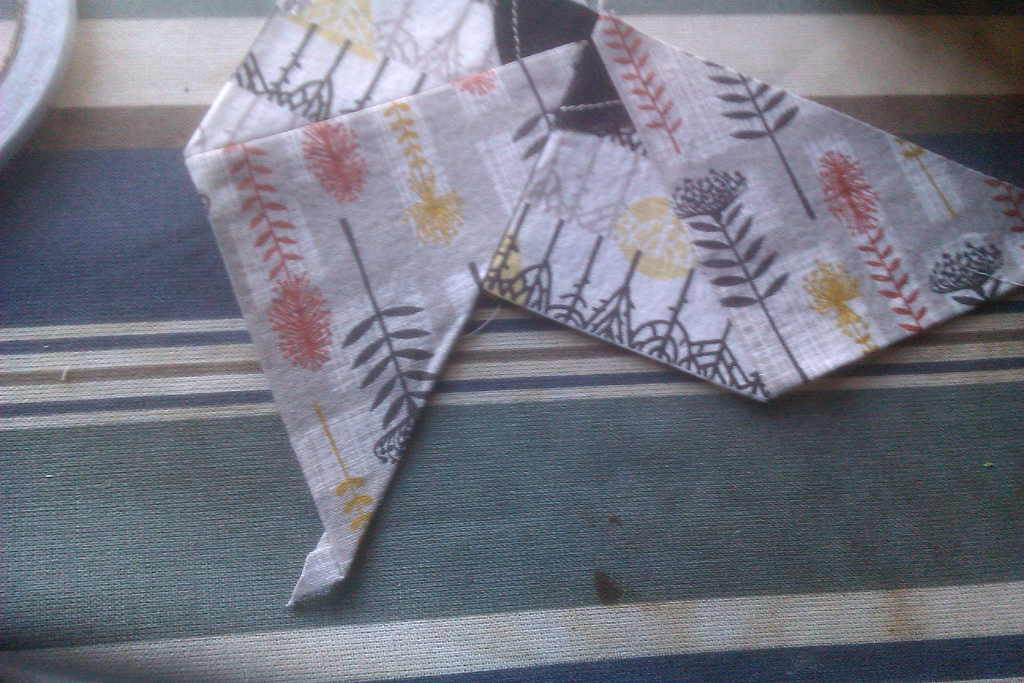
Press this seam open, then add Steam-a-Seam to the remaining edge of the large triangle, pressing down the edge all the way to the point. Be careful—this is a bias-edge, so it wants to stretch. Trim the dog-ear off the point. I know some of you might prefer to never press seams open, but this will reduce bulk in the center when everything is put together.
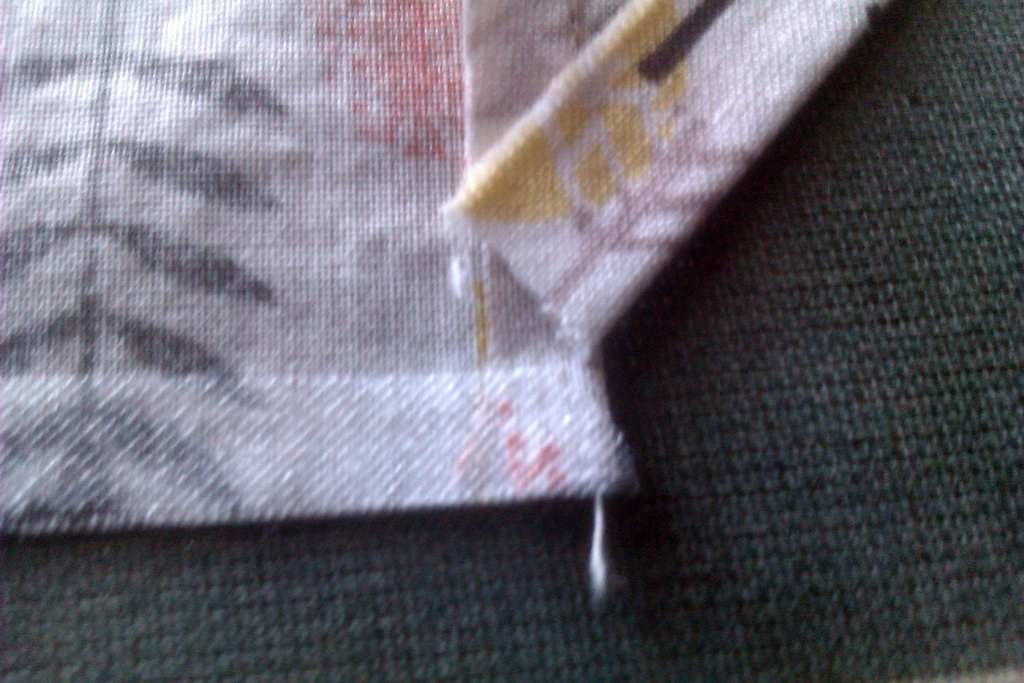
You might want to trim the edge of the small triangle where the seam is finished on the edge so it doesn’t peek out. I trimmed along this red line.

Now you have half of the pinwheel.
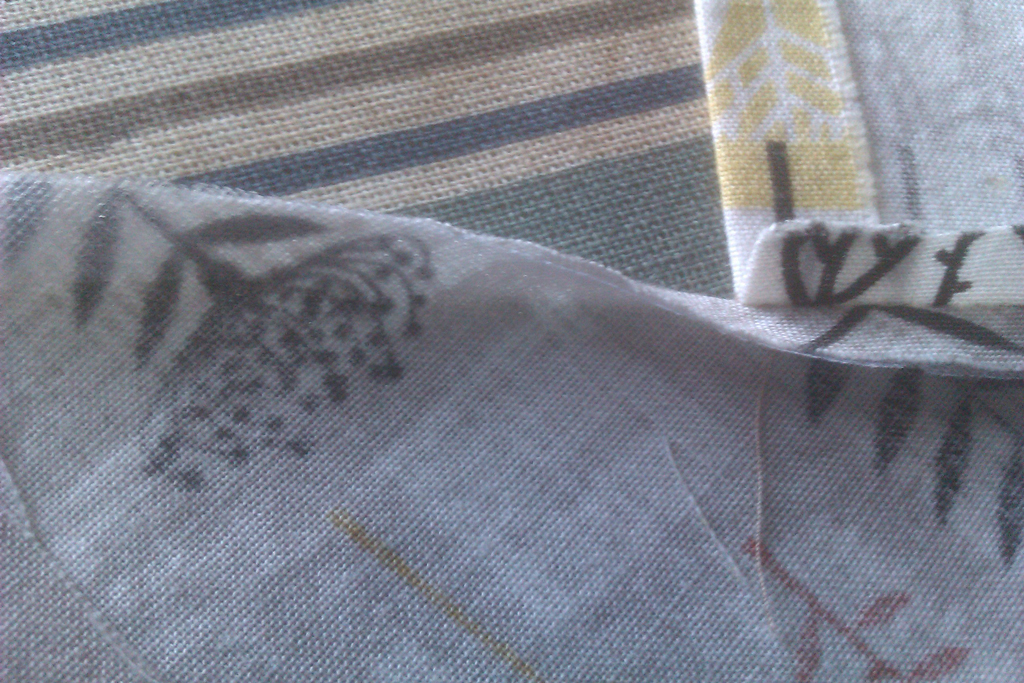
Place your two halves together and sew. I found it best to start in the center and sew out to the edge of one small triangle, securing my stitches, then starting again in the center and sewing the opposite direction.

Press the seam open, and use Steam-a-Seam on the two remaining unfinished edges.
Here’s the finished pinwheel once again:
Once I’ve made all the pinwheels, I’ll start appliqueing them to the background, a 58″ wide linen. This is turned edge, so you can applique it however you wish. I haven’t decided whether I’ll do mine by hand or machine, but stay tuned as I make progress.
If you make your own, add a link in the comments! I’d love to see your work.
Comments are closed.