Simple Curves with Quiltsmart Become an Ironing Mat
Since I am getting the hang of applique so long as I don’t need to turn any edges under, I decided to face another fear of mine—curved piecing—in the most fearful (that is, not actually confronting the fear) way possible: using applique to give the look of curved piecing.
Okay, that’s a bit of an exaggeration, but the ladies at Viking Gallery were offering a weeknight class to make a “Rob Pete” table runner using the Quiltsmart method which uses fusible interfacing and applique to create curves instead of traditional piecing. So I signed up.
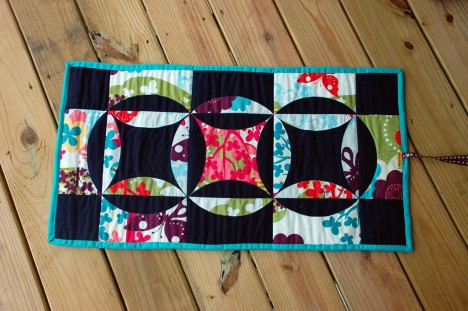
And before long, I had fabric that was originally intended to be the bag for the Spring Quilt Along and the Quiltsmart printed fusible interfacing turned into this bit of patchwork:
The printed fusible interfacing pieces look like this:
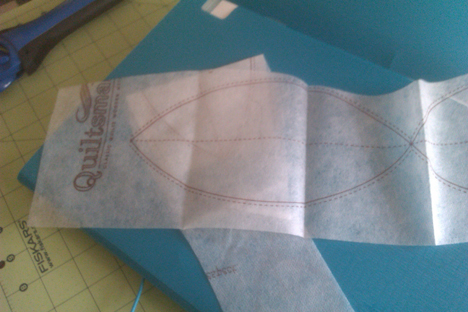
Since I was in a class, I don’t have any in-progress photos, but the premise is rather simple. You place your fabric and interfacing together (don’t fuse yet!), sew along the stitching lines, cut along the cutting lines and then turn right-side out. This puts the fusible side of the interfacing facing down so that you can fuse your curved piece to the background. Fuse, applique on, and then piece the blocks together and you’re done!
So, aside from a few typos about cutting requirements that were in the pre-publication page previews that Quiltsmart kindly sent (evidently the old book is out of print, but they’re releasing a new one soon), this was an extremely simple, straight-forward way to make Rob Peter to Pay Paul.
And, since I have no table on which to place a table runner (seriously… the table runner is the same dimensions as my coffee table, which is the largest table in the house aside from our desks), I decided to turn this into a very useful item: an ironing mat!
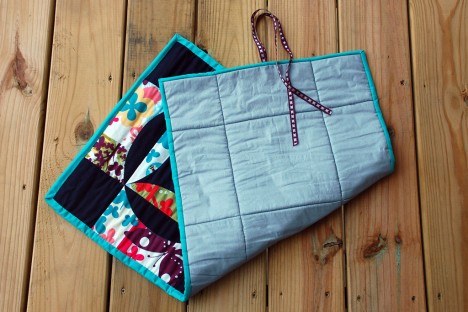
There are a few ways to make an ironing mat, but my approach required three more layers:
- Ironing board fabric, which is a special aluminum-coated fabric. I bought mine from the local JoAnn, which had it in the utility fabric section. I’ve heard some people claim you shouldn’t use special fabric like this because it redirects heat back up to your fabric and promotes scorching. I’ve never had any problems. If you associate with the former camp, you can always use plain cotton instead.
- Insul-Bright, a heat/cold-reflecting batting-like fabric. This is often used for things like pot-holders or lunch bags and is also available in the utility fabric aisle or in pre-cut packages in the notions aisle.
- Natural fiber batting such as Warm & Natural or Bamboo/Cotton blends (I used Bamboo Fusible Batting that I had on hand. The fusible part was a bonus, but not necessary).
Then, you sandwich them all together in this order:
- Ironing fabric (backing, silver-side out)
- Insul-Bright with shiny-side toward the ironing fabric
- Batting
- Pretty pieced fabric
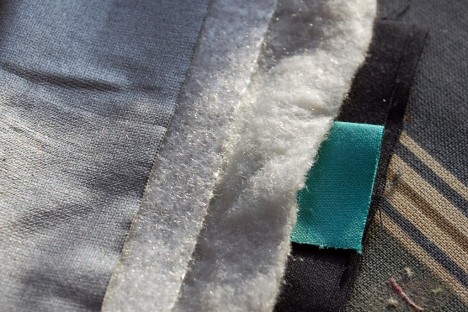
Consider using spray-basting, as the ironing board fabric holds pin holes—with spray, you don’t need to pin. This was one advantage to using the fusible batting I had—I fused the patchwork to the batting and the batting to the Insul-Bright, and only had to spray baste the ironing fabric to the Insul-Bright.
Quilt as desired. For mine, I stitched in the ditch along the straight seams—which is pushing it as far as closeness for recommended quilting for the batting, but I doubt this is going to be washed very often.
Then use! You iron on the shiny side, but can flip it over to use as a table runner when it’s not needed.
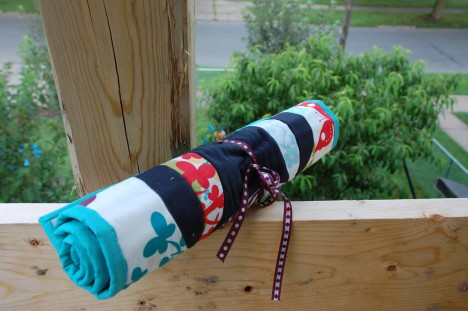
Or, slip some ribbon in the binding…
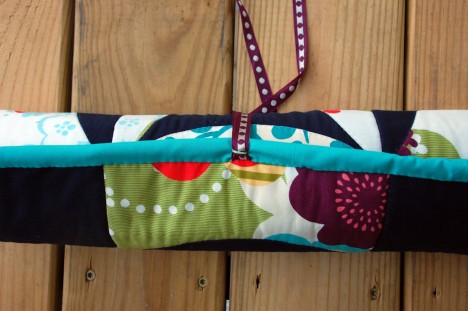
… and you can roll it up for easy portability.
Now it’s time to tackle true curved seams…

Comments are closed.