
Quick Reusable Gift Bags (& a Gift Idea too)
Posted in Crafting
Most of my gifts are going into basic paper gift bags (yes, I’m too lazy to gift wrap soft stuff or box, then wrap, it all), especially since I already made the gifts themselves, but there is one present I’m excited about that I decided to whip up a quick gift bag for.
The gift
A young friend is getting her first sewing machine for Christmas, so in addition to advising the giver on basic sewing tool kit stuff, I thought it would be great to give a quick first project for her to work on (she does have a bit of experience from whatever they call home ec class these days).
So, I bought a pajama pants pattern (which also comes with the pattern to make a dog sweatshirt—how cute!), two spools of thread (hey, it was bogo, why not?), the elastic for the waistband, and the fabric for the pants. In other words, everything she needs to make the pattern, that isn’t in her sewing kit.
In addition to the offer of helping her if she needs it, I’m also adding in a letter/tip sheet for general sewing of things I’ve learned over the years—if you have advice, comment! I’m sure I missed plenty!
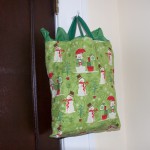
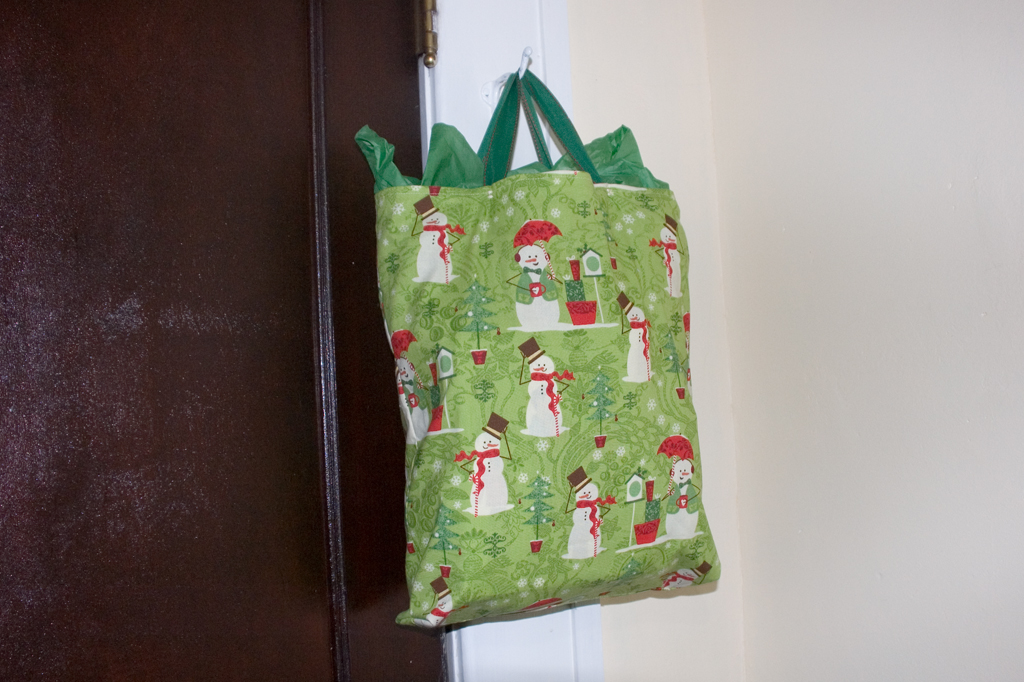
The bag
Since the gift is all about sewing and fabric, I thought a fabric gift bag would be a great way to present it—plus, she can cut it apart and use the fabric if she wants, or reuse it for something else (perhaps a scrap bag?). I pulled out my holiday stash and got to work. All told, it took about 20 min, but if you pink all the edges instead of french seam, it would probably go much faster—like 10 minutes or less.
Materials
- ½ yard fabric (or two fat quarters)
- matching or contrasting thread
- approx. 18″ of 1″-wide ribbon (optional)
Instead of ribbon, you can whip up quick fabric strips from the same or contrasting fabric if you’d prefer.
Making the bag
My bag ended up being approximately 12″×16″, because I cut a few inches off the side of the half-yard to stash away. Yours will be somewhere between that and 16″×20″, depending on how much you trim the fabric/whether you pink or french seam. If you haven’t caught on yet, when I say quick project on here, that generally means “Rae just threw it together and didn’t measure anything, so don’t expect exact measurements on anything.”
If you have ribbon for the handles, square up the fabric and cut off selvages.
If you need to make self-fabric handles, do the above, then cut a 2.5″ strip from one short edge of the fabric (~18″ long).
If you’re using FQs, make sure the rectangles are the same size now. If you are using yardage, fold in half. You don’t have to cut along the fold, but you can.
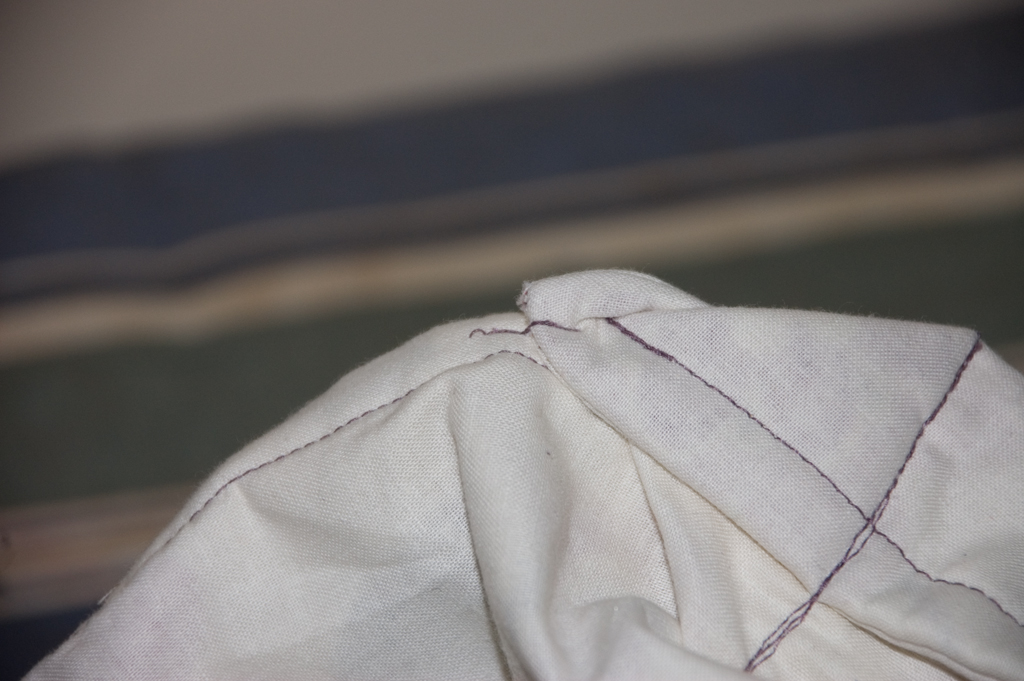
For french seams, put the back and front wrong-sides together, and sew with a ¼″ seam around the sides and bottom. Turn it inside-out, then press so that you have a crisp edge. Sew along those same three sides again, using a 3⁄8″ seam allowance. This will have enclosed the edges of the fabric.
For a faster bag, just whip out the pinking shears and make a plain ½″ seam with right-sides together, then pink the seam allowances so that they don’t ravel.
With the bag still inside out, rearrange the corners (one at a time) so that the bottom and side seams are touching and you have a triangle, then sew across the fabric approximately 1.5″ down from the tip. This will make the bottom of the bag more box-like than pillow-case like. Tack the tip of the triangle to the bottom seam allowance by sewing a few stitches over the two.
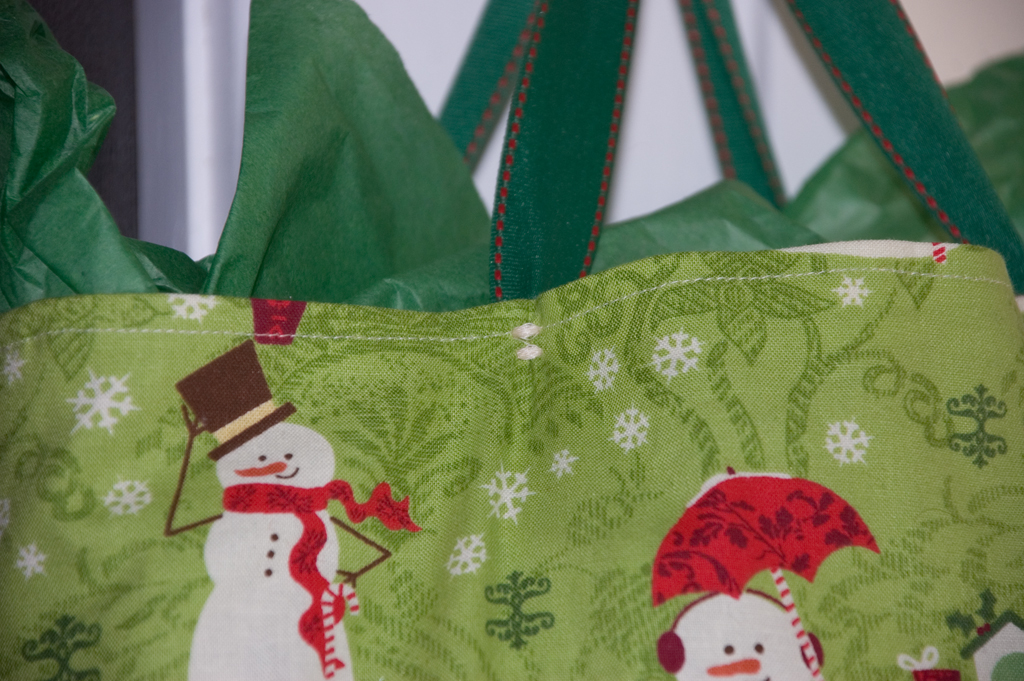
Turn right-side out. Hem the top of the bag either by pinking the top edge and folding over ½″, or folding, then folding another ½″ to fully enclose the raw edge. Press the fold, then top-stitch all the way around 3⁄8″ from the top of the bag.
For self-fabric handles, fold the strip of fabric in half length-wise, press, then fold the edges into the first fold and press again, like you would with bias/binding strips, then topstitch along the open edge. (Or get really lazy and use pinking shears to cut the strip down to 1″ wide.) Cut in half, so that you have two pieces of the same length.
For ribbon handles, cut your piece of ribbon so that you have two pieces of the same length.
Mark the mid-point of the top of the bag on both sides, then pin your handles approximately 2.5″ out from either side of the center, ½–1″ down from the top. You should pink the bottom edges of the handle, or fold under ½″ so that it doesn’t ravel.
Sew the handles onto your bag. I used a wide satin stitch and tacked it in two places for each connection. You could use straight stitches or sew a square—however you think is best.
And that’s it! It probably took you longer to read this than to make the bag—especially if you were cursing all my “approximate” or “you could do this, or this…” statements.
Do you make or use reusable gift bags?
Comments are closed.