The Art Student and the Cottage Garden
“This Art Student visited the Cottage Garden, and what happened next was a real challenge!” I really couldn’t restrain myself from click-bait copywriting there. Sorrynotsorry.
The MQG paired up with Riley Blake fabrics for a challenge this year. Those of us who were quick enough on the draw to score free fabric ended up with a pack of six fat eighths from the Cottage Garden line by Amanda Herring of the Quilted Fish.
The challenge rules:
- Make something fantastic that is quilted.
- Make something you’ve never done before.
- Challenge yourself to learn something new.
- Use only Riley Blake Cottage Garden fabrics and coordinating Riley Blake basics and solids.
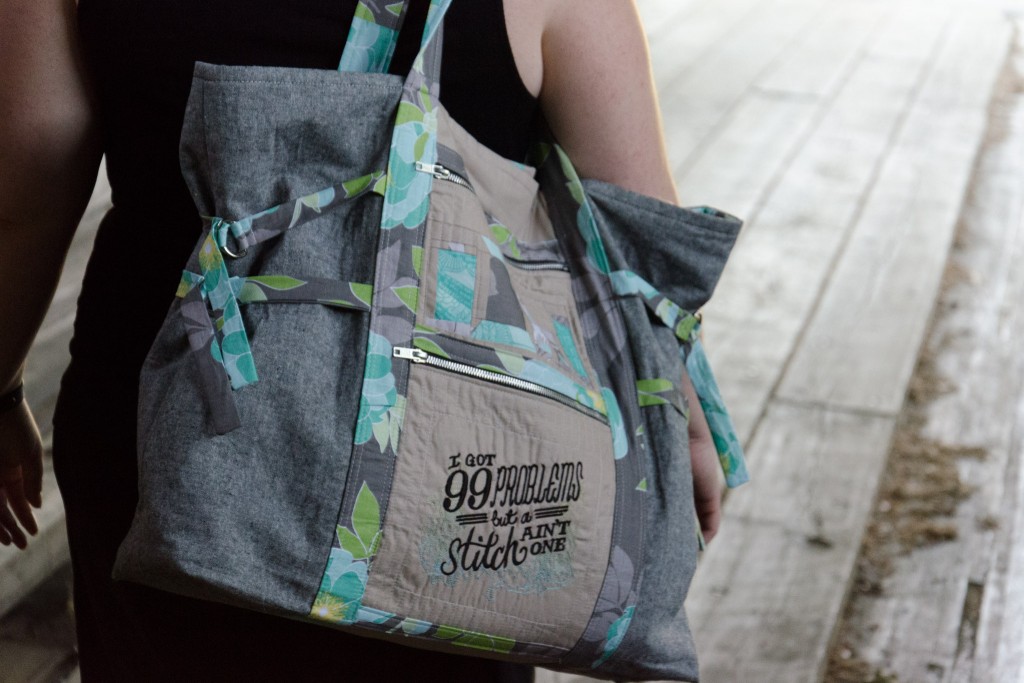
While I was pondering what to make, bags my fellow guild members brought to our sew-in in May inspired a bit of an obsession with Anna Maria Horner patterns, including her Art Student Tote.
“…Quilted”? Well, I can quilt part of it, sure. “…Never done before”? I usually just make bags without a pattern to varying degrees of success. “…Learn something new”? Well, the VT guild challenged us to learn paper piecing too, and I missed the demo while I was on vacation, and I can add quilted piecing to the bag, right?
That was the long way of saying I decided to make the Art Student Tote for my challenge project and incorporate quilted panels.
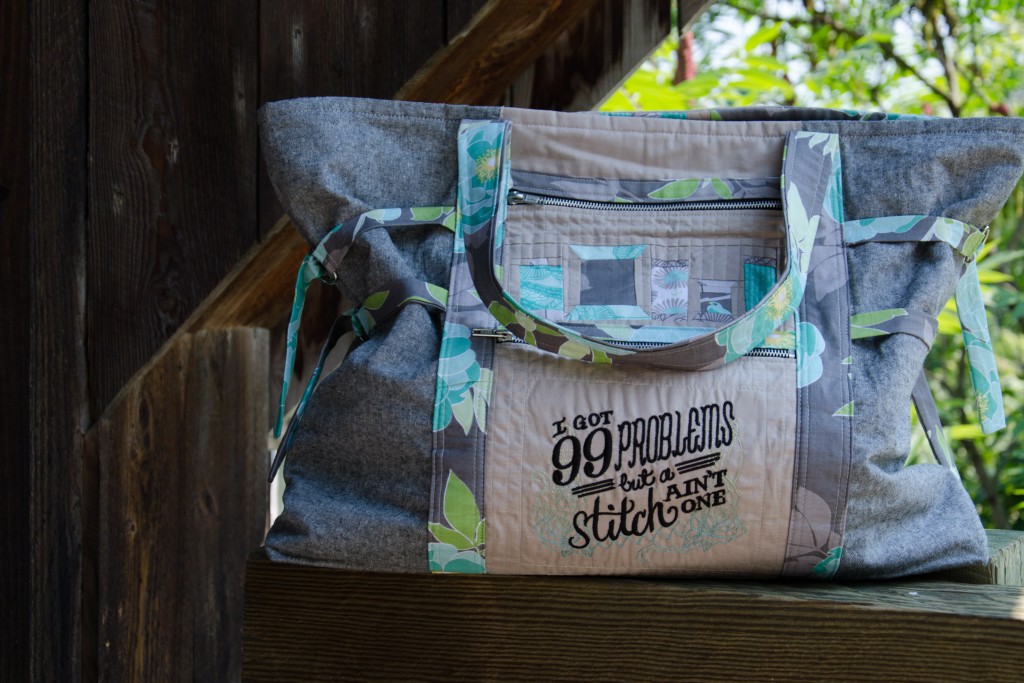
I may have forgotten and/or misread the whole “use only Riley Blake…solids” part of the instructions while shopping, so Kaufman Essex Yarn Dyed in black ended up being a substantial part of the bag. C’est la vie. So, I might not qualify for the challenge (although I’m not the only one who used other things, from what I can tell), but I do have a usable product that I’m excited about, and Riley Blake sold a few extra yards of their fabric.
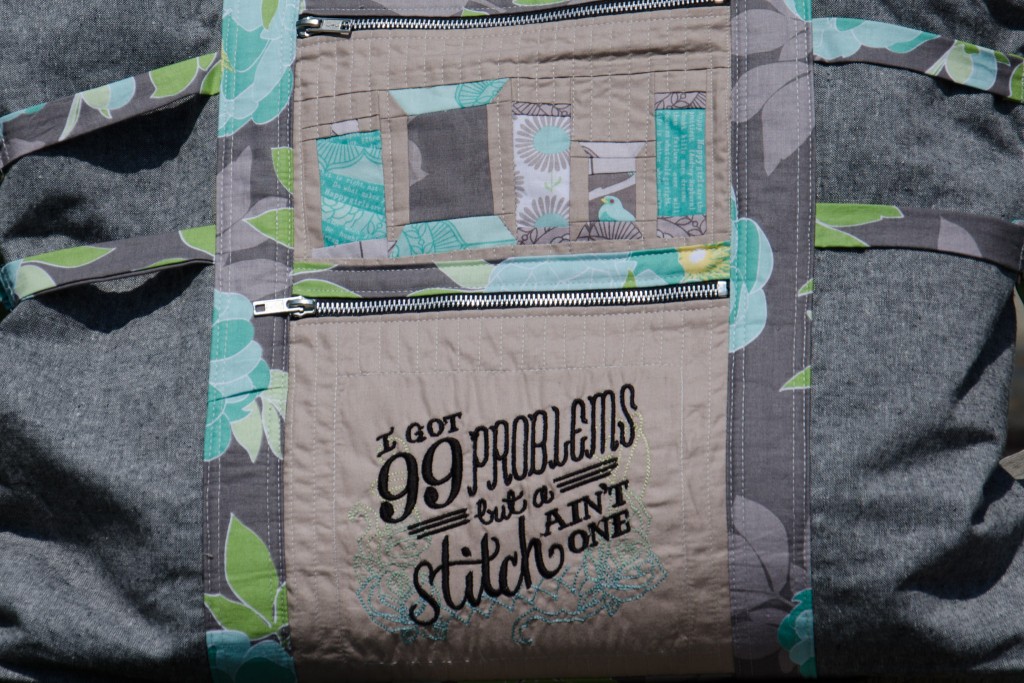
Choosing what design to use for the pieced section of the bag was difficult until I came across an Urban Threads embroidery that greatly amused me. Stitches need thread, so paper-pieced spools made complete sense. Ironically, my needle thread broke eight times while stitching out the embroidery.
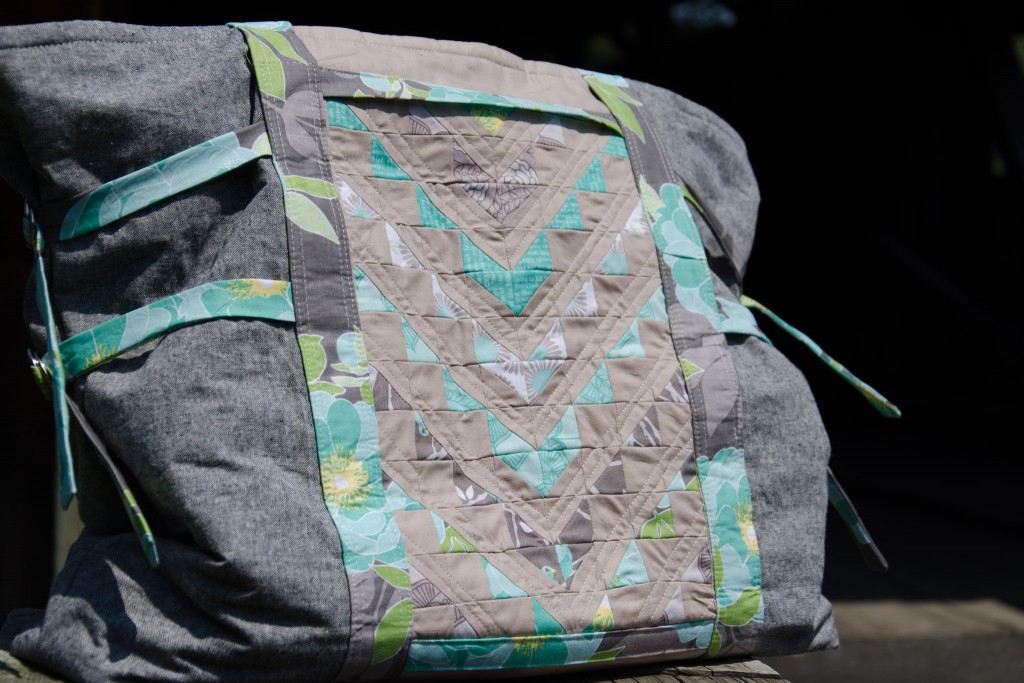
Although the pattern only calls for pockets on one side of the bag, I made a non-zippered one for the back. That way, I had an excuse for a center stripe of pewter on both sides of the bag and more opportunity to use the challenge prints. After making spools for one front pocket, I decided that I’d rather return to traditional piecing for the rest and made the back panel inspired by a quilt by Patty Sloniger of Beck and Lundy. Whether piecing 1″ half-square triangles was less painful than additional paper-piecing is still up for debate. I quilted all of the pocket fronts to flannel to keep them lightweight but structured (and quilted).
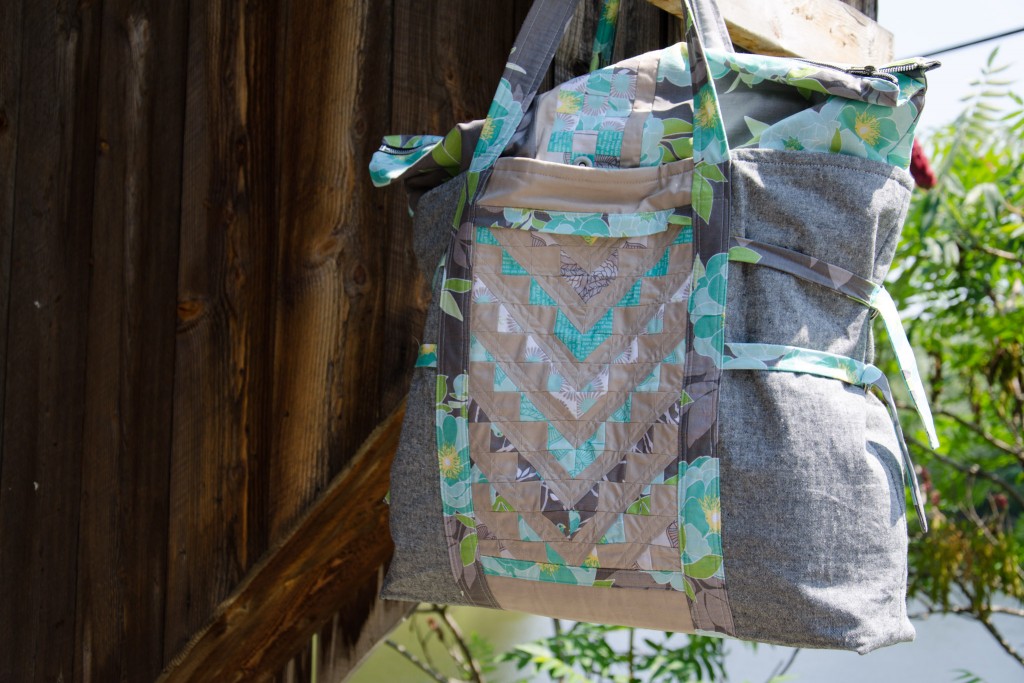
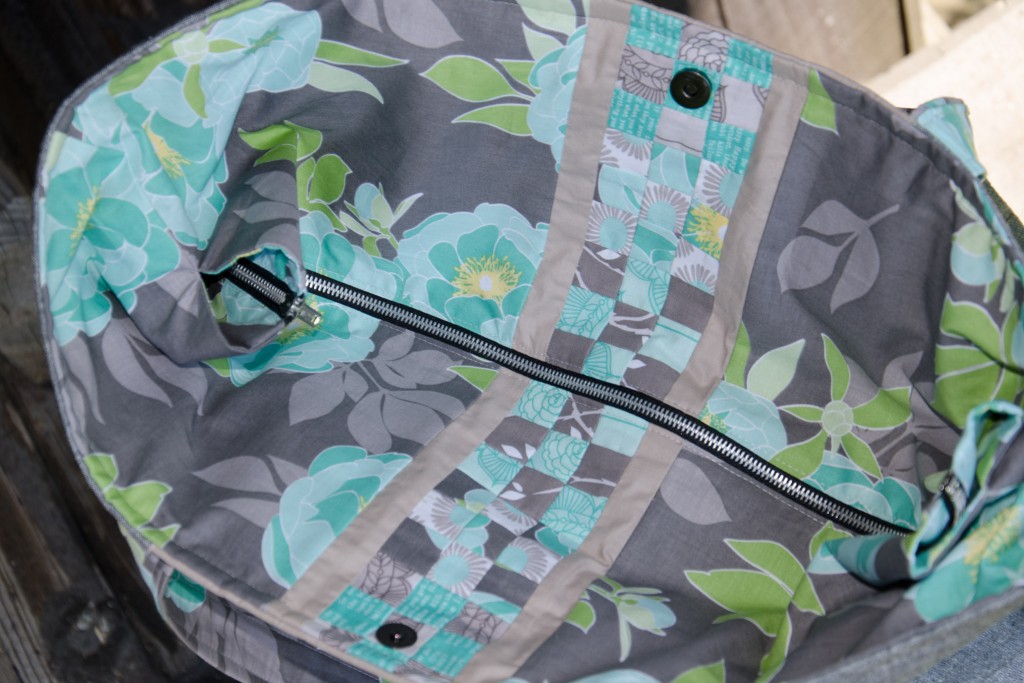
I made the version that includes an extension panel. Because I originally purchased the flower yardage for the lining only, I was about 3″ short when it came time to cut out the extensions. I saw it as one more opportunity to use the challenge fabrics, and pieced in a stripe of small nine-patches.
Not everything was rosy. I don’t know if it’s me or the directions, but I had a very hard time following along with the pattern. I had to re-read things a million times, and it still didn’t make a ton of sense in certain cases. The pattern also seems to be missing markings for start/stop stitching on the extension panel. It all turned out okay in the end, but was disappointing for a paid pattern.
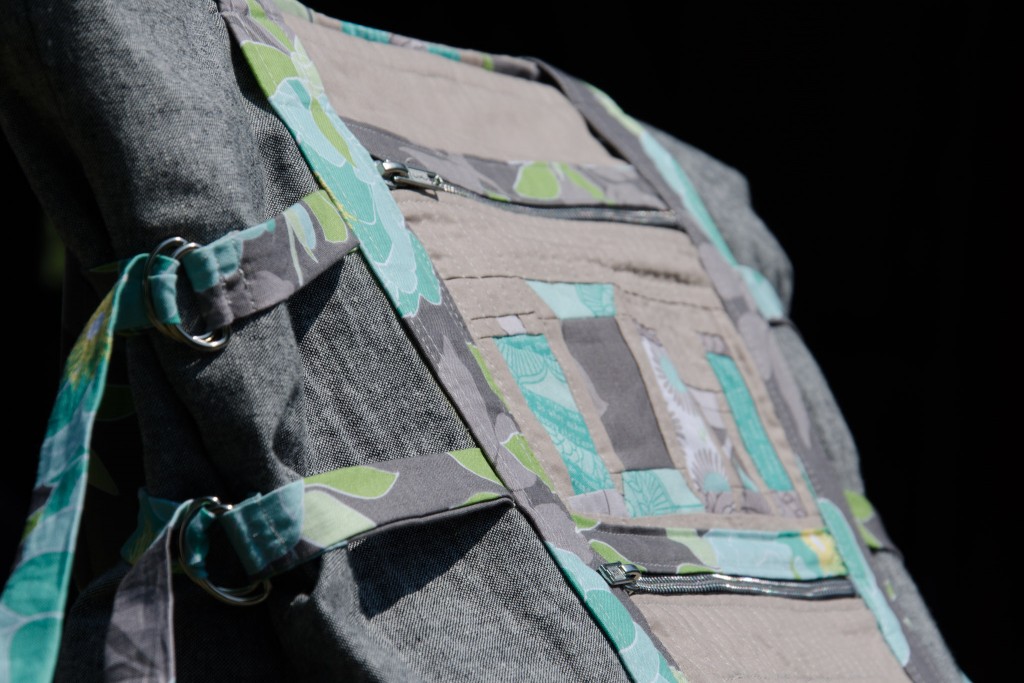
If I make it again (likely with less piecing!), I’ll leave off the extension panel. It may provide more room when you need it, but is a bit awkward when folded down inside the bag. Not to mention, the bag itself is already pretty large! I also need to find a way to hide the raw edges from my center stripe at the very top edge (my fault for lack of foresight when I modified the pattern that way).
Regardless, it seems perfect for toting around projects and quilts that need to be photographed. I’m looking forward to using it to carry stuff for a sew-in next weekend!
All photos by Carl Pfranger

