1+1=4: Putting it all Together
 The premise of this week is simple: I’ll show you how to make four small cuddle quilts out of a single roll of 2.5″ strips and a yard of cuddle fabric or fleece. The final quilts measure 18″×24″, so these are meant for comfort more than sleeping under. Today, we’re finishing the quilts. If you’re just joining in, you may want to hop over to all posts tagged 1+1=4 or start from the beginning of the series.
Now that we have all four quilt tops, we can turn them into quilts. The first step is to prepare the backing. The fabric requirements allow you to cut three full-sized backs, leaving one that must be pieced from two pieces. There is a small amount of leeway, so if you’re uncomfortable trying to sew a ¼″ seam on Minky or Fleece or find yours curling, you can add an extra half inch to the measurements, then center your quilt top so that you have a graded seam allowance.
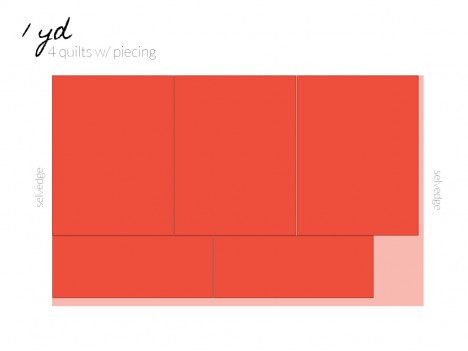
Cut your 18.5″×24.5″ backs from the fabric. Cut two additional 9.75″×24.5″ rectangles. Sew these two small pieces together along one long side using a ½″ seam allowance to give you a fourth back.
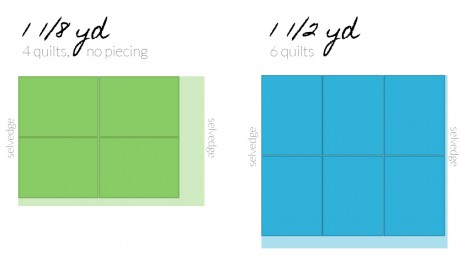
If you have 1 1⁄8 yd or 1 ½ yd, here are alternate cutting diagrams:
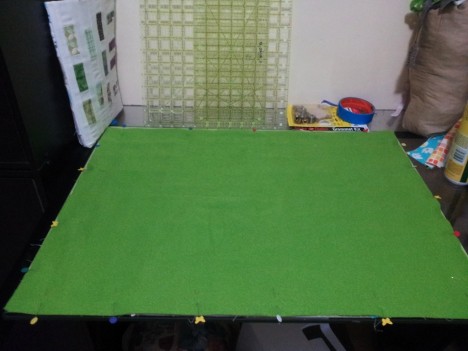
Next, place each top and a back right sides together. Pin all the way around. Pin even closer than I did in the photo (try every 1″) if using Minky, as it stretches horribly. The fleece I had was mostly stable.
If you want to use batting cut an 18.5″×24.5″ piece for each quilt. Add it to your above sandwich with the right side facing the wrong side of the top. In other words, lay your batting down, right-side up. Lay your top over it, right-side up. Then, place your backing on top, right-side down and pin.
Using your walking foot if you have one (for best results) or a basic foot (not your ¼″ piecing foot as it typically only moves your fabric over one feed dog), sew around the edge using a ¼″ seam allowance (or ½″ from the edge of the backing if you cut a larger backing), leaving at least 3″ open on one side to turn.
Turn your quilt out through the opening, and use a chopstick or point turner to get the corners pushed out as well as you can. Turn your iron down to the synthetic setting and carefully press the edges flat from the top side (it’s not good to iron Minky or Fleece). Make sure to fold in the edges of the open section.
Top-stitch around the outside, 1⁄8″ in from the edge, making sure your stitches close the open section.
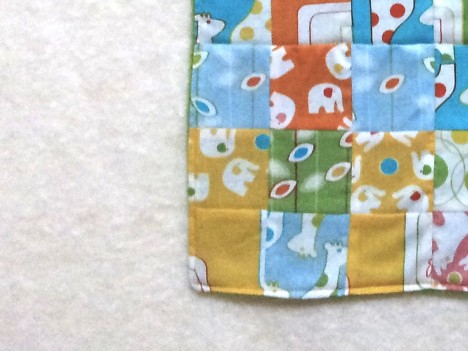
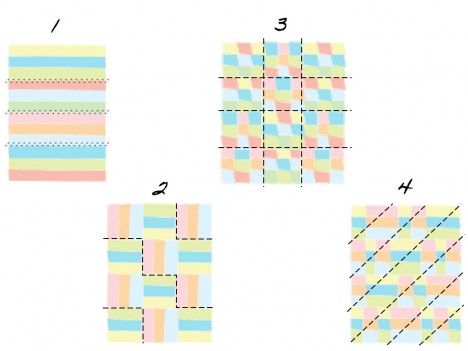
Almost done! Now, you have to decide on how you want to quilt these. I recommend some sort of straight-line quilting, as sparse as possible with your chosen batting (or about every 6″ if you didn’t use batting). You don’t want to get too dense or intricate with the quilting, as you don’t want to shrink the layers, or take away from the fluffiness of the Minky or fleece.
Here are diagrams of what I did, but it is by no means the only way of doing it:
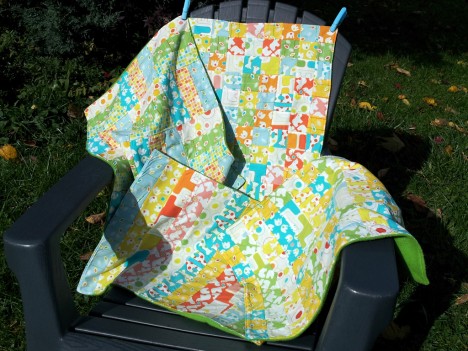
Once you finish quilting, you’re done! If you’re donating the quilts, all that is left is to wash them and put them into gallon storage bags for delivery and distribution.
If you’ve followed along and made your own cuddle quilts, share a link to photos or a blog post in the comments. I’d love to see what you made!
This post is part of a series on making small cuddle quilts for charity. My finished quilts will be donations to the 2012/13 service project being sponsored by the Quilter’s Consortium of New York State. If you’re in a NY quilt guild that is a member of QCNYS, contact your consortium rep to learn how to donate (and tell your guild or club about this series!). If you are not a member of a participating guild, but would still like to donate send me an email and we can figure out how to get the quilts to the right place.

Comments are closed.