Reading Bags for the Older Nieces
Welcome back to another Vacation Christmas reveal. I was far busier over the past two months than you might have guessed based on the frequency of my posts here. Now that we’re traveling to Missouri and delivering gifts, I can show you what I’ve been working on. These were one of three types of gifts I made for the 10 nieces and nephews Carl and I have between our two families.
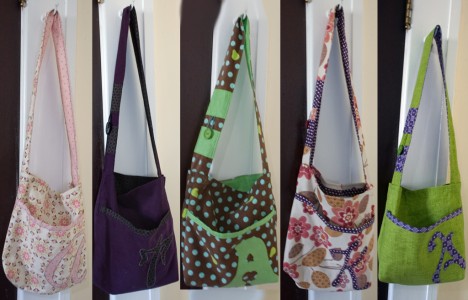
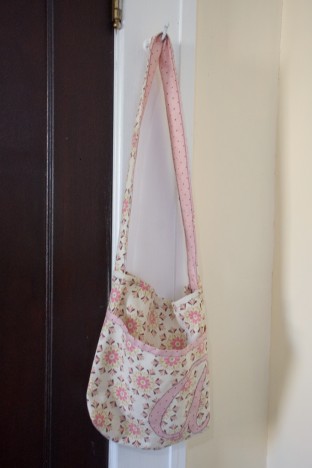
Over the summer, I saw the Summer Reading Bag posted on Sew Mama Sew and knew it would be a great gift. It was quick to make, simple to put together and overall seems to be a great hit. I made these bags for the five oldest nieces, who range from 4–13.
The one issue I had with the original pattern was how she creates the hem at the top of the body pocket. She says to iron folds and then topstitch the pocket lining to the outer fabric. That requires so much more fuss and measuring than I am willing to do. Here’s a simple modification that I completely forgot to photo-document:
First, sew the top edge of your lining and outer pocket pieces right-sides together at the top edge with a ½″ seam allowance. Then, press the seam allowance toward the lining.
Next, fold the lining to the back so that wrong-sides are together, making sure to go up and over the seam allowance, rather than folding the seam allowance down with the lining. Press, and topstitch close to the seam (if you want that look, but you don’t have to topstitch if you don’t want to). This makes it far easier to keep everything straight and aligned, and saves you the hassle of fiddling with sliding the fabric into a fold and keeping it in place.
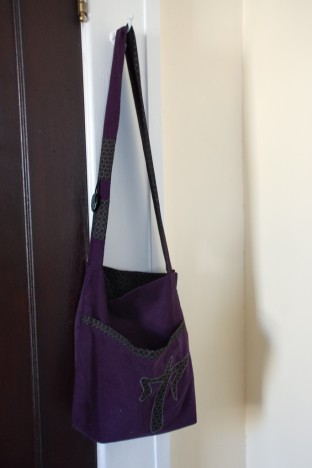
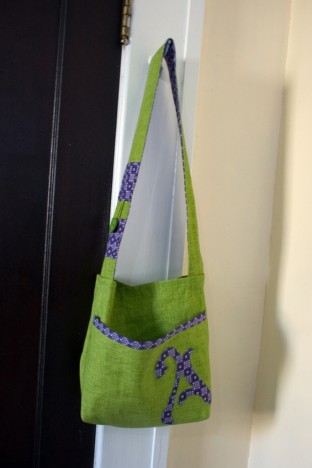
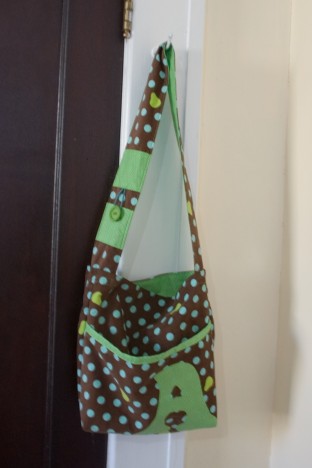
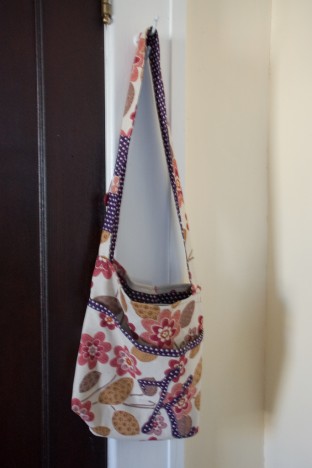
Because each girl has her own personality, I used very different fabric styles and fonts for the applique.
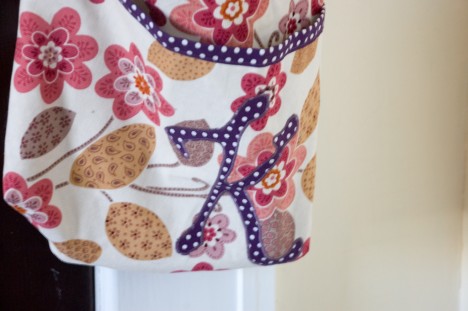
Two of them are made using upholstery-weight cotton on the outside, but the other three are a relatively light-weight corduroy. The corduroy didn’t have enough body to work on its own, so I modified the pattern for those to include a lining. To save steps, the lining is really more of an interlining.
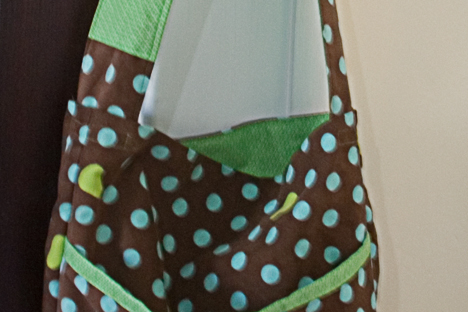
First, I sewed the top edge of the lining and outside pieces together using a ½″ seam allowance, then treated them as one for the rest of the steps so that the french seams still show, but I didn’t need to hem the top of the bag (except on one, where I forgot, so both layers were treated as one for the top hem also). I cheated a bit, because I didn’t have enough fabric for the full lining, so only the top four inches is the contrast fabric, and the rest is a coordinating solid. I didn’t adjust the measurements to take into account the ½″ top hem instead of a full 1″ hem, so the corduroy bags are ½″ taller than the other two—I dare you to notice if I hadn’t told you.
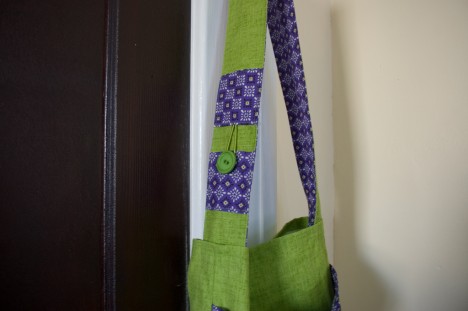
Aside from those changes, this is pretty much exactly how the original pattern was constructed. The first one I made doesn’t have the button closure on the strap pocket, because I didn’t have anything to use in lieu of a hair tie, but that one was for the youngest, so I don’t think she’ll really be using the pocket anyhow. I tried to cut the pocket or piece above it on the bias for each, to give a little visual interest.
Here they are again, so you can see each up close:
Stay tuned for more posts within the next week showing what I made the three nephews and the two youngest nieces!


Comments are closed.