Printed Fabric Gift Tags
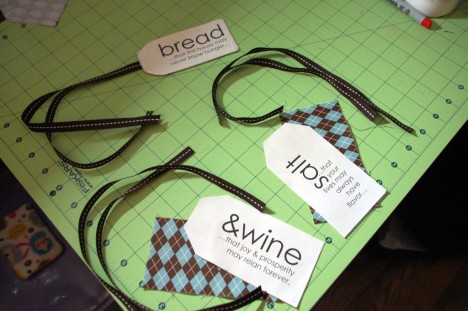
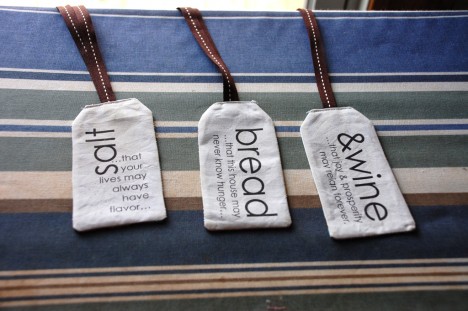
As part of the housewarming gift I recently made, I created printed fabric gift tags. If you use store-bought printable fabric sheets or handwrite your own messages, they are quick and simple to make.

Before you get started, you can download my cutting template (and instructions) as a PDF. I’ve also included a printable sheet with my tag designs, if you want to make the same tags. To make your own, get a printable template (here’s one for borderless printers) (PNG) to edit in your favorite image editing program.
Materials
For each tag, you need:
Two 2.5″ × 4.75″ rectangles of fabric*
24″ ribbon, cut into two 12″ pieces (or whatever length you think is best for your use)
* For the fabric, you can use colorfast printer fabric (plan ahead and print all your tags at once for best results) or solid fabric and a permanent fabric pen to handwrite your own, and a second piece of patterned or solid fabric for the back.
Design your tags
Printed tags
If you want to print your tags, save the printing template (here’s one for borderless printers) to your computer, then open it in your favorite image editing program and make your tags (or use the three that I’ve provided). Make sure to leave a liberal margin around your design inside the template outlines. The printing template is slightly larger than the final measurements, because I’ve found that the colorfast printer fabric shrinks when you go through the colorfasting process. Leave at least 5⁄8″ margins inside the cutting line to allow for shrinkage and a ¼” seam allowance.
Handwritten tags
You don’t have to use a computer and printer to design your tags, of course. Those of you blessed with legible handwriting (not me!) or drawing skills can make beautiful designs with permanent fabric pens.
Use the cutting template to cut out fabric for the front of your tags—light-colored solids will best show your writing—then write or draw to your heart’s content.
For best results, iron the wrong side of your fabric to freezer paper so that it doesn’t stretch while you’re trying to write, then peel off before sewing.
Put it all together
Once you have your tag fronts created, constructing the tags is simple.
Trim your front and back pieces according to the cutting template, or cut along the cutting line of the printable fabric and make the back match.
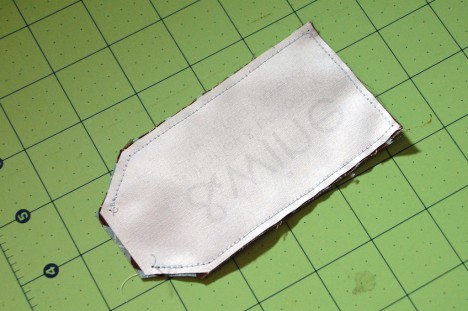
Place your front and back pieces right-sides together, and sew along the edges with a ¼” seam allowance, leaving the area between the two dots (the top of the tag) open. Make sure to backstitch or secure your stitching at the dots, so that it doesn’t unravel when you turn the tag.

Clip the corner seam allowances, then turn your tag right-side out (a point turner is very handy!) and press, making sure to press in your seam allowances at the top of the tag.
Slide your two ribbons through the opening, then topstitch that edge closed, securing the opening and ribbons.
That’s all!

Here are the downloadable instructions and template, plus printable tags again.
If you make these or use them as the basis for your own, leave a comment and link to photos or a post. I’d love to see them!


Comments are closed.