Making Binding Strips
While I’m quilting away on the Spring QAL, and prepping the binding, I thought I’d share my binding method.
I don’t know that I ever officially learned how to make binding. In fact, after I publish this, I’ll probably head out into the quilt blogging world to re-learn from everyone else’s posted tutorials. The first quilt I made, I self bound. That means I folded the extra backing fabric to the front and sewed it down, rather than cutting it off. But for the bargello quilt and the Spring QAL I used straight-of-grain binding strips.
Binding strip width seems to be a matter of preference, to a large extent, and wider or narrower strips will result in wider or narrower binding, of course. However, a decent standard seems to be 2.5″ or 2.25″. I use the former, mostly.
So, my method for making the strips is:
- Calculate required length by adding the length of all sides, and tack on another 8″ for good measure (for making the diagonal seams, room to maneuver, etc). For example, on a 50″ square quilt, you need 208 in. of binding (50″+50″+50″+50″+8″).
- Divide that length by WOF and cut the resulting number of 2.5″ × WOF strips (in the above example, you need five strips of 42″ fabric).
- Stack strips right-side up, and cut each end at a 45º angle so that you end up with parallelograms ( /====/), or a tilted rectangle. You don’t want trapezoids (/===).
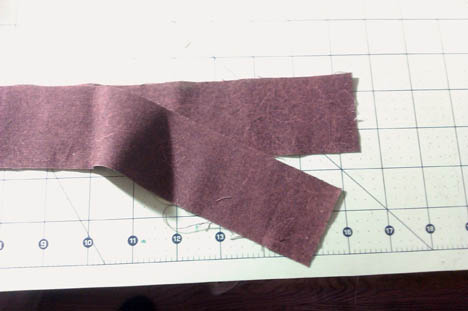
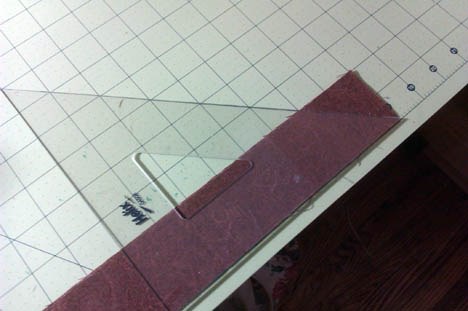
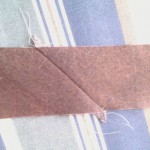
I don’t have an official quilter’s 45º cutting thing except for the lines on my big cutting rectangles, but the acrylic square that I have from a design course back in college works great for this since I don’t need to measure anything. - Place the ends of two strips right-sides together so that the angled edges are aligned. The small point of each strip should stick out a little more than ¼” because you want the fabric to intersect ¼” down from the seam line, like this:
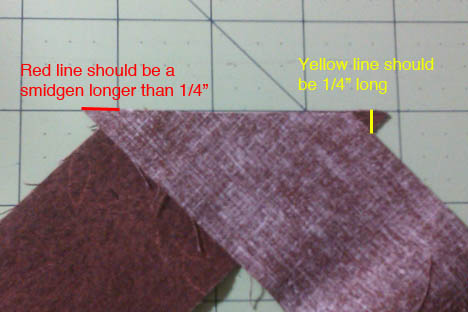
- Sew the ¼” seam, then press open and cut off your trailing strings and dogears (not pictured).
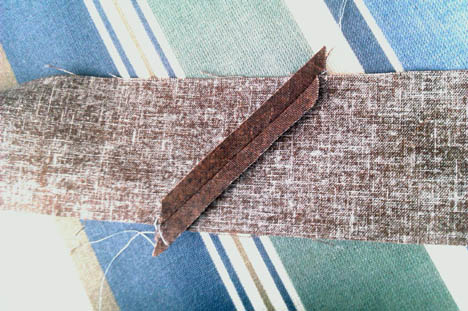
- Repeat until you have one long strip of binding.
Now that you have your binding strip, you can fold them it half and press, then using your favorite binding-attachment method. I machine sew to the front, then flip and hand-sew to the back. One of these days I want to try machine sewing both sides, but I do like the look of a hand-sewn binding.
If you want to piece your binding, rather than use just one fabric, you’ll need enough 2.5″ × various length strips to add up to your length measurement instead of the WOF strips. You’ll want to add additional inches to that initial final length calculation if you have a lot of small pieces, because the diagonal seams will eat up inches very quickly. The other option is to skip the diagonal seams and make straight seams for them. One of the goals of the diagonal seams is to hide the joins, which isn’t as important—perhaps even undesirable—if you are piecing the binding.
I know some people prefer to sew the seams before cutting the edges at 45º, which is also perfectly valid. I haven’t tried that yet. Technically, it saves you about .5″ on each seam so it is probably the thriftier way.
Do you have a favorite binding strip tutorial or full-binding process tutorial?

Comments are closed.