This is a static export of a blog I put on ice many years ago, that still has personally relevant content. No promises can be made around linkrot, styles, or working functionality.
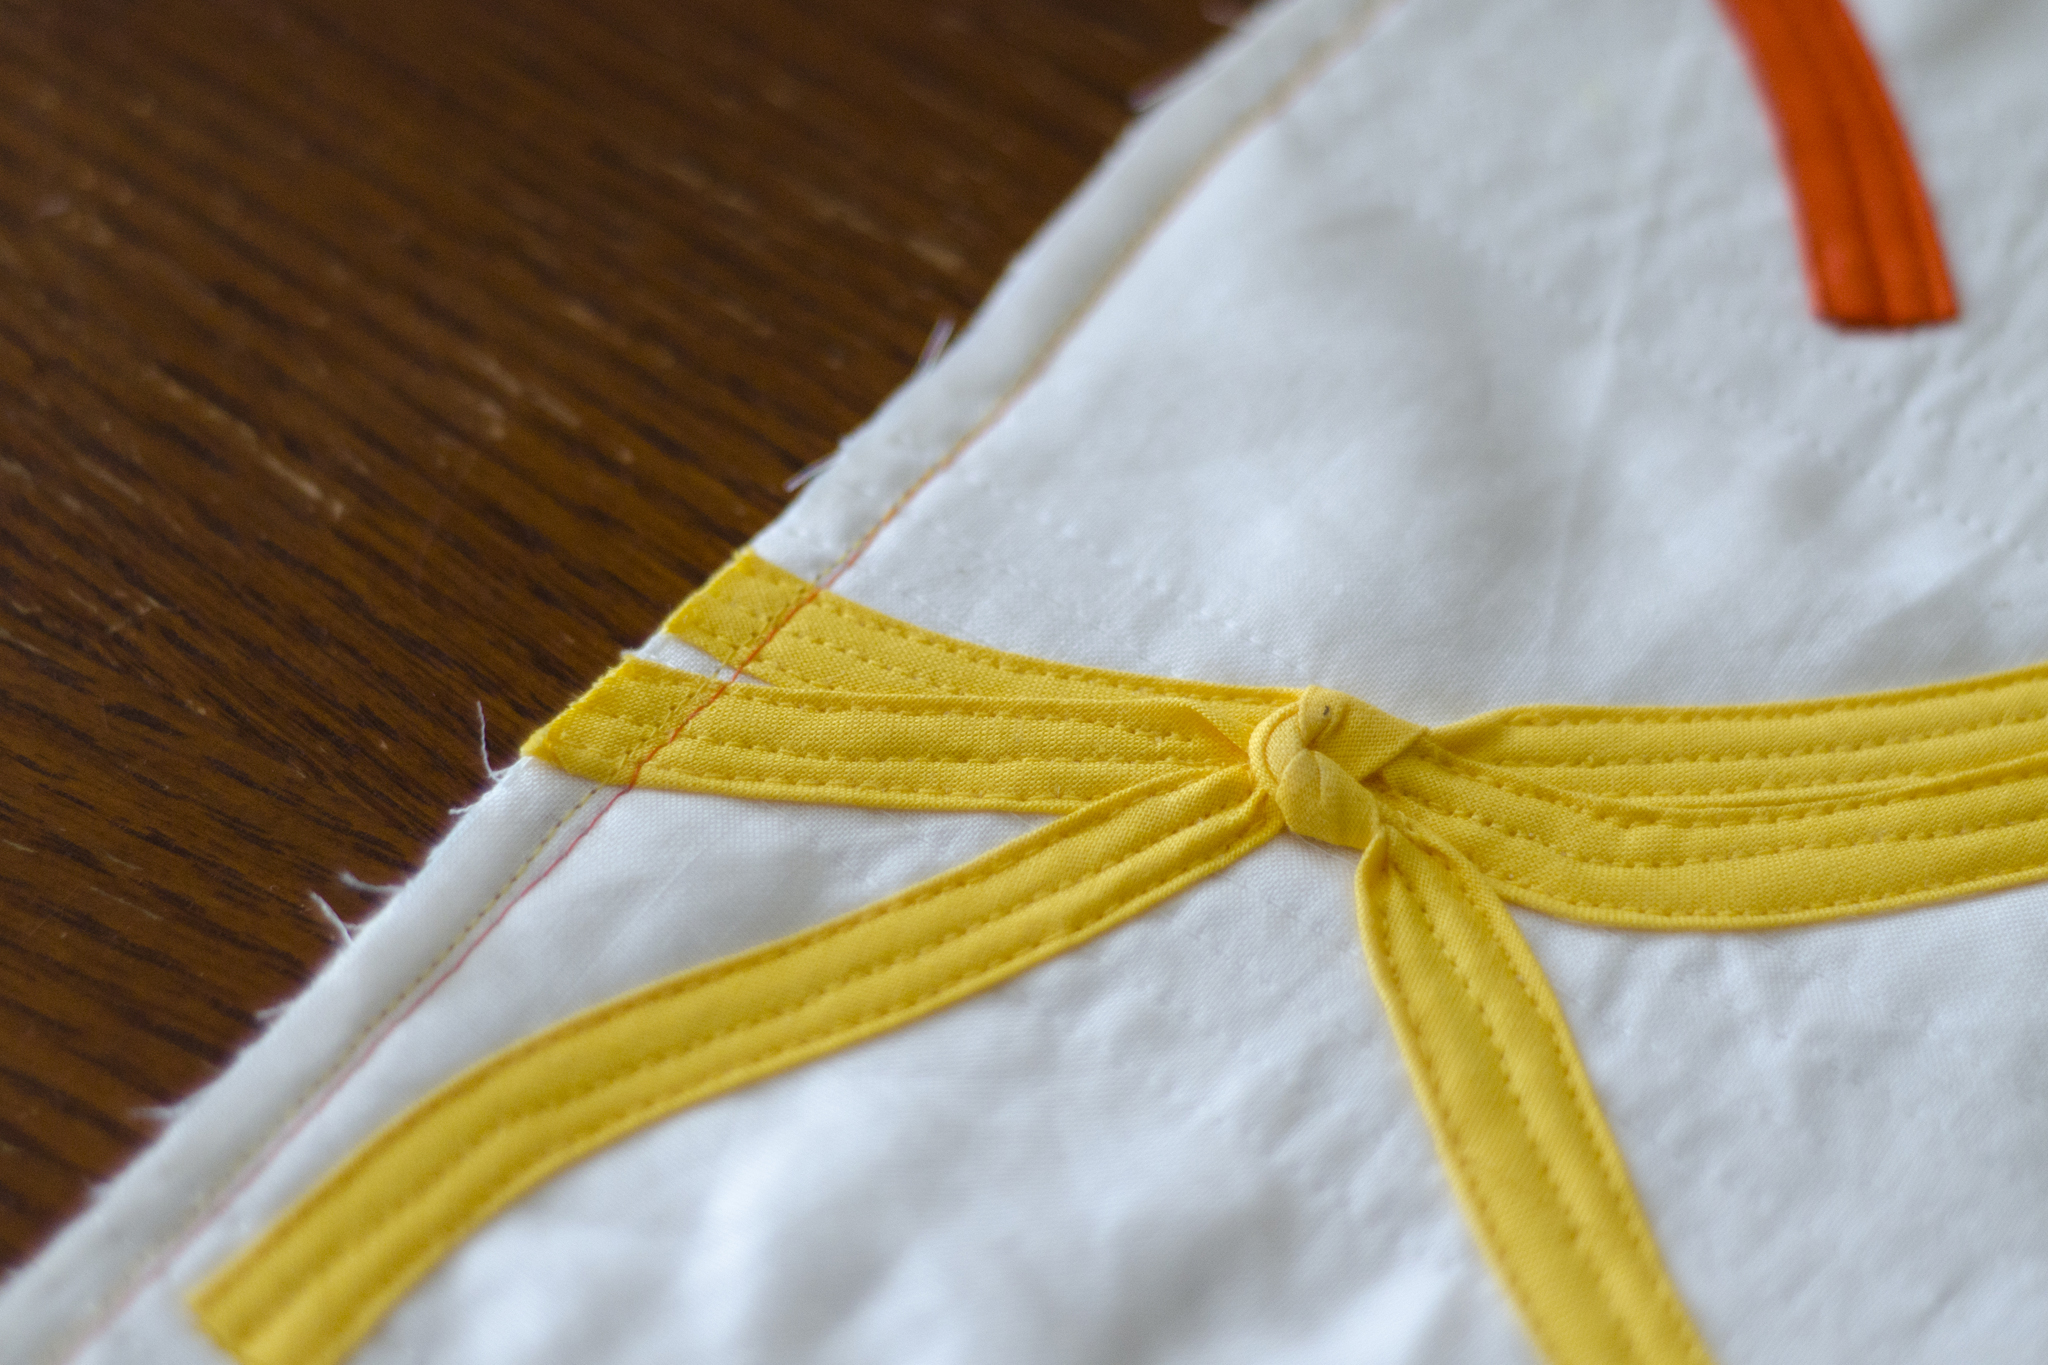
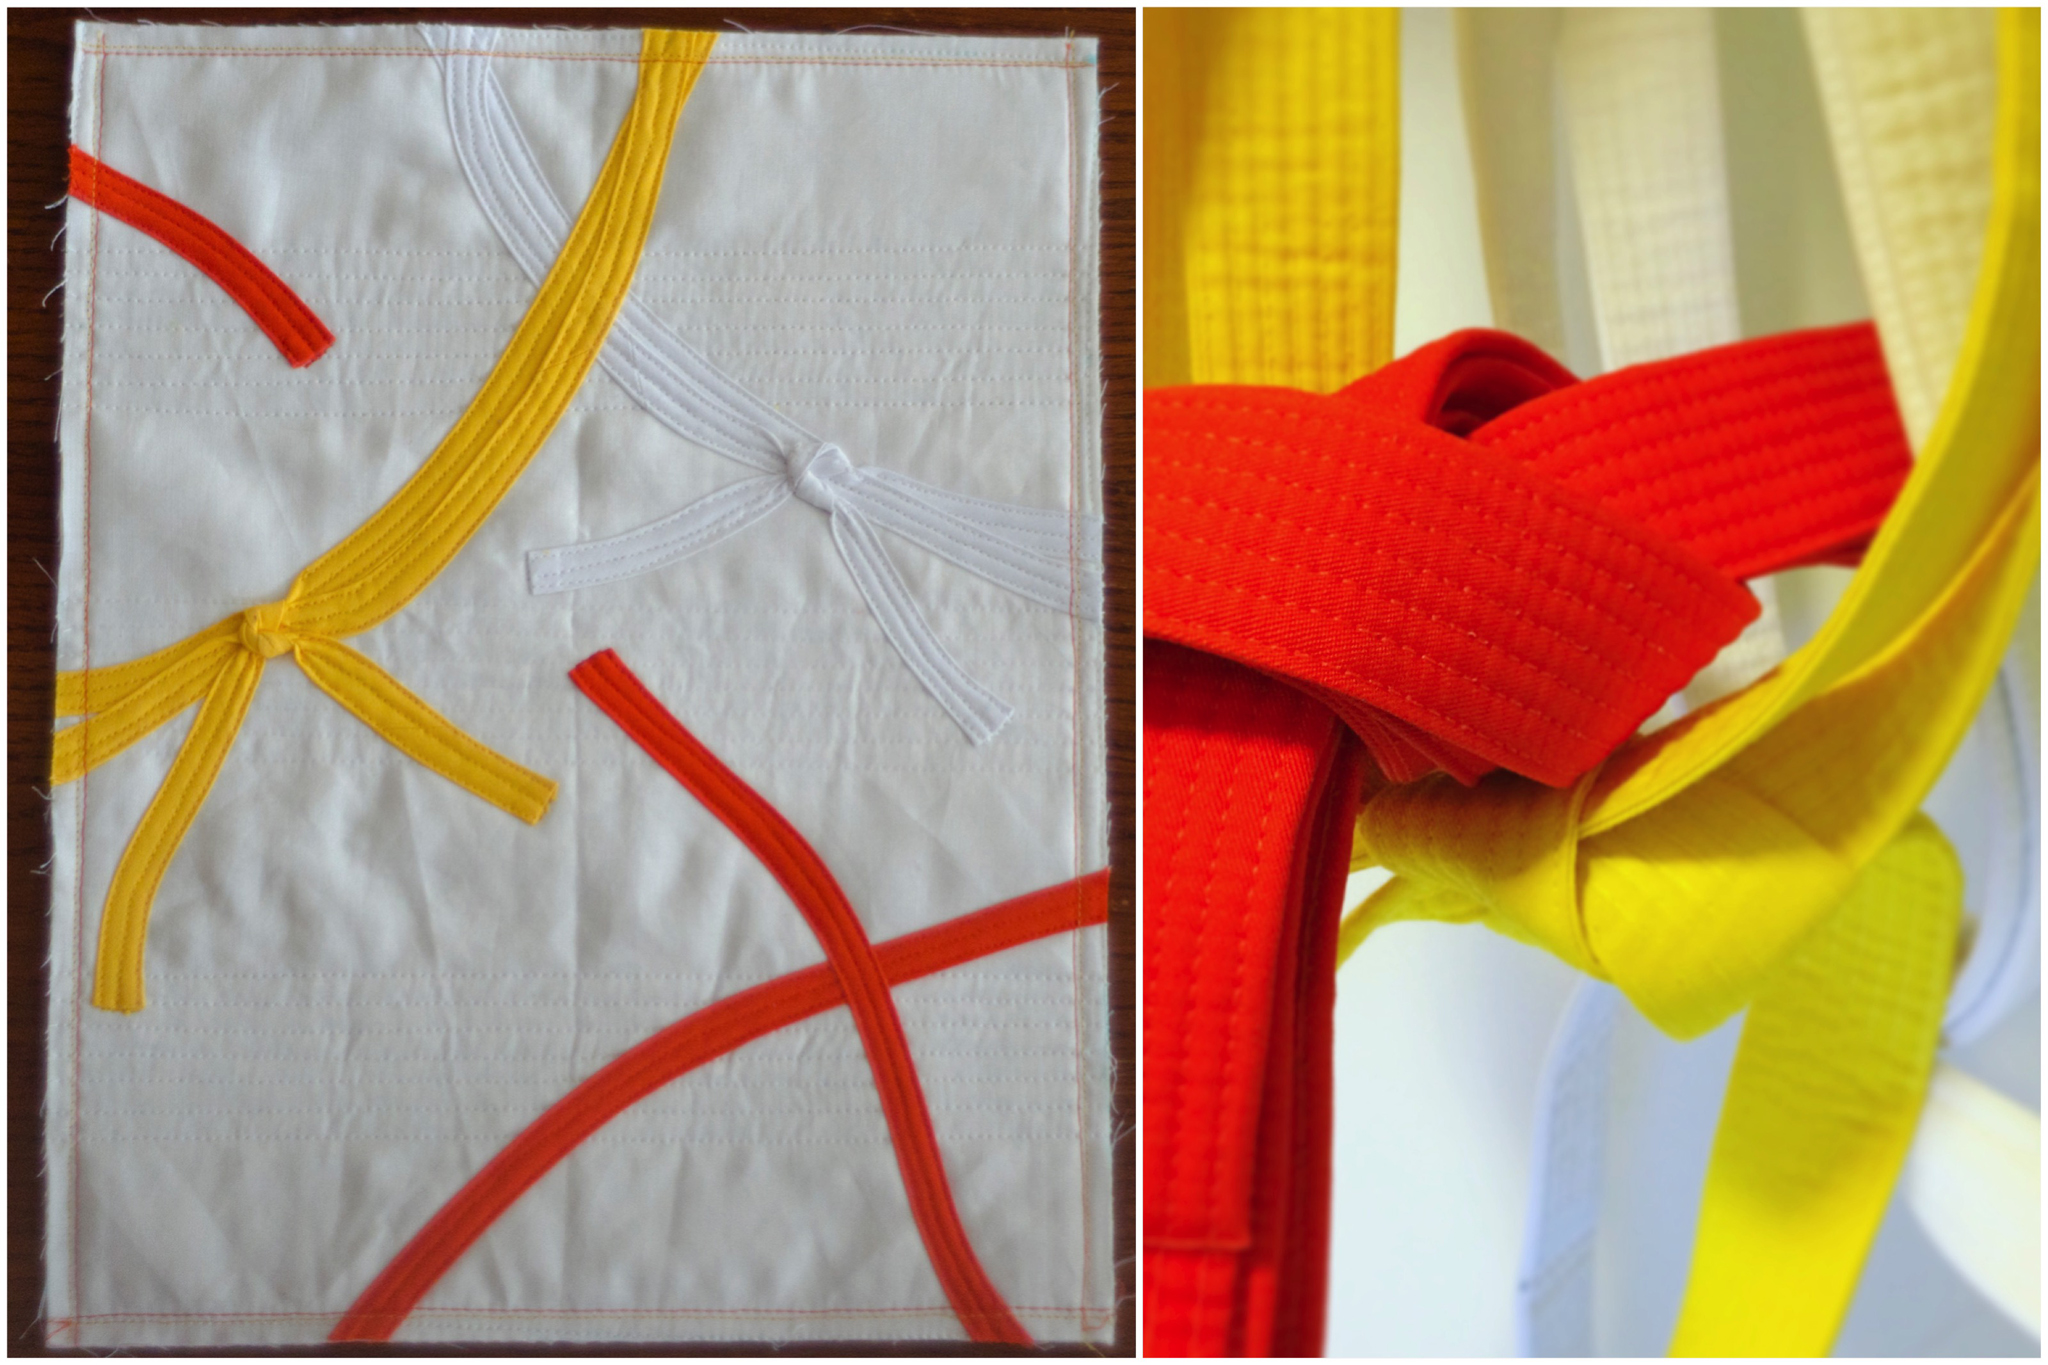
January’s challenge from the Mighty Lucky Quilting Club was to use bias tape to construct curves based on something in your sketchbook. I’m not much of a sketcher, nor do I have a sketchbook, but I do occasionally snap photos for inspiration, and often find it in my surroundings. The bit of inspiration I decided to memorialize was also an accomplishment of mine during the month. Seeing my newly-retired yellow belt hanging alongside my white belt sparked the idea of a design, with the added complexity of knots in the bias tape. The result is this 11″x14″ mini-quilt.
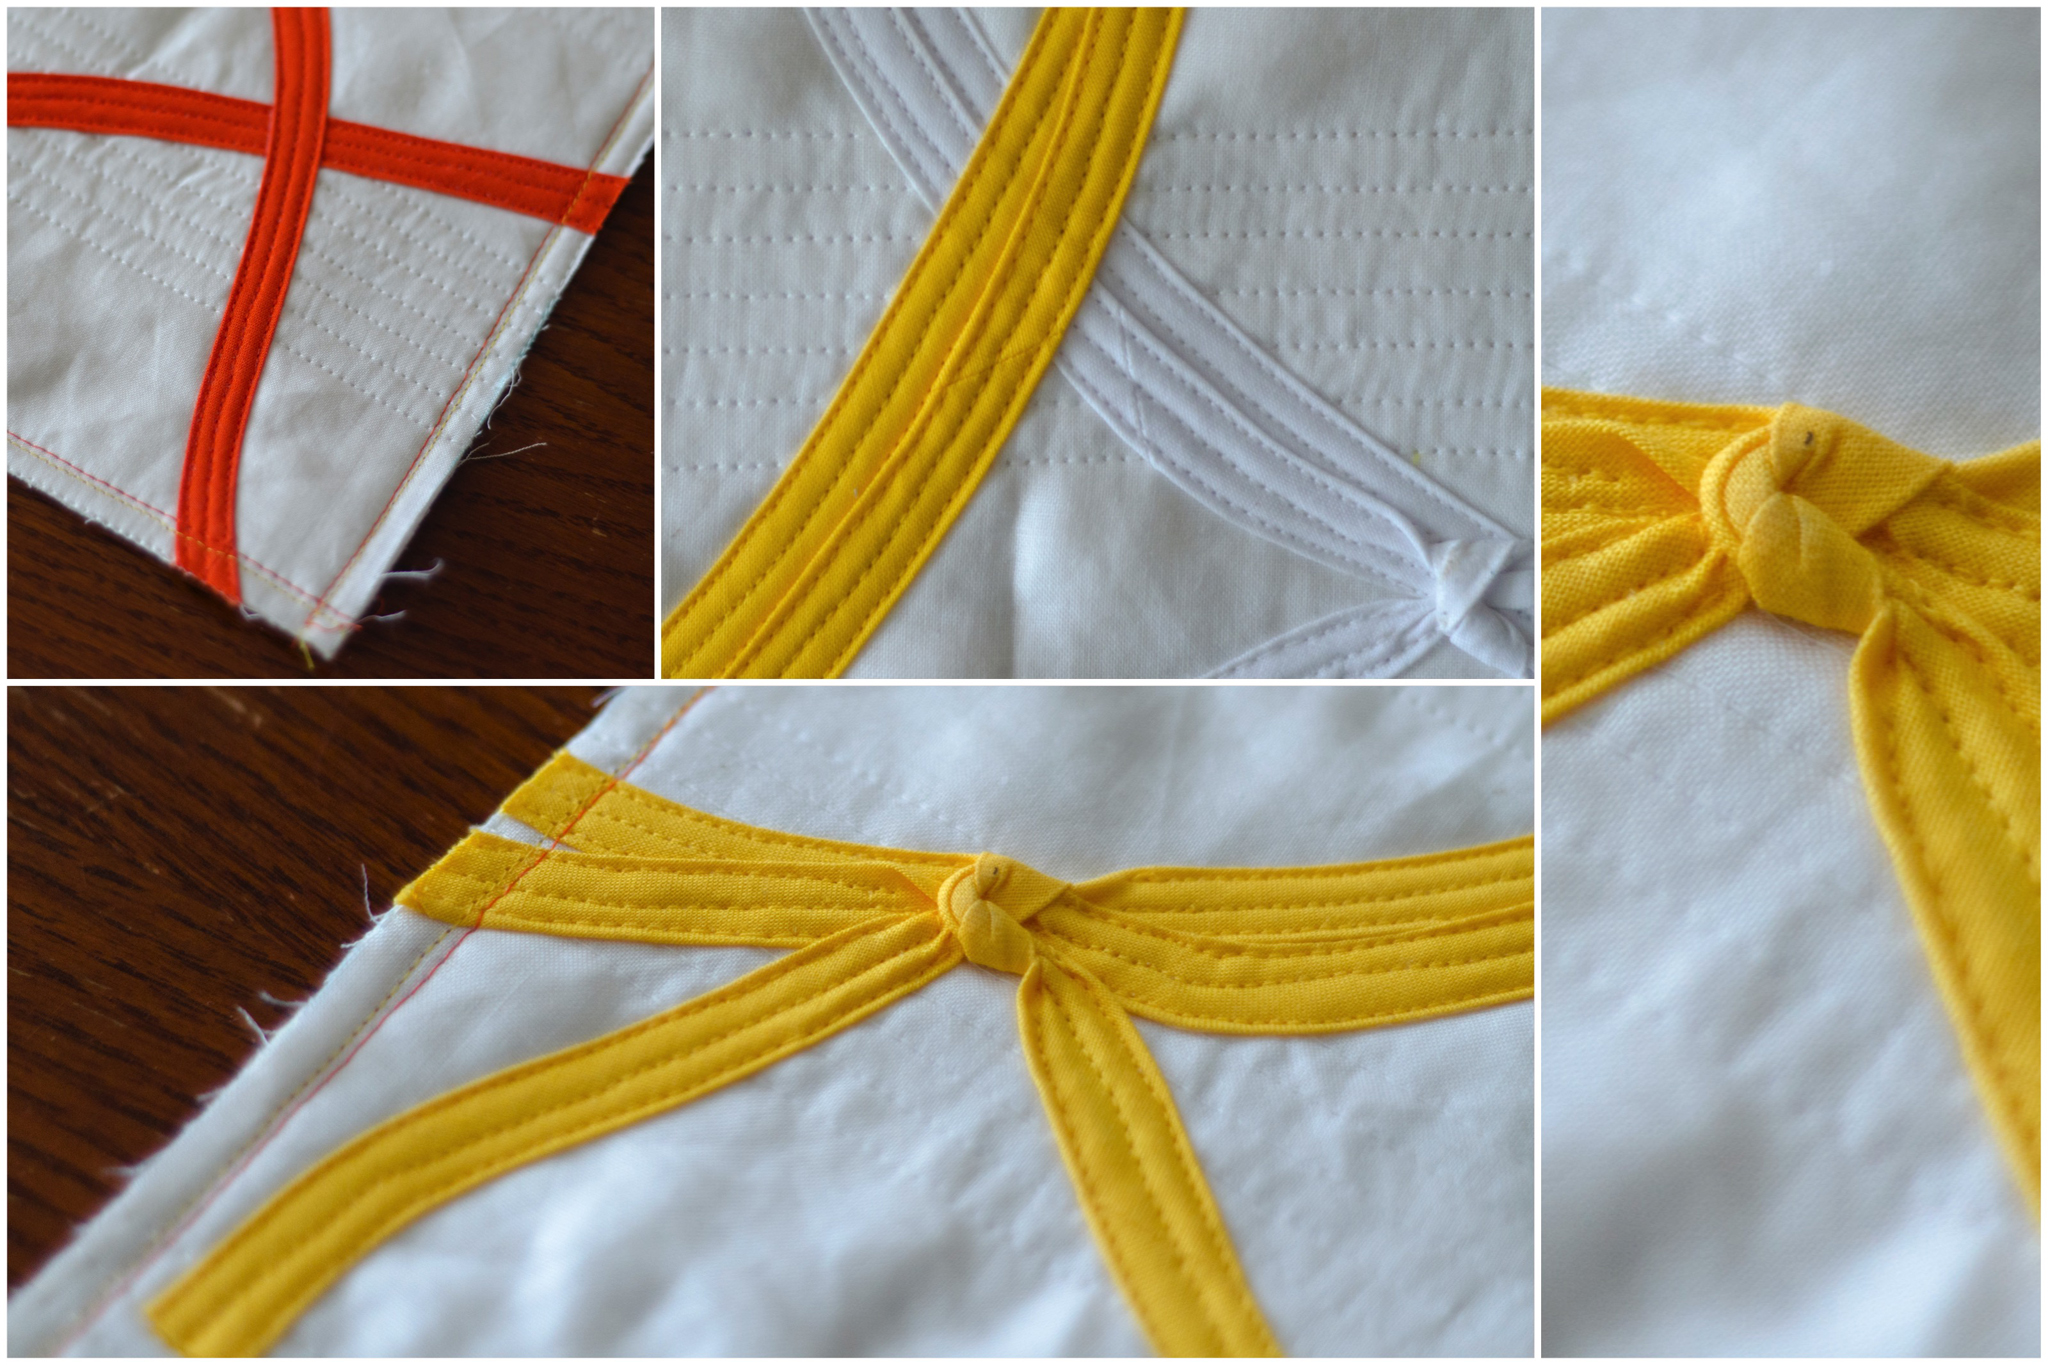
“Bias Tape Challenge Orange Belt” (front and inspiration), Rachael Arnold, January 2016, 11″×14″
Rather than add the bias tape to the block, then quilt, I made a quilt sandwich and sewed down the bias tape through all layers after quilting the background. I used a walking foot for all of it to reduce shifting. The knots wrap around one strip of bias tape that was intentionally left with a gap in the top-stitching.
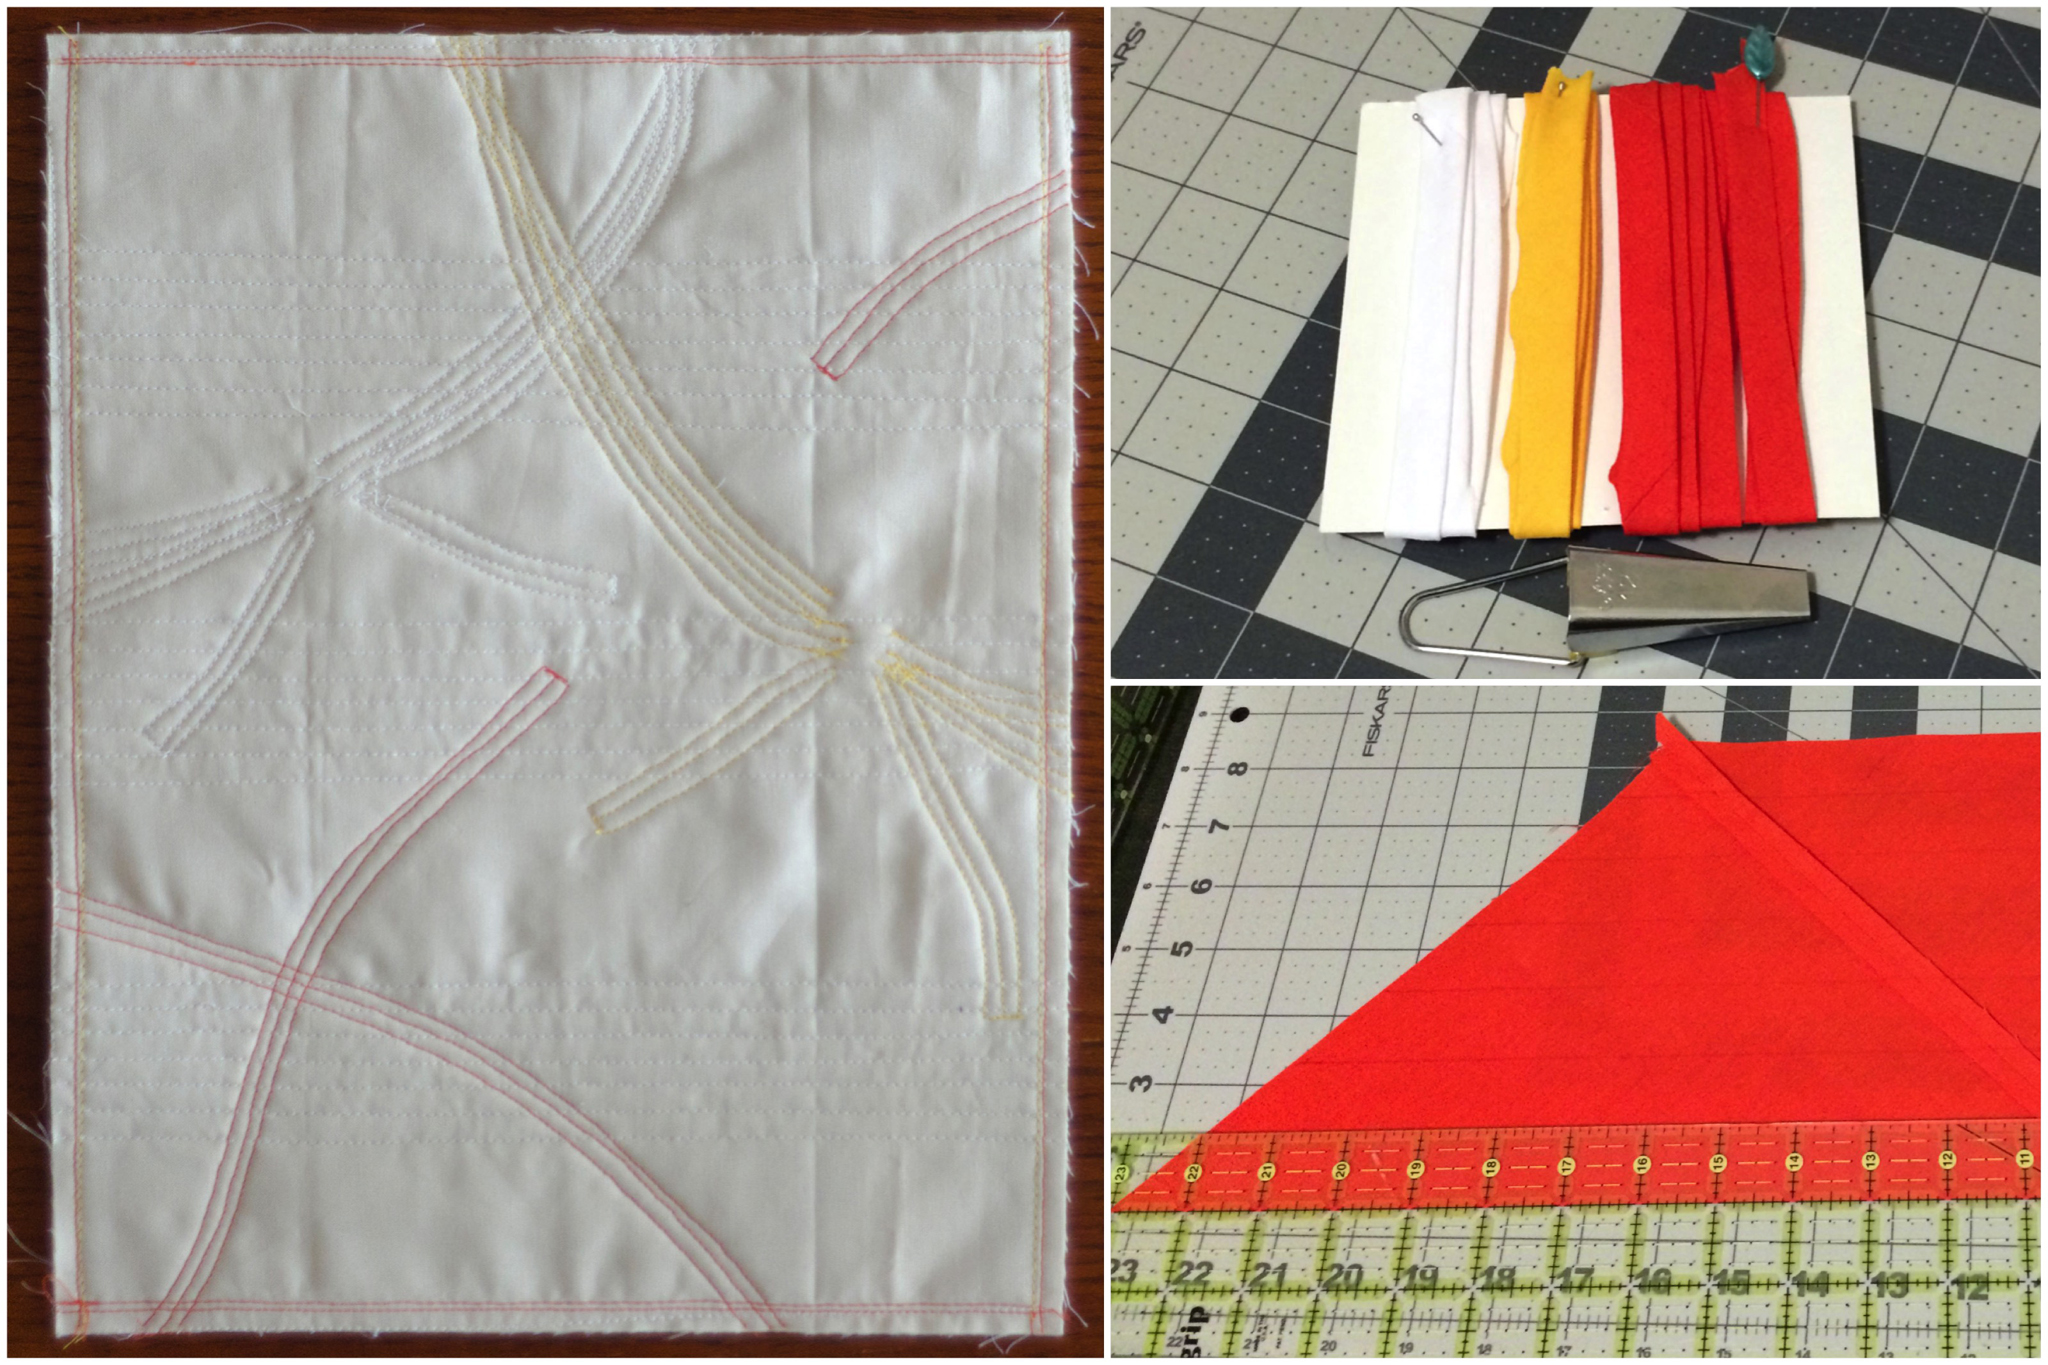
The technique of using bias tape isn’t any more of a challenge than other types of applique—so long as you don’t try using straight cut strips to get curves (it’s bias for a reason). The intent part of the challenge was much more difficult for me. I’m not sold on the idea of making a normal-sized quilt just to try a new technique unless I’m really excited about it—both from a materials and time cost standpoint. At the same time, I’ve never been a huge fan of mini quilts.
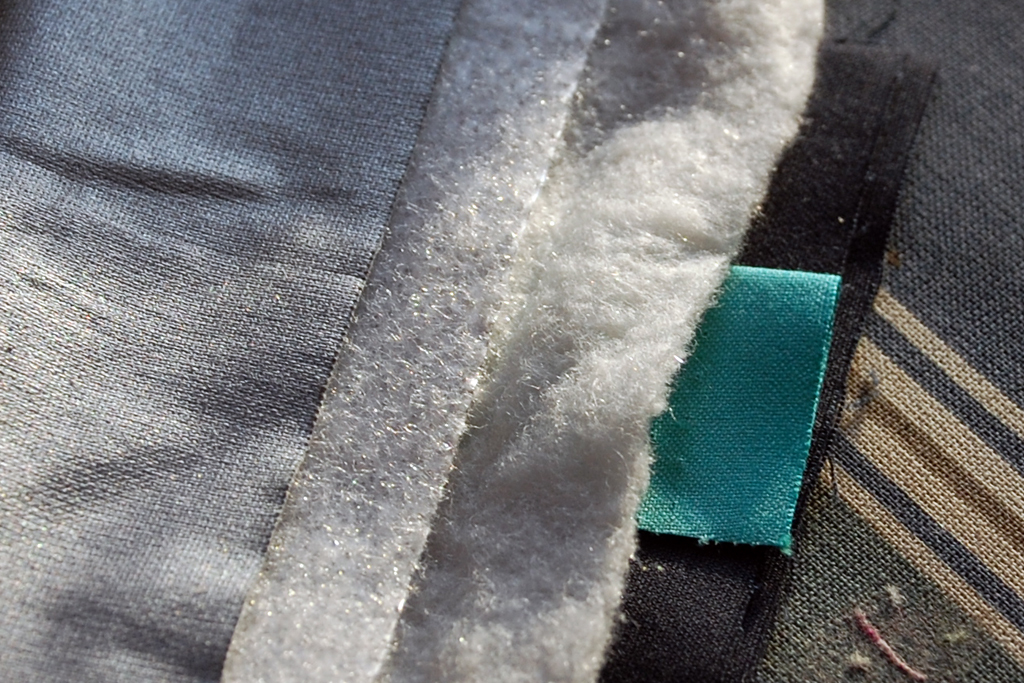
“Bias Tape Challenge Orange Belt” (back and progress shots), Rachael Arnold, January 2016, 11″×14″
I suppose this isn’t even technically complete. I haven’t decided how to finish off the edges of the quilt. I don’t want to bind it. I considered doing a faced binding. I’ve also thought about just leaving the edges raw and framing it. But for now, I can call my foray into bias tape on quilts done, and admire all of the gorgeous creations being posted on social media under the hashtag #mightylucky.
The embellished fabric bin I made two years ago has been taunting me to use the remaining fabric from Thomas Knauer’s Savannah Bop line that was sitting inside of it. Even after using strips to make the 1 + 1 = 4 charity quilts and the bin, I had about 1/3 yd. of each print in the line in my stash. Finally, the need for another baby quilt gave me reason to pull it out.
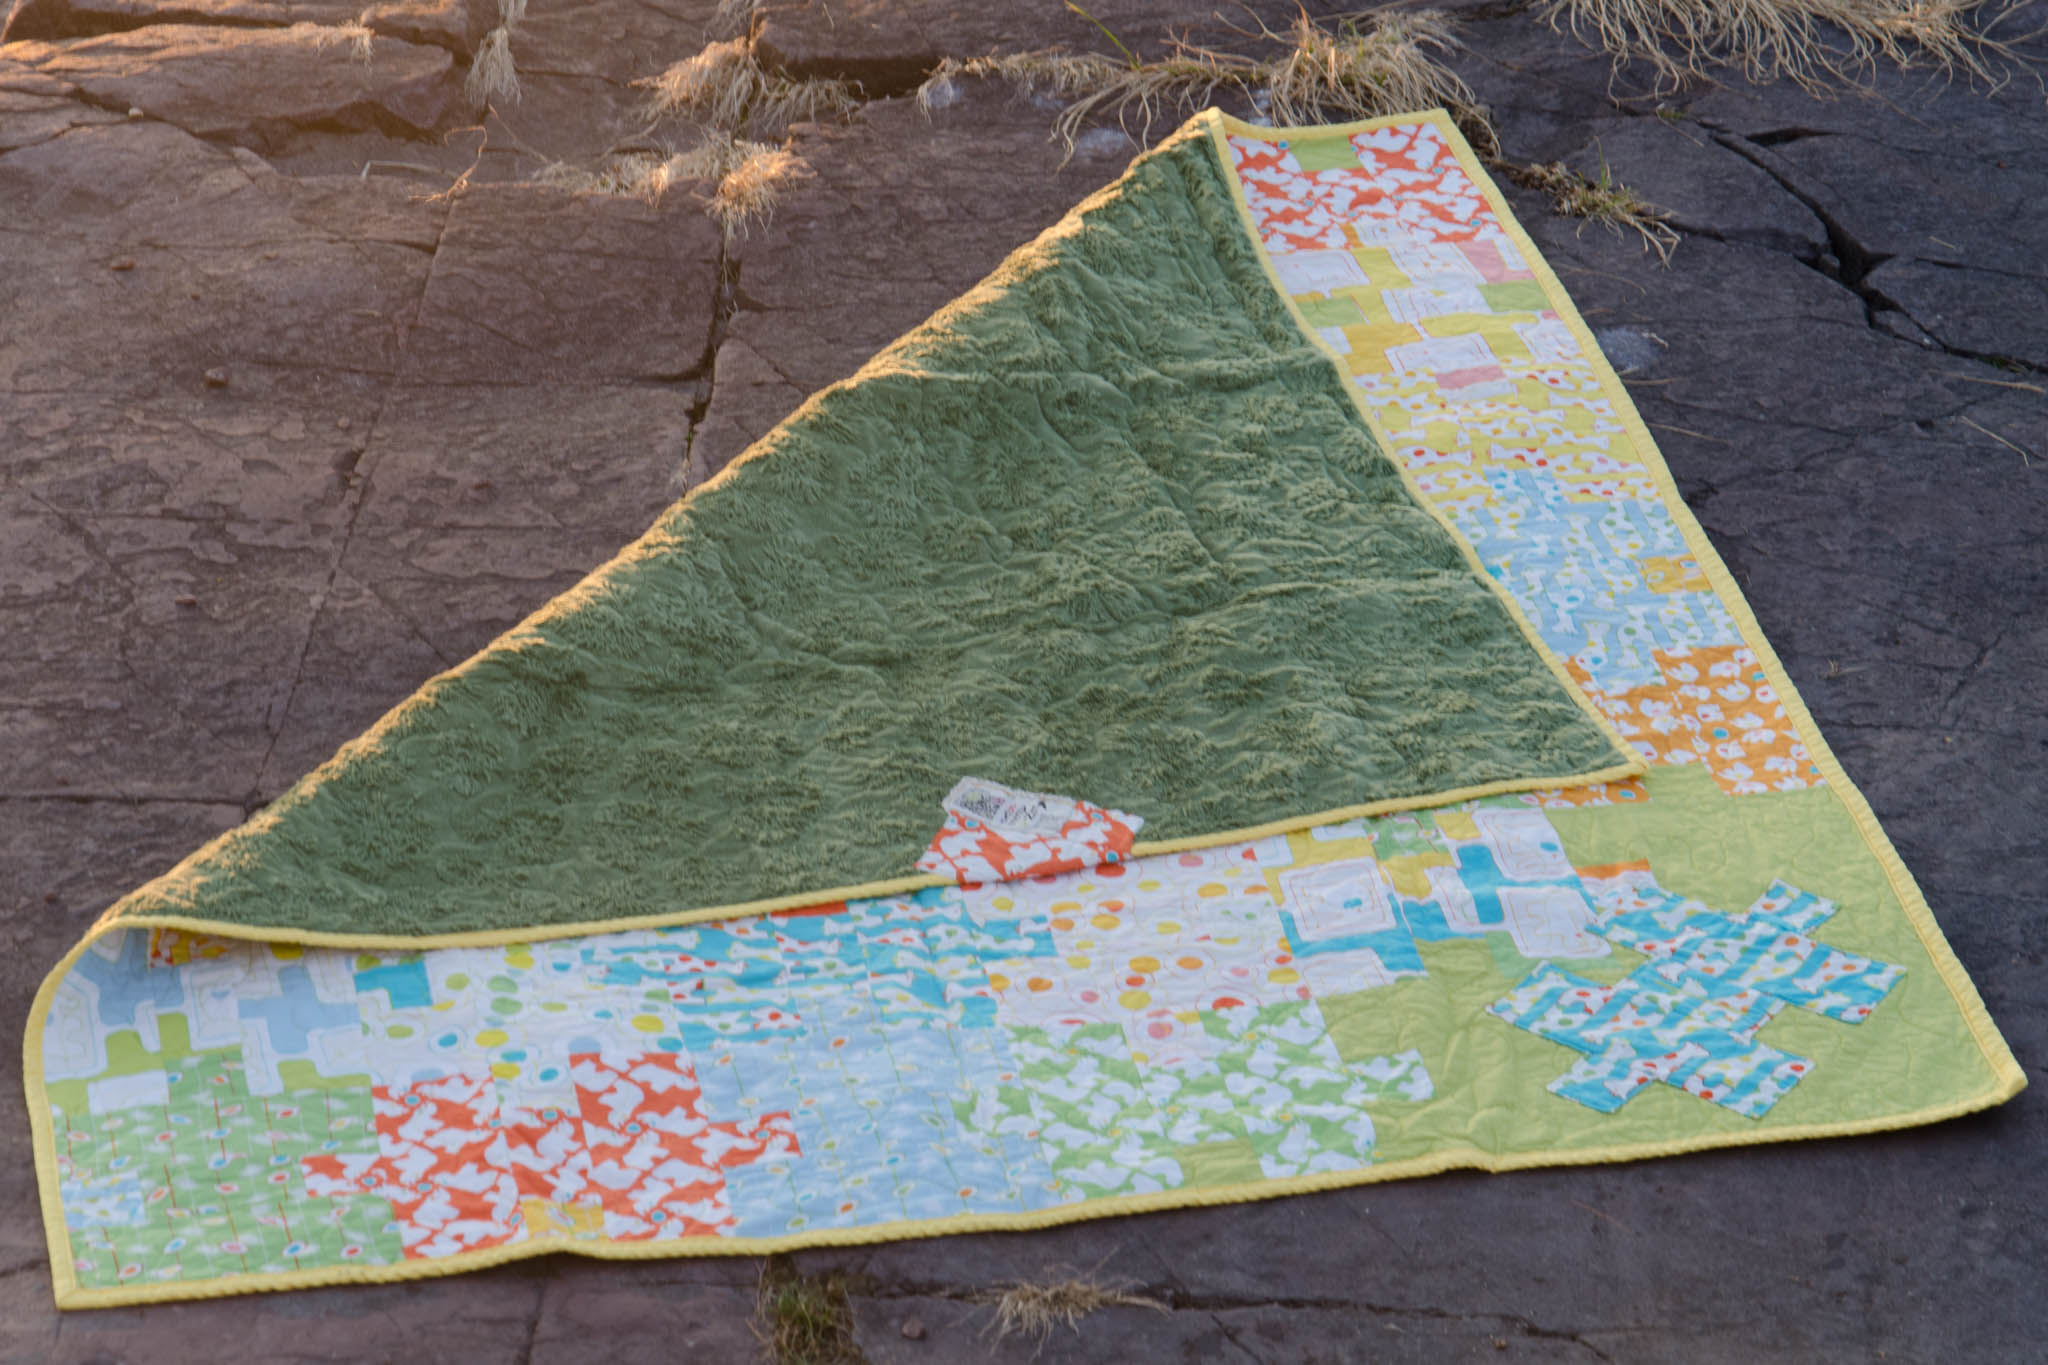
“Puzzle Bop”, Rachael Arnold, February 2015, 48″x56″. Photo by Carl Pfranger.
I settled on the idea of a puzzle—because what is quilt pattern design if not a giant puzzle to solve? As tempted as I was to throw in solids and a yarn-dyed once again, I decided to use up most of the prints in the line and only added in the Michael Miller Kryptonite solid for a bit of contrast. (Here’s my tutorial on how to make the puzzle block.)
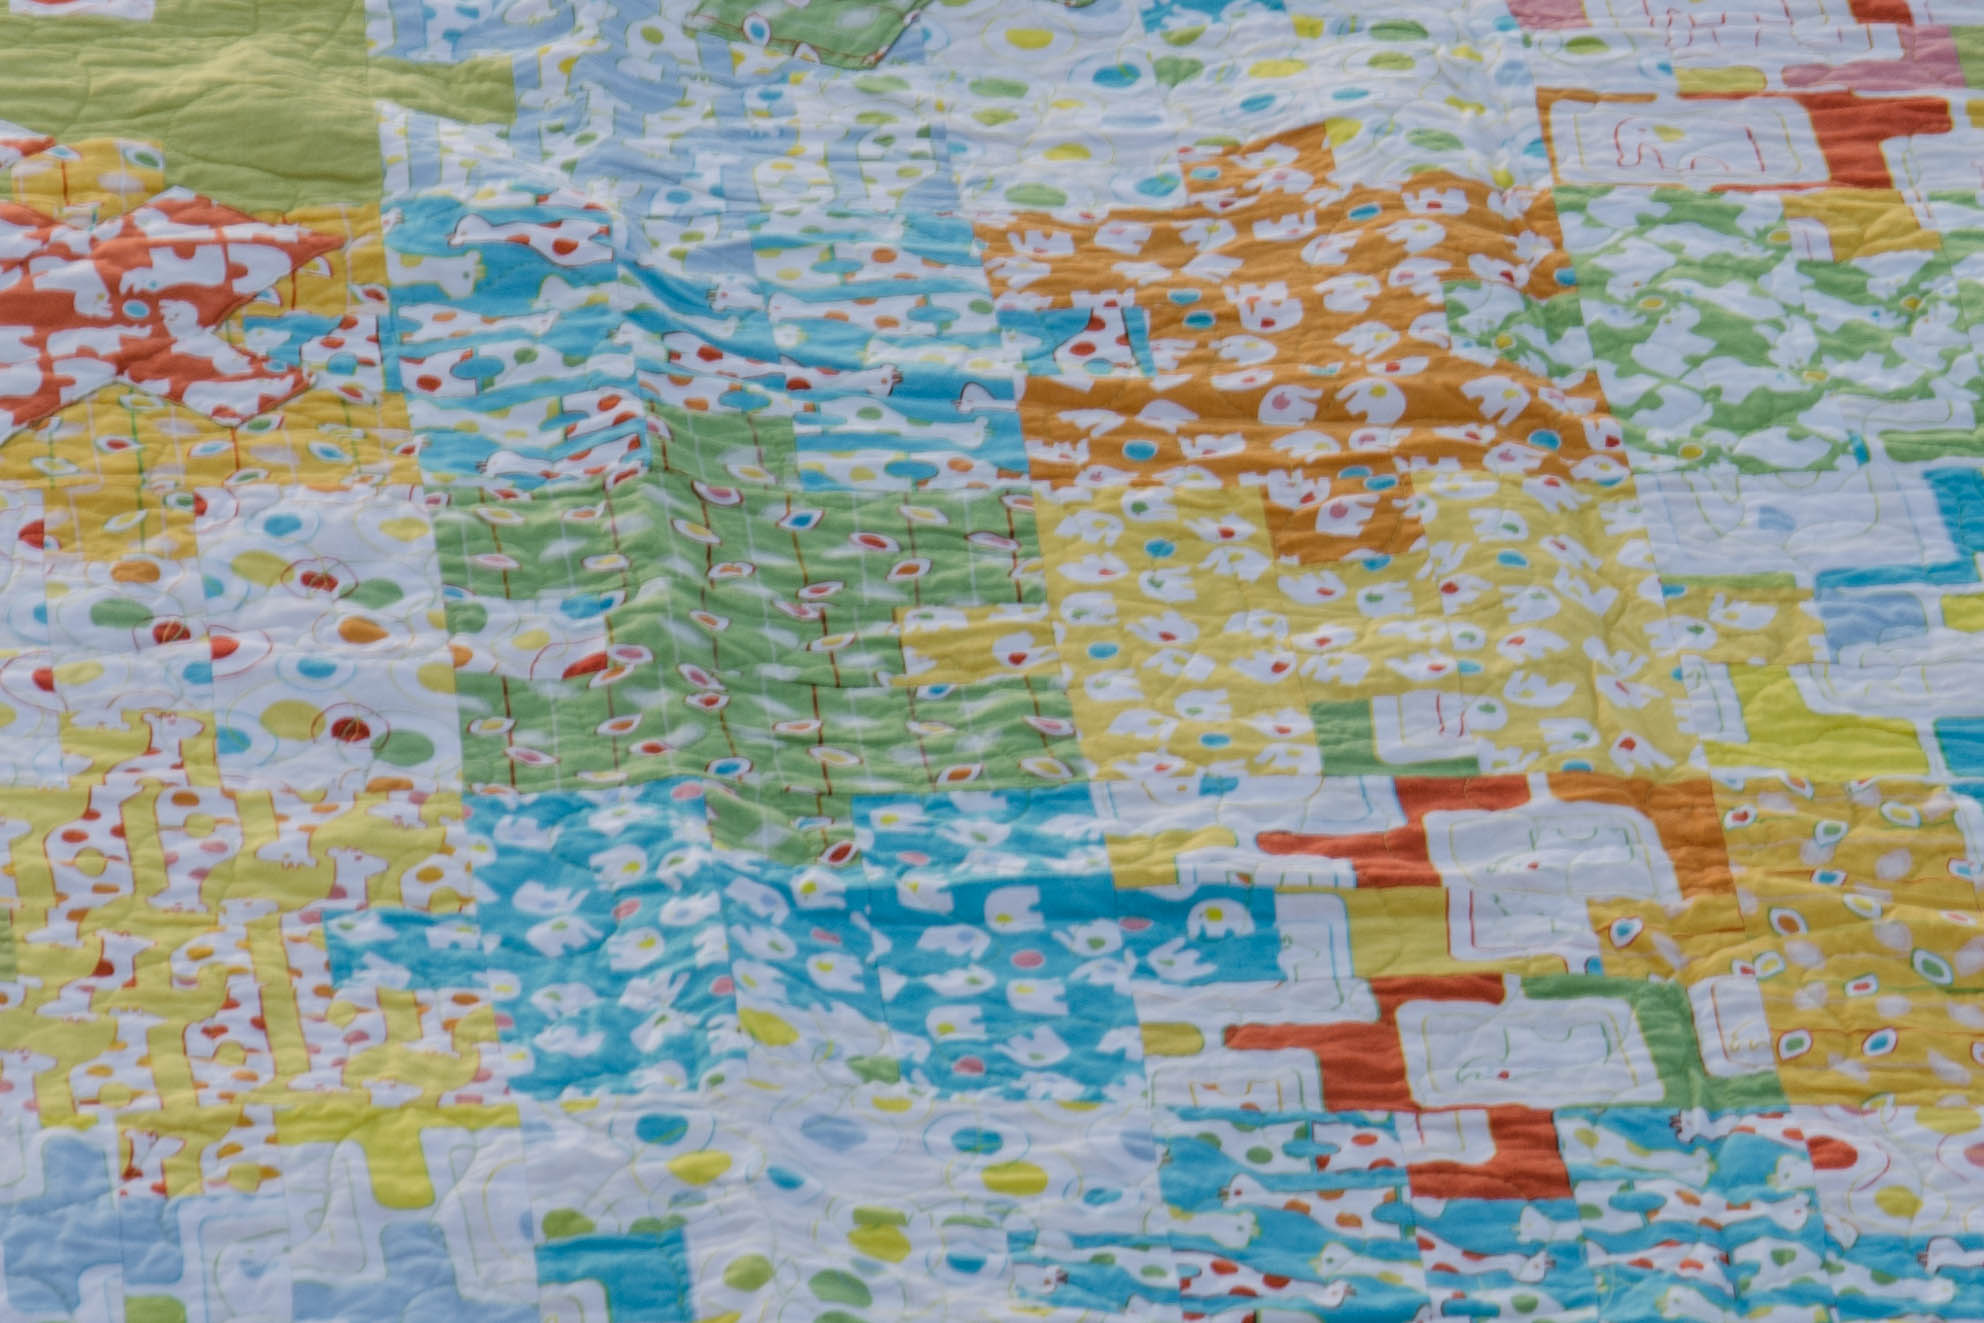
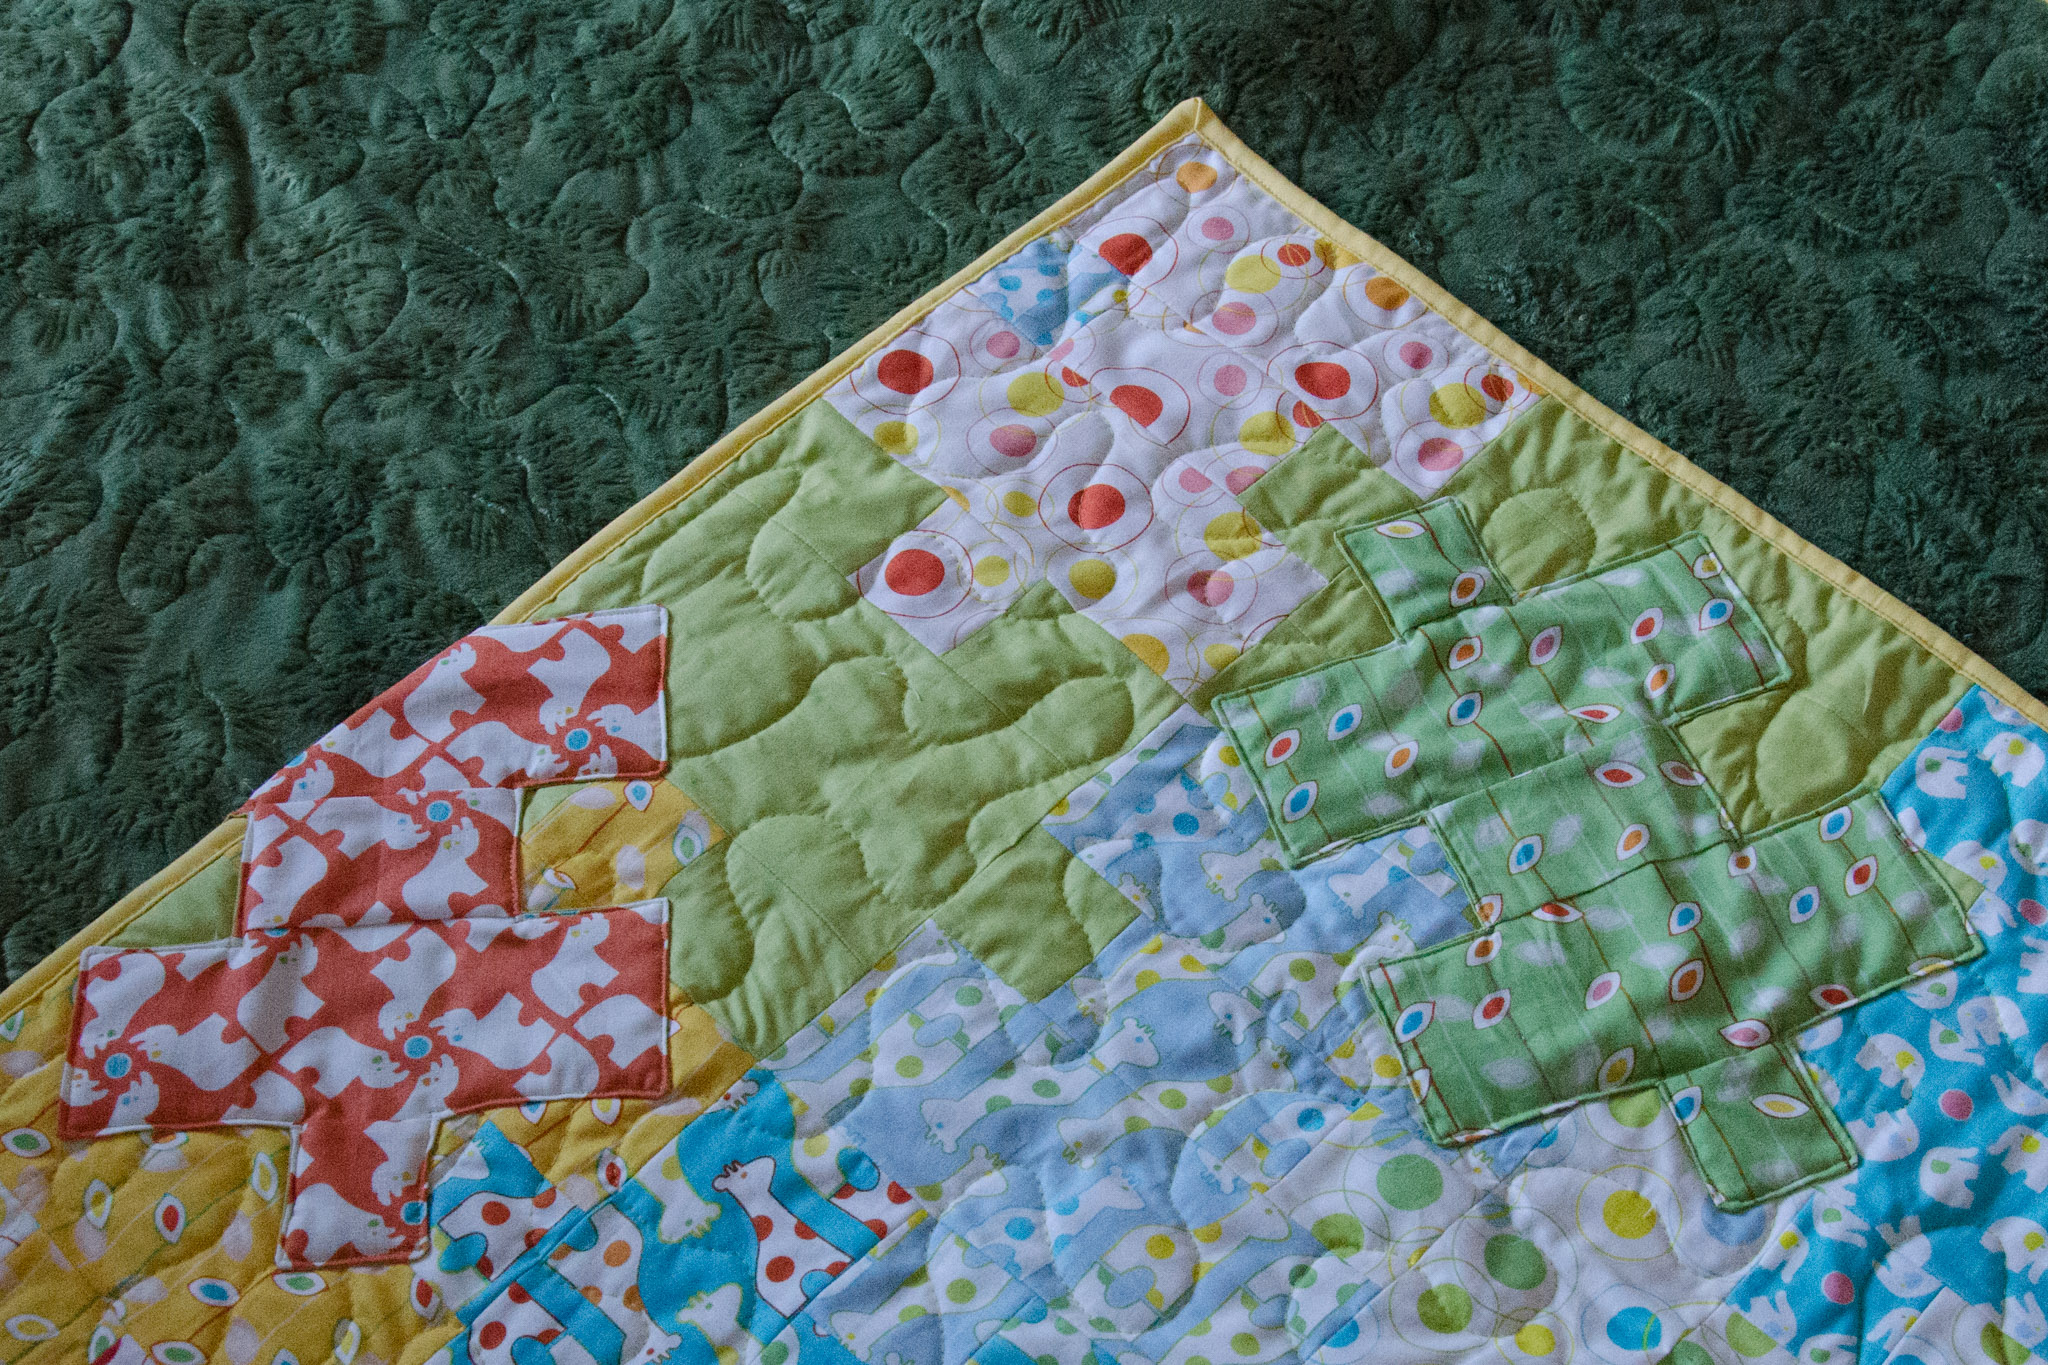
“Puzzle Bop” (detail), Rachael Arnold, February 2015, 48″x56″. Photo by Carl Pfranger.
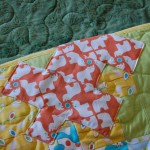
Then, because the design needed a little something more, I appliqued on a few extra puzzle pieces to fill in the negative space. I especially like the one on the top corner that wraps to the back of the quilt over the binding. (I posted a description of my process back in February.)
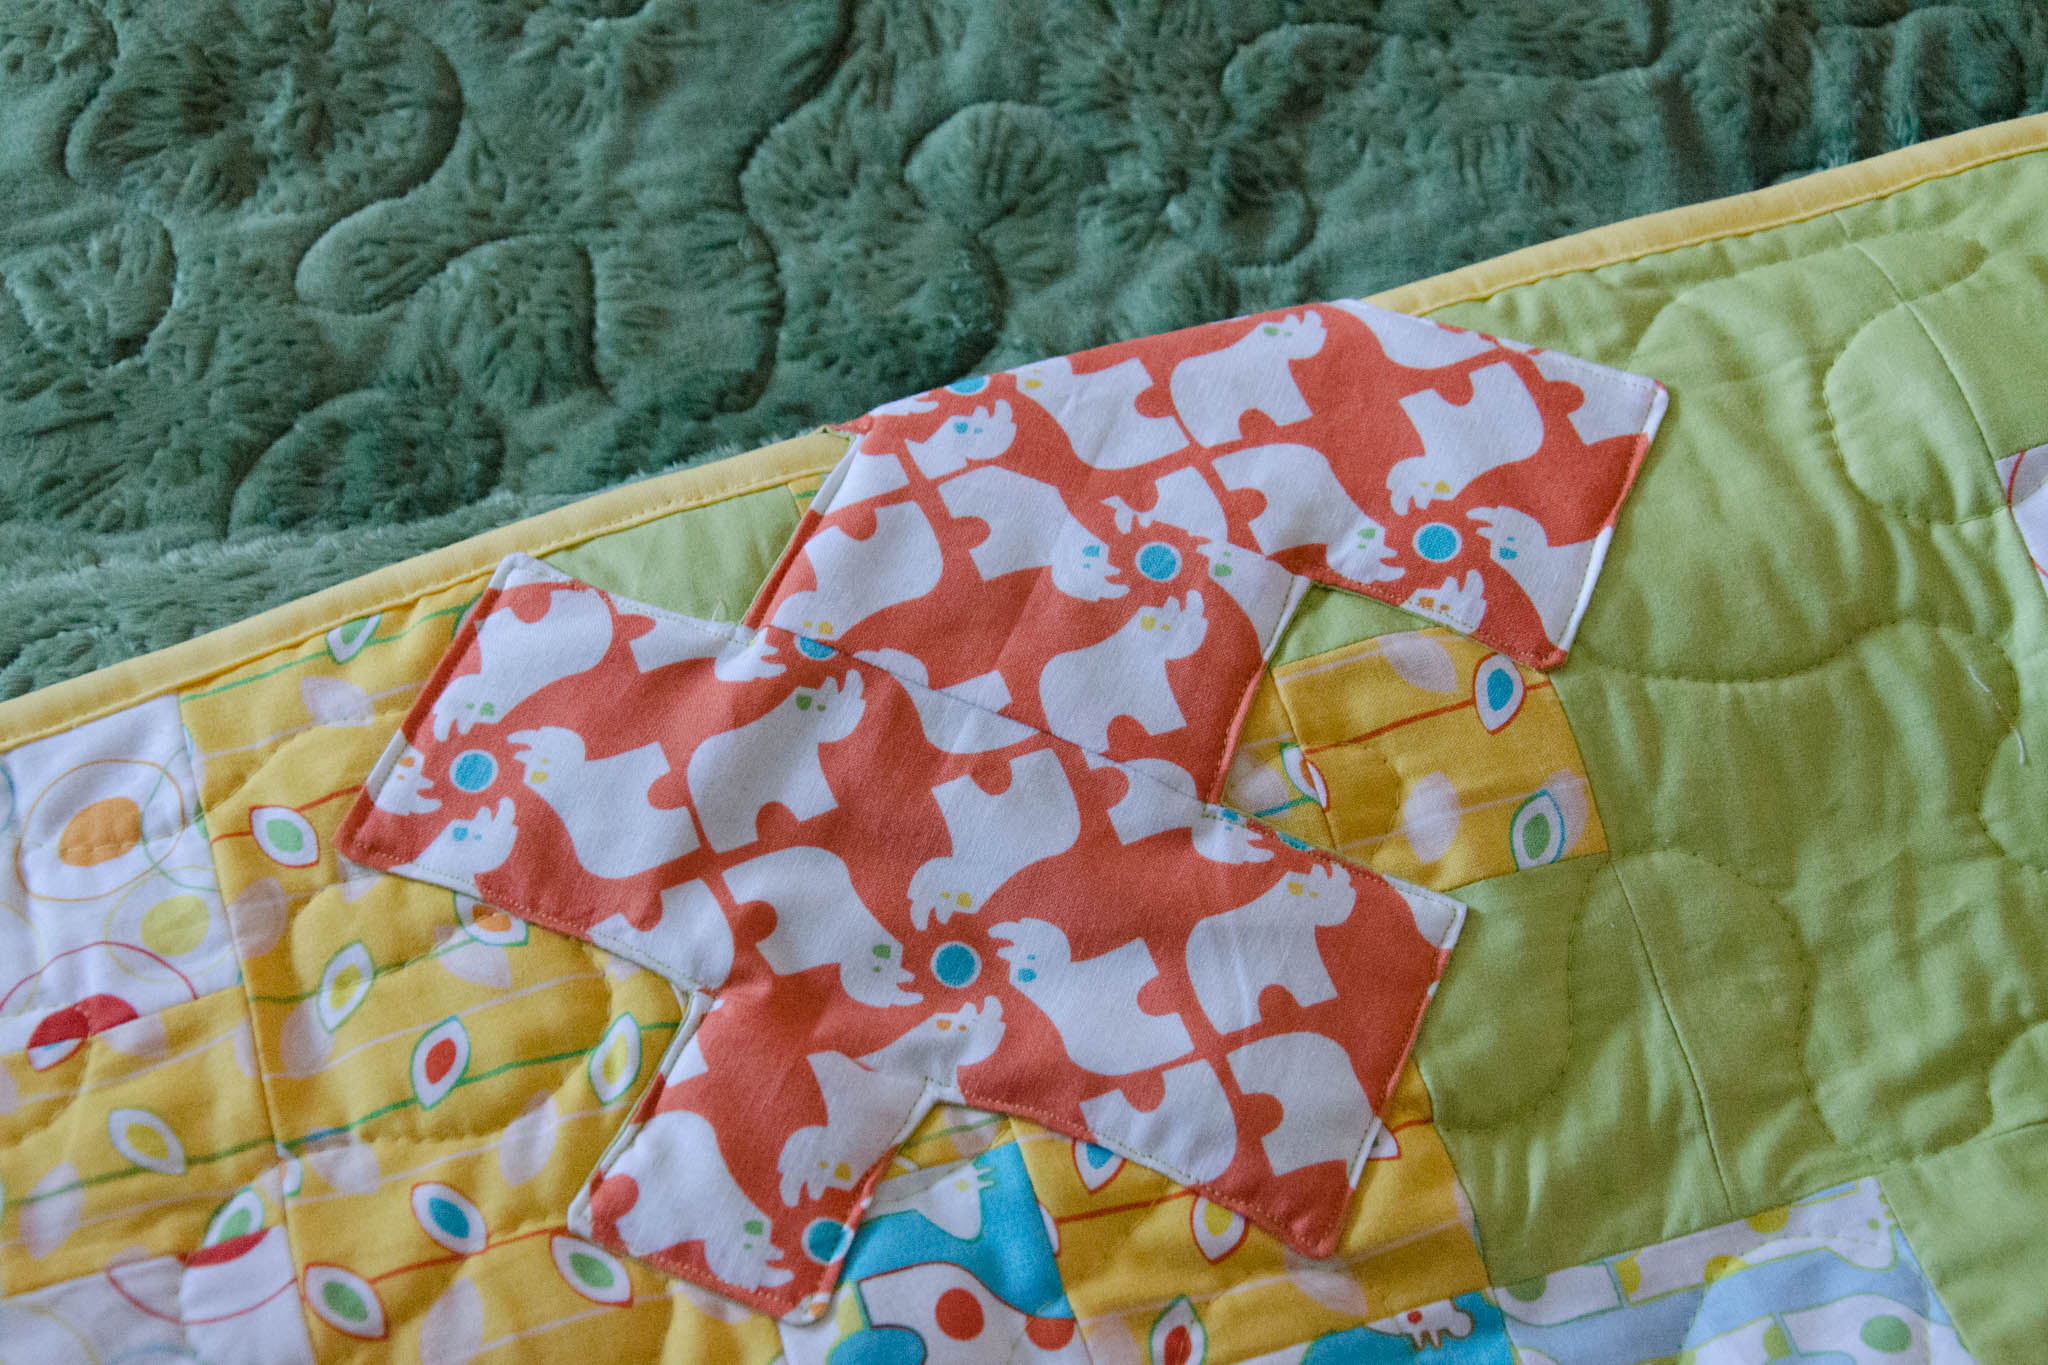
“Puzzle Bop” (detail), Rachael Arnold, February 2015, 48″x56″. Photo by Carl Pfranger.
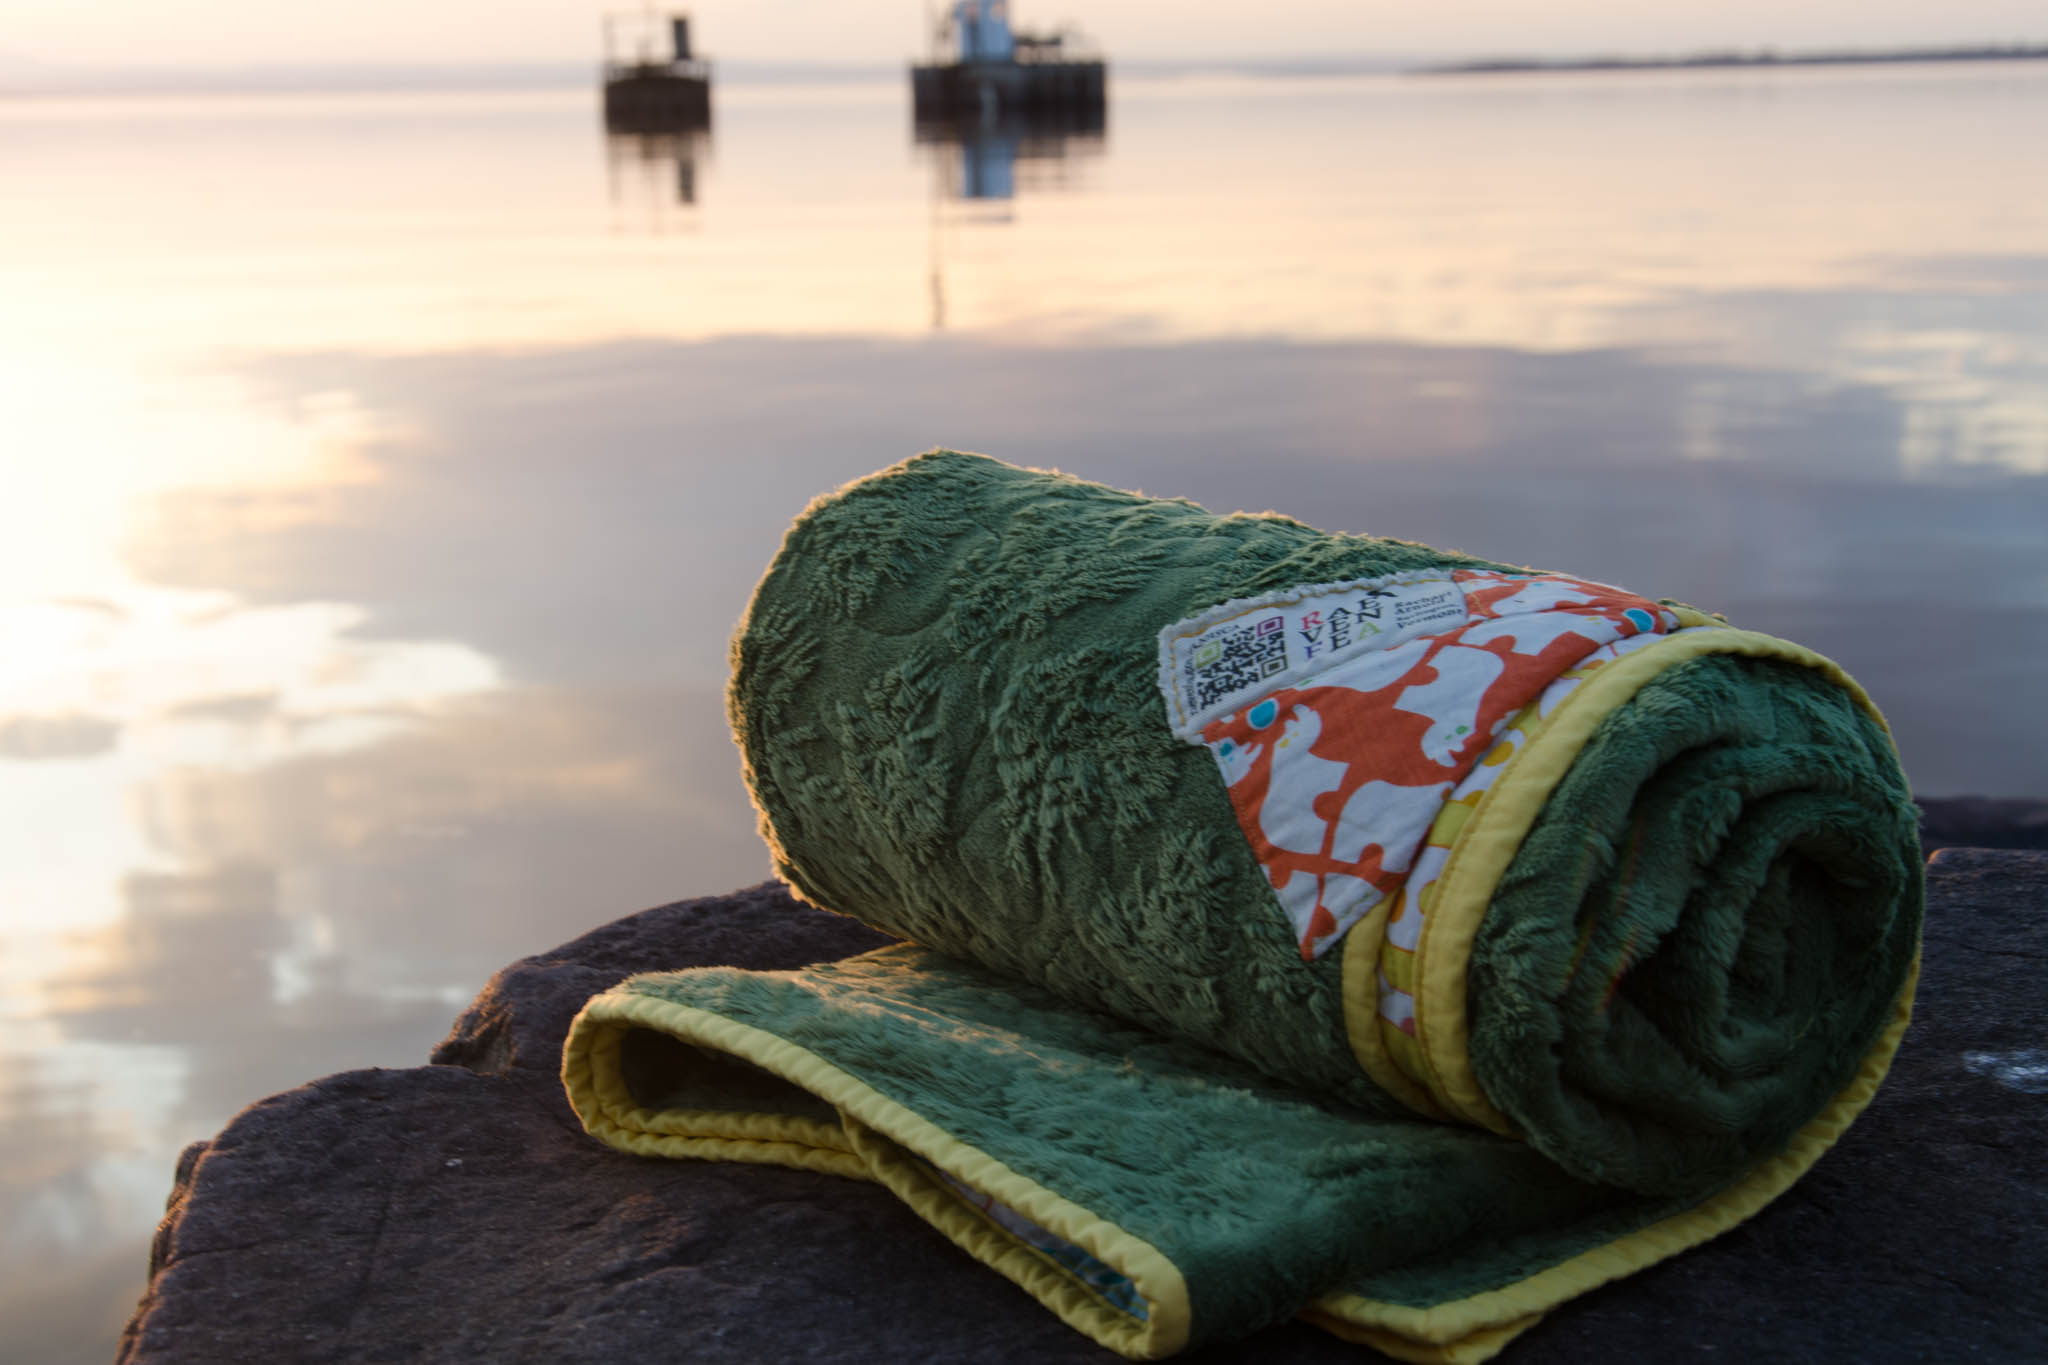
I free motion quilted this all over in a loose meandering pattern, using a Gutterman green that matches the Kryptonite. The back is Minky Cuddle Pine Ridge in Olive. I tried out Pellon’s Eco Batting this time, a 70/30 cotton/poly blend. It’s bound in Kona Sunflower.
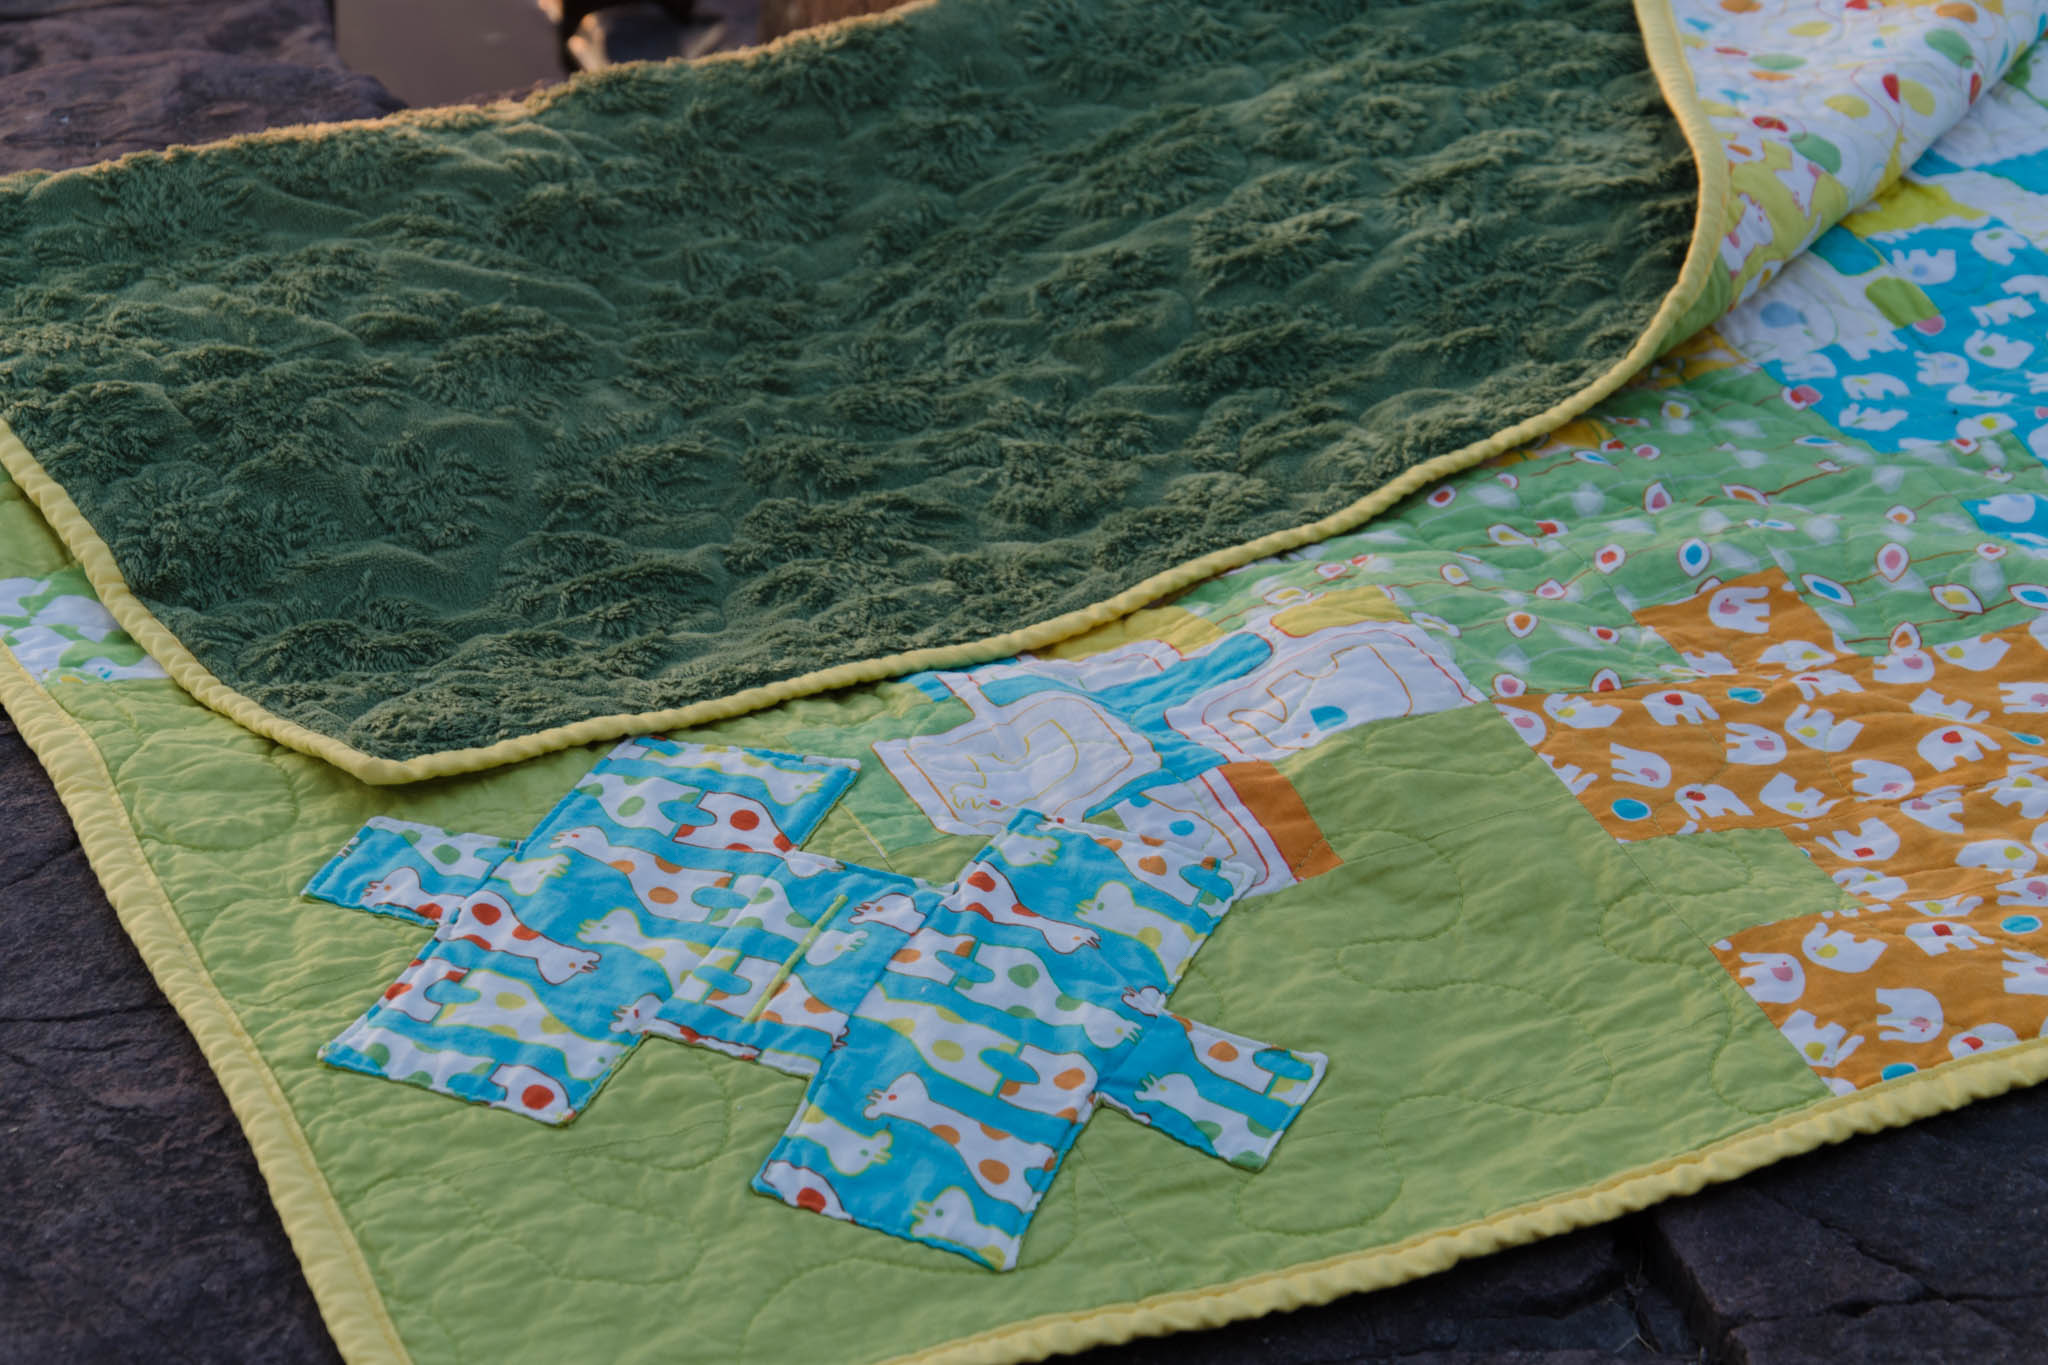
“Puzzle Bop” (detail), Rachael Arnold, February 2015, 48″x56″. Photo by Carl Pfranger.
This has been a slow year for me, quilting wise (at least considering I don’t have wedding planning to blame). I finished the quilt in February, but just now got around to photographing it and dropping it in the mail. It’s my only finish yet this year, but that should change soon.
“Puzzle Bop” (detail), Rachael Arnold, February 2015, 48″x56″. Photo by Carl Pfranger.
At least spring finally decided to grace Vermont!
“Puzzle Bop” (detail), Rachael Arnold, February 2015, 48″x56″. Photo by Carl Pfranger.
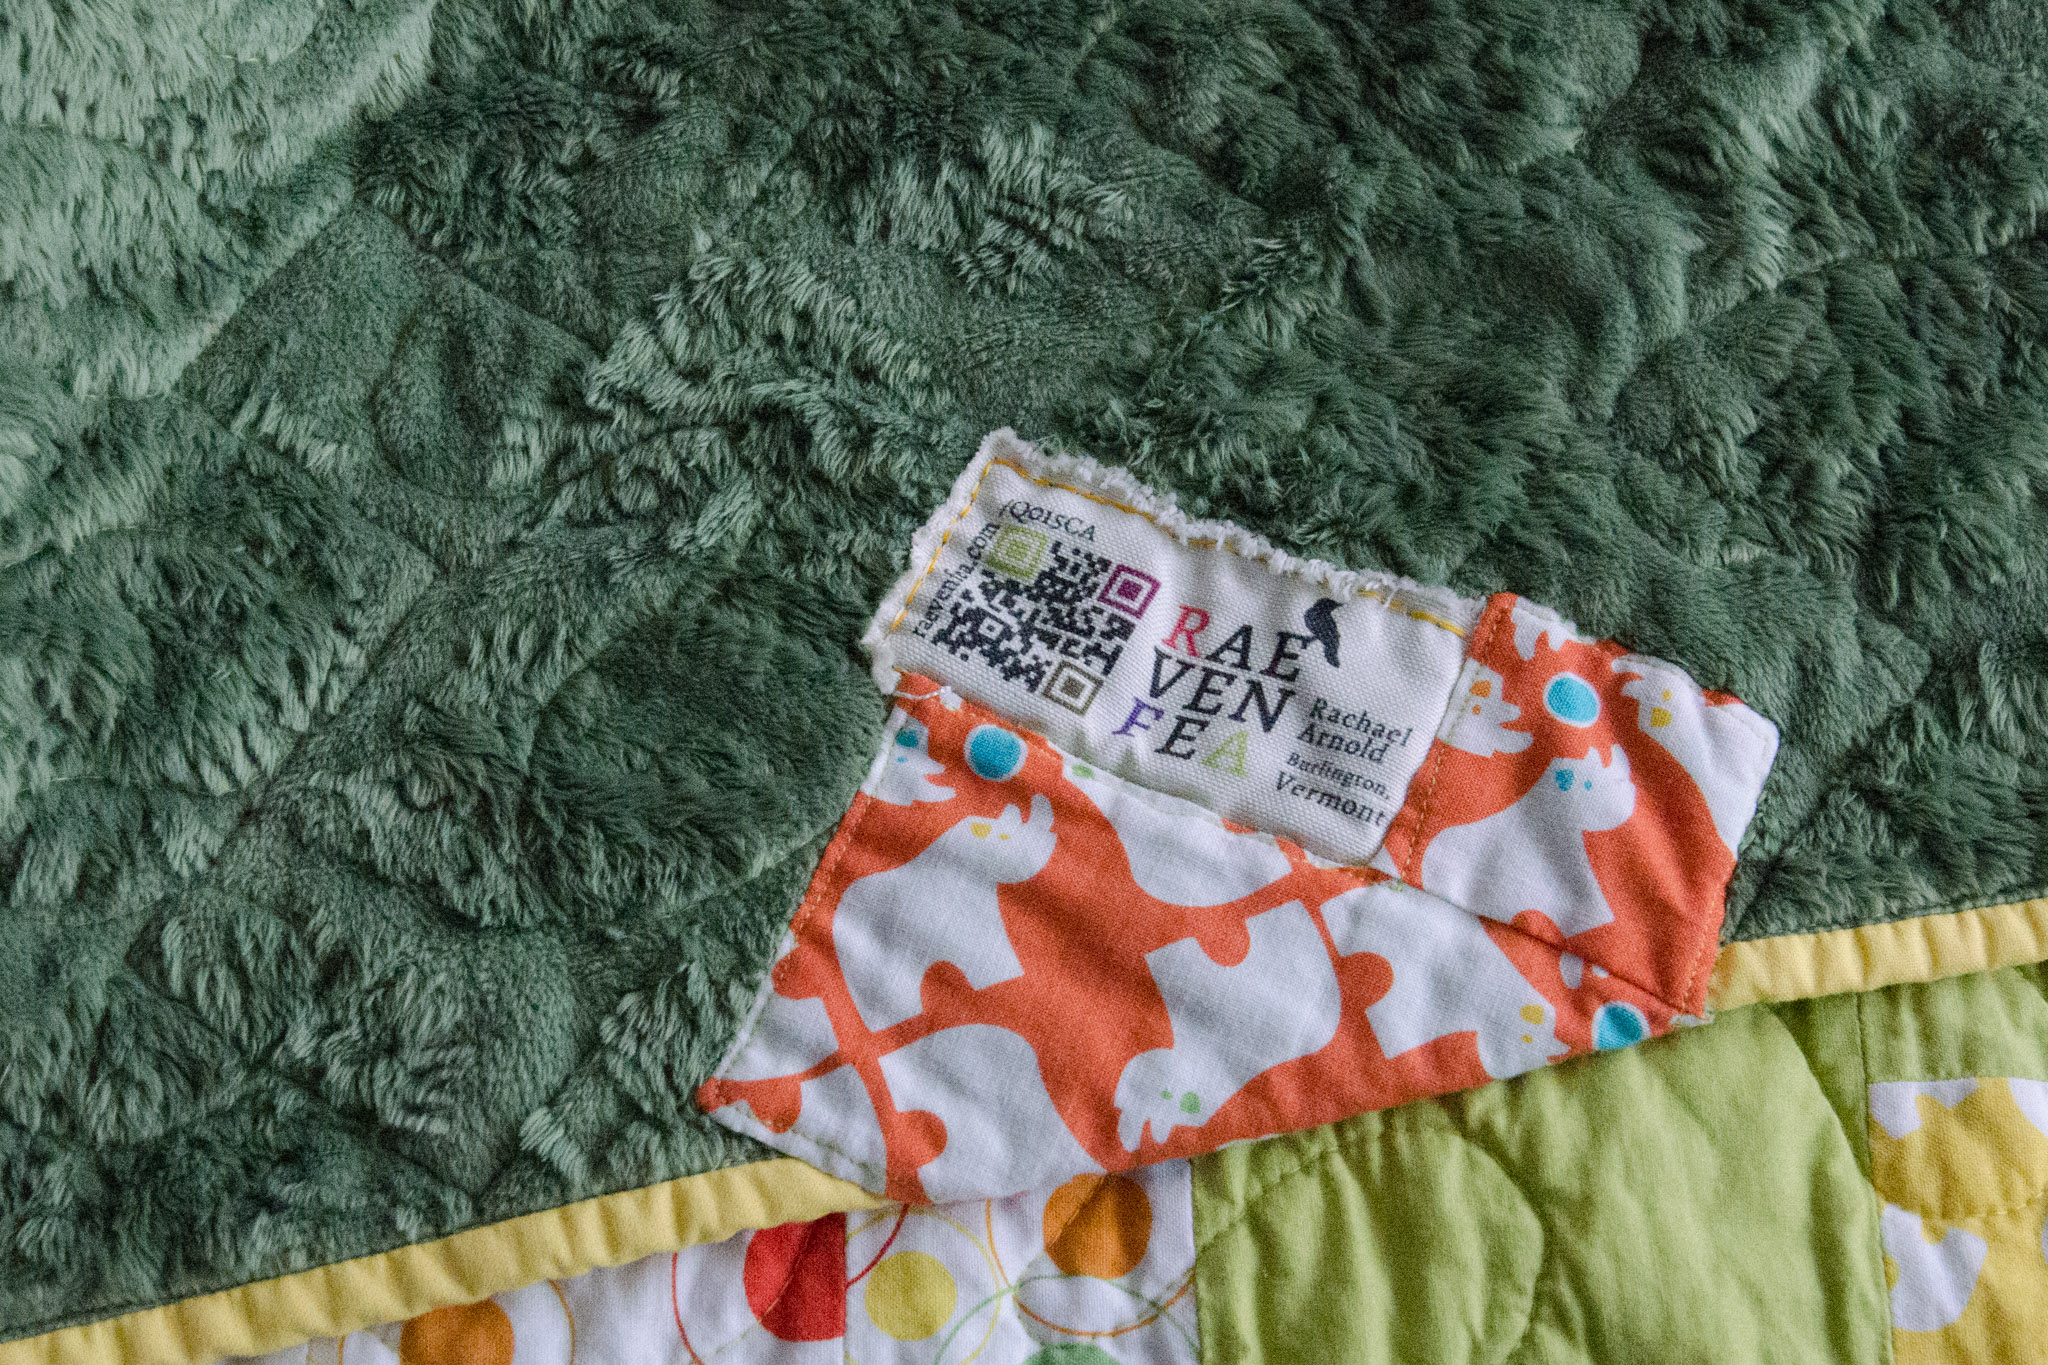
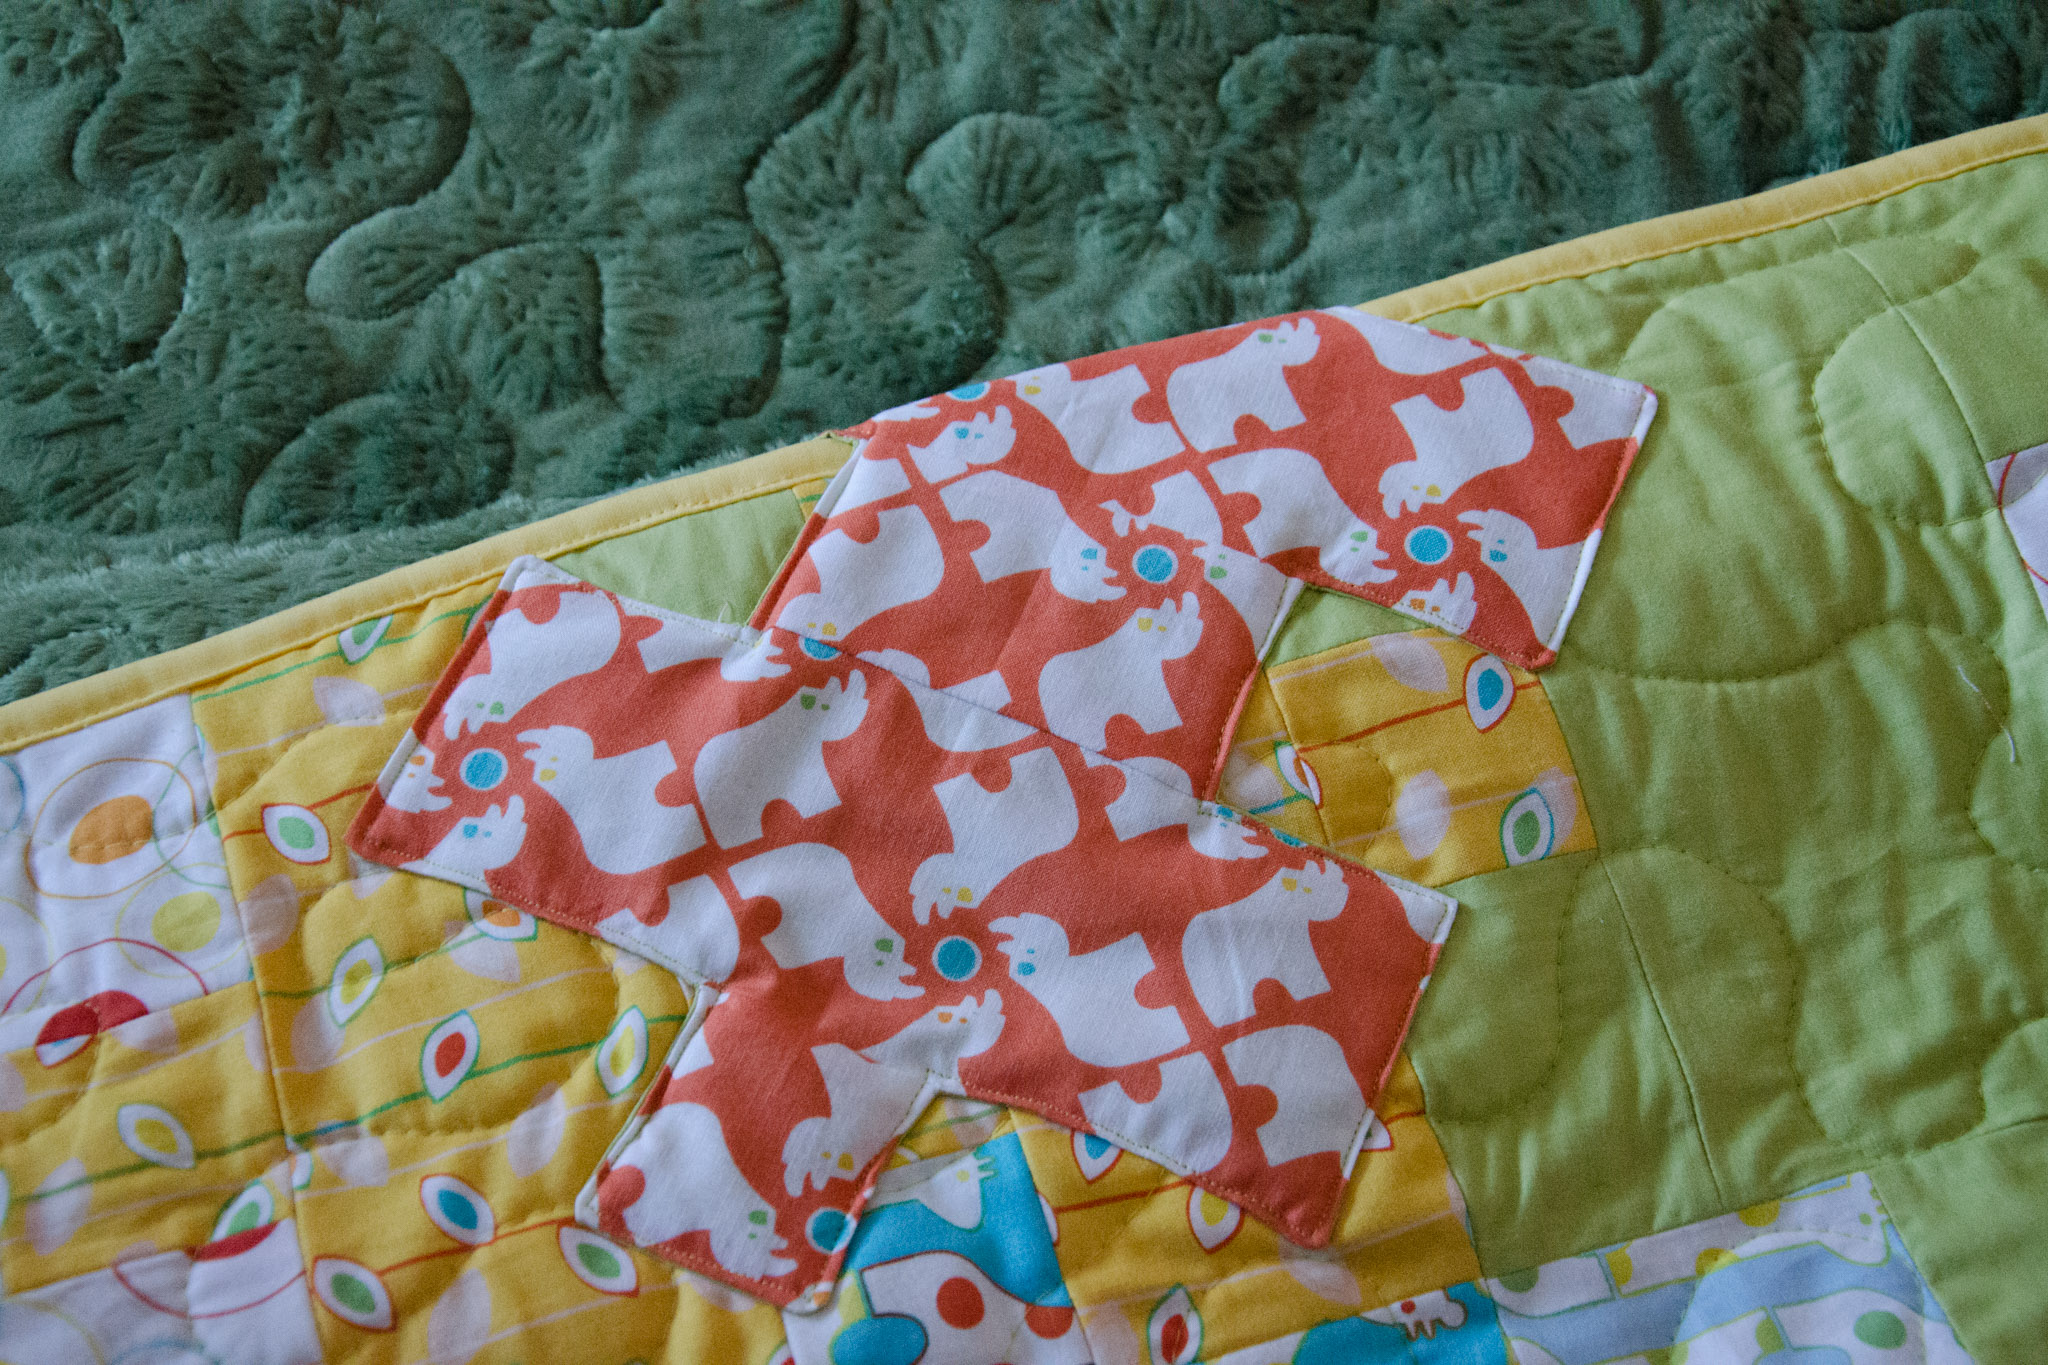
My latest quilt needed something more than piecing for me to love it, so I decided to add a few applique pieces to it after it had been quilted. Then, I decided to step it up a notch and wrap one of the appliques from the front to the back (full disclosure, I’ve been planning on doing something similar on one of my long-term works in progress, so it’s not a terribly new idea of mine).
The trick is that the applique was added after the quilt was otherwise finished. I sewed a backing to the applique piece, turned it right-side out through a slit in the middle of the backing (for clean edges), then topstiched along the edge to secure it to the quilt. When I reached the part that would wrap, I just kept topstitching without the quilt underneath, so that it looks the same as the top.
Once I was done, I wrapped the piece around, and used a ladder stitch to secure the piece to the back by hand.
It also served as a good place to put the label for this quit.
I’ll be back with more info about the completed quilt once it reaches its destination!
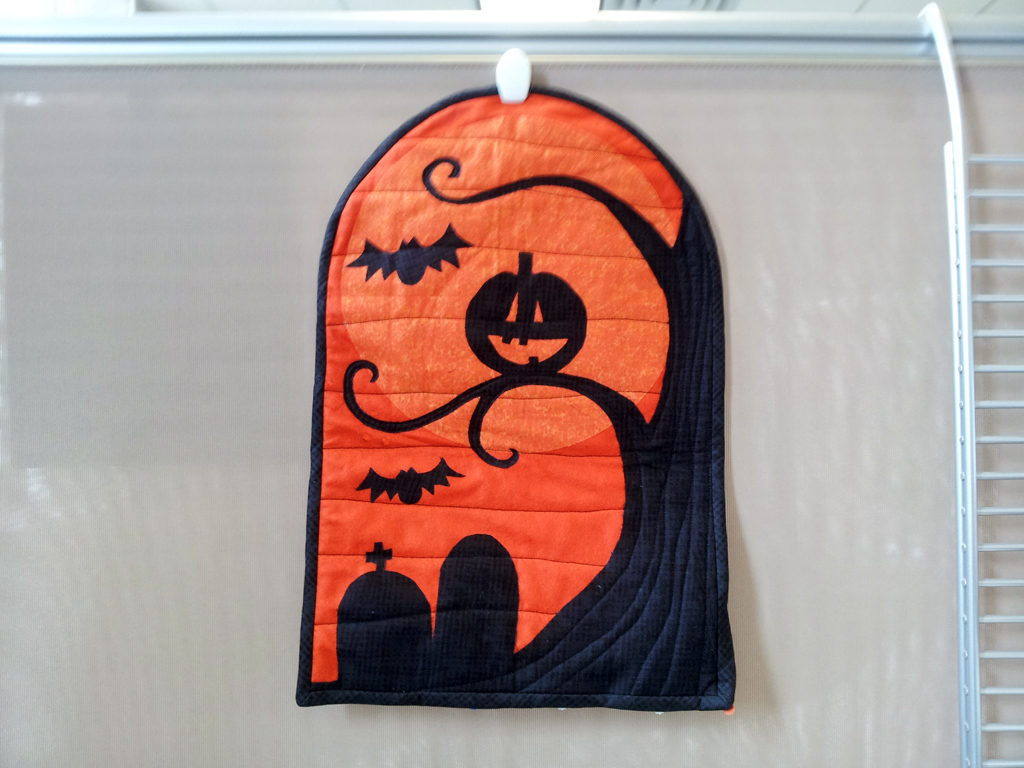
Sat and sewed this quick hanging from Fons and Porter Celebrations earlier this week with a group of other ladies. Nothing special, just some fusible applique and some very simple quilting. Trying to finish up the binding over lunch here at work.
Found out that my walking foot and tulle don’t play that well together, but it’s an otherwise fine project.
I’ve been in love with Curious Nature—and every quilt I’ve seen made with it—since it was released this past Spring. When the ebook Geared for Guys started making rounds, and Julie of Jaybird Quilts showed us the “Gamer” quilt, I was inspired with the perfect project for Curious Nature.
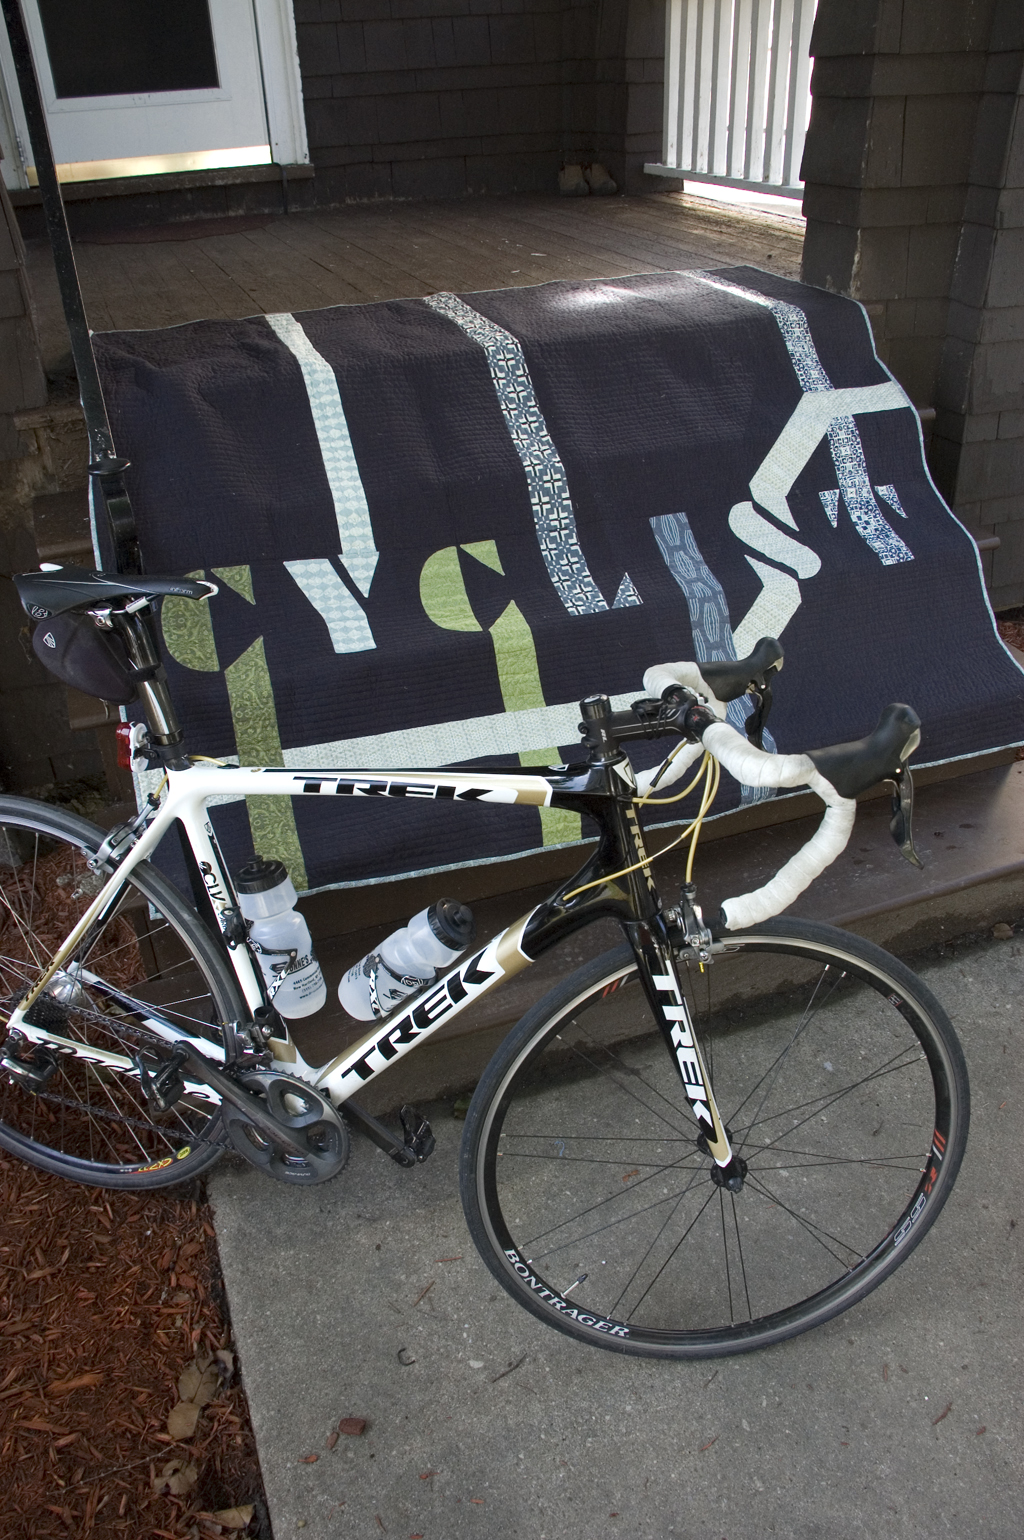
See, Carl just turned the big three-oh. He’s having a bit of an existential crisis about it, and we all know how cuddling under a hand-made quilt can help with that. But, he’s not a gamer (we have a Game Cube… somewhere… that gets used for Mario Kart maybe once a year). He is a cyclist, so I give you “Cyclist”:
It is larger than Gamer: around 70″ square (because there are more letters and because he likes square lap quilts). The background is Quilter’s Linen in Charcoal.
Over the past few weeks, I’ve posted about trying twodifferent Cathedral Window techniques. The first was a technique that actually constructs a four-patch with the window sewn in to the seams—you can see a video demonstration here. The other was the traditional quilt-as-you-go technique (one of many online tutorials can be found here).
The final project I’ve dreamed up can’t use the traditional method, and will require an absolute ton of calculations for the other method, as I’ll be making different sized windows placed in a somewhat arbitrary manner, so I needed to come up with a way to make a faux cathedral window that can be appliqued on wherever I want it. Here’s how.
After watching Superior Threads’ videos on using fusible thread for applique, I was determined to try it out for myself. In fact, I rushed to the store and bought the only fusible available: Gütermann’s polyester/nylon blended fusible. It was perfect timing, considering I was just starting the Kaleidoscope/Tula quilt, which has a lot of applique on a large scale.
The bi-weekly So You Want To Quilt group is starting up with a new project this month: a quilt based on the Stack-n-Whack kaleidoscope technique (there are a few books about it, like Stack-n-Whackipedia). Our teacher is designing a wall hanging that we can make, but seeing as I’m more of a quilt gal myself—and lack any restraint to keep things simple lately—I’m making my own design (more on that in coming weeks).
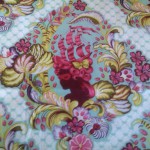
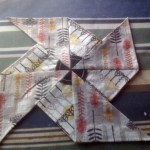
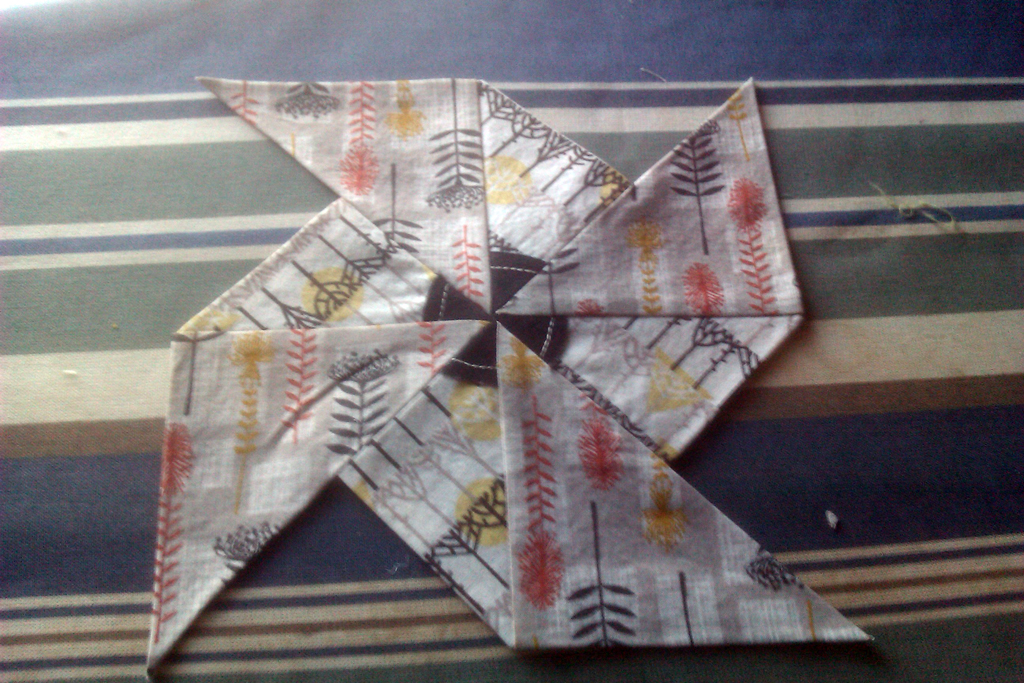
I’m evidently stuck on designing with pinwheels lately, so when I was thinking about how to make the quilt currently titled “Organic Spins”, pinwheels popped to mind yet again. As the design progressed in my head, however, I realized that I didn’t want a ton of seams in the background of the quilt. So, the idea of making a whole-cloth quilt with appliqued pinwheels came about. But, it still requires piecing part of the pinwheel together before being able to applique it on.
Last week, I played around with some scrap fabric to make a proof of concept. I finally cut into my fabric and started piecing at the Utica Modern Quilt Guild meeting/sew-together on Saturday.
Here’s the final product:
This one finishes at about 10.75″ across. It’s the middle of three different sizes I’m using (well, plus one much teenier size that will be paper pieced).
Since I am getting the hang of applique so long as I don’t need to turn any edges under, I decided to face another fear of mine—curved piecing—in the most fearful (that is, not actually confronting the fear) way possible: using applique to give the look of curved piecing.
Okay, that’s a bit of an exaggeration, but the ladies at Viking Gallery were offering a weeknight class to make a “Rob Pete” table runner using the Quiltsmart method which uses fusible interfacing and applique to create curves instead of traditional piecing. So I signed up.
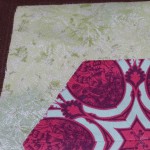
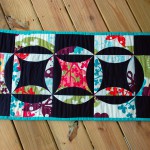
And before long, I had fabric that was originally intended to be the bag for the Spring Quilt Along and the Quiltsmart printed fusible interfacing turned into this bit of patchwork:
It’s a bit wrinkly from being stored rolled up for the past couple of days as I carted it around trying to finish the binding.
The printed fusible interfacing pieces look like this:
Since I was in a class, I don’t have any in-progress photos, but the premise is rather simple. You place your fabric and interfacing together (don’t fuse yet!), sew along the stitching lines, cut along the cutting lines and then turn right-side out. This puts the fusible side of the interfacing facing down so that you can fuse your curved piece to the background. Fuse, applique on, and then piece the blocks together and you’re done!
So, aside from a few typos about cutting requirements that were in the pre-publication page previews that Quiltsmart kindly sent (evidently the old book is out of print, but they’re releasing a new one soon), this was an extremely simple, straight-forward way to make Rob Peter to Pay Paul.
And, since I have no table on which to place a table runner (seriously… the table runner is the same dimensions as my coffee table, which is the largest table in the house aside from our desks), I decided to turn this into a very useful item: an ironing mat!
There are a few ways to make an ironing mat, but my approach required three more layers:
Ironing board fabric, which is a special aluminum-coated fabric. I bought mine from the local JoAnn, which had it in the utility fabric section. I’ve heard some people claim you shouldn’t use special fabric like this because it redirects heat back up to your fabric and promotes scorching. I’ve never had any problems. If you associate with the former camp, you can always use plain cotton instead.
Insul-Bright, a heat/cold-reflecting batting-like fabric. This is often used for things like pot-holders or lunch bags and is also available in the utility fabric aisle or in pre-cut packages in the notions aisle.
Natural fiber batting such as Warm & Natural or Bamboo/Cotton blends (I used Bamboo Fusible Batting that I had on hand. The fusible part was a bonus, but not necessary).
Then, you sandwich them all together in this order:
Ironing fabric (backing, silver-side out)
Insul-Bright with shiny-side toward the ironing fabric
Batting
Pretty pieced fabric
Simulation from scraps. Your batting, Insul-Bright, and ironing cover pieces should be approx. 2″ larger than patchwork on all sides to accommodate quilting.
Consider using spray-basting, as the ironing board fabric holds pin holes—with spray, you don’t need to pin. This was one advantage to using the fusible batting I had—I fused the patchwork to the batting and the batting to the Insul-Bright, and only had to spray baste the ironing fabric to the Insul-Bright.
Quilt as desired. For mine, I stitched in the ditch along the straight seams—which is pushing it as far as closeness for recommended quilting for the batting, but I doubt this is going to be washed very often.
Then use! You iron on the shiny side, but can flip it over to use as a table runner when it’s not needed.
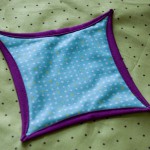
Or, slip some ribbon in the binding…
That ribbon fits beautifully with the eggplant color in the Just Wing It print, but I have no idea where I purchased it. Possibly Walmart at some point or another.