This is a static export of a blog I put on ice many years ago, that still has personally relevant content. No promises can be made around linkrot, styles, or working functionality.
My latest quilt is being shipped off this weekend, so its debut here will have to wait until it arrives. In the mean time, I dug into my stash today for a small gift for that quilt recipient’s sister. I still had a few bits and pieces left over from the quilt I made her in 2012—the Impressions Baby Quilt—so I thought it high time to round out her gifts with a doll quilt (prop Vermont Teddy Bear not included).
It was an extraordinarily fast project; all the half-square triangle blocks were already sewn up and sitting in my scrap bin from the original quilt piecing, waiting to be stitched up into something. Finished size is 15″×20″.
A scrap of 80/20 batting and a bit of stashed cuddle-type fabric that’s cut edge shed so much I’m amazed there’s still fabric finished up the quilt sandwich. I quilted it with just a few straight lines following the HST seams, which is how the larger quilt was quilted. I bound it with more scraps from the line that were already conveniently cut into 2.5″ strips.
More of my stash was busted and one little girl won’t be so sad when her baby sister receives a package next week. That’s not too shabby for an hour or so on a lazy Saturday afternoon.
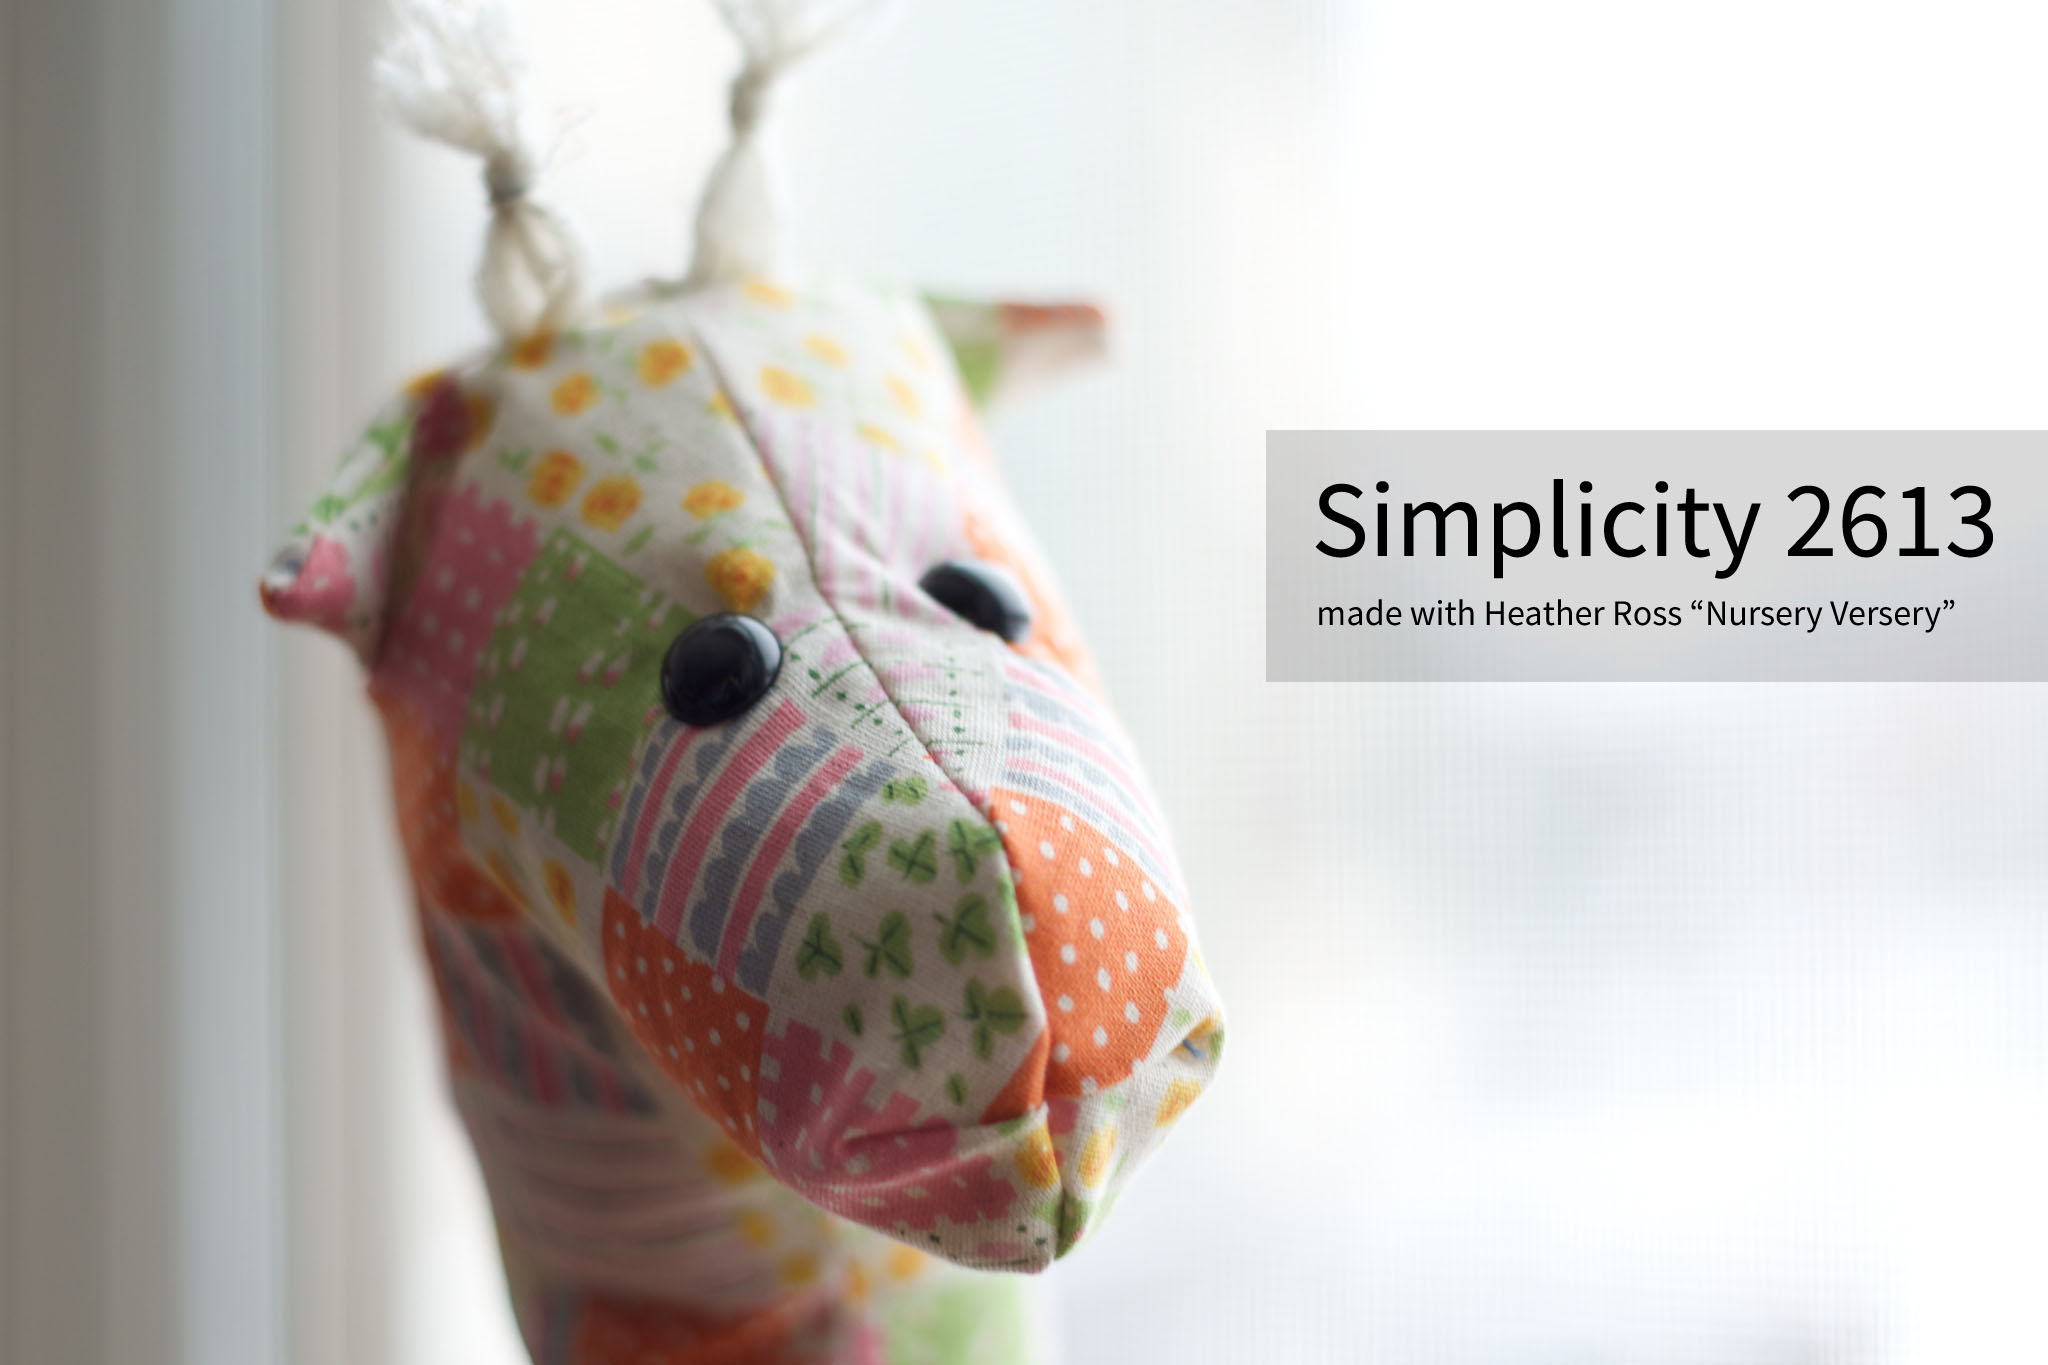
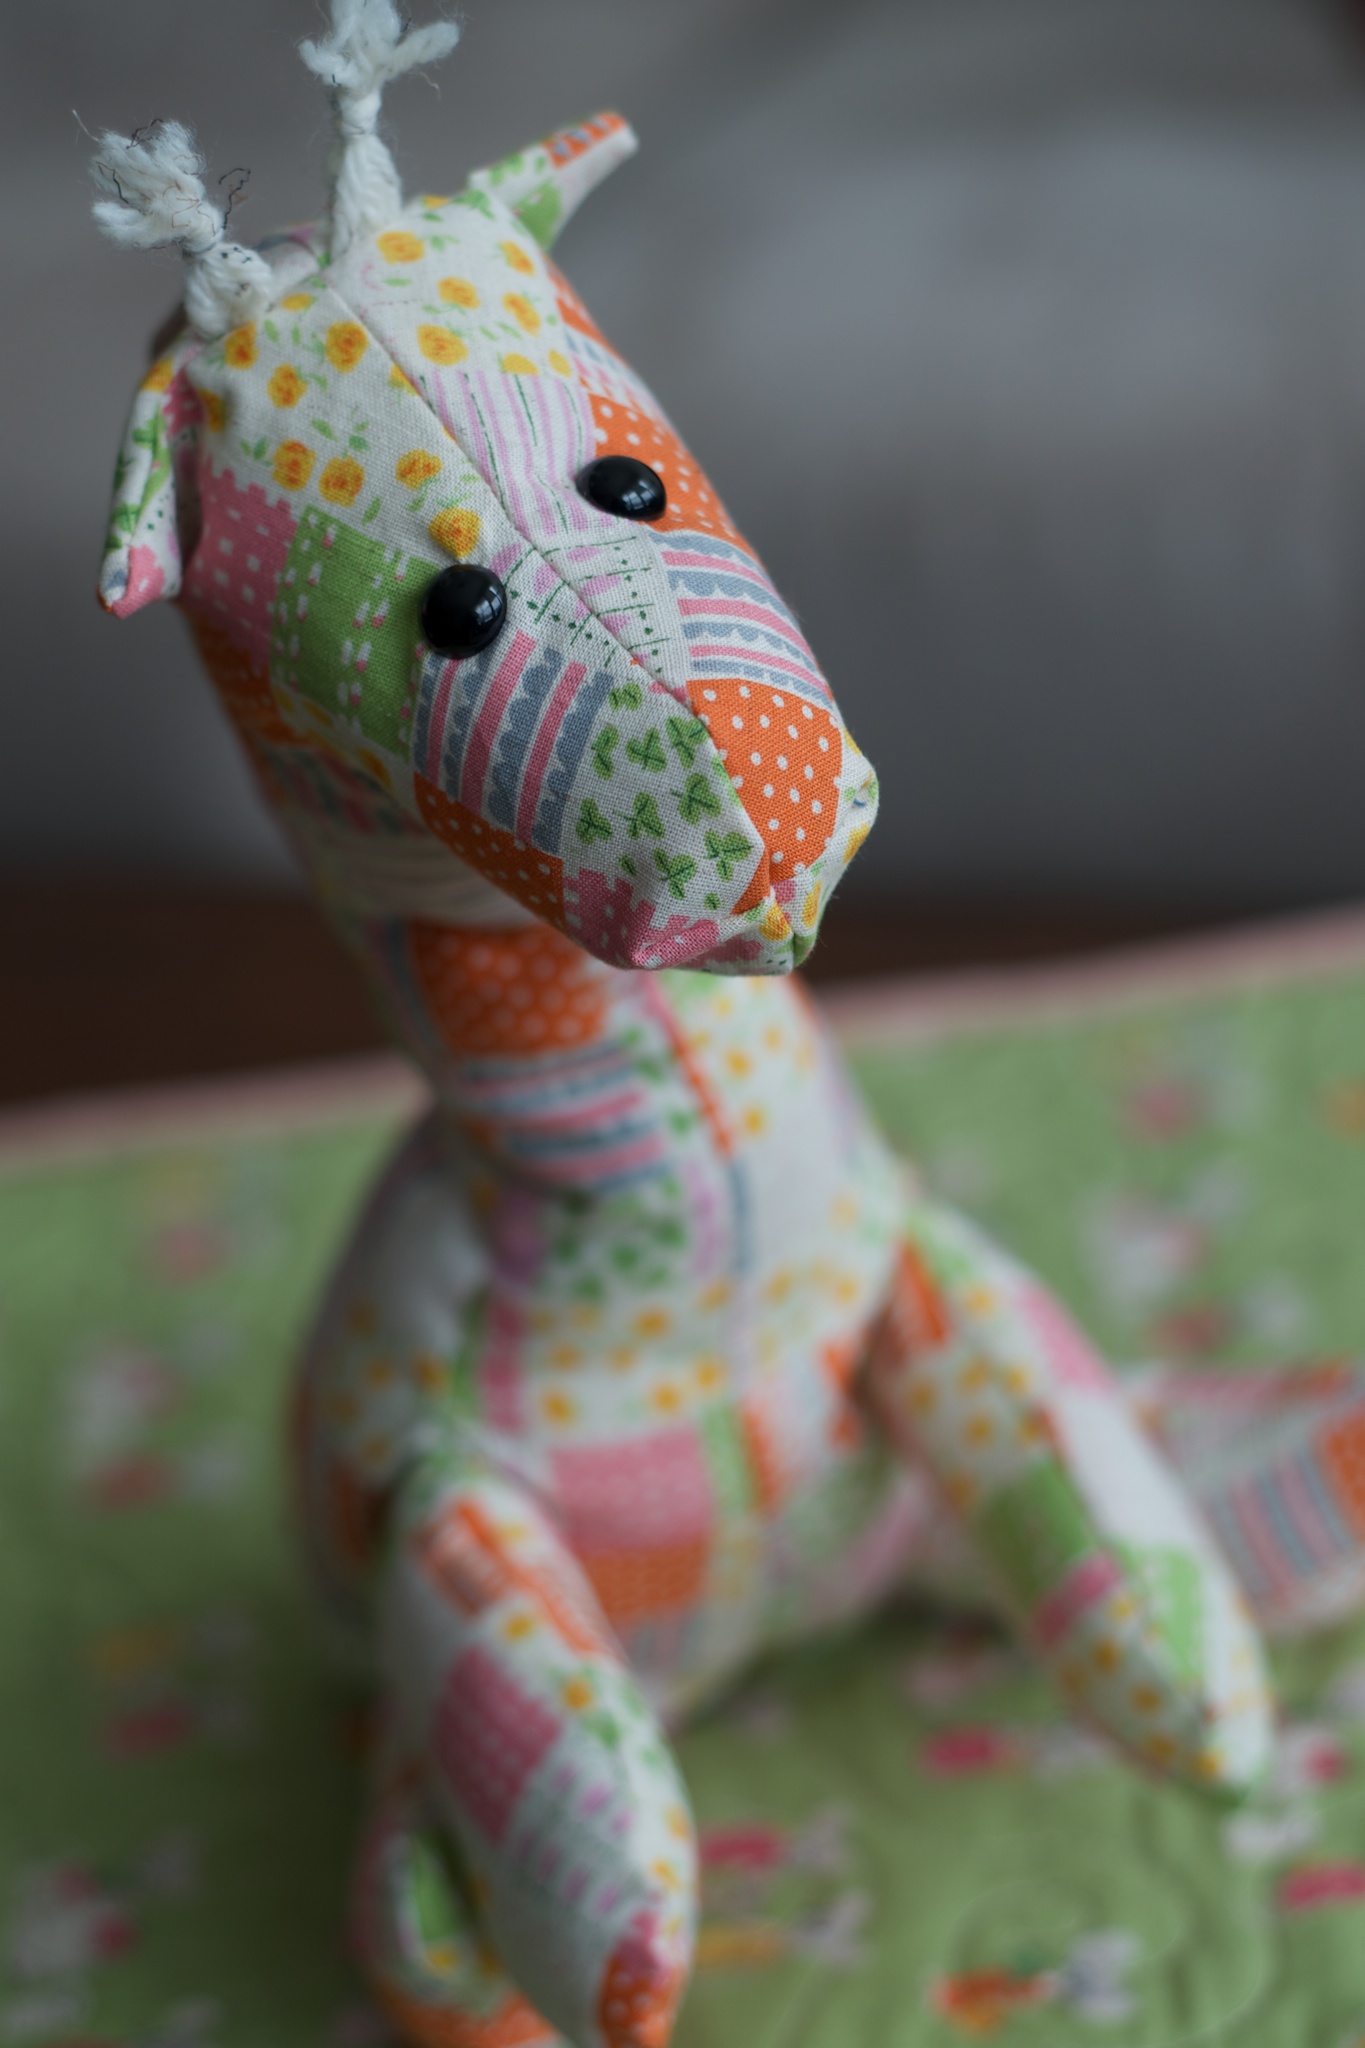
With the emergency surgery needed for one quilt, I didn’t manage to finish the quilt for my friend’s soon-to-be-born daughter. I knew I needed something quick that would go with it, since we flew down to visit and attend her shower, so out came my trusty copy of Simplicity 2613.
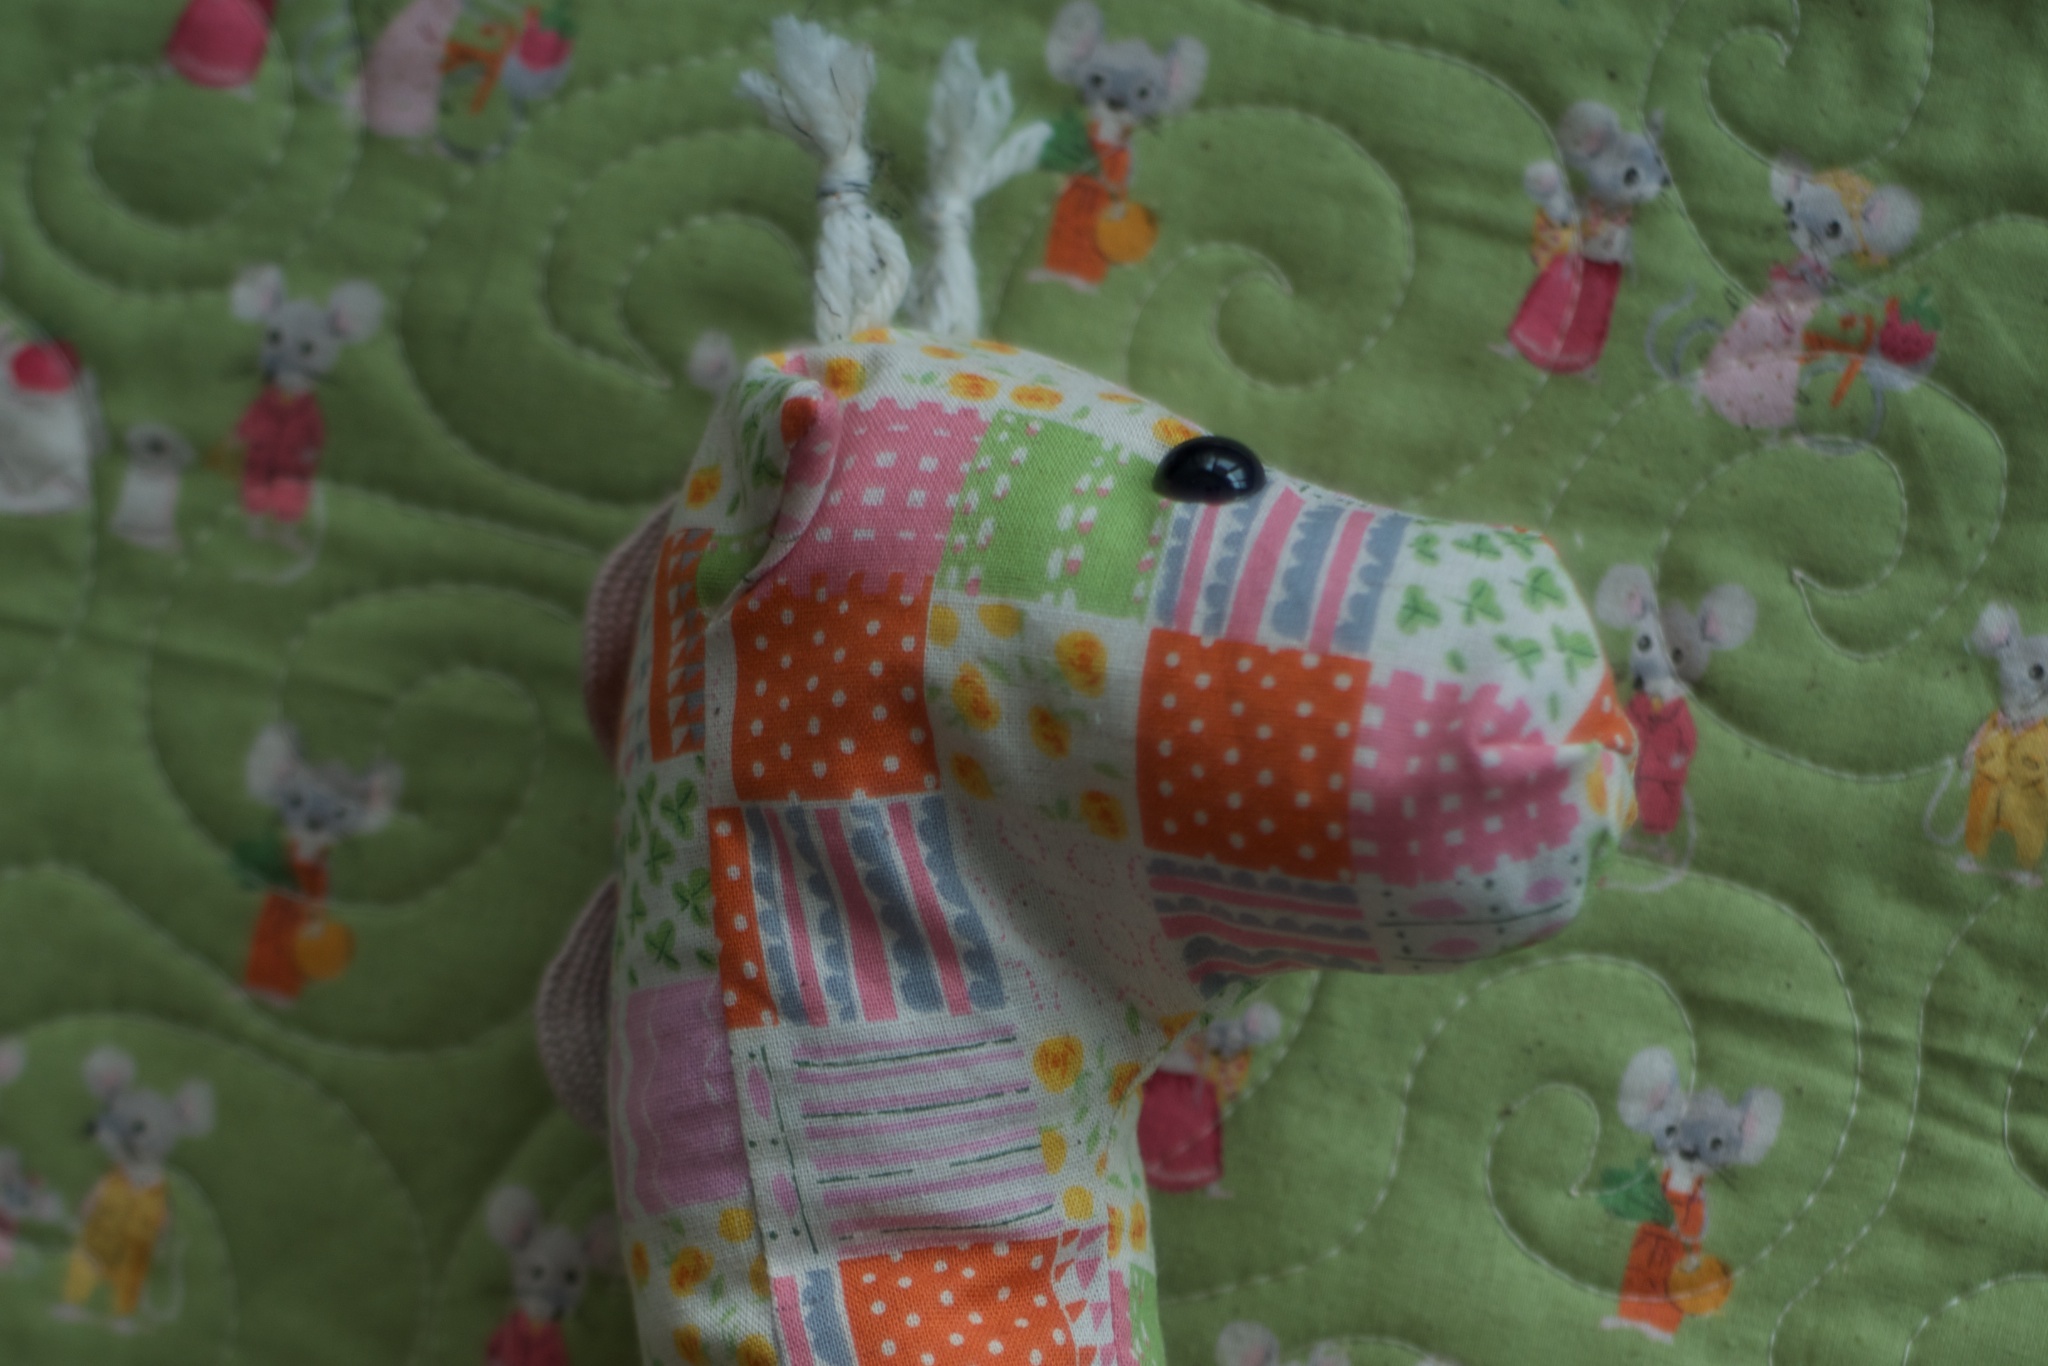
The quilt uses Heather Ross’ Nursery Versery fabric (among others) and Nido was having a sale, so I picked up extra for this project. I had a bit of yarn and large rickrack that coordinated for the ossicones and tufts of hair on the neck.
It rattles, thanks to some sort of plastic capsule I had around and pearled barley from my cupboard.
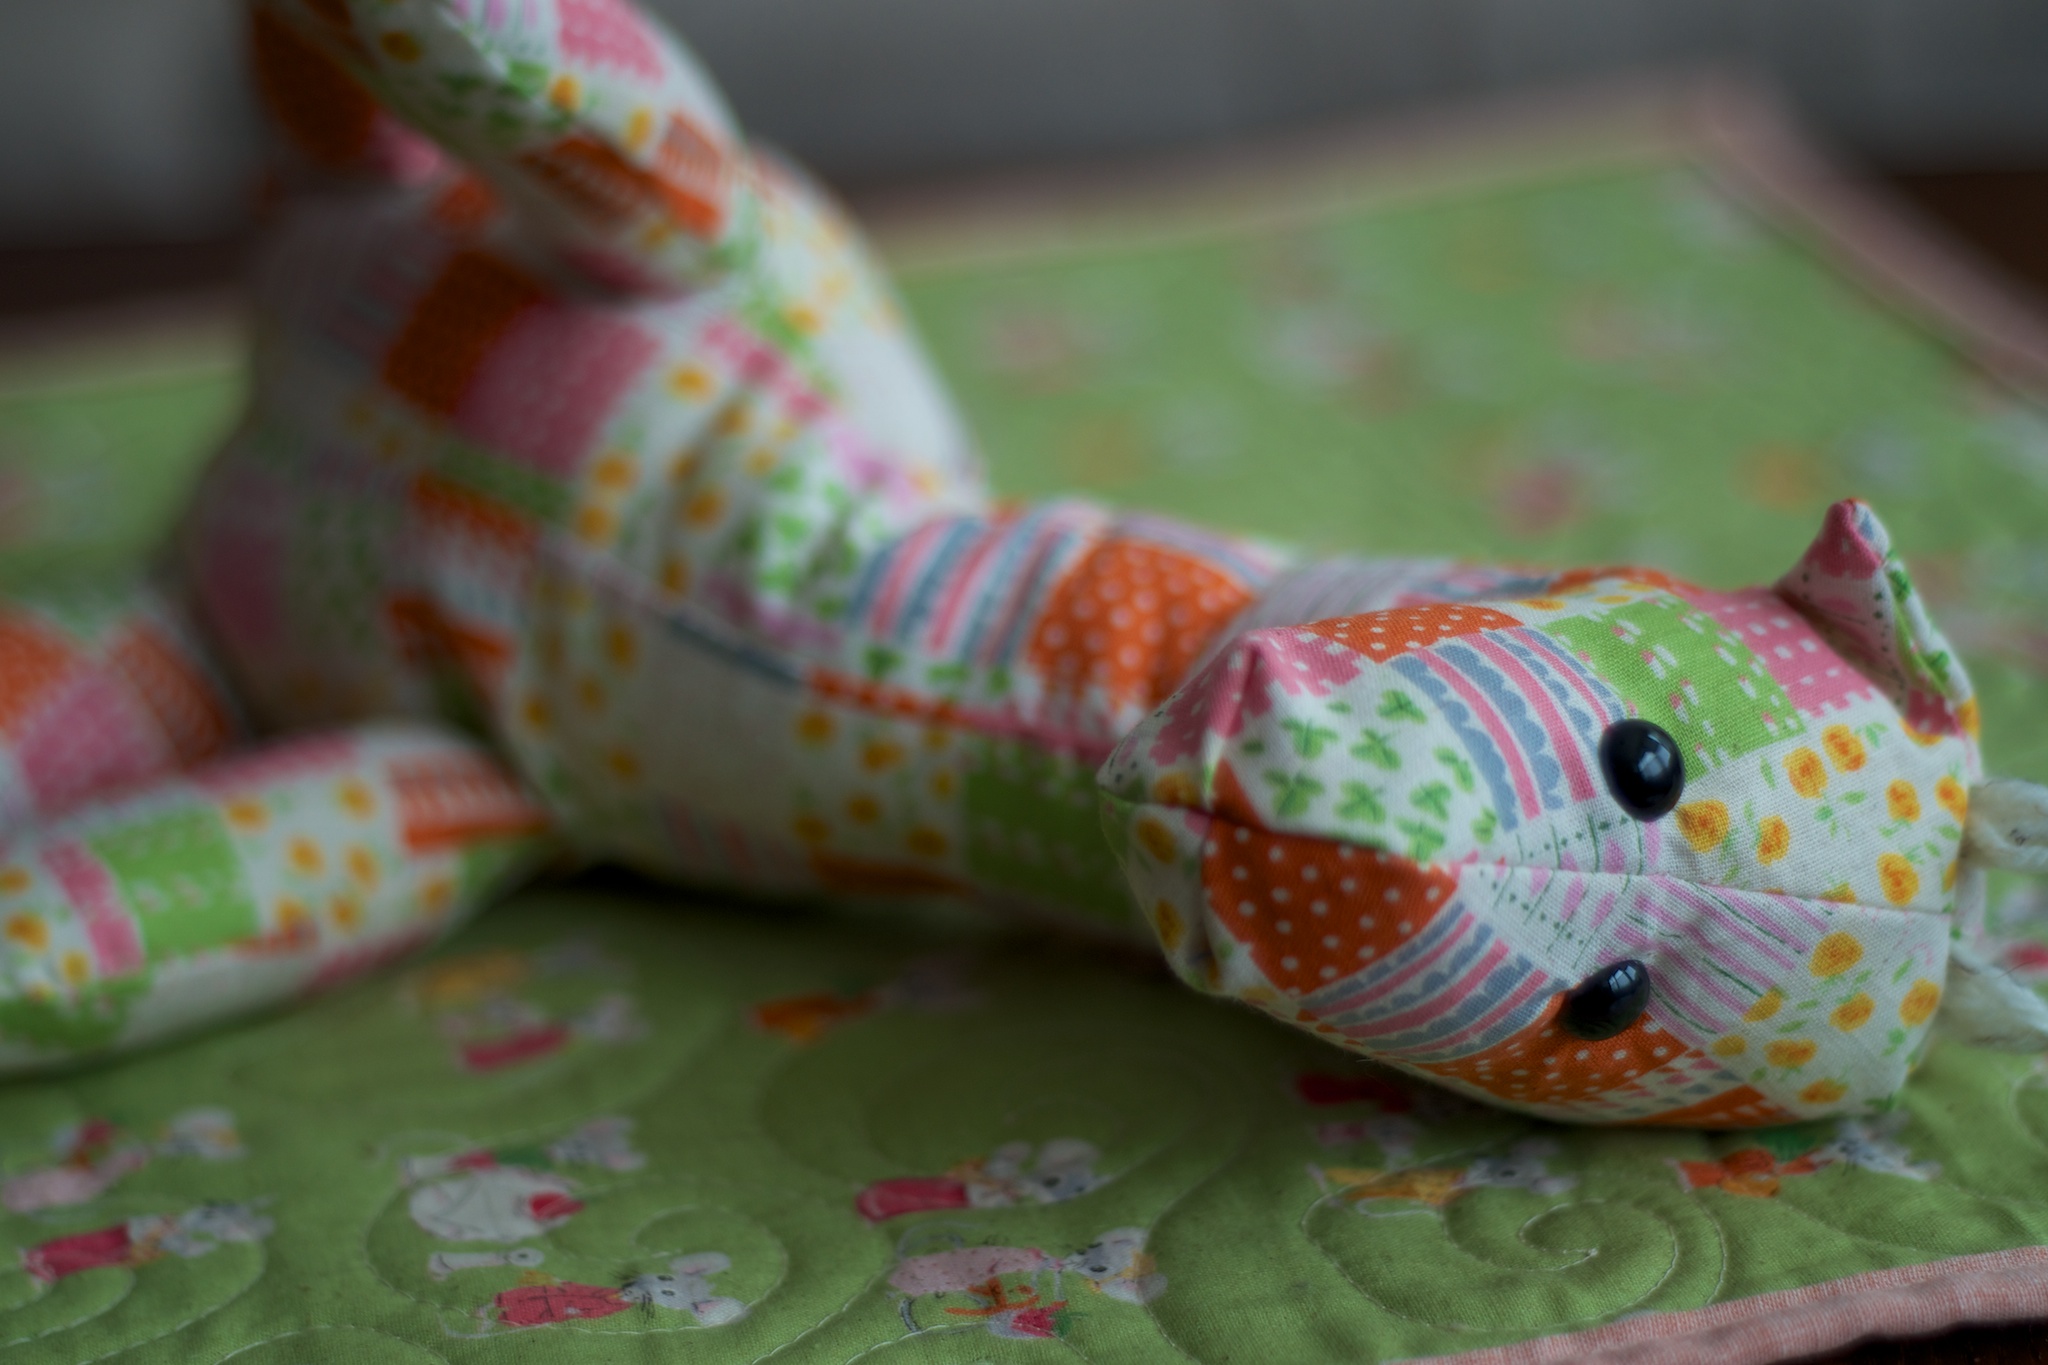
Once I finished the stuffed giraffe, I thought the gift needed a little something more, so I grabbed a FQ of another Nursery Versery print (that will also be the backing of the baby quilt), paired it with a pale yellow and white flannel (backing) and pink linen (binding) from my stash, and made a whole-cloth doll quilt to match.
She’s not due until April, so I still have time to finish up the quilt, but I’m happy to have made these accessories in time.
I’ve mentioned how well-loved my very first quilt has been in the hands of its owner. He finally let his mom send it back to me for some therapy after the binding ripped, so I got a chance to see just how badly it’s held up over the past three years (mind you, of very extreme use). I’ll let the photos speak for themselves:
“The Baby Quilt”, Oct. 2011, photographed Feb. 2014.
The places in the center where the fabric is missing are where I used silk. Lesson learned there. The rest of the center has a few split seams but is in decent shape otherwise. The inner border has issues on both seams. Thankfully, the back is in much better condition—a few of the rips from the front around the inner border are also present on the back, but they aren’t bad. Mostly, the back just shows how badly the quilting itself held up.
When I first looked at it, I didn’t think I could rehabilitate the front at all. But over the course of a few days of contemplation, I managed a plan.
“The Baby Quilt”, Oct. 2011, photographed Feb. 2014 after restoration.
First, I patched all of the missing silk pieces with an off-white cotton (stashed Moda Bella Etchings Stone if memory serves). I cut the patches slightly larger than needed, then used a three-step zig-zag to secure it, going over other loose seams while I was at it. It’s not the cleanest solution, but it is sturdy, quick (I was on a deadline), and gives it character. I added more colorful patch to the bottom corner where there was a small hole, and a couple to the back where holes had gone all of the way through the quilt.
“The Baby Quilt”, Oct. 2011, photographed Feb. 2014 after restoration.
Because the borders were in such bad shape, I decided to completely cover them with new fabric by thinking of the quilt as a giant quilt-as-you-go block. First, I replaced the inner border with a yellow flannel from my stash. Then, I made the outer borders with a brown flannel that is very similar to the one I used originally. I sewed the seams for both with the three-step zig-zag to better hold the holey fabric below, then topstitched over them with the same stitch for even better holding-power.
“The Baby Quilt”, Oct. 2011, photographed Feb. 2014 after restoration.
I stitched a line of quilting through the outer border to secure it to the back, bound it with more of the brown flannel, and called it good. The binding isn’t the best job, but is secure. Hopefully its owner will let it get some rest in favor of his newer quilt, but at least it’s in stable condition again. A lot of threads need to be trimmed from the failing quilting, too, but I haven’t done that part yet.
Coming soon: photos of the quilt for his sister that I should have finished this week, but alas, will have to wait another week or two.
“There is something delicious about making the first stitches of a quilt. You never quite know where they’ll take you.” — Beatrix Quilter
When one must make two quilts in the same approximate timeframe as typically takes one, simplicity is key. At least, this is what I kept reminding myself when I felt that the basic layout I’d planned for these two quilts was too plain. I worked a bit outside of my comfort zone in terms of palette and style, but the parents chose to go with a Peter Rabbit theme for their nursery, and once I found a Beatrix Potter panel for sale, it seemed like a good idea to go with it. While basic, it’s also a more traditional layout than I’m used to.
Once upon a time there were two little Peter Rabbit quilts, and their names were—”Mopsy Green” and “Flopsy Purple” (details), both 43″x43″, Rachael Arnold, January 2014.
“Thank goodness I was never sent to quilt school; it would have rubbed off some of the originality.” — Beatrix Quilter
Of course, I couldn’t restrain myself and keep it entirely simple; it’s hard to tell in the photographs, but the brown strips surrounding the panel strips are gathered, giving them a bit of texture. It may have been better to make them wider (so it was more obvious), but I was limited in the amount of fabric I had to work with. That, actually, explains many of the design choices. I fabric shopped before deciding on the design (or perhaps you could say that I changed the design after fabric shopping), so there was a lot of give and take when I went to create the quilts.
“Mopsy Green” and “Flopsy Purple” (details), both 43″x43″, Rachael Arnold, January 2014.
“It is said that the effect of eating too much lettuce is soporific. With luck, the same cannot be said of quilting.” — Beatrix Quilter
The quilts are backed in paisley Minky, and have a layer of low-loft 80/20 batting inside (from stash scraps, so I’m not positive about the brand). The quilting is very basic—stitches in the ditches for the panel and brown strips, simple meander on the block sections—in a poly/cotton beige Gutermann thread. I am always amazed at how fast free-motion quilting goes; it took about the same amount of time to do all of the FMQ as it did the 12 straight lines across each quilt.
“Mopsy Green”, “Flopsy Purple”, both 43″x43″, Rachael Arnold, January 2014.
“No more twist binding!“ — Beatrix Quilter
Due in part to my aforementioned fabric conundrums and a desire to make the quilts ever a bit larger, I decided to try out a new binding technique and use the backing as self-binding. By cutting the batting 3.5″ larger than the top, I was able to support a thicker binding and gain an extra 1.75″ on each side of the quilt. Plus, it gives the front even more texture. The somewhat sparse quilting density kept the batting from shrinking all that much, and everything went together pretty well.
“Mopsy Green” and “Flopsy Purple” (back details), both 43″x43″, Rachael Arnold, January 2014.
“Now run along, and do get into mischief.” — Beatrix Quilter
The two quilts have been shipped off to the twins, who were born in December. I hope they don’t get into too much mischief for now, but I bet their parents will be kept quite busy! Now off to get in more mischief myself, as I have another baby quilt to finish by next Friday.
When I first took up quilting, in the back of my mind was this idea of the quilter as a prudent housewife making quilts with clothing scraps to provide warmth for her family because resources were scarce. The truth is that rather than prudent, quilting is profligate, with a $3.58 billion industry supplying all manner of goods that a “true” quilter needs. “But historically, quilt makers were poor, putting together what they had,” innumerable sources claim. This too is a falsehood, as it has almost always been the wealthy who had the money to either buy the yardage of printed goods needed for a wholecloth quilt or the idle time to sew one from small scrap pieces. Thus, quilting is neither quick nor cheap, either historically or in a modern context. There are exceptions; even the poor have produced utility quilts, and some may have made livings making quilts, but they are not so numerous as the popular mind believes.
Two things I love, both of which will only ever eat up my disposable income.
On the other side of the coin is the idea that every stay-at-home mother or underemployed crafter can somehow make a profitable business out of their sewing or crafting. The idea that even in a marketplace flooded with goods made cheaply in the global sphere, somehow, the small resurgence of the homemade, local market (driven, mind you, by privileged buyers who can afford the premium to feed their eco-minded ideals) is the saving grace of craft, where goods you make in your spare time (at first) can grow into a business that is sustainable and profitable.
The real truth is that quilting is either an expensive hobby or a business at which one can barely break even if you pay yourself a living wage. The same can be said of most other crafts. But to anyone viewing the world of quilting online, this truth is hidden by a horde of blogs that extol the virtues of doing what you love and bringing in extra money for the household through crafting. That somehow, simply identifying quilting or crafting as a hobby means you aren’t fully embracing life; that doing so means you don’t have a place in the online community.
The average crafting/quilting blogger seems to be middle-aged, female, married to a man who works full-time, with children, Christian, and solidly middle-class (if not higher). She has disposable income with which to buy all of the latest and greatest crafting toys (or at least enough to make a good show of it on the blog), and lists some of what she makes for sale online. If one or more of the above aren’t true, she is either actively trying to resolve the disparity, or you don’t hear about his or her blog, because they’re not one of the cool kids.
I’d like to make some grand call to action, a war cry perhaps, for those of us who don’t fit that mold to unite and show the world we exist, but I won’t humor myself to assume I have such reach or influence in the online quilting blog sphere. Instead, I simply hope to inspire a little thought to burrow in your mind about the exclusivity of our world and the factors that lead to it.
Quilting is not full of economical housewives making due with what she has, nor is it a way to do what you love and make a solid living. Rather, it is a world of $3000 sewing machines, $10/yard fabrics, costs to produce a single quilt often over $100, sponsorships, prostituting crafty favors for a chance to either get published or draw more blog followers, making less than minimum wage just to compete with undercutting hobbyists and goods made in southeast Asia, and keeping up with Mrs. Jones.
Is that a bad thing? Who am I to answer, as I sit here on a blog that I have no aspirations to grow into the next best thing and with my disposable income to fund my hobby without needing to pretend it’ll one day to become a business. But, as I see bloggers stressing over the need to increase their readership, produce more, sell more, and get noticed, I do wonder about all the others we’re missing because they don’t think they can compete. There is so much talent out there, but the current culture of quilting on the internet seems content with ignoring it unless it can be monetized.
So, yes, I posit that it’s a bad thing. I just don’t have an answer to how we can solve it any time soon.
The plural of anecdote is not data, and while I admittedly came to quite a few conclusions of my own based on personal anecdotal evidence (particularly the average blogger bit), much of what I said can be found in the Quilting in America™ 2010 study.
When I made “Disappearing Seven Wonders” last year, I purchased far more fabric than I needed for that top—including prints from the green and orange colorways. When it came time to whip up something for my nephew’s 13th birthday, it was the perfect stack to pull out of my stash.
“Wonders of Impromptu”, Rachael Arnold, January 2014, 50″x72″. Photo by Carl Pfranger.
In the past, I’ve always precisely planned out my quilts. When I set out to do so with this one, I realized that while I needed to aim for a certain final dimension and thus height of the individual strips, the actual piecing didn’t have to be precise. So, I branched out in a new direction and played with impromptu piecing. I worked with 2.5″, 3.5″, and 5″ WOF strips and pieced the different sections without much planning at all. It was a fun exercise.
“Wonders of Impromptu” (detail), Rachael Arnold, January 2014, 50″x72″.
Sometimes I had to chop a bit off, or add a bit more to a strip, because they weren’t the right width for the quilt.
“Wonders of Impromptu” (detail), Rachael Arnold, January 2014, 50″x72″.
Because 2.5″ + 3.5″ is greater than 5″, I was able to trim down different sizes and mix up seams for an even more arbitrary layout. It all ended up creating a fun flow to the quilt, and a more interesting layout than my original thought of simple floating strips.
“Wonders of Impromptu” (back), Rachael Arnold, January 2014, 50″x72″. Photo by Carl Pfranger.
The backing is pieced from a Ty Pennington Impressions home dec print and leftovers from the front.
“Wonders of Impromptu” (label), Rachael Arnold, January 2014, 50″x72″. Photo by Carl Pfranger.
Although this home dec fabric is lighter and finer than the backing on my last quilt (Thorny Patchwork), I chose to stick with straight-line quilting on this one to avoid more annoyances with broken needles. It’s slightly less dense than most of my recent projects, but still has a nice drape thanks to the low-loft cotton batting (Warm & White or Nature’s Touch White—possibly both—since I pieced it together from scraps in my stash).
“Wonders of Impromptu” (detail), Rachael Arnold, January 2014, 50″x72″. Photo by Carl Pfranger.
I wanted to make sure it was in his hands by his birthday (I’m notoriously late in sending birthday cards, but managed to send his two sisters’ quilts on time last fall), so I machine bound this. It’s not perfect, but it is secure and looks fine from the front.
“Wonders of Impromptu” (detail), Rachael Arnold, January 2014, 50″x72″. Photo by Carl Pfranger.
Now it’s time to focus on a handful of baby quilts for recent births and others due soon!
“Wonders of Impromptu” (detail), Rachael Arnold, January 2014, 50″x72″. Photo by Carl Pfranger.
On my latest quilt, I machine-sewed the binding rather than hand-finishing like I’ve done with most of my other quilts. It has its advantages: rather than spending the weekend (and maybe longer) sewing almost seven yards of binding to the back of a quilt, it was finished in fifteen minutes (maybe fewer; I wasn’t watching the clock). It’s also stronger and will presumably hold up longer—my machine sews many more stitches per inch than I do by hand.
The disadvantage is aesthetic. I like how hand stitching hides the stitches completely (well, if you use a ladder stitch like I do). But, well-executed machine binding means that the stitching is near-invisible on the front, and very evenly-spaced on the back—which doesn’t bother me aesthetically, or at least not enough to justify the extra hand-sewing time on most quilts.
So, really, the disadvantage is that my machine binding highlights a skill deficit; I am not very proficient at sewing and folding my binding so that there is an even overlap all the way around the edge of the quilt. It’s not obvious when all of the stitches are hidden, but when the stitches are visible you can see the areas where the binding wraps to the back more deeply or not.
I compensated on this quilt by using a blanket stitch, which means it’s more obvious on both sides of the quilt, but the stitches securely caught all edges of the binding. Some parts were quite even, but others weren’t. One corner was especially shallow. Using fusible web to secure the binding to the back before I sew (rather than pinning) helps to some degree, but not completely.
In 2014, I want to focus on my binding skills. Whether I machine-bind more or not, I want to keep my binding width consistent on both sides of the quilt. Then, I can make better choices about when to use either technique.
Do you have any tips? What is your preferred binding method?
My mom and younger sisters are visiting, so my projects are on the back burner in favor of time spent with them. 2013 was the first year in my life that I didn’t step foot in my home state of Missouri, so I’m thrilled that they came to VT despite the horrendous weather across the country this week.
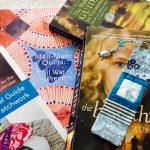
Books have been a theme this trip and my oldest younger sister is a voracious reader, so I stole a bit of time this morning to round out her holiday gifts with a quick sewing project.
This bookmark matches the quilt I made her a few months ago. I sneakily picked up the turtle charm from the Danforth Pewter store when we were shopping yesterday, and added in a couple of beads that I’ve had for years. There are two layers of stabilizer inside to give it a bit of rigidity, and I whipped out rusty macrame skills on embroidery floss for the tassel.
Sandwiching quilts inevitably results in scraps of batting. Sometimes, they are large enough for use in another project, but much of the time they end up just a little bit too small. My unofficial resolution for 2014—actually one I’ve been trying to work on for a few months already—is to work from stash before heading to the store. I’d like to do that for the quilt I’m working on now, however my batting scrap drawer was lacking the 58×76″ piece of batting that I need.
Instead of buying more batting on my trip to the store, I picked up a roll of fusible batting tape. Not only is it cheaper, but it could help me use the scraps I have.
The verdict: I ended up with a piece large enough to use, but I don’t think the fusible batting tape was the best fit for the job. It didn’t seem to fuse well, so I ended up sewing a multi-stitch zig-zag over it to hold the pieces more securely. Maybe it was the brand of tape, maybe the batting, or maybe it’s me, but I think I’ll keep looking for a better solution.
I will say that the tape and stitching combined worked much better than an attempt a year or so ago that failed miserably, so at least I’m making progress. We’ll see how it holds up to quilting this weekend.
2014 is here, and I’ve started taking stock of what sewing projects are coming up next. 2013 was certainly full of change for me, but that translated to what felt like a less productive sewing year.
I didn’t actually fulfill any of my sewing resolutions for 2013, but I wouldn’t call the year a total loss. One major theme: I don’t have a bunch of abandoned WIPs from the year like I have in the past; I either finished everything I started, or am still consistently working on it for the most part.
Quilt Finishes
I say 2013 “felt like a less productive year”, but I actually finished one more quilt than I did in 2012.
My big win of the year was finally finishing a Tiramisu in December. I also made Butterick B5814 for Halloween, but don’t have photos or a post about it.
Crafty Things
There were a few quick projects I didn’t blog about (like very simple drawstring and Velcro bags for wrapping Christmas gifts, tote bags, and the like), but I did do a few here and there.
The notable finish here was Swapped Stories, from the block swap I started in 2012.
I started two Saturday Samplers, but stopped after just a few blocks because of the move. All of the blocks I received are done, but they are packed away awaiting some rainy day.
Fails and Projects I Got Bored With or Ignored for Too Long
This list grew just a bit, because I didn’t complete a single project from it in 2013. I really do hope to focus on these in 2014.
2011: Miniatures Heart Nine-Patch—saw some cutting board action in 2013 (strips cut into pieces for 9-patches), but nothing more.
2011: Organic Spins—I made more progress in 2013, but it’s still not complete. I have everything I need, I just need to finish appliqueing and quilting.
2012: The Steampunk Costume—is never going to be finished with the original plan, but I’d like to do something with all of it.
2012-13: Farmer’s wife / EPP Crosses—I did some EPP this year with a group in the spring and on my own as recently as Thanksgiving, but it has a long way to go and I only touch it every couple of months.
2012-13: Tiger Lily Saturday Sampler—all 12 blocks are complete, but I haven’t started piecing them together.
Wrapping Up
I have three quilts in progress that were started in late 2013 which are my main focus for early 2014 (two December babies, one January birthday). There are two more babies due to friends in the spring, so the first half of the year seems pretty full.
Aside from those planned quilts, I’m resolution-less this year. I want to see where the year takes me here in VT. I joined the local guild, but have only attended one meeting so far. I haven’t found a real quilt-shop home yet, nor any monthly groups. It’s an adventure I’m looking forward to.
I wish you the best of luck (or all the motivation) in 2014!