This is a static export of a blog I put on ice many years ago, that still has personally relevant content. No promises can be made around linkrot, styles, or working functionality.
In 2012, I started a steampunk costume that never seemed to take flight. The only finished piece is the skirt stay/brooch, created in collaboration with my friend Katherine Koba (who did all the beadwork, and continues to create the mathematically-inspired jewelry in her Etsy shop).
The backstory for the character I dreamt up to costume included Ada Lovelace as her godmother, inspiring her to tool about with Babbage’s analytical engines. While the character is fictitious, Lady Ada King, Countess of Lovelace was not—she’s considered the first computer programmer, having theorized how the Analytical Engine could do calculations decades before an electronic computer was built. So, in honor of Ada Lovelace Day (the middle Tuesday of October every year), here is a post about the brooch (finally!).
“Plumleigh Augusta Babbage’s Adder Brooch,” Rachael Arnold and Katherine Koba, May 2013. Bead, wire, bicycle gears, spray paint, superglue.
With computers, everything boils down to zeros and ones—electric current on or off. Calculations are performed by circuits of varying complexities. One of the more basic is called a full adder, which we modeled this brooch after. As you might guess from the name, it adds numbers together.
Diagram of a full adder
In the beadwork, the inputs are splayed across the top and the results (sum and carryover) are dangling from the bottom, with the gates and intermediate results between. The smaller, purplish beads are numbers—1 or 0—and the larger orange and gold represent the logic gates—gold for AND, orange for XOR. The white beads are filler for the paths between the gates.
“Plumleigh Augusta Babbage’s Adder Brooch,” Rachael Arnold and Katherine Koba, May 2013. Bead, wire, bicycle gears, spray paint, superglue.
The beadwork is mounted on a base made from bicycle gears (we can pretend they’re from an analytical engine) that were superglued together and spray-painted. I can’t speak for Koba, but I think sizing the wires correctly was the most difficult part of this—particularly since the gears and I were in Utica, and Koba and the beads were in South Korea!
“Plumleigh Augusta Babbage’s Adder Brooch,” Rachael Arnold and Katherine Koba, May 2013. Bead, wire, bicycle gears, spray paint, superglue. Shown on draped fabric in intended position as a skirt decoration.
Plumleigh can’t do any actual calculations with this full adder, but it certainly is a fun accessory to wear while she fiddles with a real set of circuits solving any manner of problem.
Projects like this are just one of the myriad ways STEM sneaks into my crafting. How does it influence your hobbies?
A group of us are starting a Modern Quilt Guild here in Vermont. It’s very exciting, but also a bit drudging trying to get everything set up and official and to get the ball rolling with actual guild-type stuff rather than being all about business, business, business, and “do we want to be MQG-official?”, et cetera.
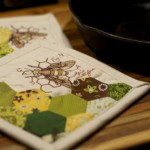
At our September meeting, we had our first demo, potholders based on the ones in Zakka Style—a great demo idea, since it shows all the steps of quilting in one small package. To encourage members to try out the skills and techniques, we’re charged with bringing a completed potholder of any type to the next meeting.
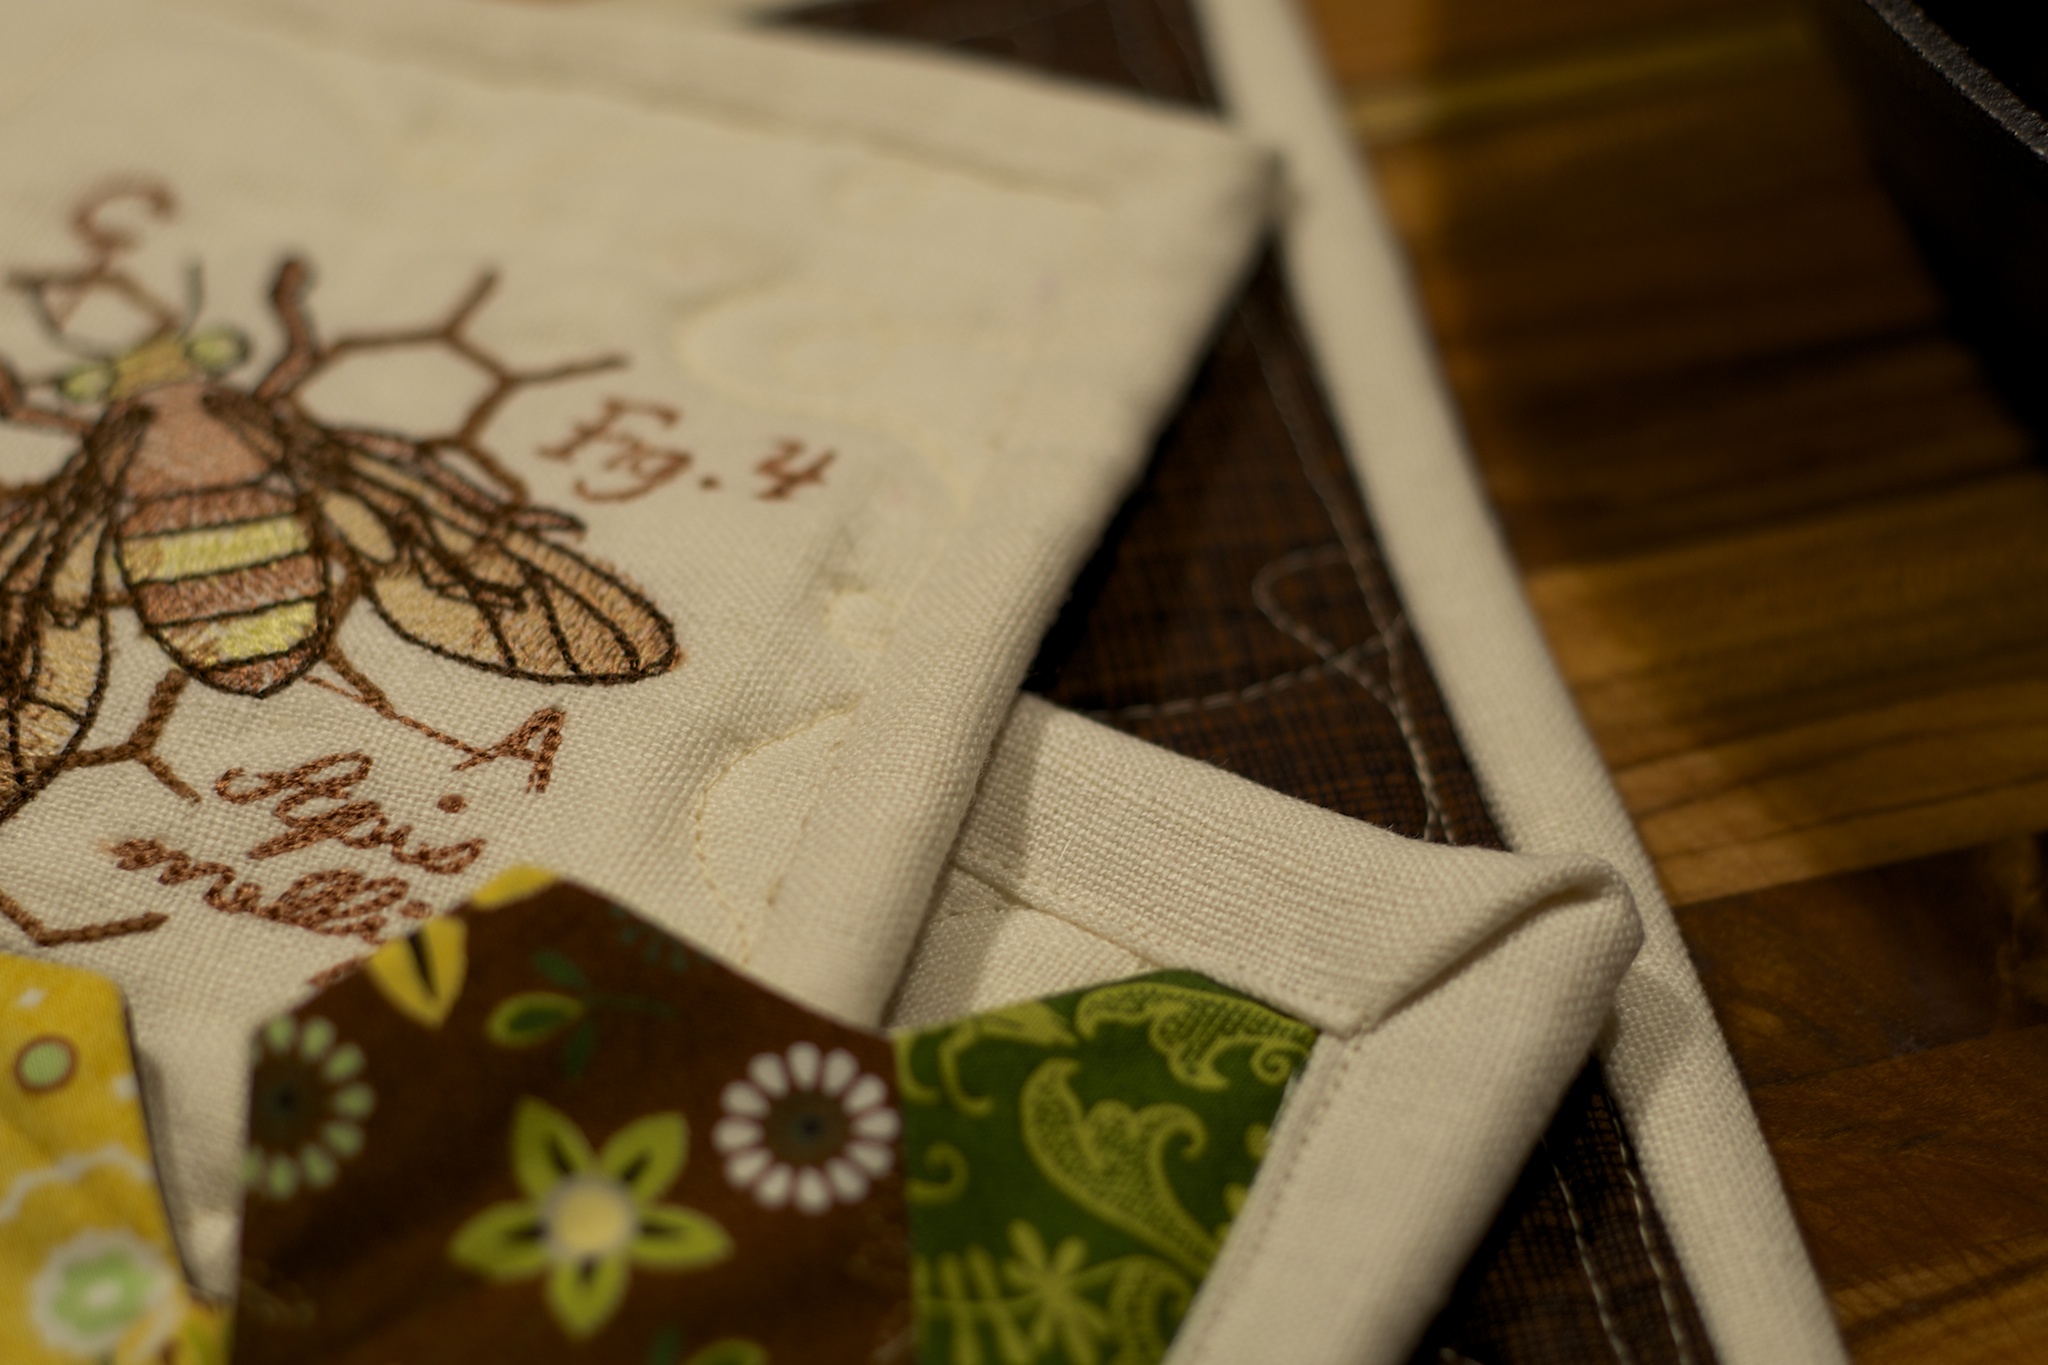
Bee Potholders, Rachael Arnold, October 2014.
I thought I should tackle two to-do items at once and get a head start on xmas gifts, so I made a matching set for a friend. I’ve been saving a charm pack of BasicGrey Origins for almost three years now, purchased with this friend in mind. I paired it with stashed ivory linen, a brown texture print from JoAnn Fabrics (I had nothing in my stash that matched the linen and charms. Amazing!), and an embroidery from Urban Threads.
Bee Potholders, Rachael Arnold, October 2014.
After I finished, I remembered that we said we’d do a swap at the meeting, so I made a third for that (a great time to incorporate what I learned from earlier mistakes!).
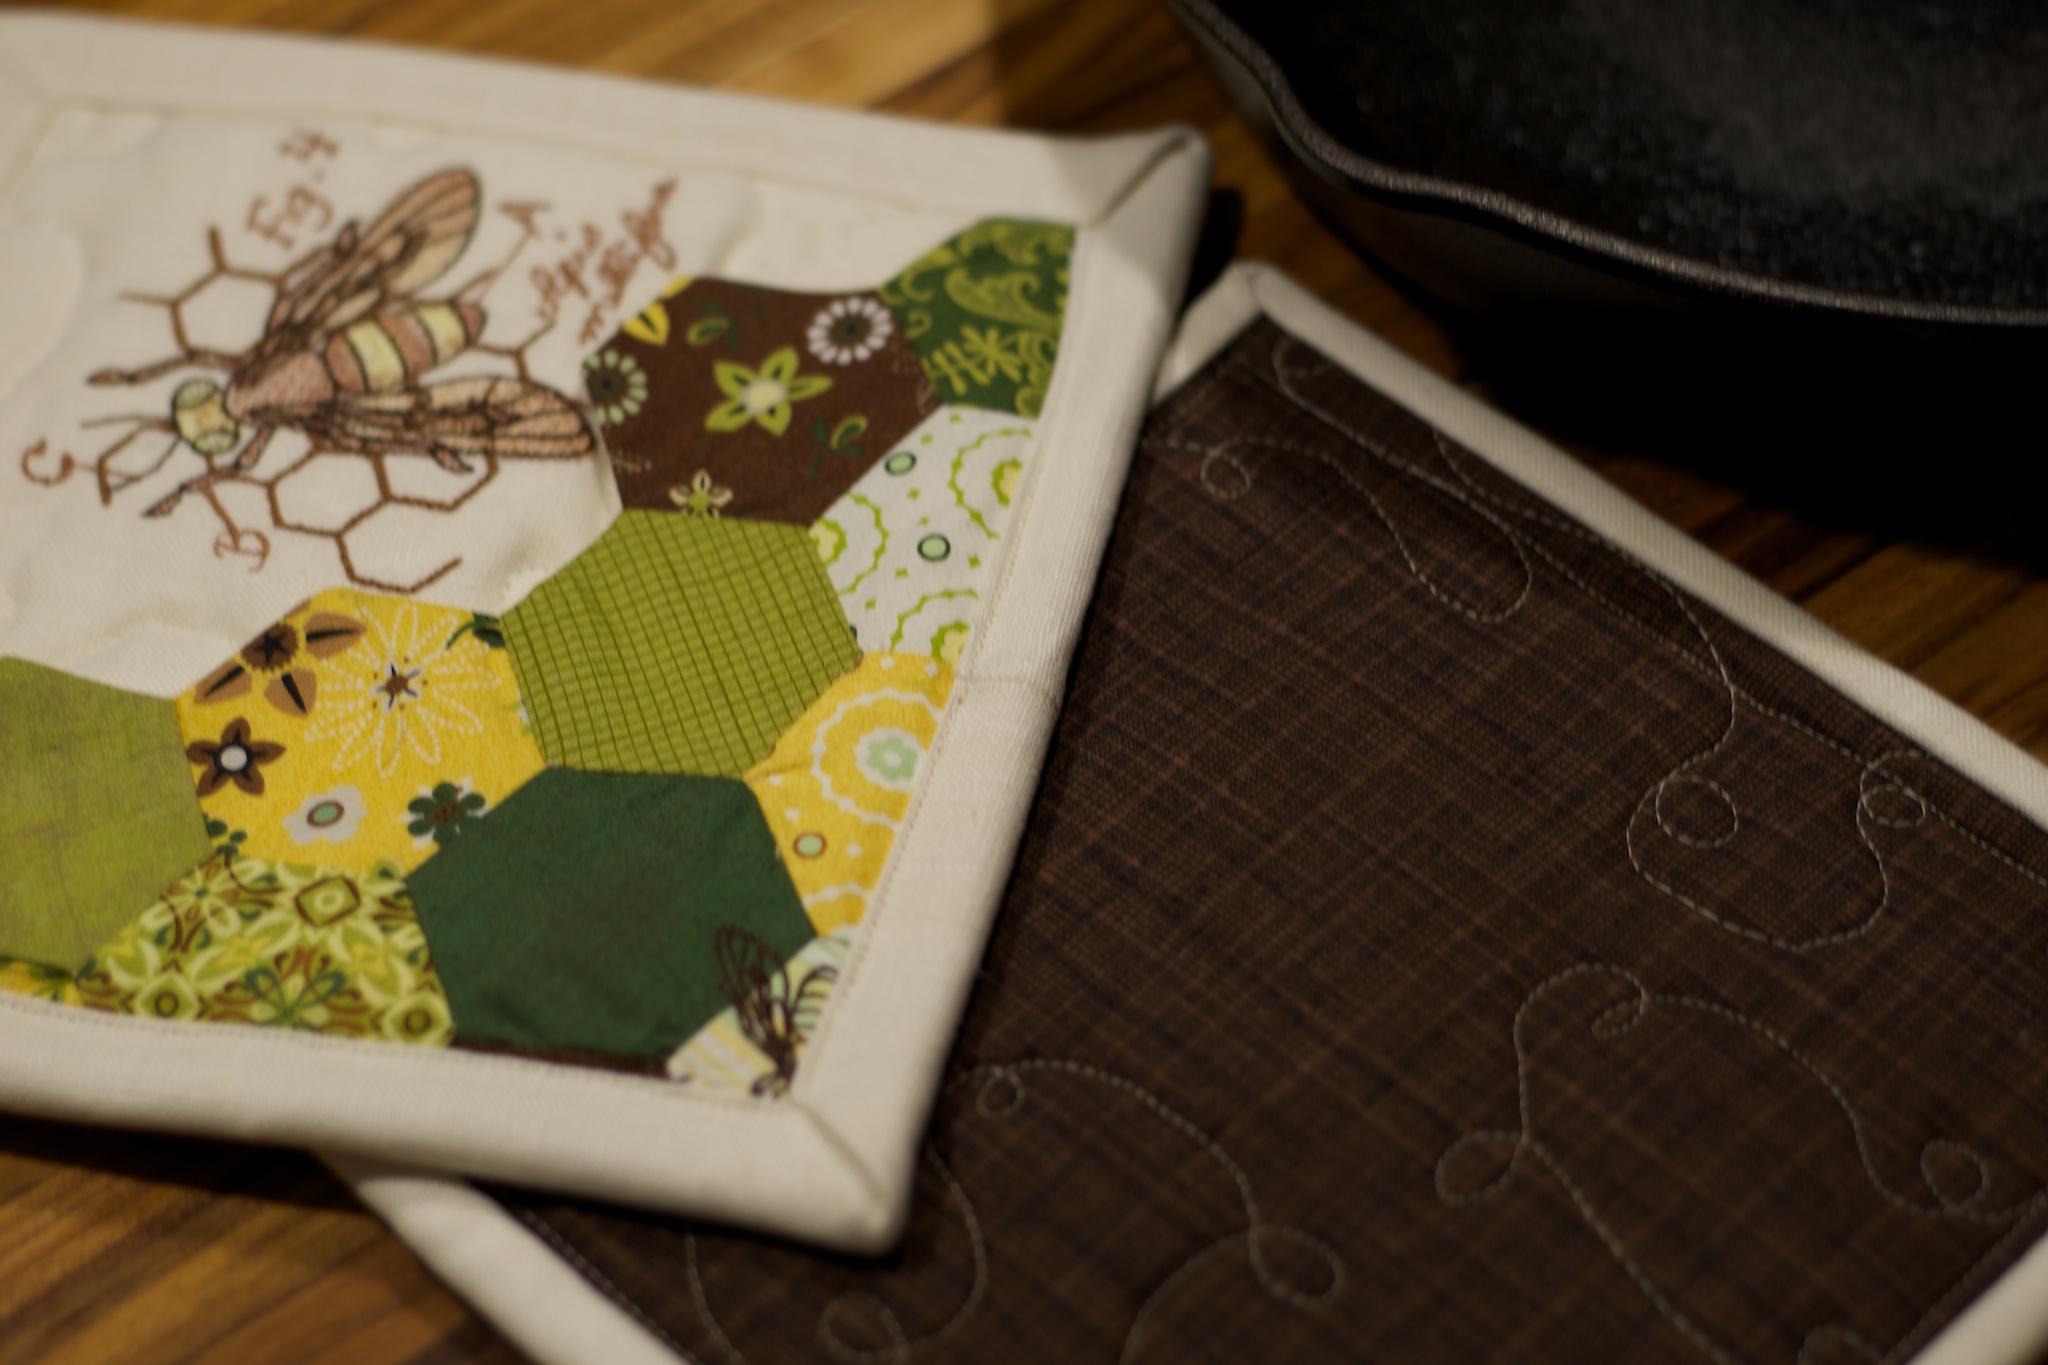
Bee Potholders, Rachael Arnold, October 2014. Photo by Carl Pfranger.
That time around, I cut the binding as a 2.5″ strip instead of the 3″ that I used for the other two, since I wasn’t entirely happy with the width. Next time, I know to use 2.75″; 2.5″ is slightly too narrow for me to machine finish cleanly.
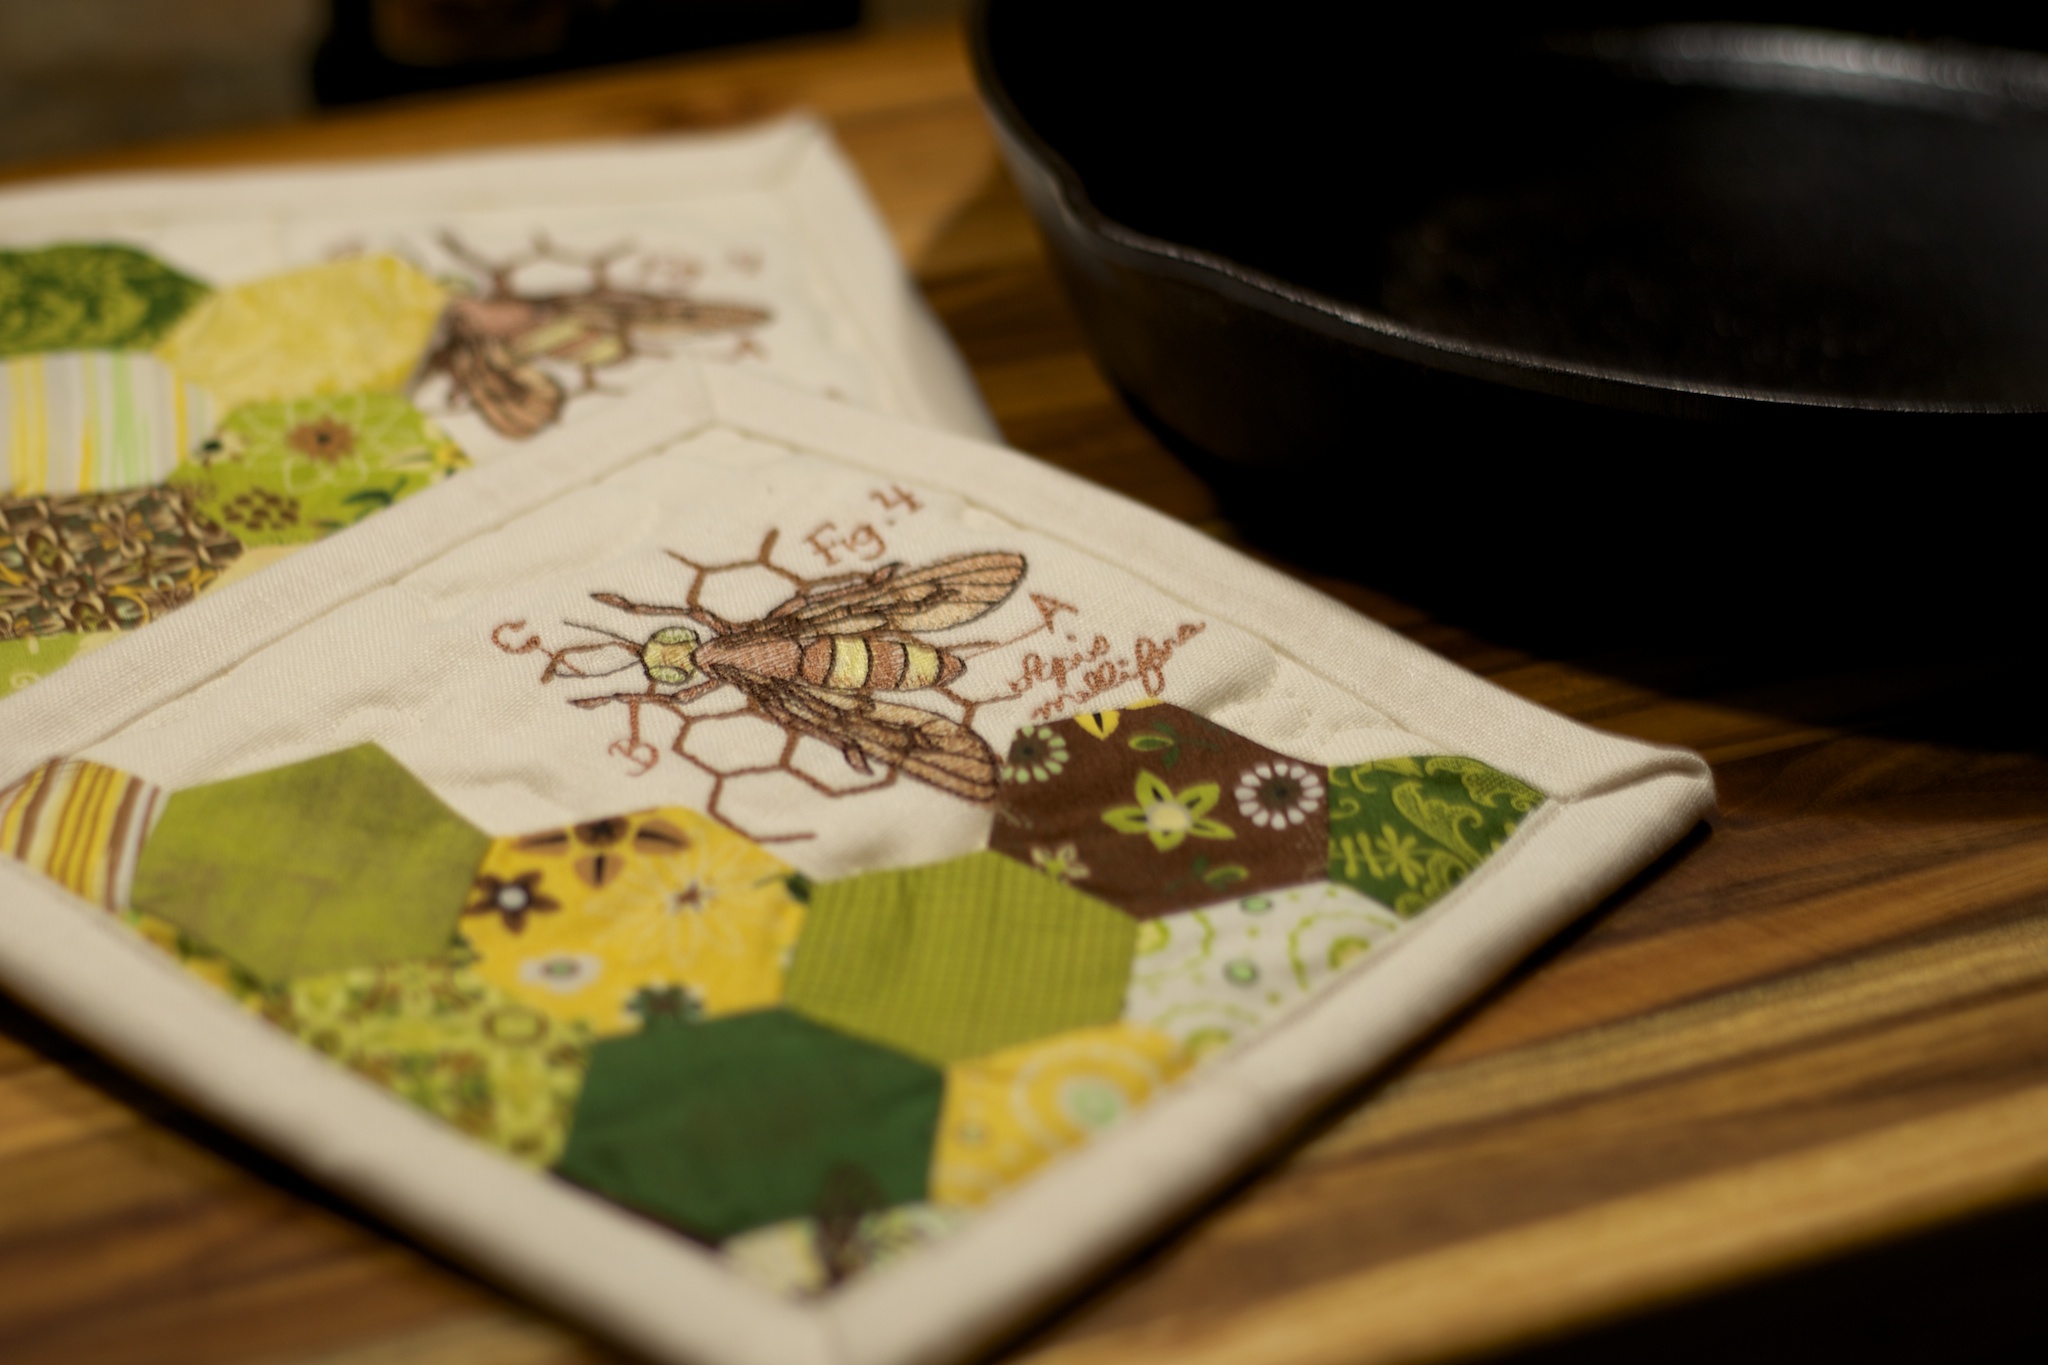
Bee Potholders, Rachael Arnold, October 2014.
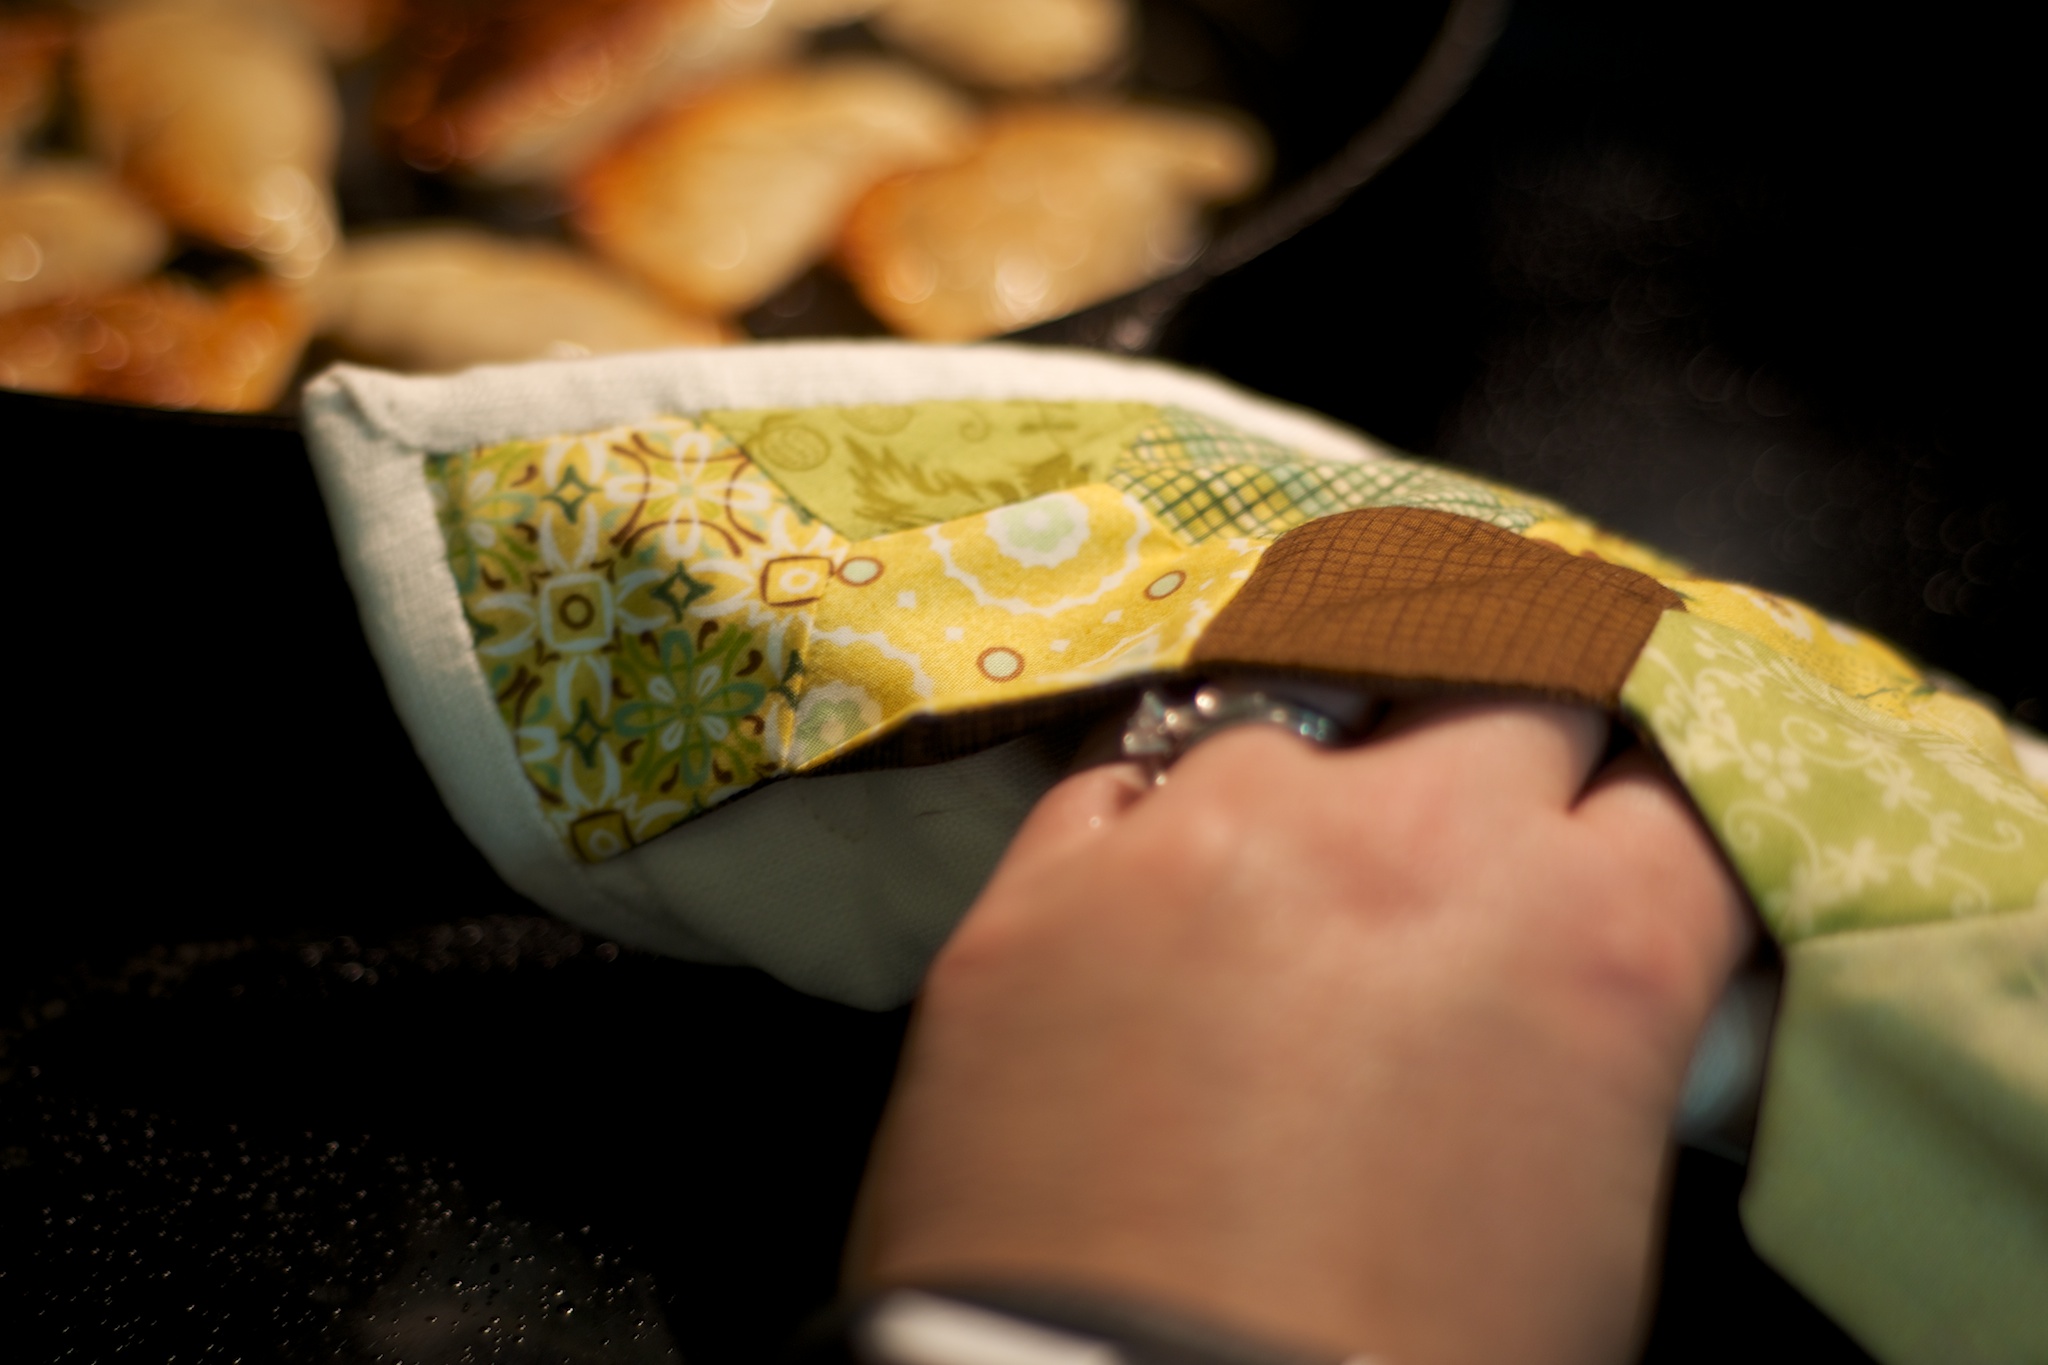
I pieced the 2.5″ hexies by machine (not perfect, but nothing a liberal amount of steam couldn’t handle), and turned them into a pouch for better gripping (making the pretty side the won’t-get-shoved-into-food-accidentally side, which makes the ivory far more practical). All three are 8.5″ square, with a layer of Insul-Bright and low-loft cotton batting between. I do wish I’d remembered to add a hanging loop to my friend’s, and am not entirely happy with the contrast quilting on the back (which makes the un-quilted, embroidered area even more obvious).
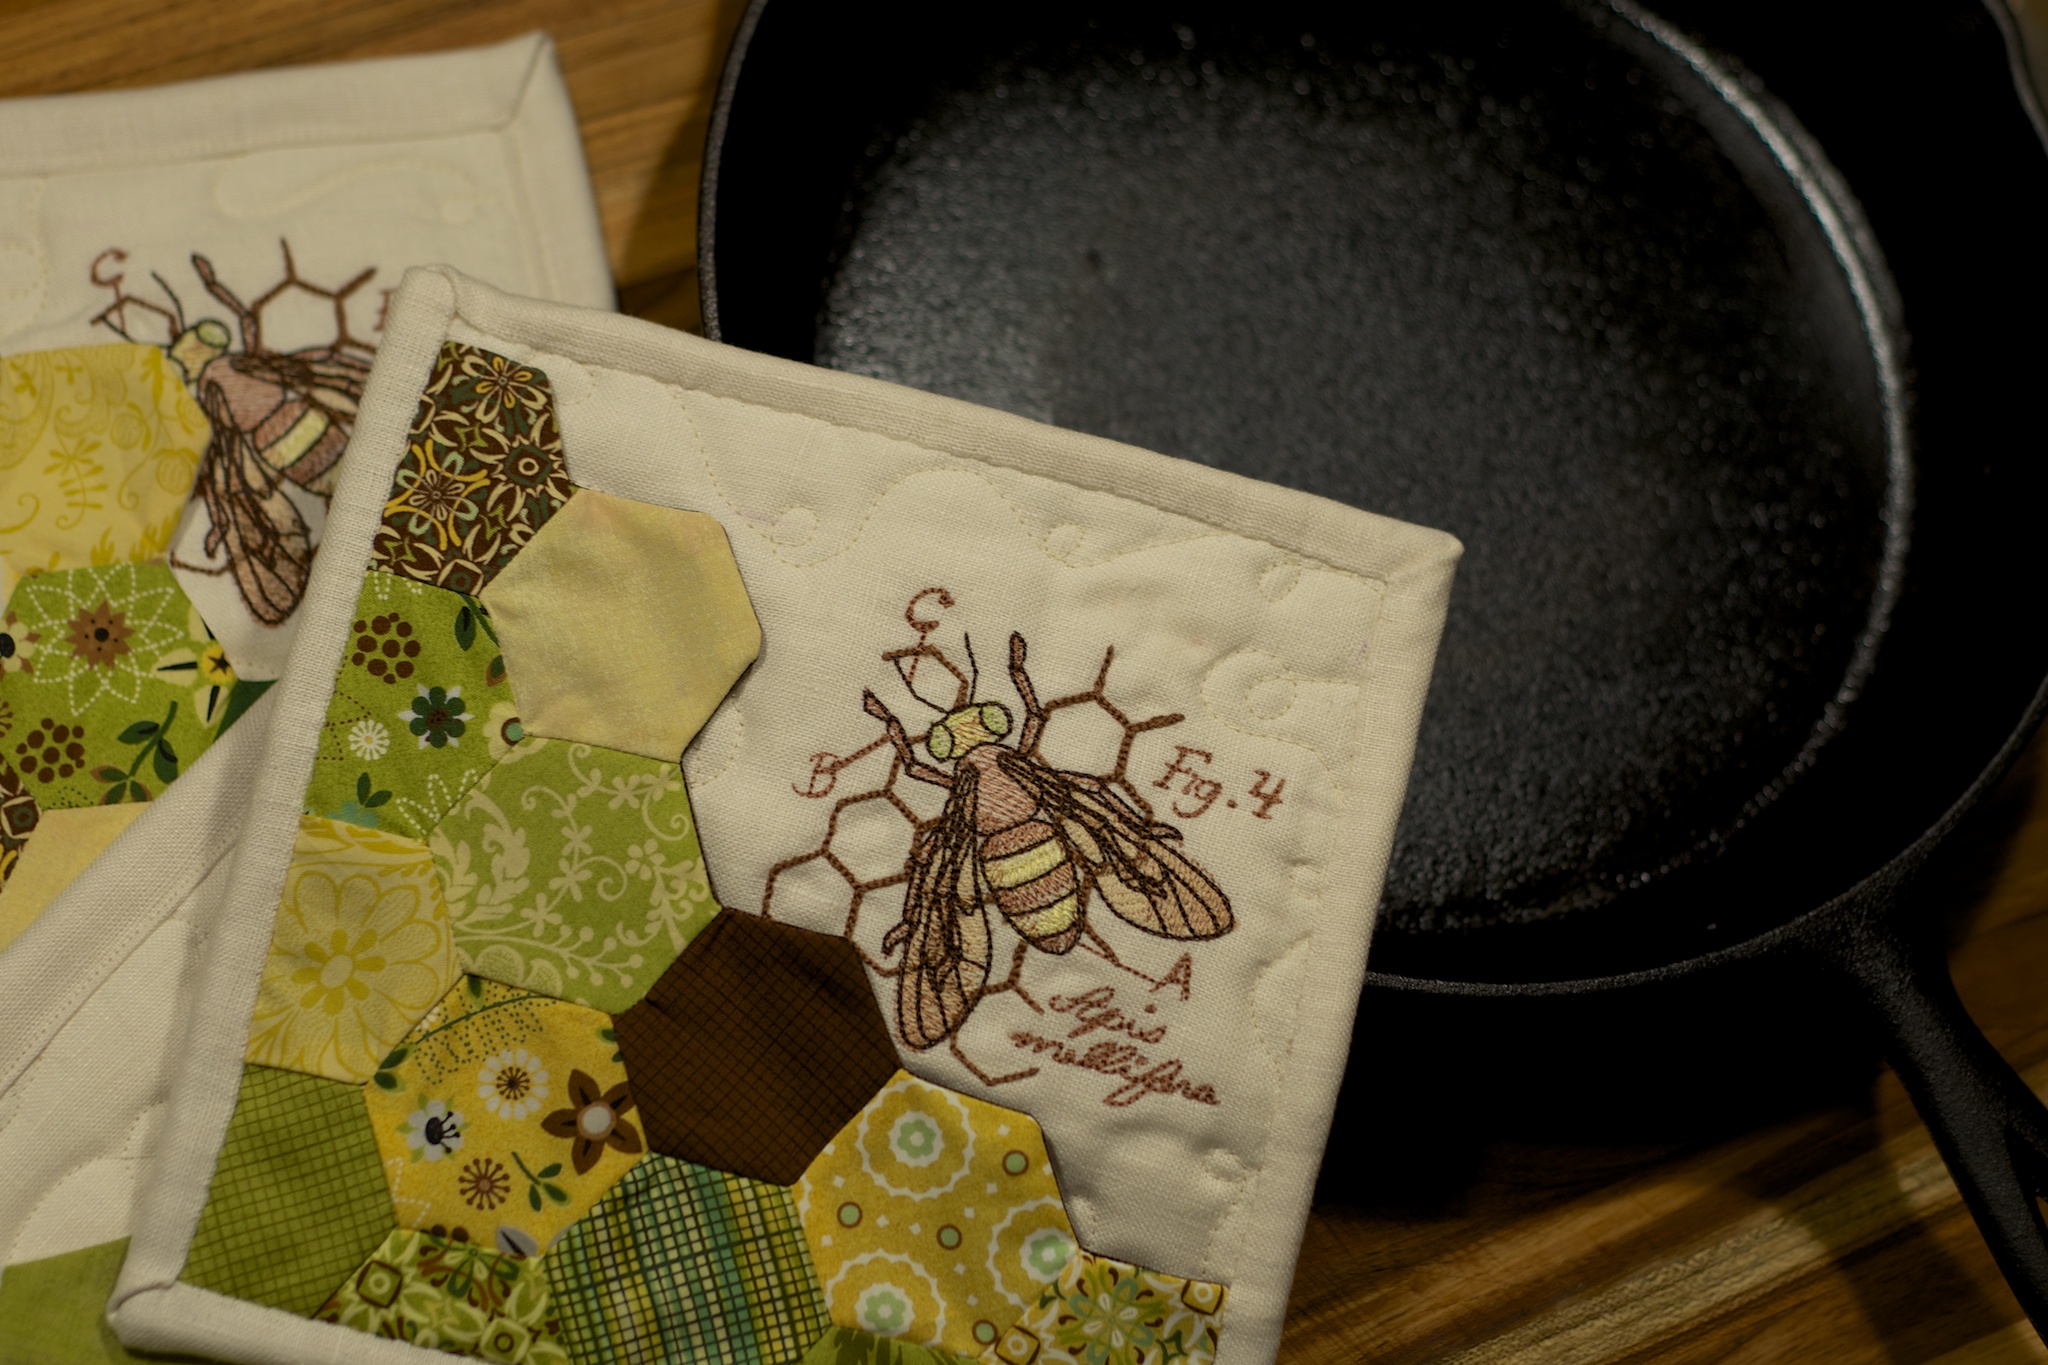
Bee Potholders, Rachael Arnold, October 2014. Delicious potstickers cooking in background are based on this recipe. A huge hit in the Arnold+Pfranger house!
As for the guild, join us the last Sunday of every month, 10am-noon, at Nido in Burlington!
A bit sooner than anticipated (prompted by a comment from a reader), here’s the next edition of my Half-baked Blueprint series. Remember, these are not patterns; think of them as rough outlines of the inspiration, math, fabric, and techniques I use in some of my quilts—there’s a lot you’ll have to fill in yourself. My hope is that it will inspire other quilters to play with quilt top designing rather than always reaching for published patterns.
Three years ago, I pieced the Lollipop Baby Quilt quilt improvisationally, initially aiming at creating a straight-forward Jelly Roll Race quilt (albeit with a strange non-standard roll of half-strips). Halfway through, I paused to do a few quick math calculations and chose to piece it in four sections.
Supplies for the Quilt Top
20 2.5″ x width of fabric strips
Assumptions
All of your strips are between 40-44″ long, with the selvages removed.
You’re piecing straight across the strips, not diagonally as in some Jelly Roll Race quilts.
If you want to piece the strips diagonally, you’ll need three (3) extra strips, 23 total.
You’re sewing the strips together with an exact 1/4″ seam allowance.
Jelly Roll Race quilt measurements are inexact by nature—the whole point is to just sew everything together and square it up at the end, if needed. Piecing blocks is largely the opposite—you need relatively precise measurements so that everything joins up correctly. To mesh the two, you need to be willing to deal with both.
The (Mostly) Inexact Parts
This is just basic Jelly Roll Race quilt making, but you stop mid-way through.
Sew all 20 strips together, end to end. You should have a strip that is at least 800″ long. If it is shorter, you need to add one more strip. If it is longer, that’s great. Most of the time, it should end up around 820″ long at this point.
Cut exactly in half, then sew the two strips together along the long side. Now, you should have something that is 4.5″ x 400″ or longer. Square up the ragged end if needed, but try to not cut off too much.
Cut in half, sew along the long side, result should be 8.5″ x 200″ or longer (4 strips tall). Square ends if needed.
Once more. Cut in half, sew, result should be 16.5″ x 100″ or longer (8 strips tall). Square ends if needed.
Now stop.
The (Mostly) Precise Parts
The finished quilt is just 6 squares cut from your strip set.
Cut six 16.5″ blocks off (you should have a few inches leftover—discard it, use it on the back, or in a different project), then sew the blocks together in three rows, where rows one and three have stripes vertically, row two has them horizontally.
You now have a completed quilt top.
Other Options
A whole standard jelly roll can make a 48″x64″ quilt. You’ll use 40 strips. You’ll start with a pieced strip 1600″ or more long. Your finished strip set will still be 8 strips tall (16.5″), but 200″ or longer, and you’ll cut 12 squares. Just remember, not all rolls have the same number of strips, and you’ll need more strips than a standard jelly roll if you piece diagonally (46 strips total).
Rather than cut six blocks, you can cut two off of your strip set for the middle row, then sew the remaining length into a 16-strip-wide strip set and cut that in half for rows 1 and 3—this is a little less exact, but will let you use up the full length rather than discarding the remaining few inches leftover after cutting blocks. Doing it that way likely accounts for the longer length of my quilt.
“Lollipop Baby Quilt”, Rachael Arnold, September 2011.
Good luck with your own quilt-making!
Caveat: I donated the quilt to the Linus Project a few months after finishing it in 2011, so I’m working partially from memory/partially by working out the math and logic again in 2014. The latter has some contradictions to the original post, such as the finished size. I claimed that the original quilt is ~36″ × 51″, but my current math concludes that it should be 32″ × 48″. My best explanation is that I must have (really) sloppily measured the unwashed, finished quilt and rounded up. I feel confident that the new measurements are correct (plus or minus an inch or two to account for piecing/cutting/shrinking deviations).
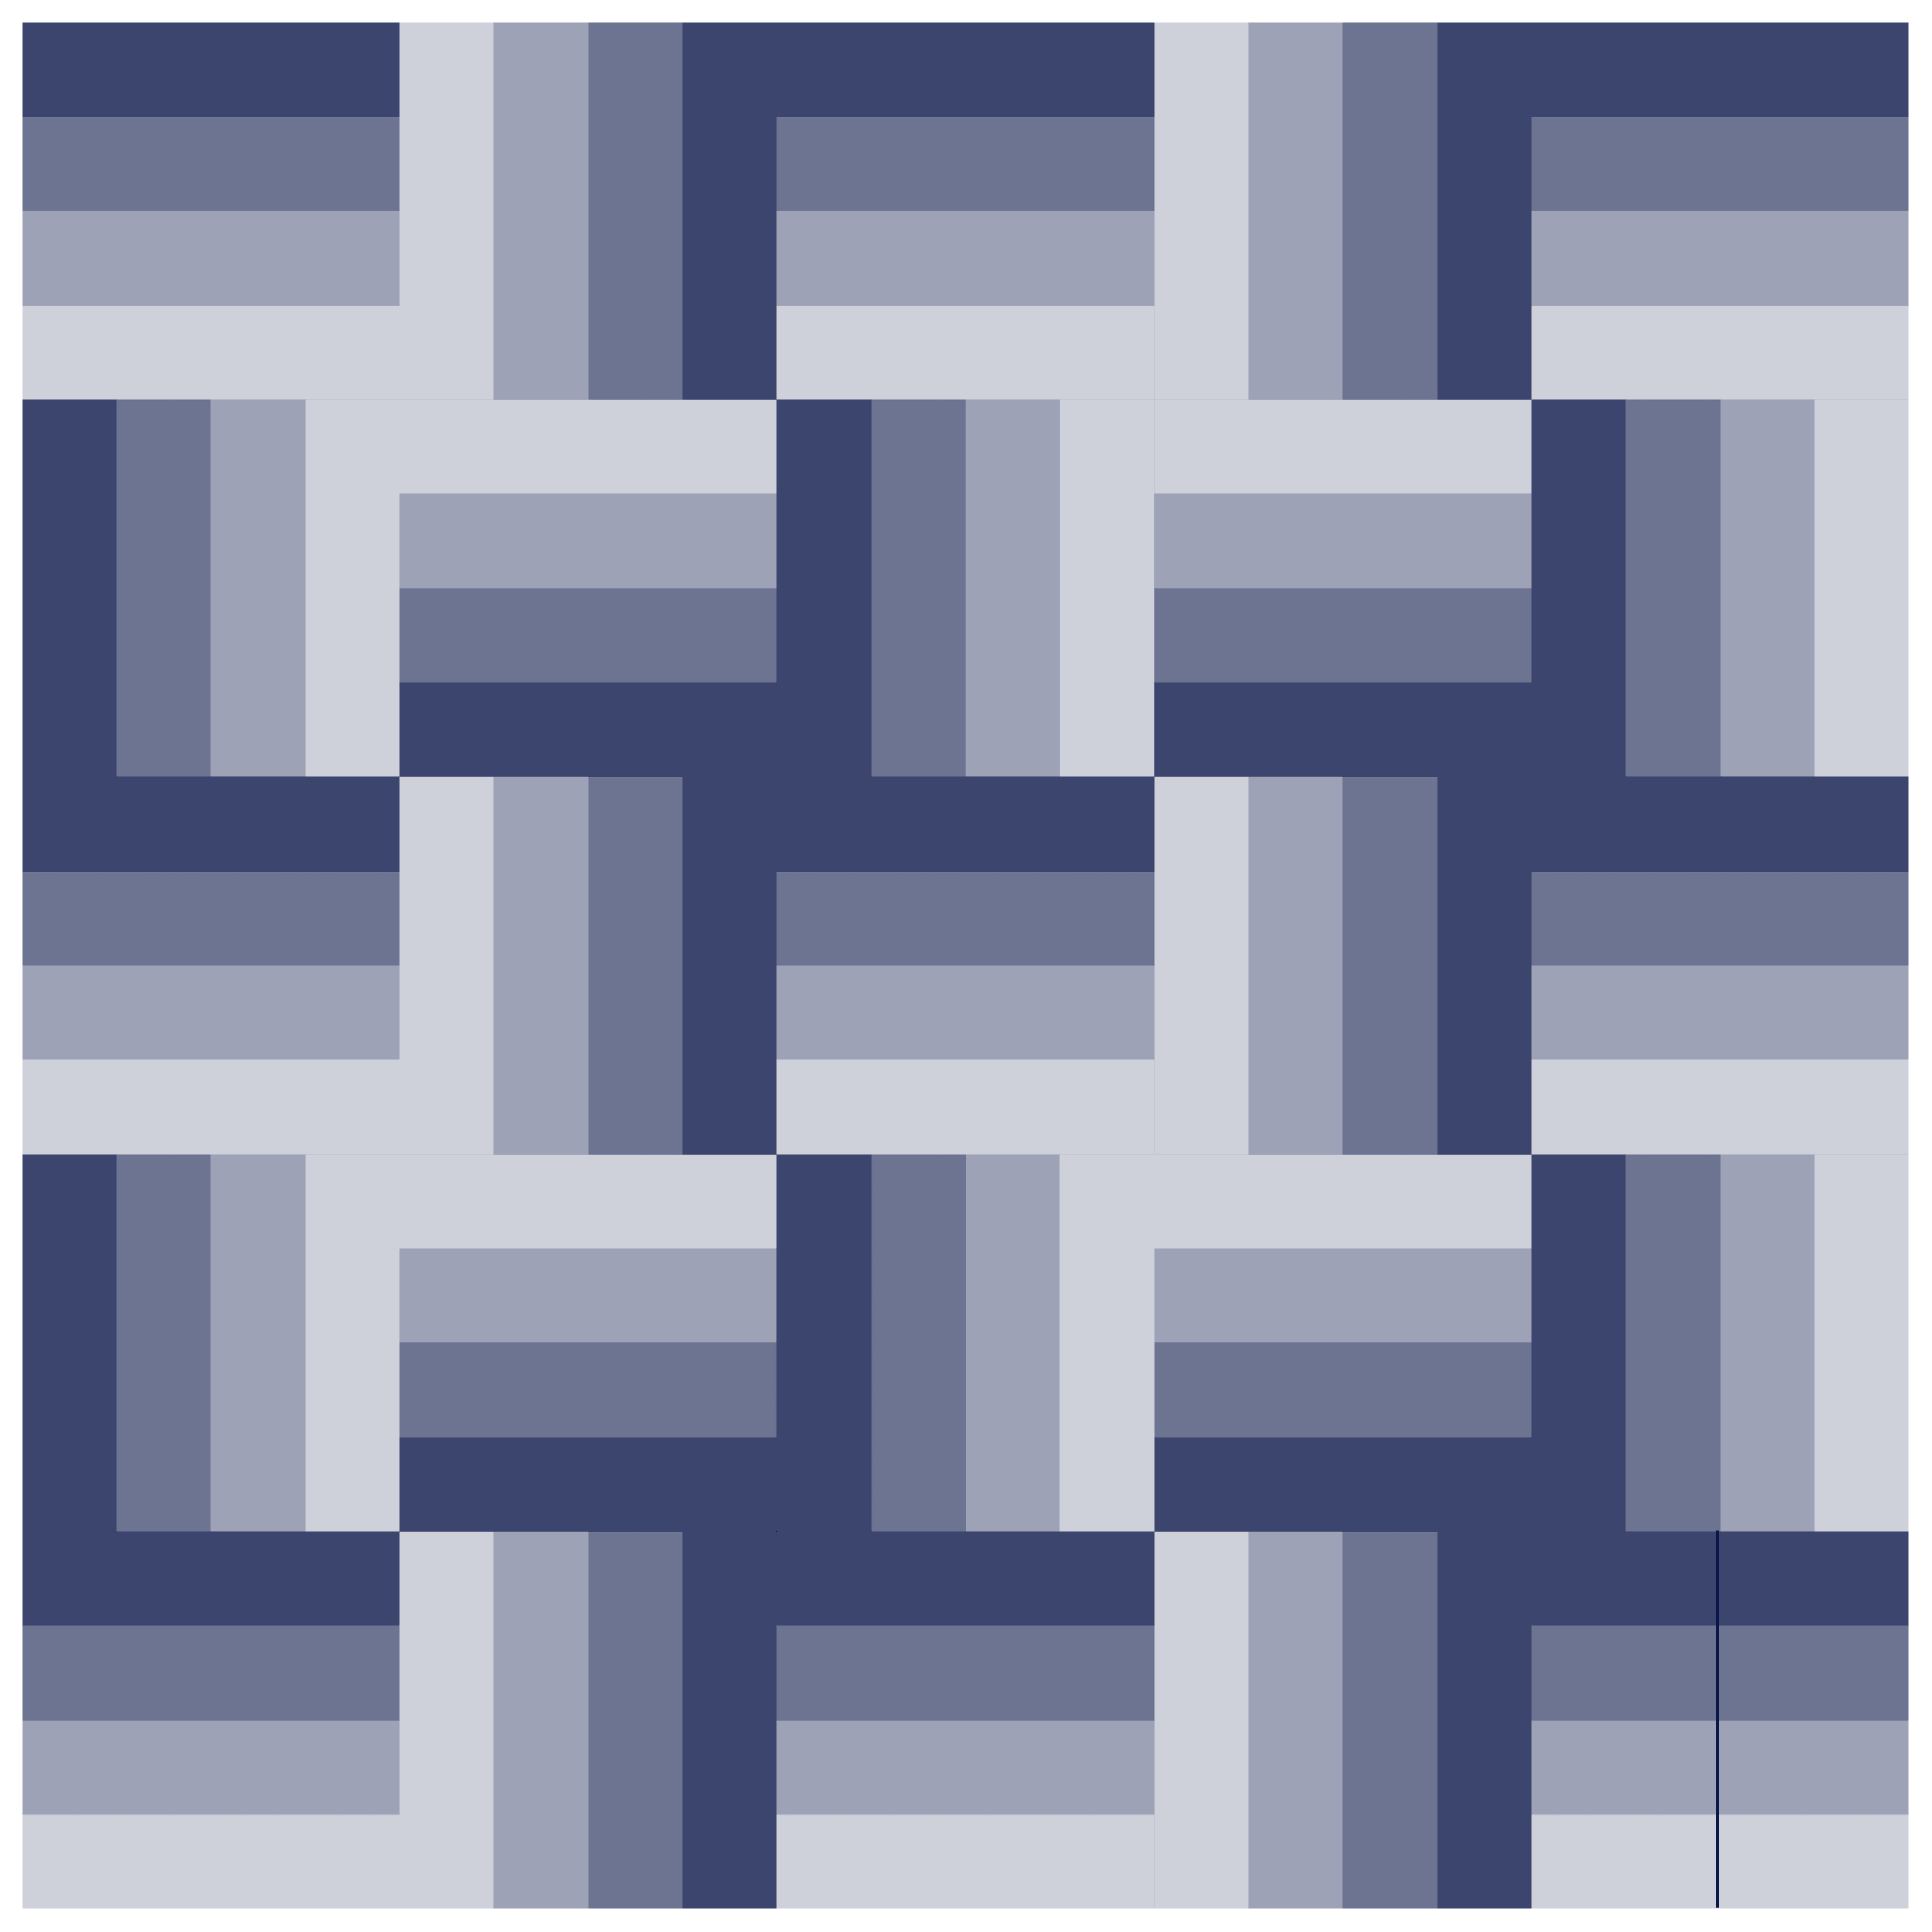
It’s been a long time since I followed a quilt pattern. The last twenty quilts I’ve made have been largely or completely my own designs, or my own take on something I’ve seen. The hardest technical part is doing the math and figuring out if I have the right amount of fabric for what I’ve chosen to do, but simply believing that I don’t need a pattern was a huge initial hurdle. Remembering that hurdle, I’m starting this Half-baked Blueprint series. They’re not patterns; think of them as rough outlines of the inspiration, math, fabric, and techniques I use in some of my quilts—there’s a lot you’ll have to fill in yourself. The rail fence “Noble Blooms” quilt from earlier this year is a good place to start. My hope is that it will inspire other quilters to play with quilt top designing rather than always reaching for published patterns.
The Blueprint
The quilt:
40.5″ square quilt, made from 25 8″ finishing blocks
The blocks:
Starting with 24 2.5″ x width of fabric strips…
Sew six strip sets of four strips each…
Cut four 8.5” blocks from each strip set, totaling 24 blocks.
Then, cut a 4.5” x 8.5” section off two of the strip sets and sew those together to create one more 8.5” block.
Alternative: if your strips have 42.5″ of usable width (after you remove selvages), you can get all 25 blocks from only 20 strips—5 blocks per strip set, and no pieced extra block. Some strips will have this width, others won’t; each manufacturer, fabric line, and even bolt varies on the total width of fabric.
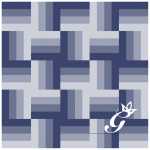
The layout:
Basic: Five rows of five blocks each, alternating the direction of each block.
Intermediate: use values of the strips within blocks to create secondary patterns (sketch it before piecing or use a design wall).
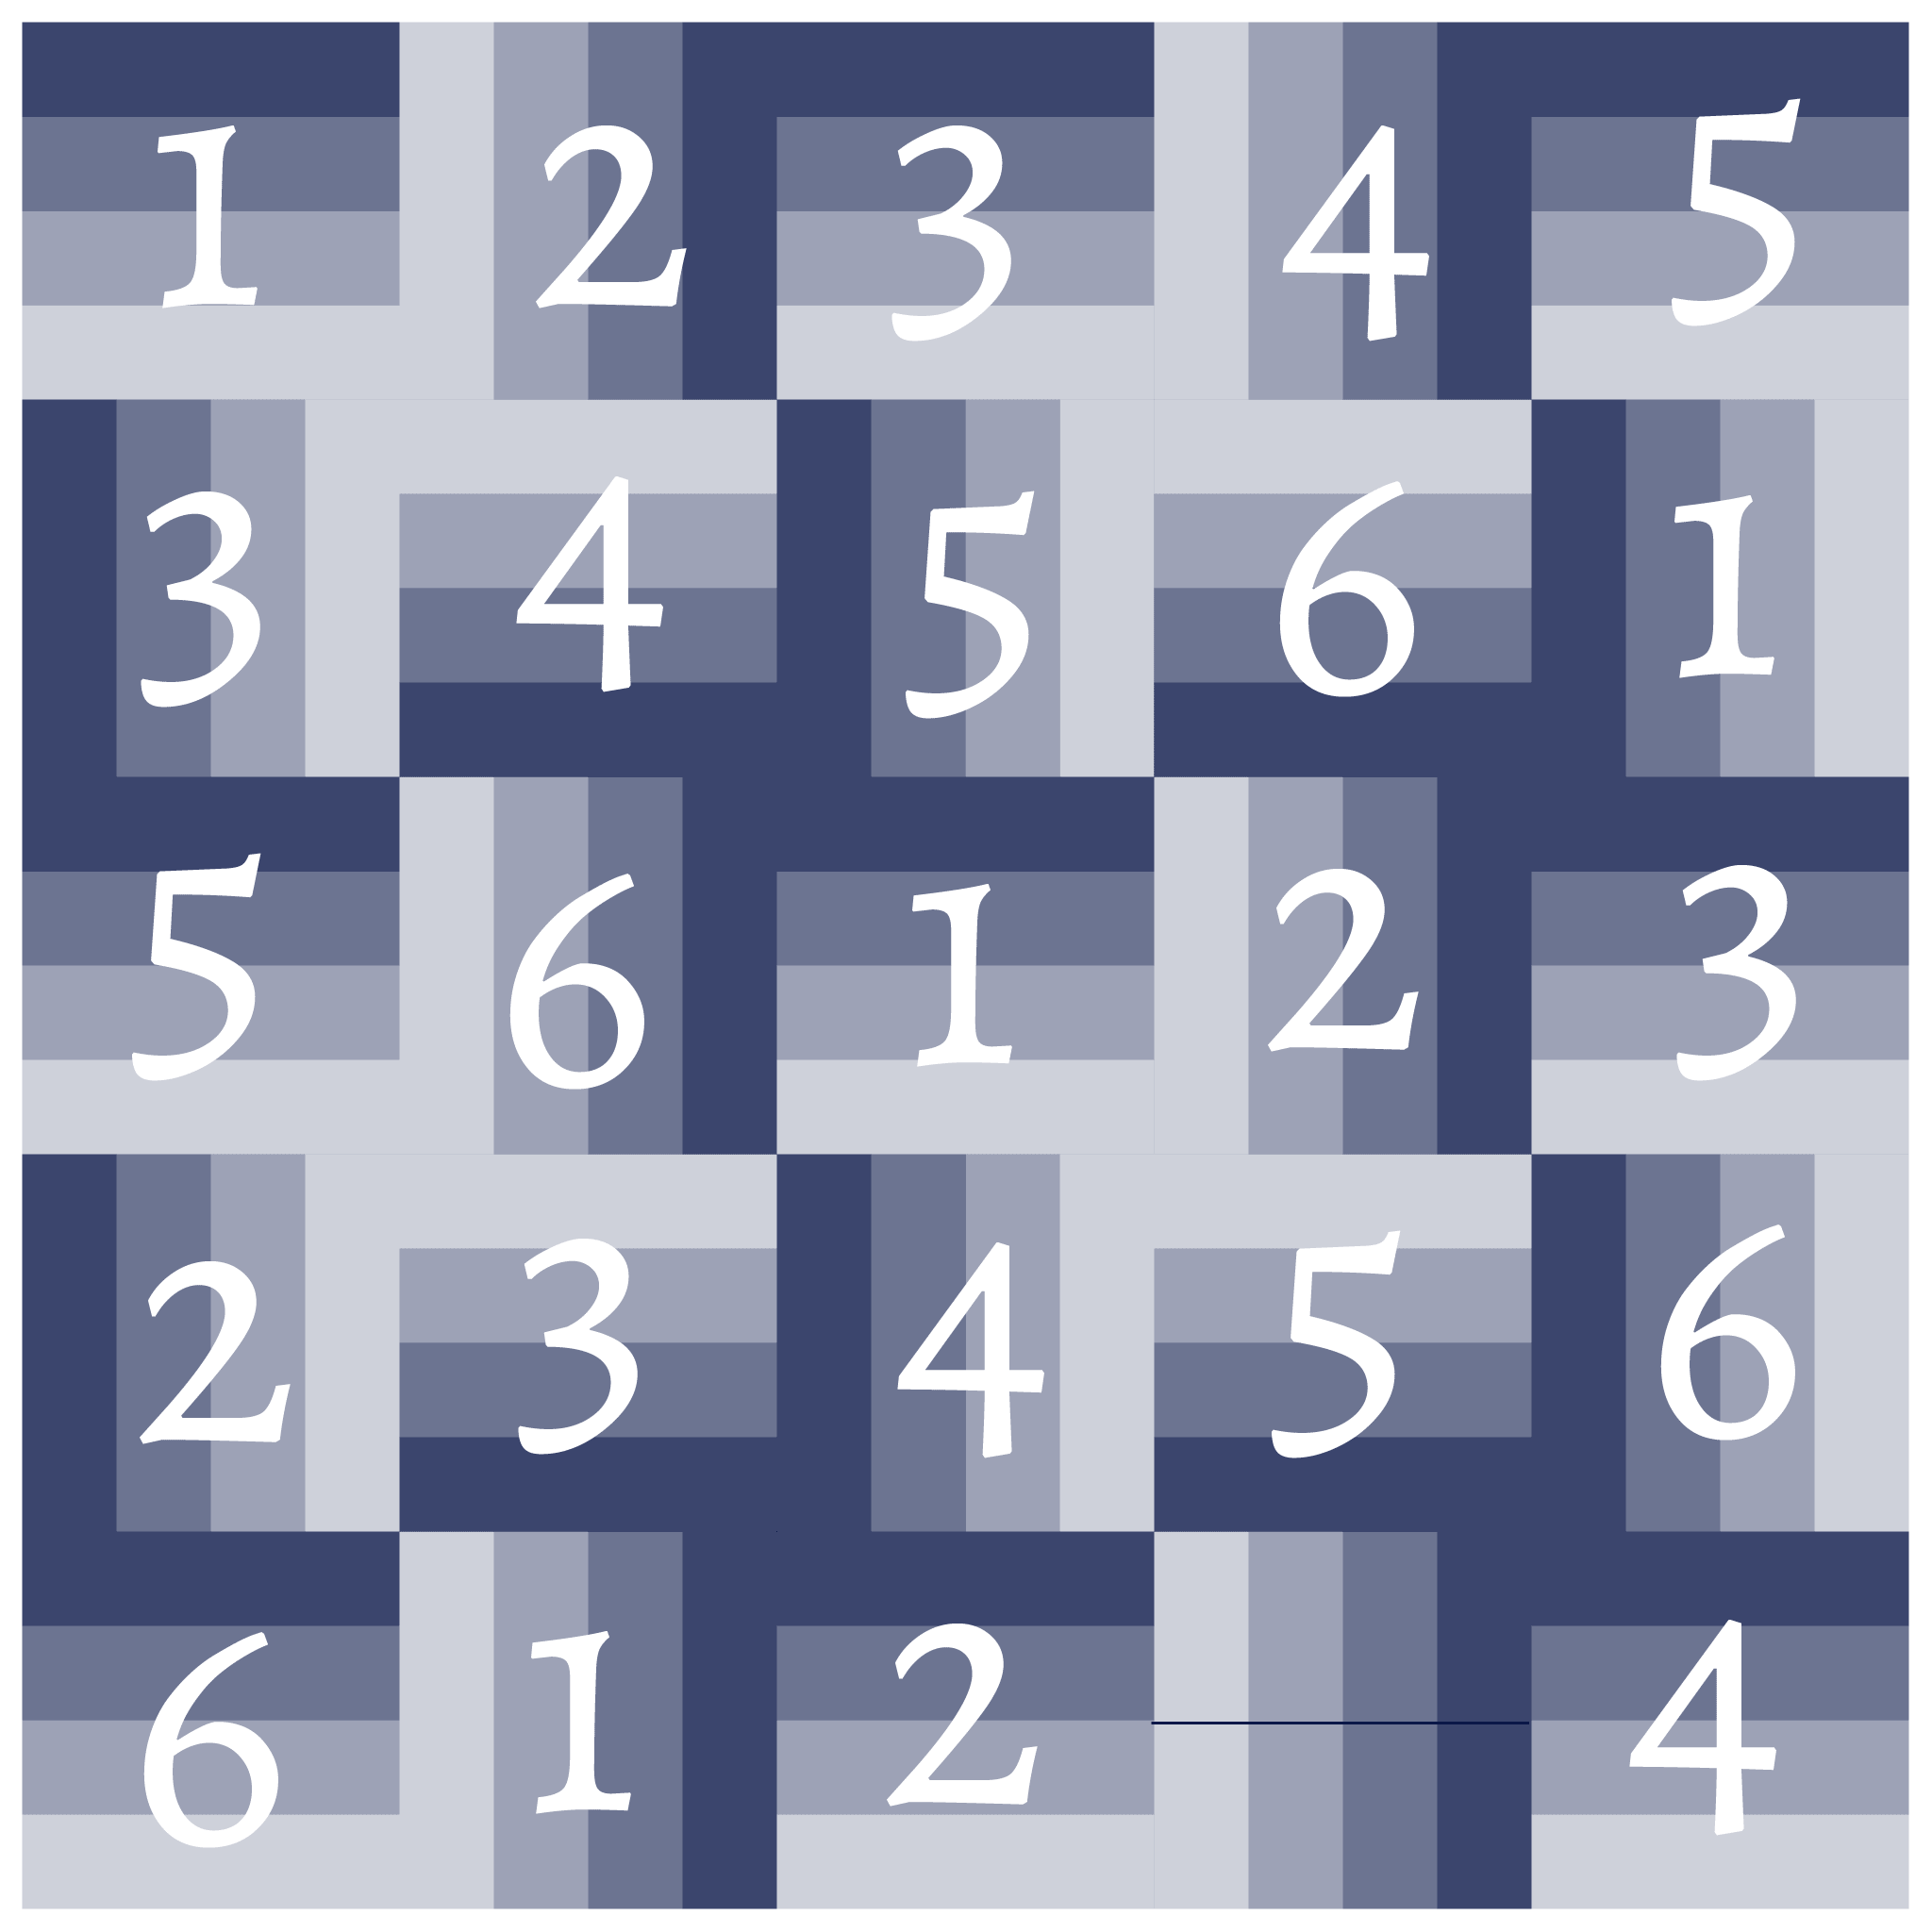
Advanced: solve the n-queens problem with your placement like I did to please my nerdy mind (no block is on the same horizontal, vertical, or diagonal as another of the same block set).
Go Further (optional):
Use embellishment or applique to personalize it
Add borders to make it larger
Add asymmetrical borders to play with negative space
My Decision-making Process
What caused me to make the choices in my own quilt? In this case, form followed supplies and time. I had a Rolie Polie of 23 2.5″ strips, a 54″ square piece of Minky, a stash to draw from for binding, but nothing much that coordinated with the Rolie Polie otherwise. And, I had about a week and a half to make the quilt.
Rail fence blocks can be arranged in any number of ways. Since I had four distinct color and value groups (brown, pink, green, beige) with an equal number of strips in the roll (more or less), I was inspired to make all of my strip-sets with one strip of each from darkest to light. Because I could only cut four blocks from each strip set, I had to add one additional strip from my stash to the Rolie Polie, and piece a block together from two half blocks to make 25. As I mentioned above, the layout of blocks was mostly to appease my problem-solving mind (although I deviated with the planned layout for the half-and-half block and another spot where I flipped a block when sewing rows and didn’t want to rip).
I wanted to personalize it, since the recipient’s sibling’s quilt had her initials in the quilting, so I chose to applique her first initial and a crown (playing off the meaning of her name) in one corner, using one of the few FQs in my stash that matched the other fabrics. You can download a printable version for your own project (if you want a curly, be-crowned ‘G’).
Quilting possibilities are only limited by your imagination. I used a large-scale, all-over flowery free motion motif based on the flowers in the fabric for two reasons: it could be done quickly, and was a good project for me to play with free-motion on. I chose to use a cream-to-brown variegated thread because it was the best match in my stash, but also because it blended the quilting into the varied colors of the fabrics.
Overcoming Obstacles
Because I worked with 2.5″ strips, the math on this was simple. But, that didn’t mean everything went to plan. I didn’t measure the width of the strips, so I couldn’t cut my planned five blocks from each strip set and had to improvise by finding a 24th strip (actually, two 21″ strips from a fat quarter) and piecing a block together from the leftovers of other strips sets. Sure, it meant reevaluating the block layout I’d planned initially (as well as choice of binding, as I’d planned to use the leftover strips and that fat quarter as the binding), but in the end, I am pleased with the final quilt (and, I like the solid binding far more than I think I would have liked the original plan). In the blueprint above, I went with the assumption that you might also run into this issue.
“Noble Blooms”, Rachael Arnold, February 2014, 40″x40″. Photo by Carl Pfranger.
In 2012, I participated in a monthly sampler group at one of the quilt shops in Utica. I kept up with the block piecing during the course of the sampler, but they’ve been languishing in a box ever since. I lost track of both the number of times I’ve sketched layouts for the twelve blocks and the layouts I liked, so the blocks sat unset and out of mind. Then, a need to carve out sewing time amidst wedding planning grew, culminating in a strike of inspiration for a simple layout for these blocks. So, out they came!
“Road to Community”, Rachael Arnold, September 2014, 82″ x 82″
Although the layout eluded me, I knew I wanted to riff off the idea of road trips and asphalt. I gathered additional fabric for the quilt as I traveled that year, picking up the grey texture from Downtown (Windham Fabrics) along with white and yellow batiks to fit the road markings and asphalt idea. I realized later that there wasn’t nearly enough of the grey texture, so I purchased a length of Crackle (also Windham Fabrics).
“Road to Community” (detail), Rachael Arnold, September 2014, 82″ x 82″. Photo by Carl Pfranger
The final layout mixes those two grays and a third mottled gray fat quarter from my stash in an arbitrary arrangement pieced to get the lengths needed from the fabric I had on hand. The chunks of different shades remind me of the patched roads in central Missouri that I spent so many hours on during summers of my childhood. While some kids played the “don’t step on the black tiles of checkerboard floors” game, I played the “don’t let my feet touch the floorboard over the clay-red road sections” game to amuse myself when the four of us were packed in the back seat of a Honda Prelude en route from Kansas City to the Lake of the Ozarks.
“Road to Community” (detail), Rachael Arnold, September 2014, 82″ x 82″. Photo by Carl Pfranger
It took another few months before I had a chance to quilt it. The quilting is a mix of stitch in the ditch and free motion. I took inspiration from rumble strips for the road markings, tire tracks in the open spaces, some filler “cracks”, and free-motioned lines to fill in the rest of the space. The blocks are stitched in the ditch to not obscure the colors with the dark gray quilting thread (don’t look closely at my attempts to free motion stitch in the ditch with contrast thread, please!). Fairfield Quilters 80/20 batting provided a good quilting surface (and was the only thing I had to go out and purchase in 2014 to complete the quilt).
“Road to Community” (detail), Rachael Arnold, September 2014, 82″ x 82″. Photo by Carl Pfranger
The backing started life as an XL twin duvet cover that I bought on clearance at Target a few years ago. I was disappointed when I unpackaged it and found that it had a gray back rather than the print on both sides. Even with the accompanying sham, there wasn’t enough printed fabric to piece the full back, so I left one of the seams in the duvet and called it good enough. Its origin seems quite fitting to the theme considering that I now have to road trip to shop there (oh how I miss thee, my clean, organized, red and white homie). Of course, the print fits too, considering the reliance on cassette tapes if one planned to have any music on those central MO trips.
“Road to Community” (back), Rachael Arnold, September 2014, 82″ x 82″. Photo by Carl Pfranger
It’s bound in a white batik that I bought intending to use in one of the other possible top layouts. I tried a new method of machine binding (sew to back, flip to front, secure), and am insanely happy with how it turned out. It’s almost perfect.
“Road to Community” (back detail), Rachael Arnold, September 2014, 82″ x 82″
The final piece was a custom label I designed as we worked on the blocks and printed on one of my Spoonflower label orders last year. Throughout the course of the sampler, I found the community of quilters in Utica that I was so sad to leave. I hope I can find one here in Burlington soon. Just don’t tell them that the duvet cover backing is polyester (another thing I didn’t realize when I purchased it). That should stay our little secret.
I think I should start a new photography series titled “Photographs of the Photographer”
My very oldest (and dear) friend’s three-year-old son is my most dedicated fan (of the quilts, at least). I’ve mentioned the love he’s given the quilt I made for his birth quite a few timeson here. While his newborn sister can’t bear the distinction of receiving the first quilt I ever made, I wanted it to be special too—so, she’s receiving the first quilt I’ve made with Kokka fabric. Okay, maybe that doesn’t sound special to you, but I’ve lusted after many Kokka fabrics and this quilt finally convinced me to buy some.
“Stars for Lennon”, Rachael Arnold, March/April 2014, 48″x48″. Photo by Carl Pfranger.
It all started with an FQ of Nursery Versery, but in the final top there’s only one print from that set (the patchwork print). The back is pieced, and includes a big chunk of the mouse print from that line. The stuffed giraffe and doll quilt that I gifted at her shower were also made with those prints.
“Stars for Lennon” (back), Rachael Arnold, March/April 2014, 48″x48″. Please forgive the half-basted binding.
When I was shopping around (there are two shops around here that carried the line!), I fell in love with the design of a print in Comma that was conveniently placed next to Nursery Versery on the shelf.
However, I couldn’t figure out how to turn that layout into a quilt top using the prints I’d purchased in the Kokka FQ. So, I pulled more prints from the shop in a complementary color scheme. Those ended up comprising the top of the quilt, paired with Essex Linen.
“Stars for Lennon”, Rachael Arnold, March/April 2014, 48″x48″. Photo by Carl Pfranger.
I drew up the 12″ block in Illustrator, then printed it and created templates. Another first: I’ve never made a whole quilt top that required templates to piece the blocks. My technique leaves much to be desired—there are more lost points than there are good ones and the whole top was a little wobbly before quilting. But, I’m happy with the final outcome even if it has flaws.
“Stars for Lennon” (label), Rachael Arnold, March/April 2014, 48″x48″. Photo by Carl Pfranger.
I planned to do an all-over swirl like I did on the coordinating doll quilt, but had to work around a broken FMQ foot. Limited to my walking foot and a floating embroidery foot (which worked better than expected), I let the quilt talk to me and it turned out even better than I expected. Pellon Nature’s Touch batting gives it a good weight and drape.
“Stars for Lennon” (quilting detail), Rachael Arnold, March/April 2014, 48″x48″. Photo by Carl Pfranger.
The 48″ square quilt is bound in a Denyse Schmidt print and topped off with a label. I hope she loves it as much as her brother loves his.
“Stars for Lennon” (detail), Rachael Arnold, March/April 2014, 48″x48″.
If she doesn’t love it (and if her brother doesn’t steal it), Moof is always willing to take it back.
Near the end of every semester, I send finals week care packages to my younger sisters (which also happens to conveniently fall near their birthdays in the spring and autumn). While they mainly contain tea, chocolate, pens/markers, post-its, and something relaxing, I try to slip in something me-made every time as well (to varying degrees of success).
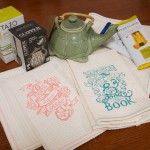
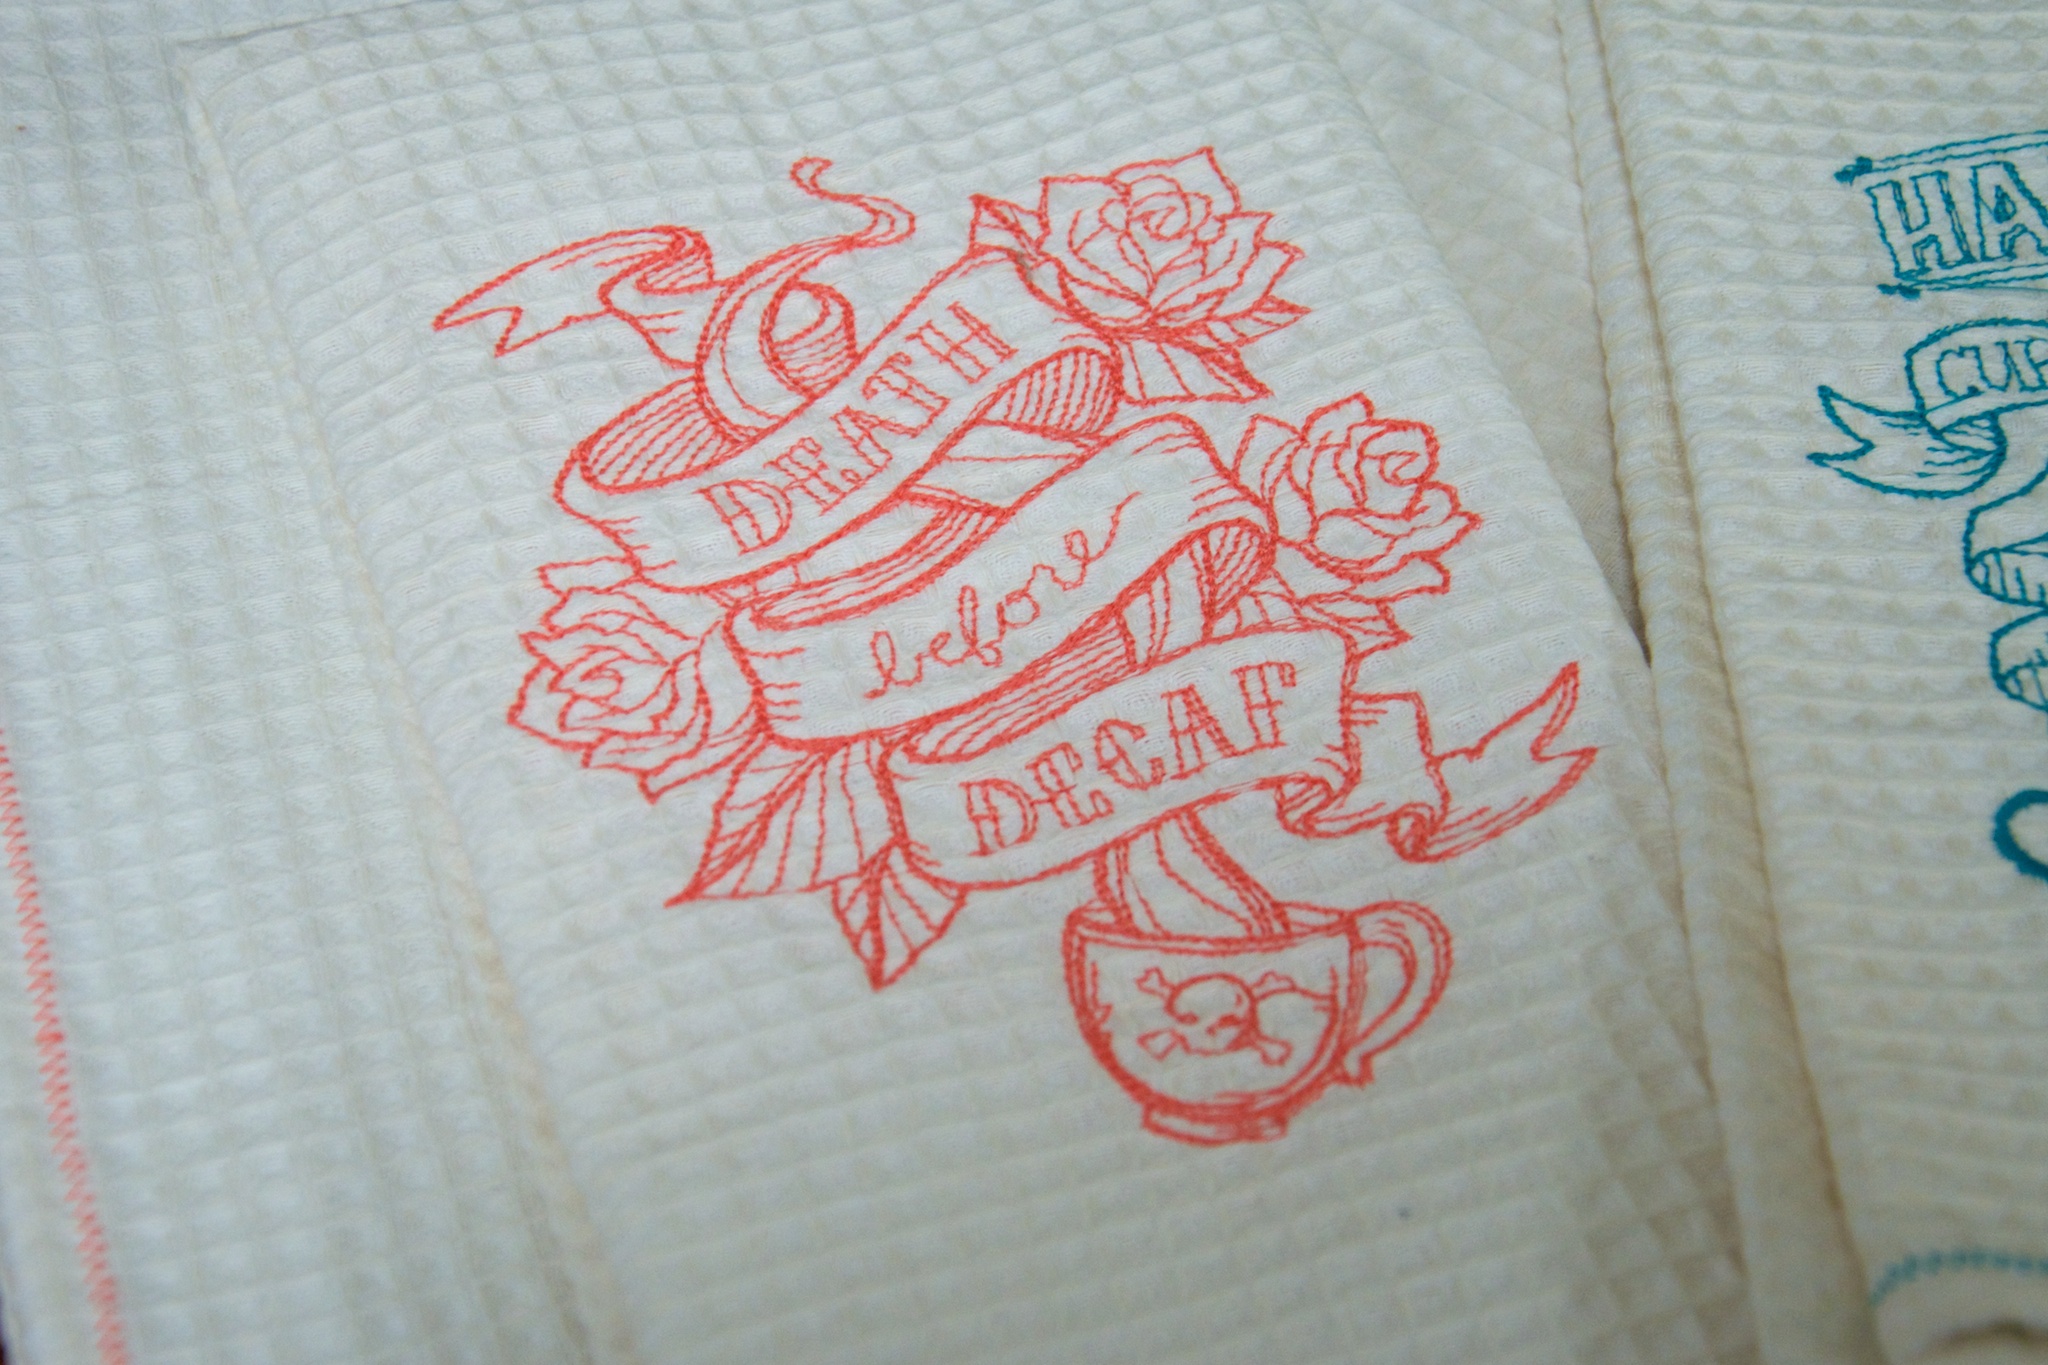
This semester, they moved into an apartment together, so I thought of the perfect gift: a set of kitchen towels with awesome embroideries that I found on Urban Threads. Useful, not so precious that they can’t be used, and amusing.
Here they are pictured with the aforementioned chocolate, tea, and the elder’s birthday present.
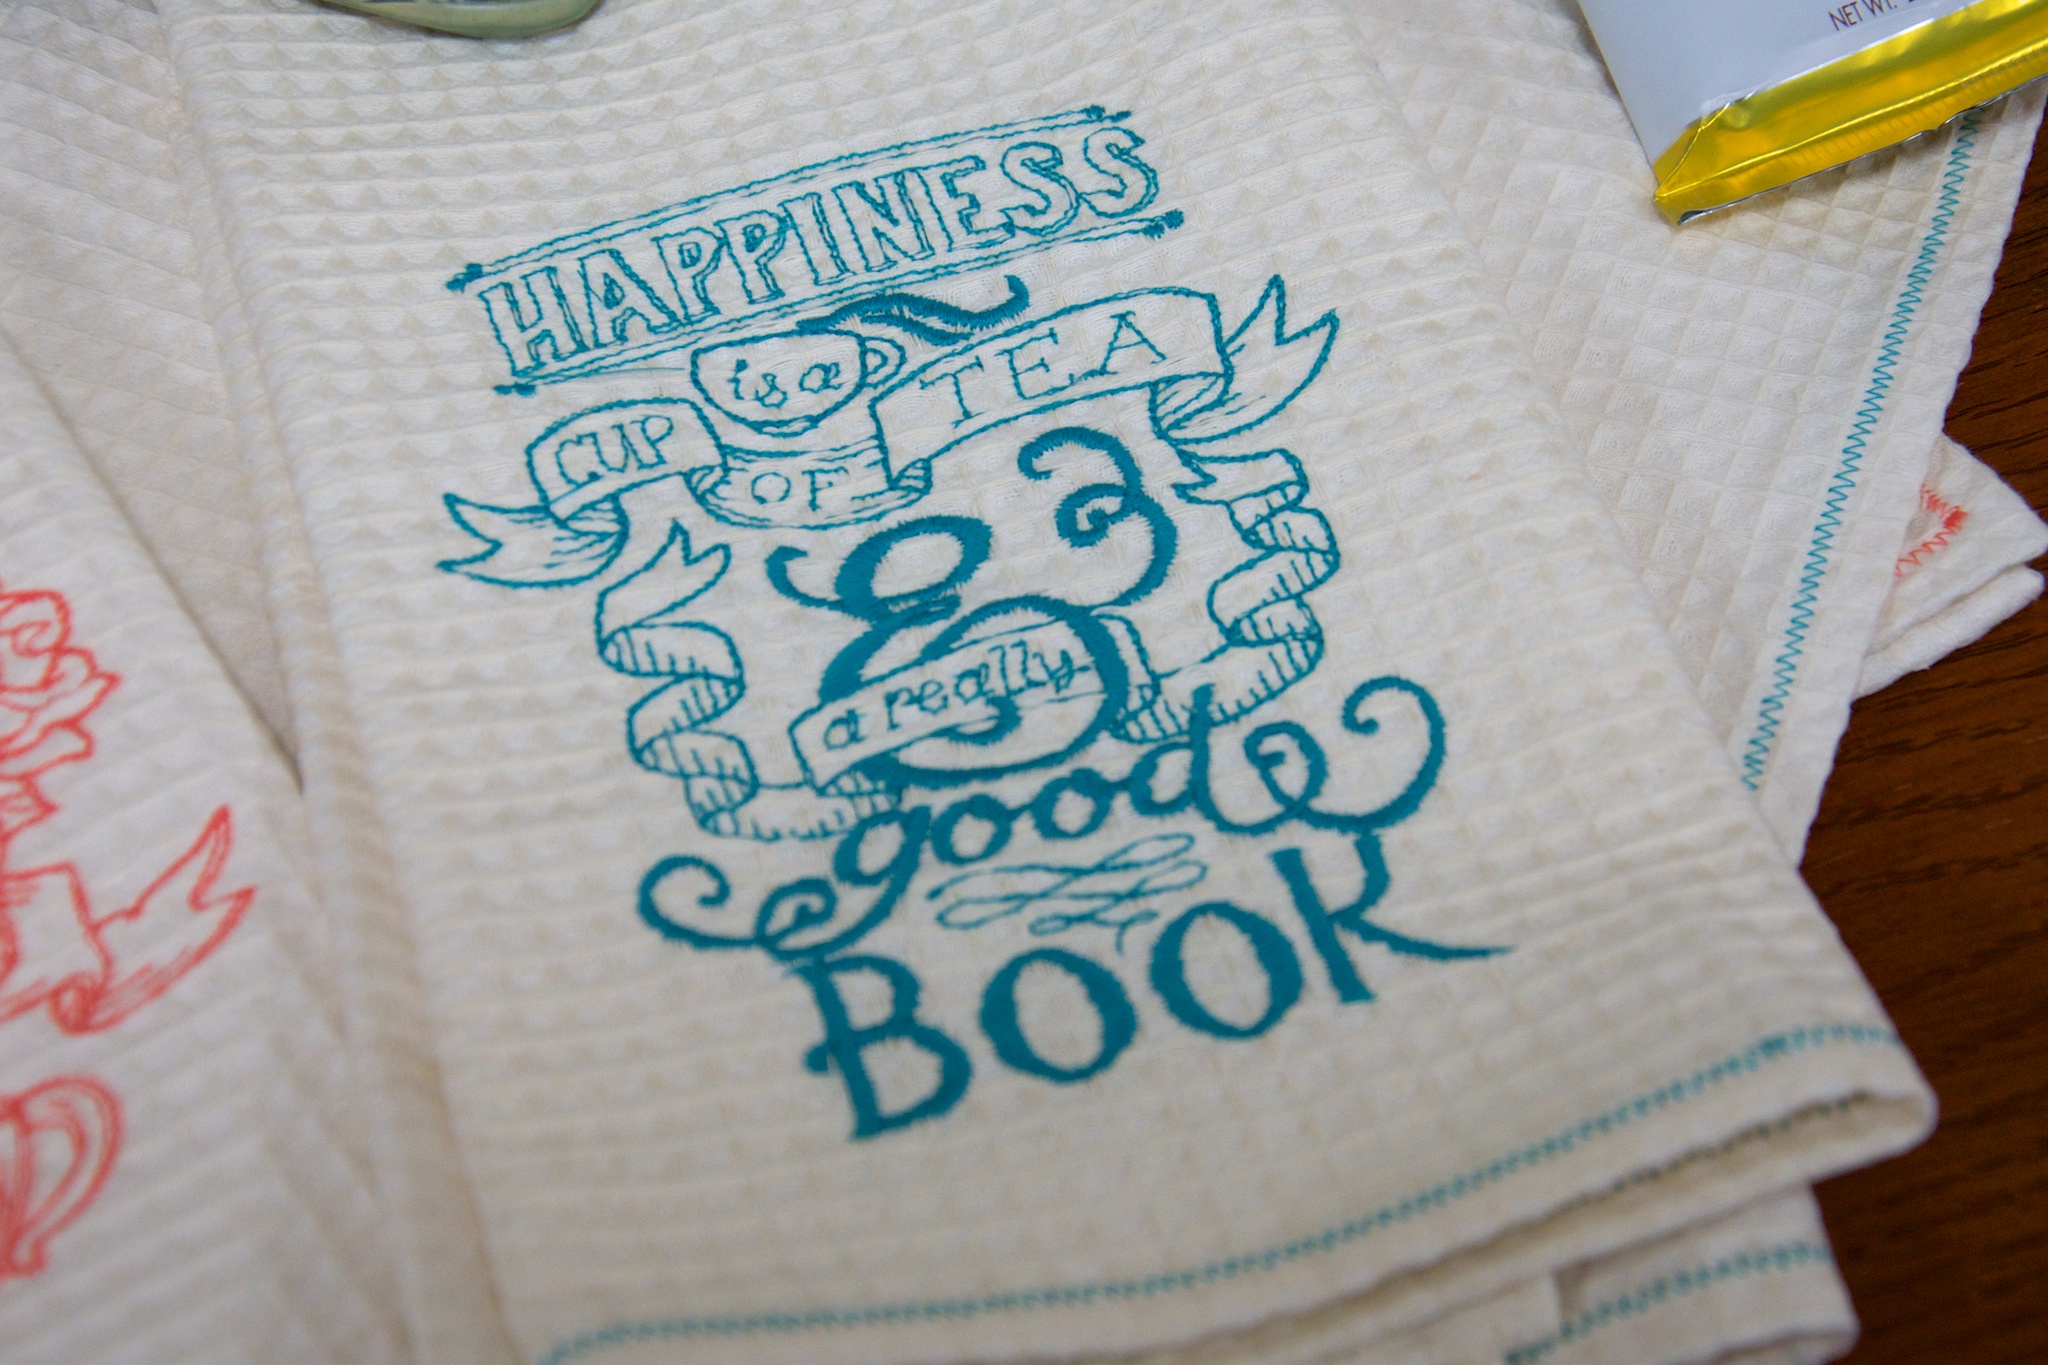
There is one embroidered towel and one plain one in each set, each measuring around 16″x21″. One of these days, I’ll be making a set of my own from this one, which perfectly sums up my introverted down days: “Happiness is a cup of tea and a really good book.”
We’ve always ganged up a bit on the younger one, who claims she now reads, but didn’t for many years, so she got a different design (which could double as a coffee cup, since that may be her caffeine-delivery vehicle of choice). It may also be fitting for me to hang at work, if you ask my coworkers about my state of mind at our scrum every morning: “Death before decaf.”
I made the four towels from a yard of textured cotton I found in the utility section of JoAnn Fabrics. While not explicitly labeled toweling, it’s a great texture for a hand towel. I used cotton Gutermann thread to embroider them, matching the needle and bobbin threads. The 150m spools had just enough thread on them to get through the embroidery, then I switched the bobbin up to feed through the needle and put a cream bobbin to hem the edges. It made for an efficient use of a single spool that could have ended with a run to the store had anything gone wrong (I like to live a little dangerously some times).
Now, to start scheming about what to make for November’s package…
Spring is slow coming here in Vermont—it’s truly mud season rather than flowering wonderland—but we had the chance to see a few blooms when we traveled down to New Jersey for Easter with Carl’s family. Even the bees were out and about.
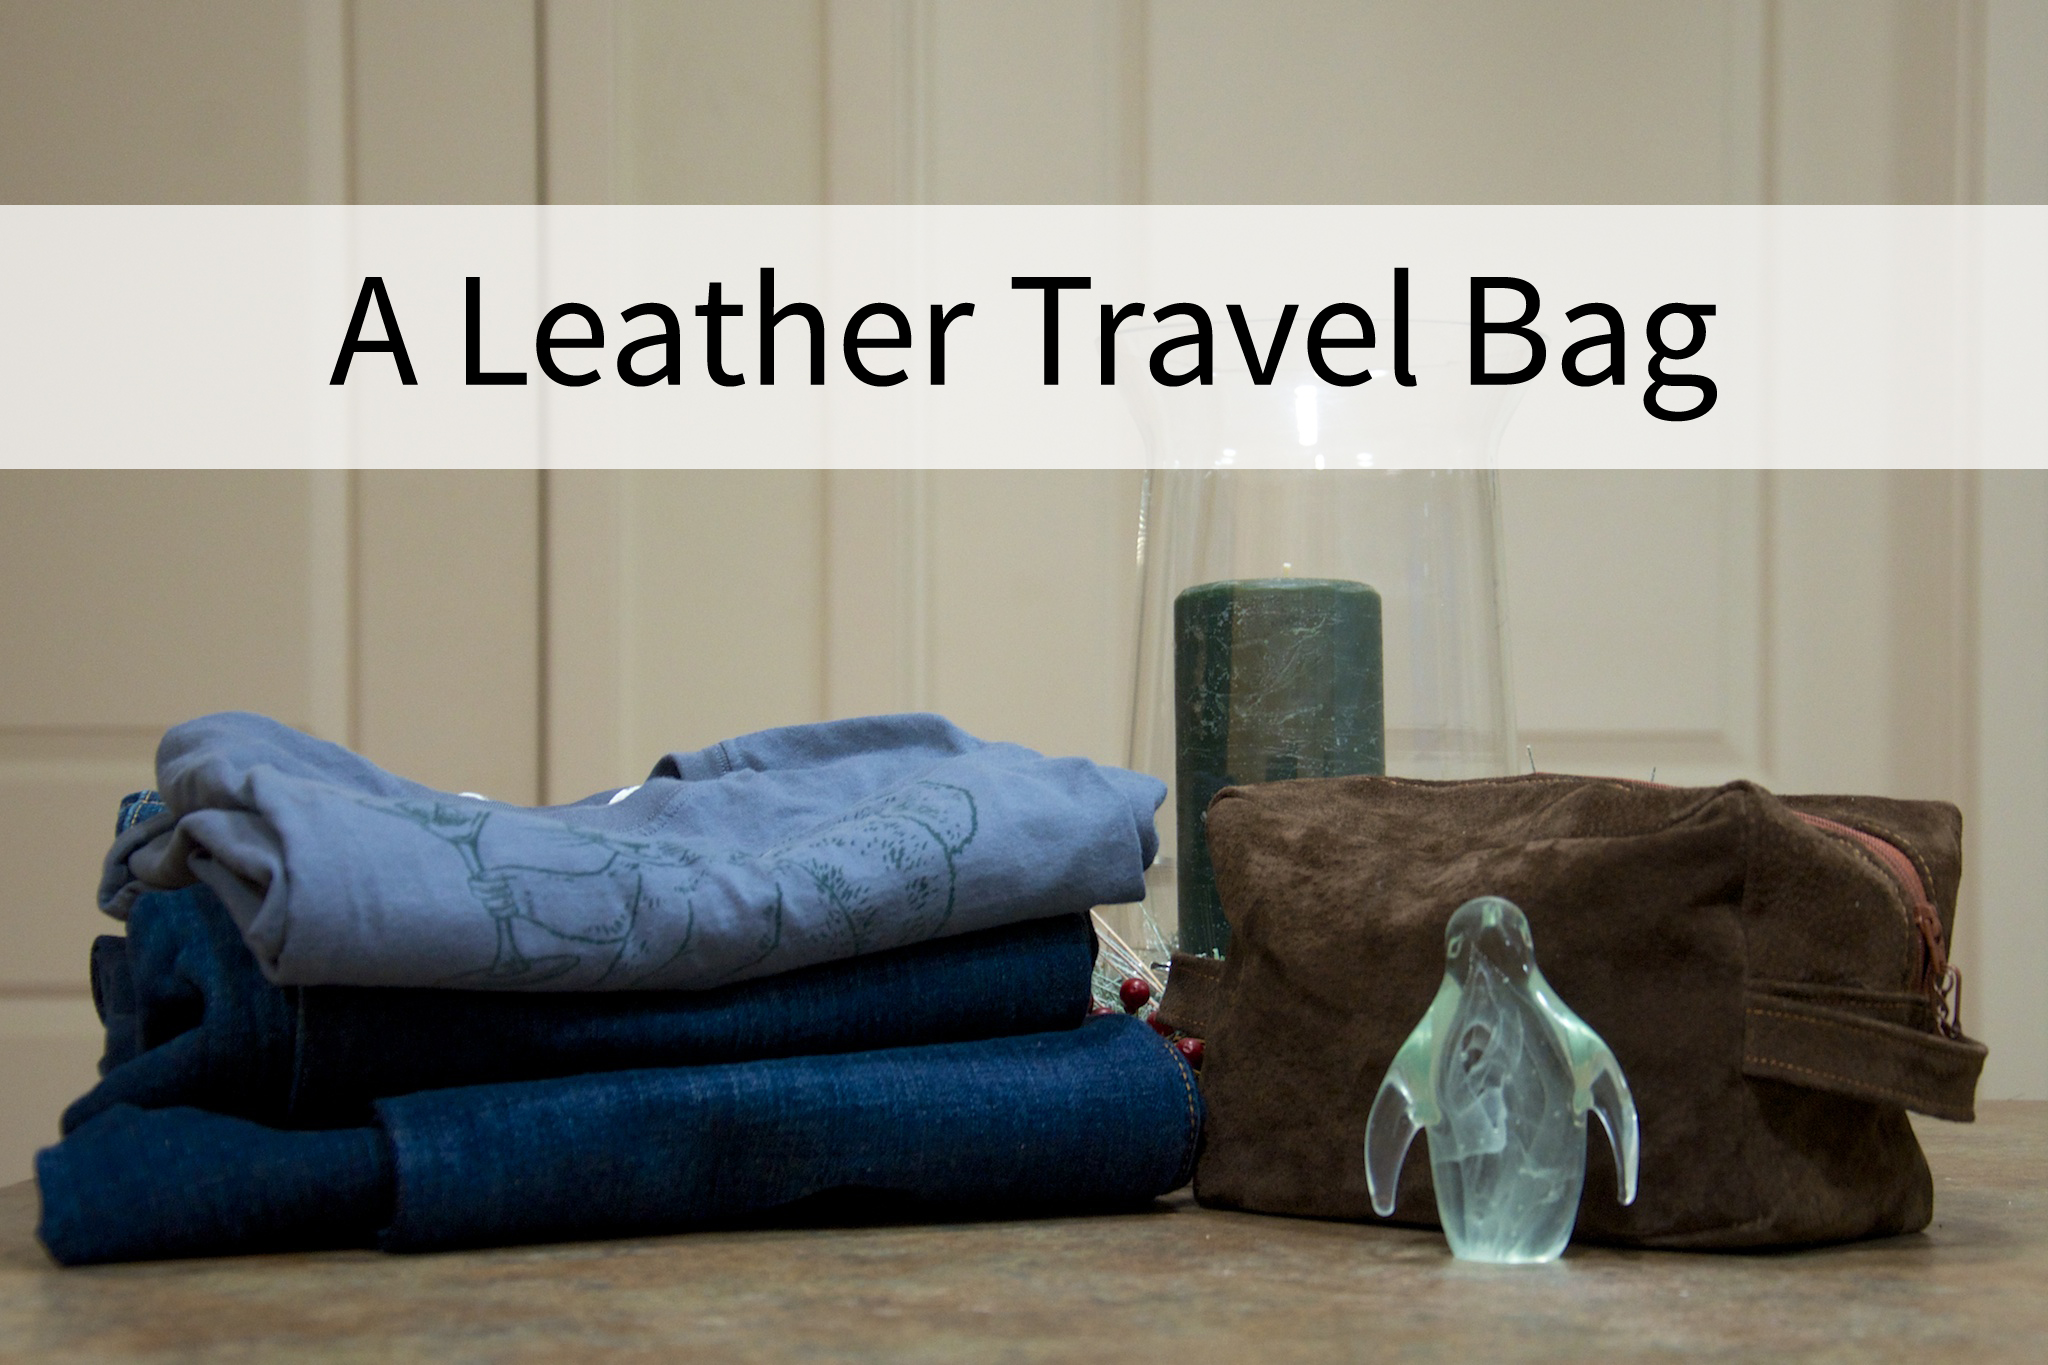
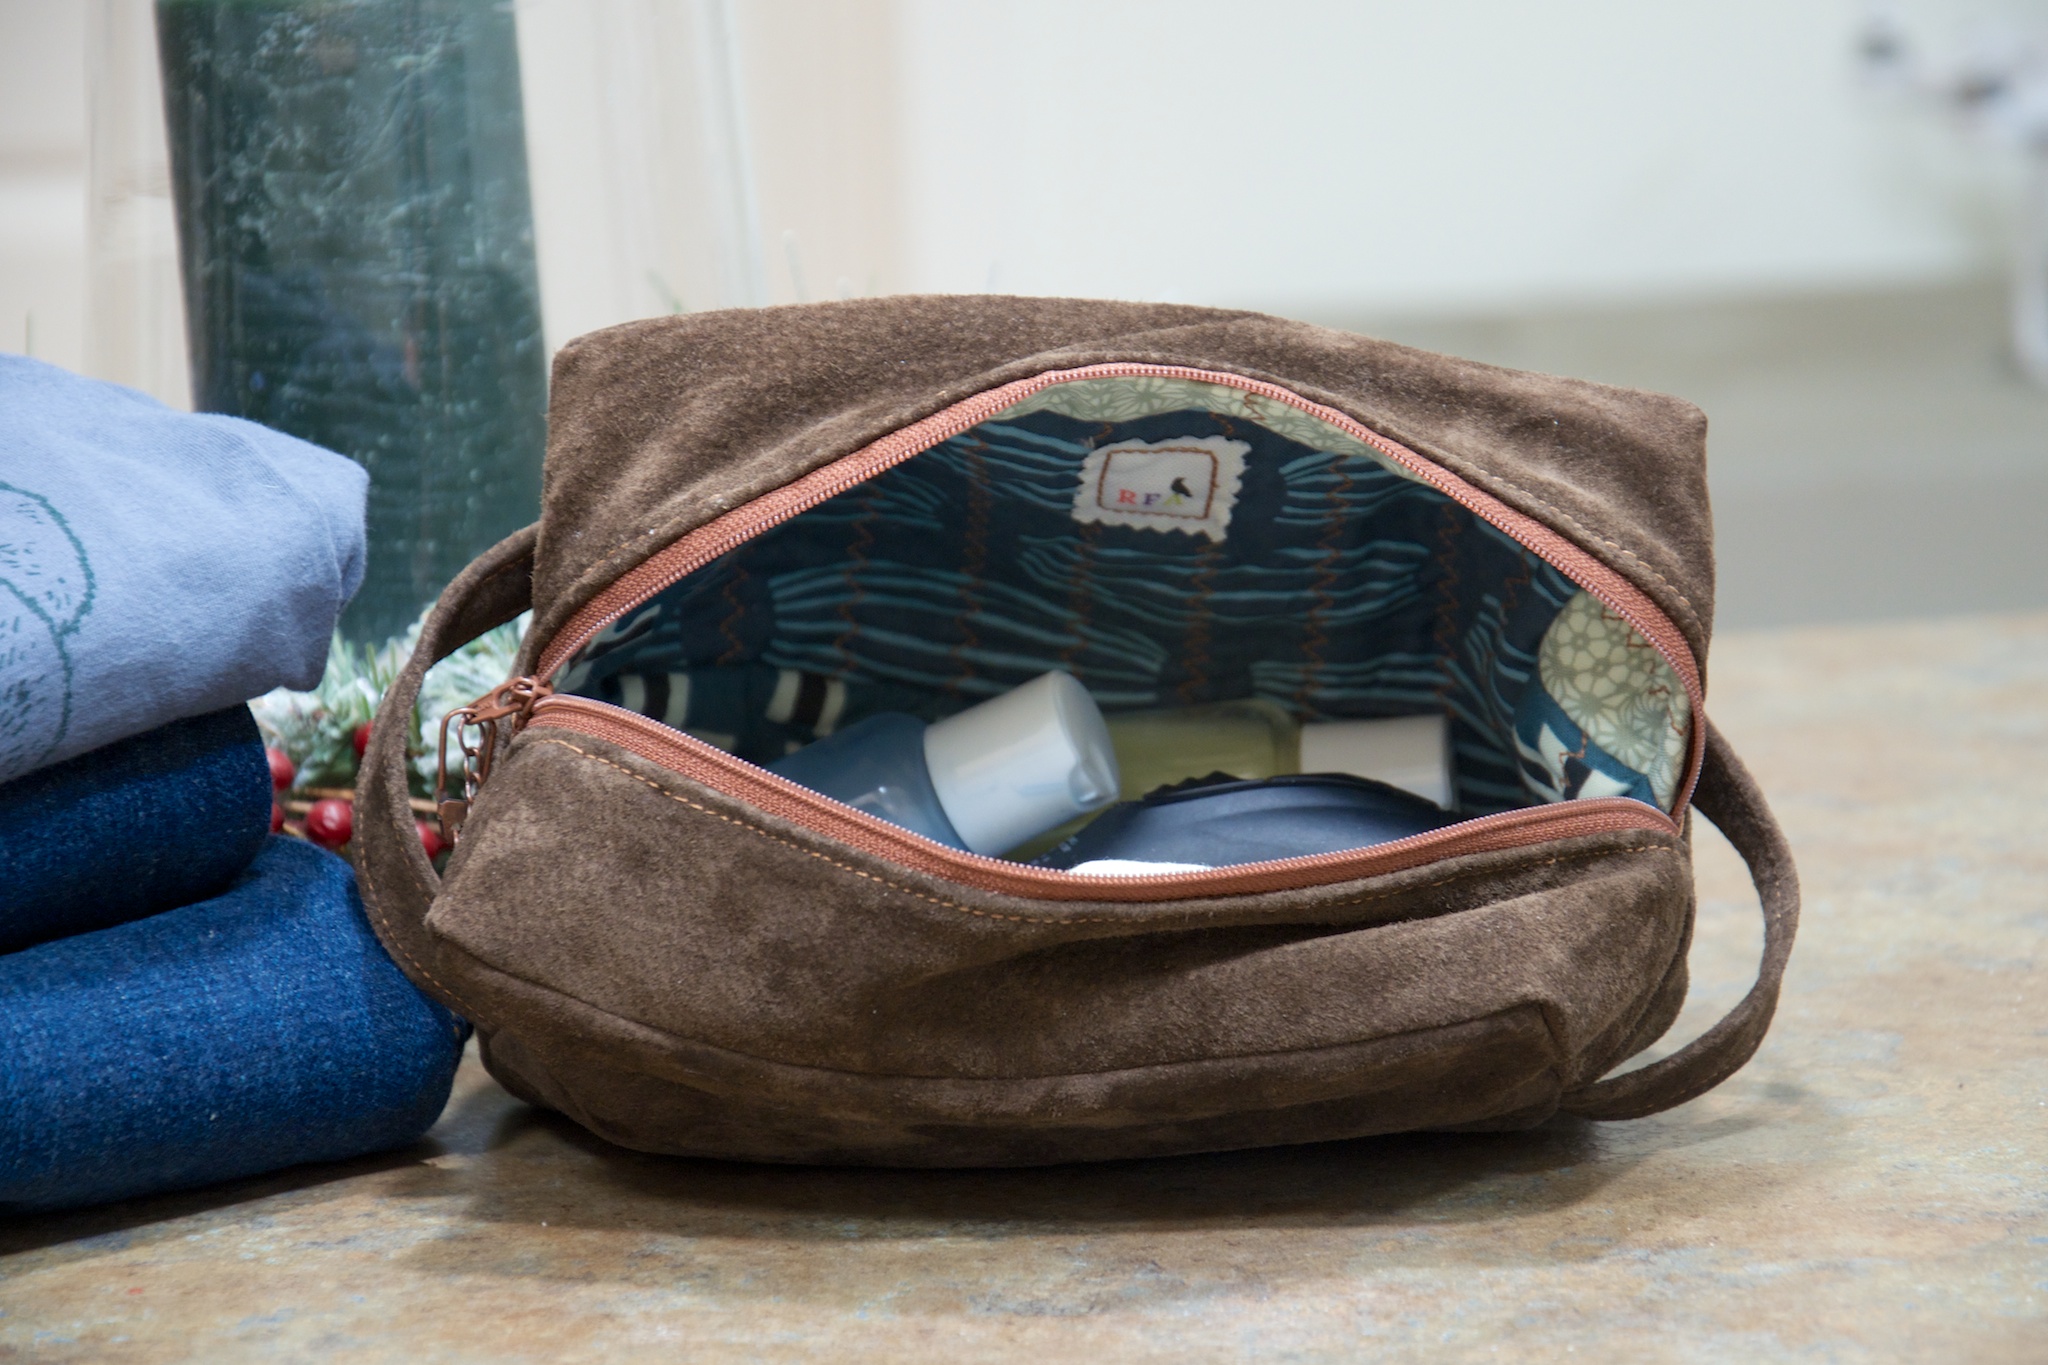
For the past few years, Carl’s been stuck having travel toiletries either mixed in with mine in a bright pink bag I received as a free gift with a cosmetics purchase or in a zip-lock baggie (required on planes, pretty lame by car), so I thought it high time that he have a toiletry bag of his own. Past time even, considering he’s been traveling back to Utica every other week for work since we moved up here last July.
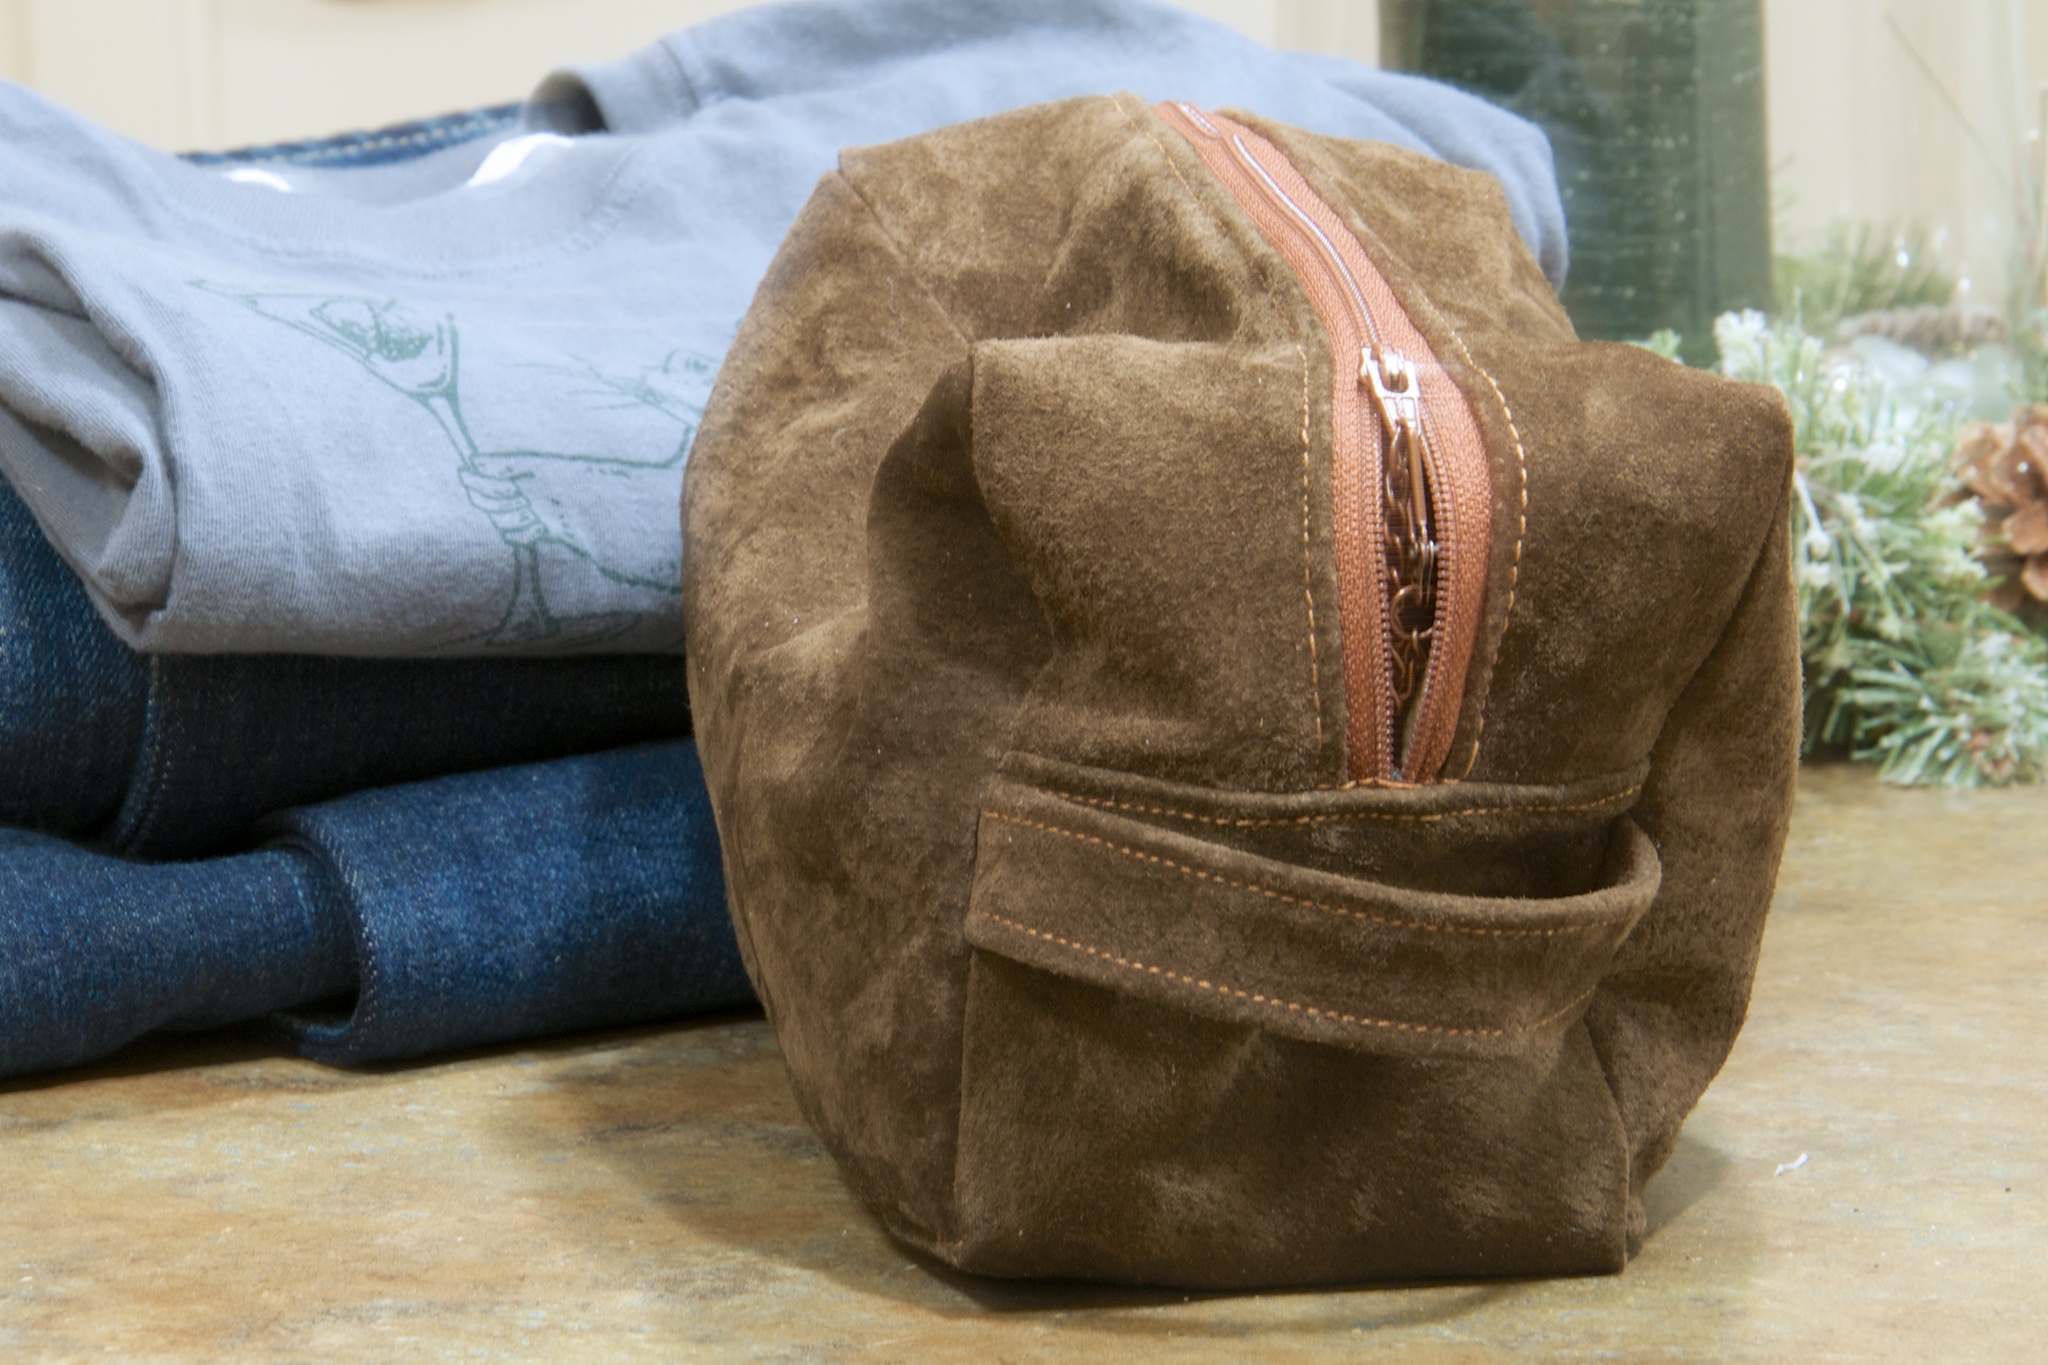
It’s a slightly smaller version of the cosmetics bags I’ve made over the past couple of years with squared-off corners and without the wrist strap. The fun part was making my first project out of leather. I picked up an unlined leather shirt/jacket at the thrift shop to play with and still have plenty of scraps leftover for more bags or whatever else I dream up.
Since the outside is leather, I quilted the lining to give the bag extra body. If I make another, I may try to stick to heavyweight interfacing instead, as the batting gives the lining too little drape. The bag doesn’t keep its shape perfectly, but it does stand on its own, even when empty.
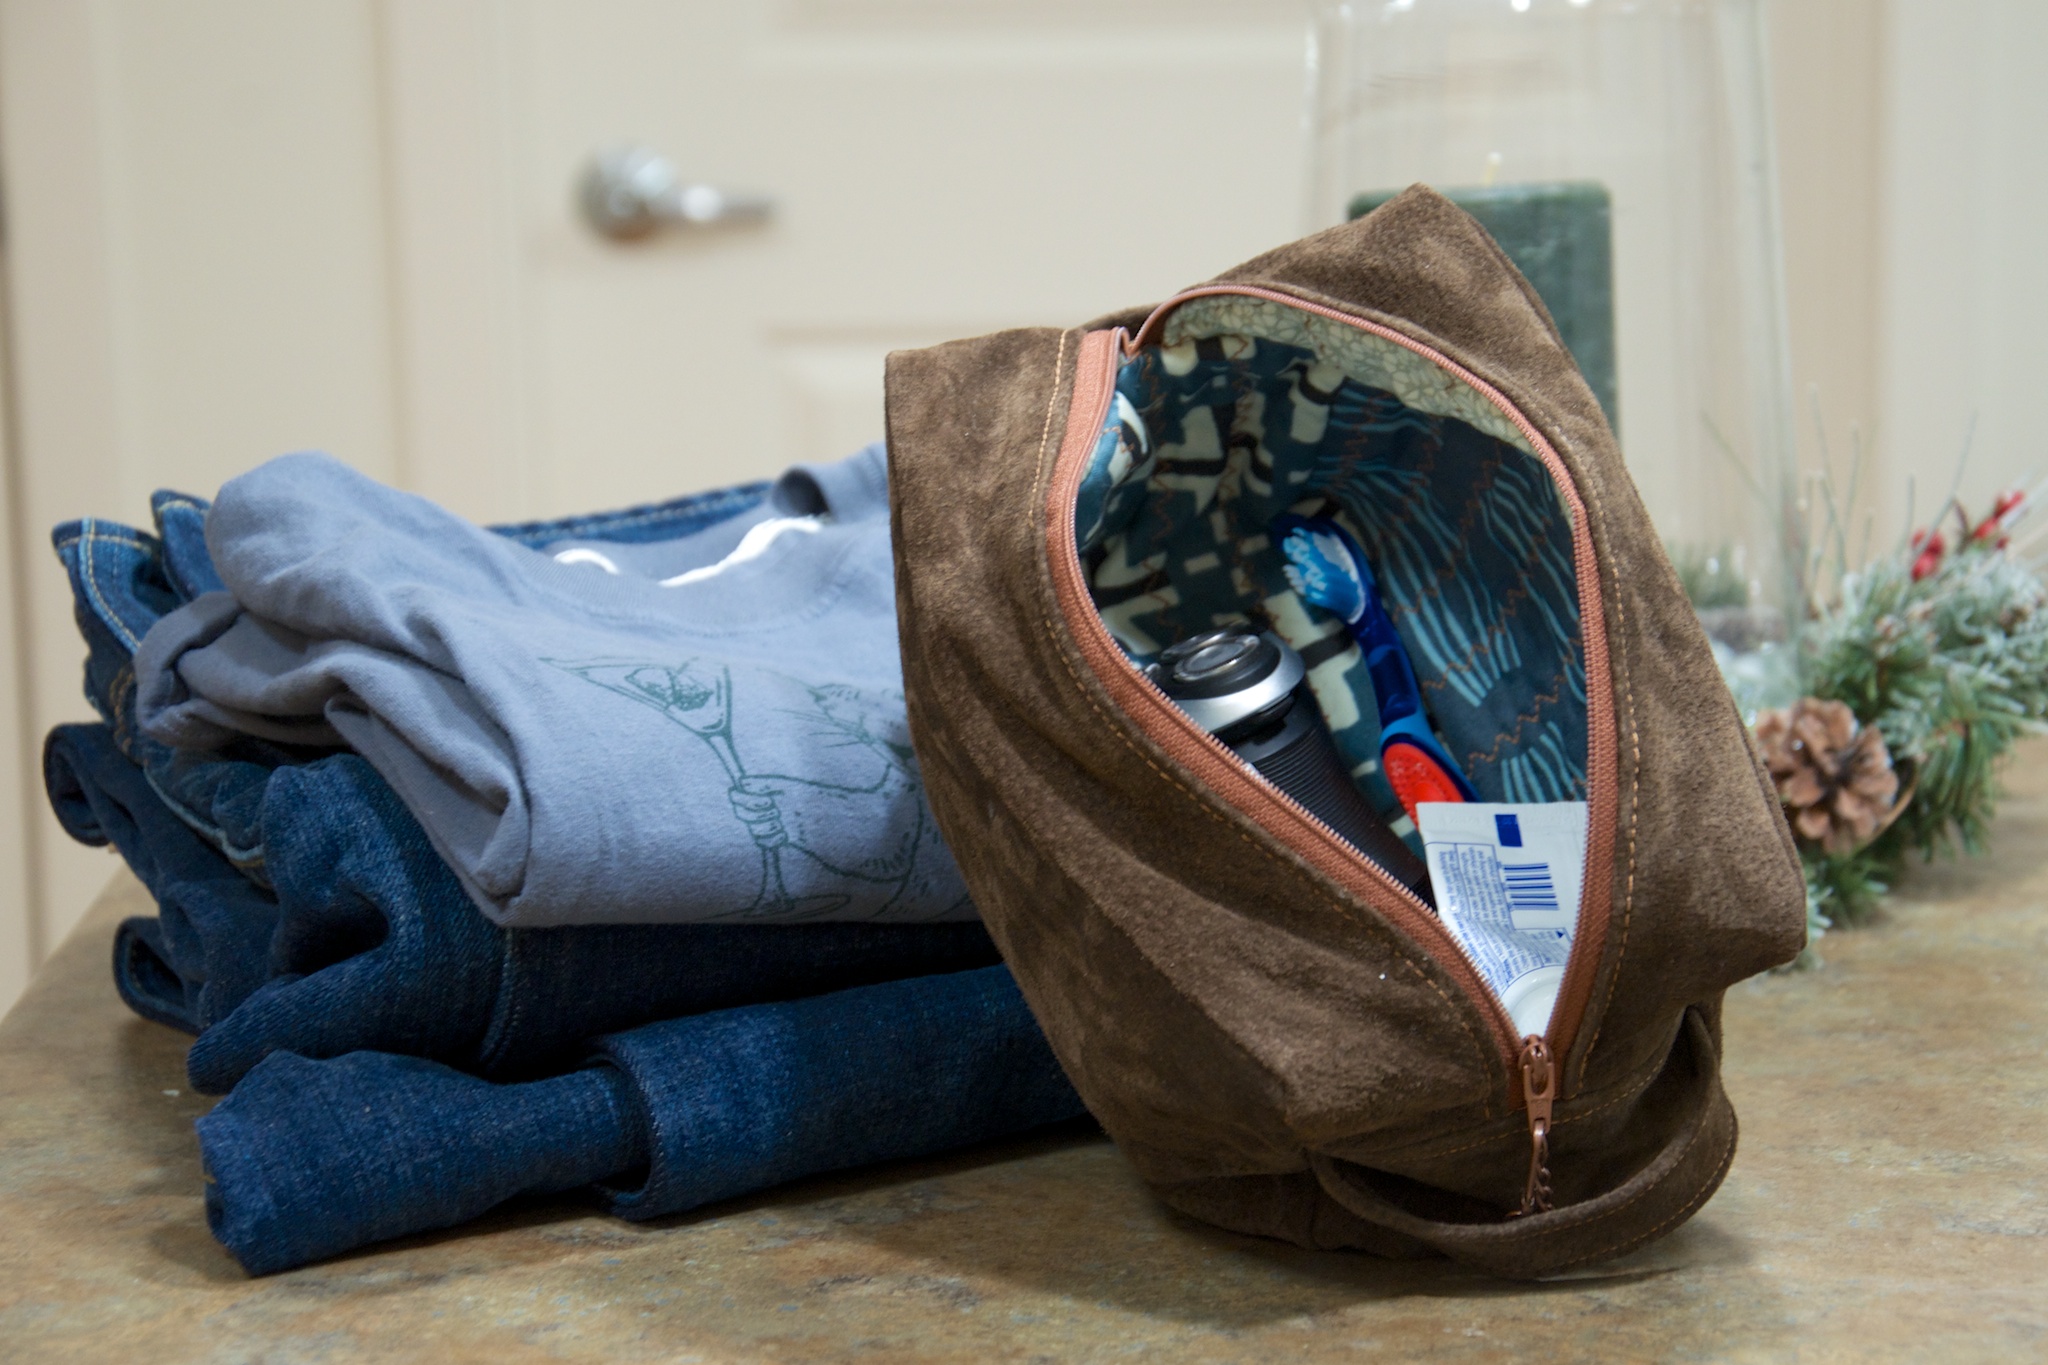
The lining is made from the scraps of his quilt. No one print was large enough for the whole bag, but I was able to limit it to three different ones. I stitched it all with a heavy duty thread, but still have learning to do about proper top-stitching length on leather. Overall, I’d say my machine handled it just fine.
It worked out well for our weekend trip, and I hope it serves him well with the various travels we’re sure to do this year. I also hope spring finally comes to Vermont—traveling is much more pleasant in gorgeous weather like we saw this past weekend.
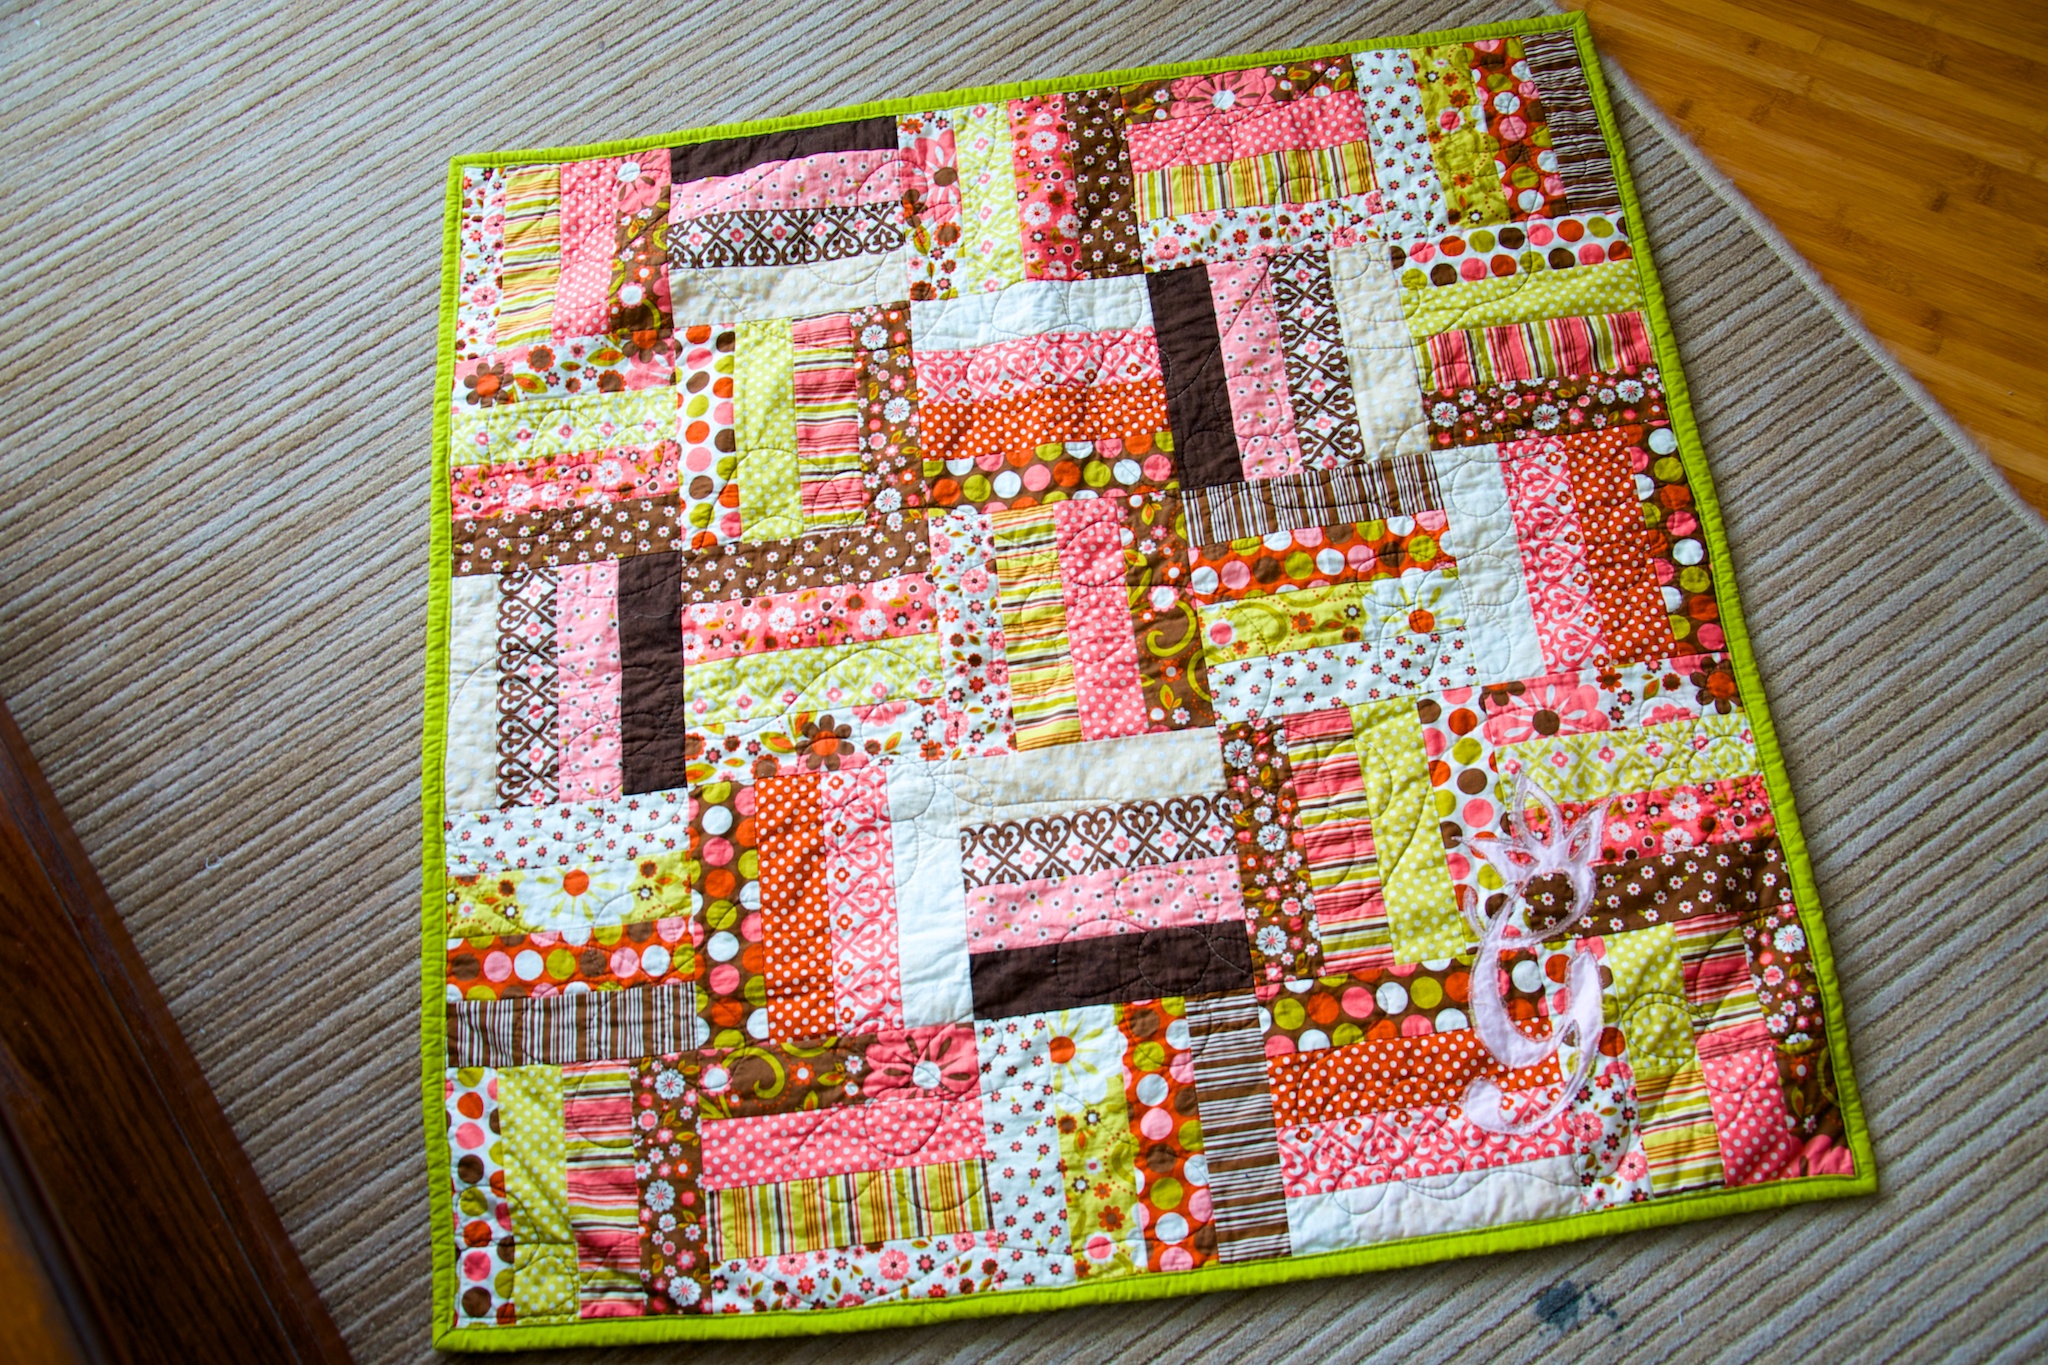
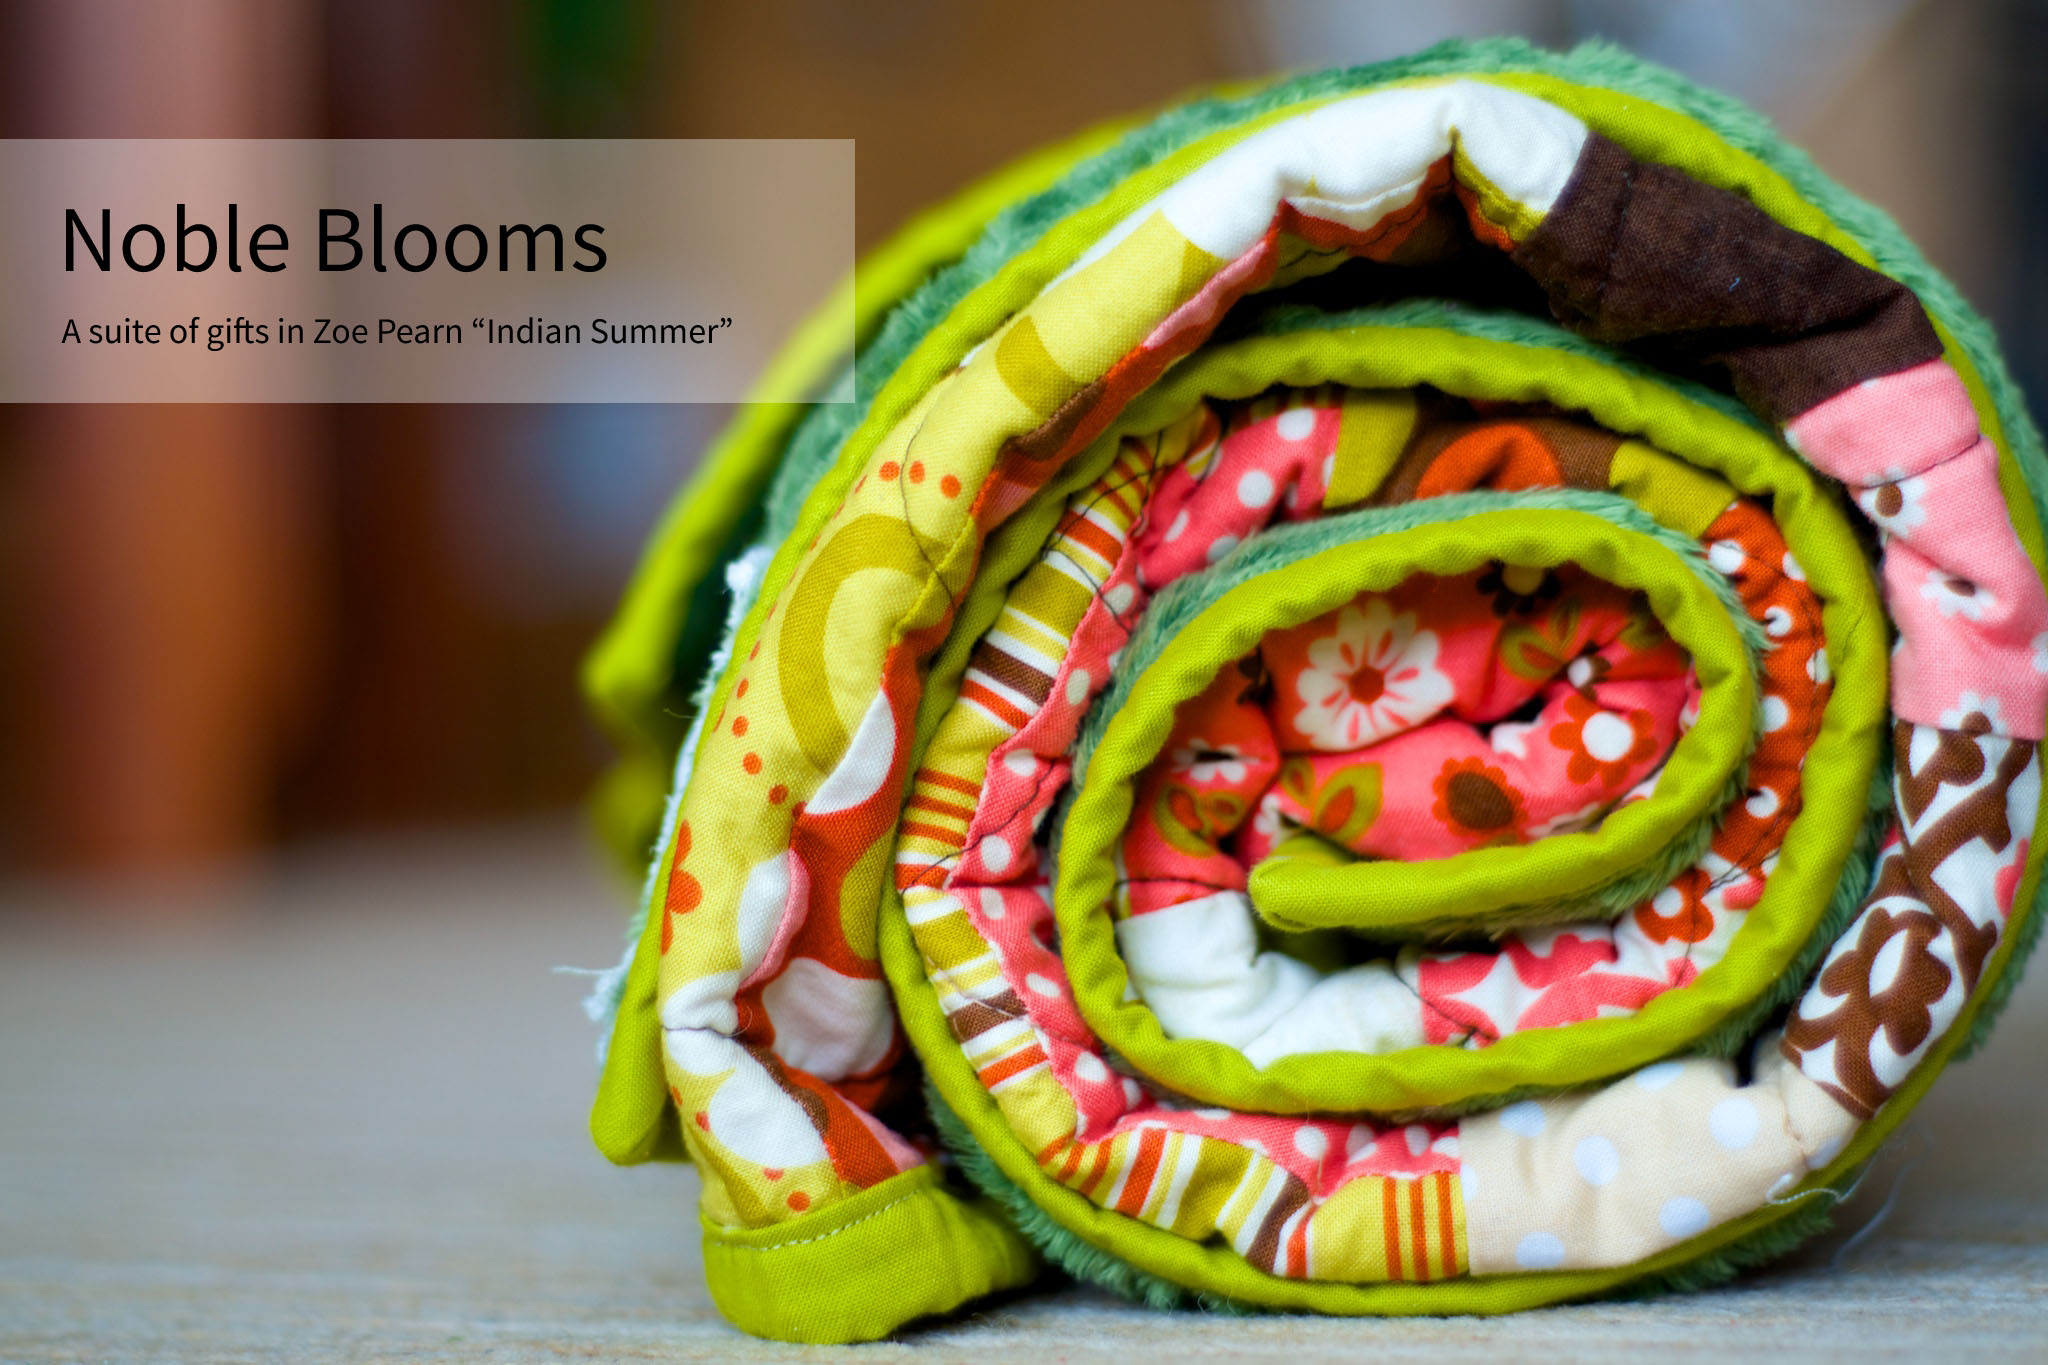
One of my earliest stash purchases was a Rolie Polie of Indian Summer that I’ve been holding on to for the perfect project. Its day in the sun (or perhaps clouds, based on recent weather) has finally come in the form of a quilt for a newborn girl.
“Noble Blooms”, Rachael Arnold, February 2014, 40″x40″. Photo by Carl Pfranger.
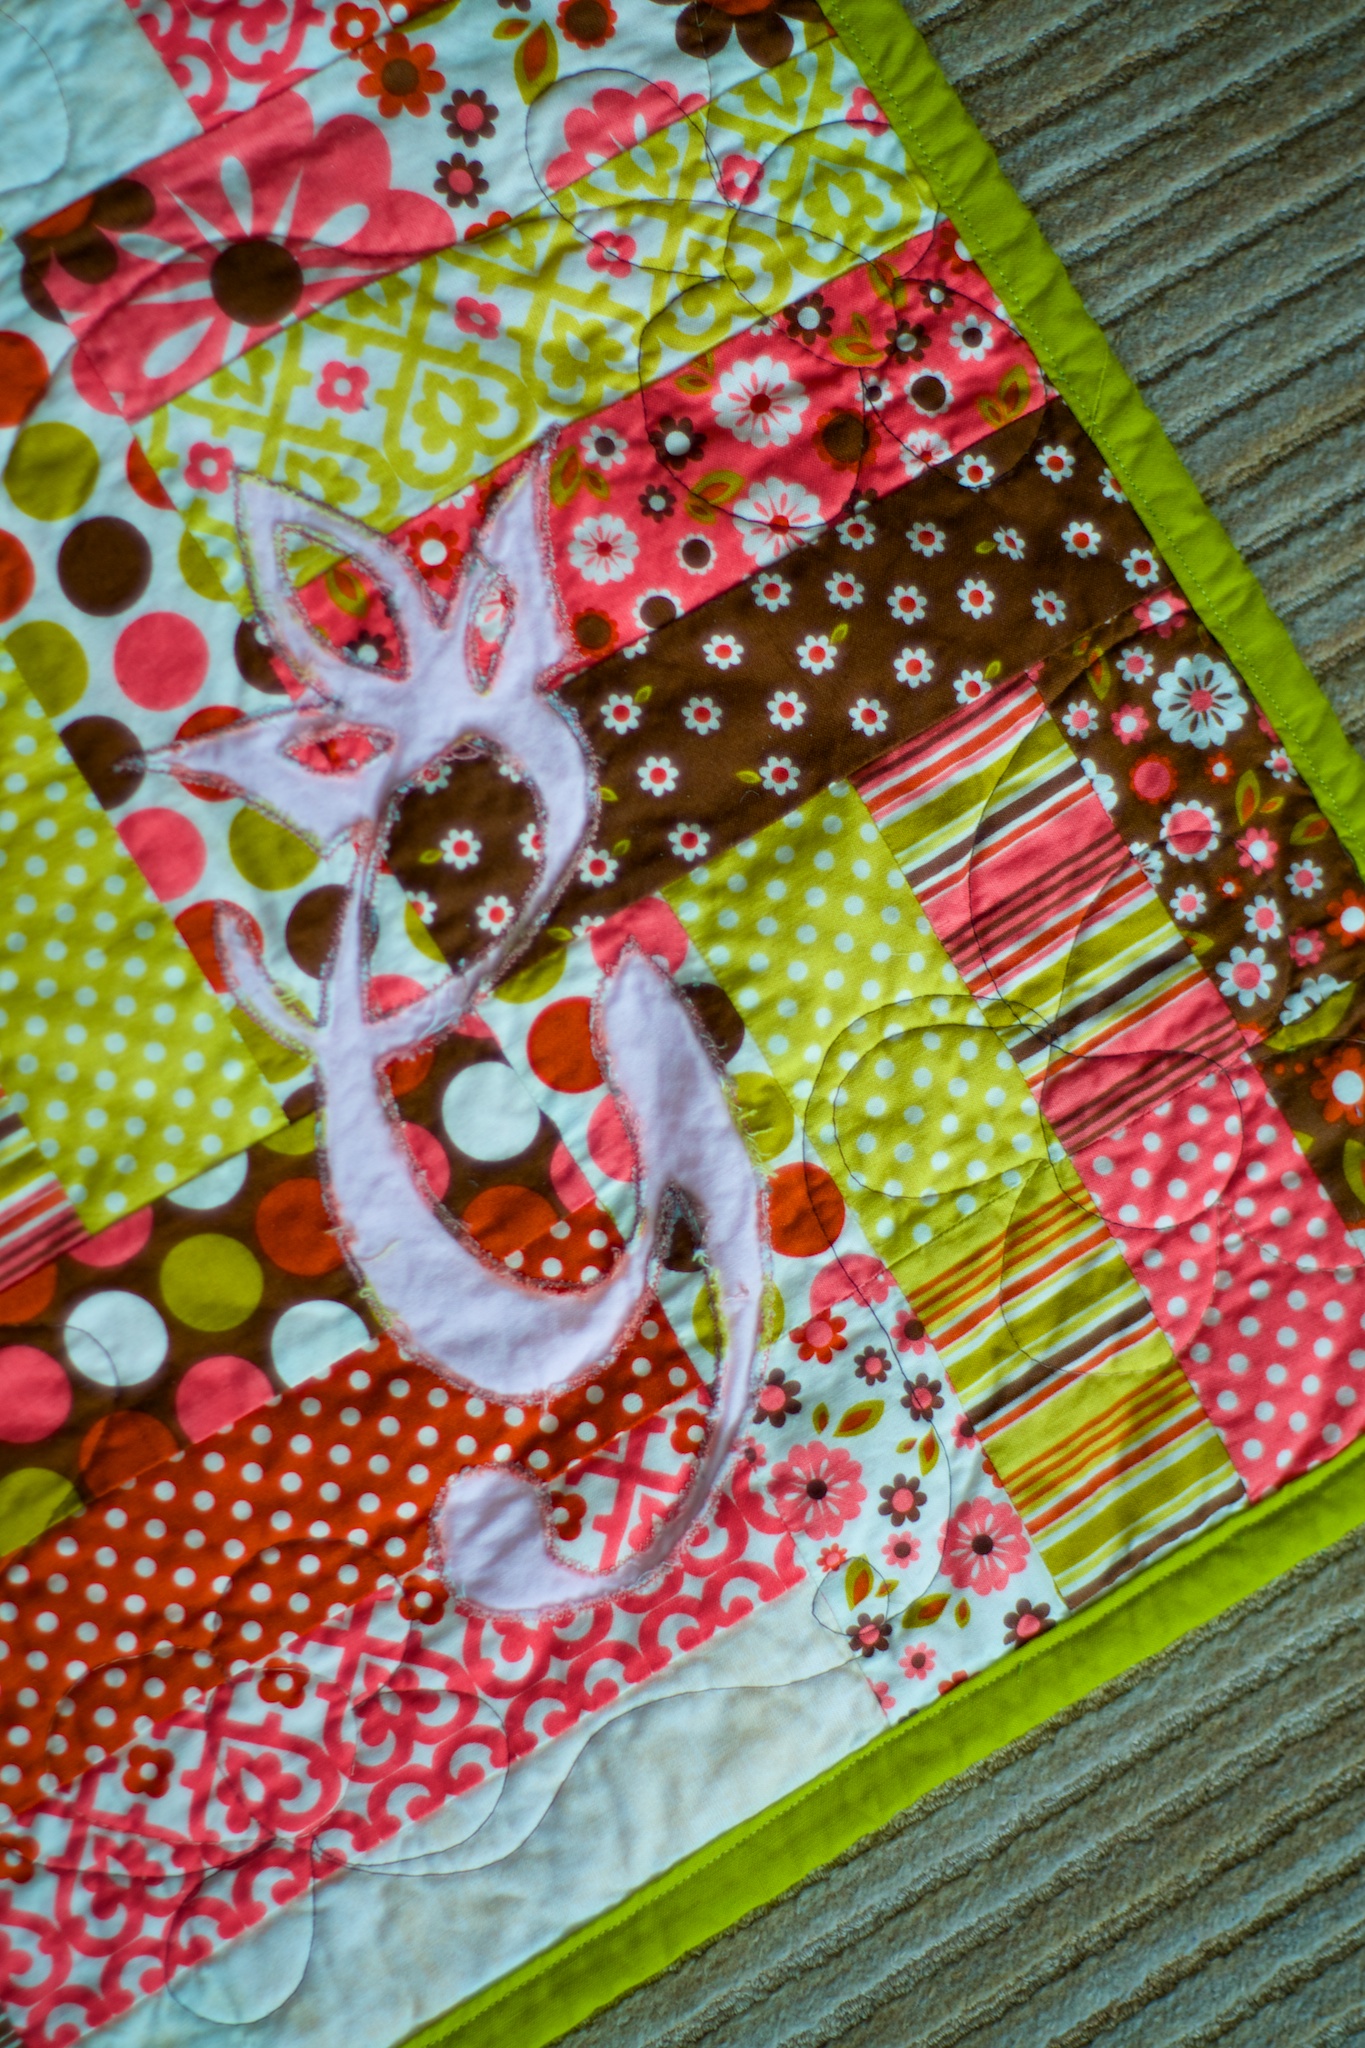
Because the Rolie Polie only had 23 strips, I had to add in one of a coordinating dot from my stash to finish up the strip sets needed for the 8″ blocks. To personalize the quilt, I did a reverse raw-edge applique of her first initial in one corner. The pale pink solid (exact type unknown) doesn’t stand out as much as I’d hoped in the curly, light typeface I used, but that’s okay. You can also see in that corner that I was one block short of the 25 needed for the quilt, so the very last one is pieced from two strip sets.
“Noble Blooms” (detail), Rachael Arnold, February 2014, 40″x40″. Photo by Carl Pfranger.
The piecing was a breeze but the quilting was not. I decided to try a new FMQ design (don’t scrutinize my sloppy first attempt!), so I used leftovers from the top to make a doll quilt/FMQ tester. The tension left something to be desired, but was good enough. Moving on to the quilt, I broke two needles. Then, my darning foot broke! I was able to finish up the quilting with my floating embroidery foot, but it was rather obnoxious and puts a kink in the progress of other projects.
“Noble Blooms” (back), Rachael Arnold, February 2014, 40″x40″. Photo by Carl Pfranger.
The back is a Minky that came from my stash (actually, the result of an incorrect shipment when I ordered the paisley backing for the Peter Rabbit quilts. Thank you, Fabric.com for your great customer service). In between is a low-loft cotton, likely Pellon Nature’s Touch White or Warm & White—possibly even both, as it’s joined stashed pieces. The quilting was done with a Gutermann brown-to-cream variegated thread. It’s bound in a lime solid from stash.
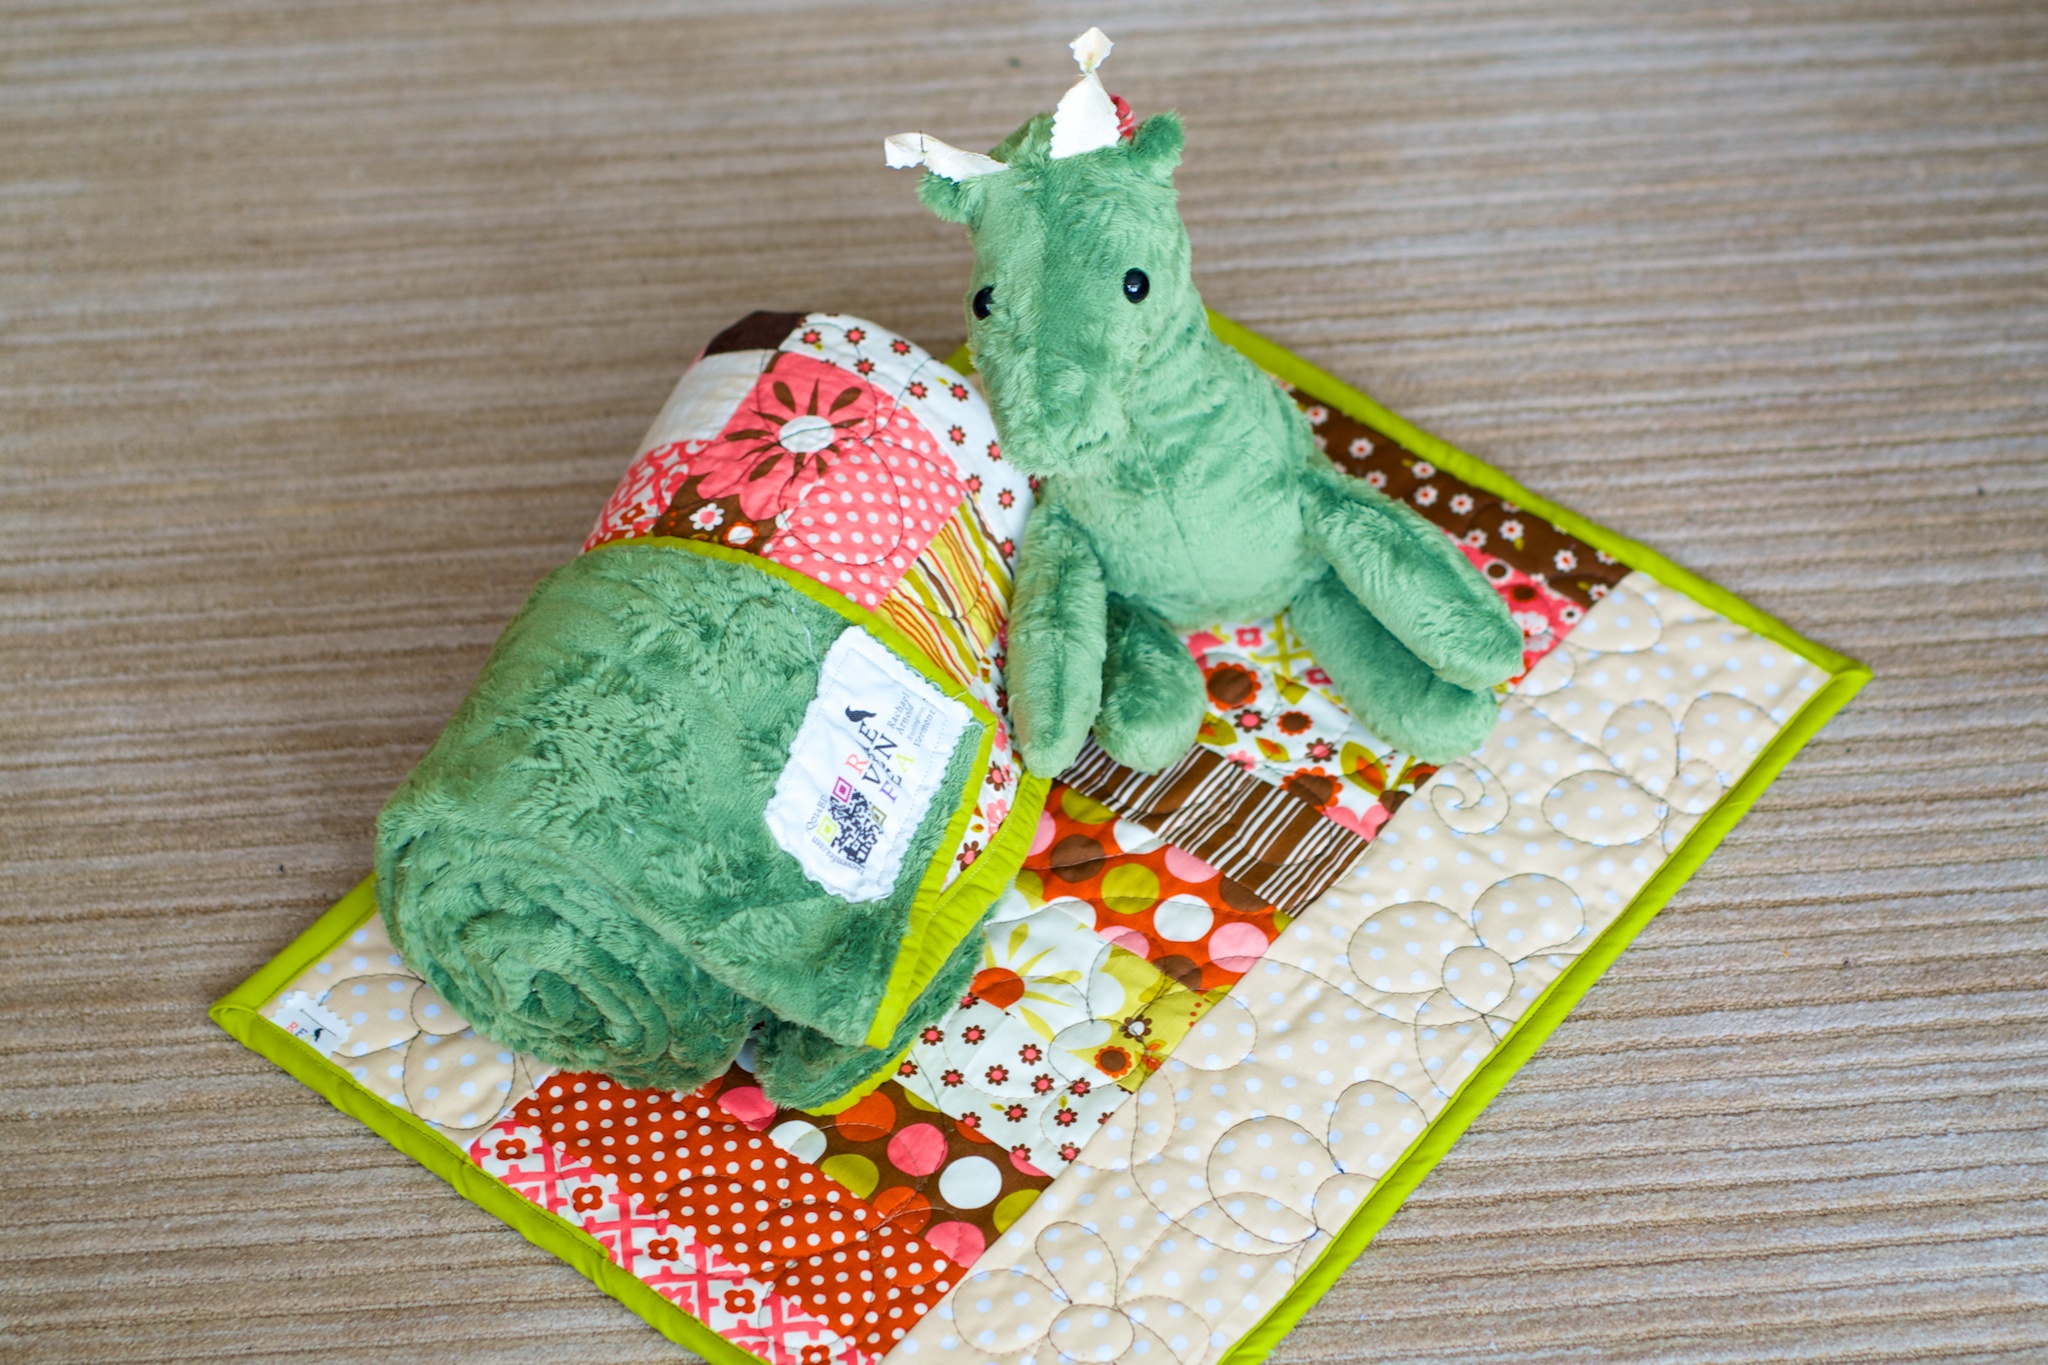
“Noble Blooms” and accompanying items, Rachael Arnold, February 2014, 40″x40″. Photo by Carl Pfranger.
A Minky giraffe made with backing leftovers completes the shipment. I tried something new with this round of Simplicity 2613 giraffe-making: the ossicones and neck-hair details are made with pinked fabric from the quilt. The ossicones especially worked out so well that I might continue using fabric in the future. As it was, it was a great way of eating up more scraps.
“Noble Blooms” and accompanying items, Rachael Arnold, February 2014, 40″x40″. Photo by Carl Pfranger.
I hear that the Impressions Baby Quilt and stuffie that I sent her sister are well-loved possessions, so I hope that the baby comes to love her own set just as well.
“Noble Blooms” (detail), Rachael Arnold, February 2014, 40″x40″. Photo by Carl Pfranger.
It’s probably a bit gauche to mention this when the result is a gift, but this project was entirely from stash—fabric, batting, thread, giraffe eyes and stuffing, … everything. Go go gadget stash busting in 2014!