To be a bit cliché, this shoemaker is a professional Web Developer and her child is this blog, but it was past time to launch what I have of a new design. All the content is still here, everything else is a work in progress (kind of like most of my sewing projects)!
For those who missed the explanation the first time around, this is a monthly block meetup at my LQS. Every year, they choose a theme for the 12 monthly blocks, and this year’s is “Road Trip.” We meet up the last Sat. of the month, learn how to make the block, and are given precut strips to complete it with. They chose to do this one out of batiks.
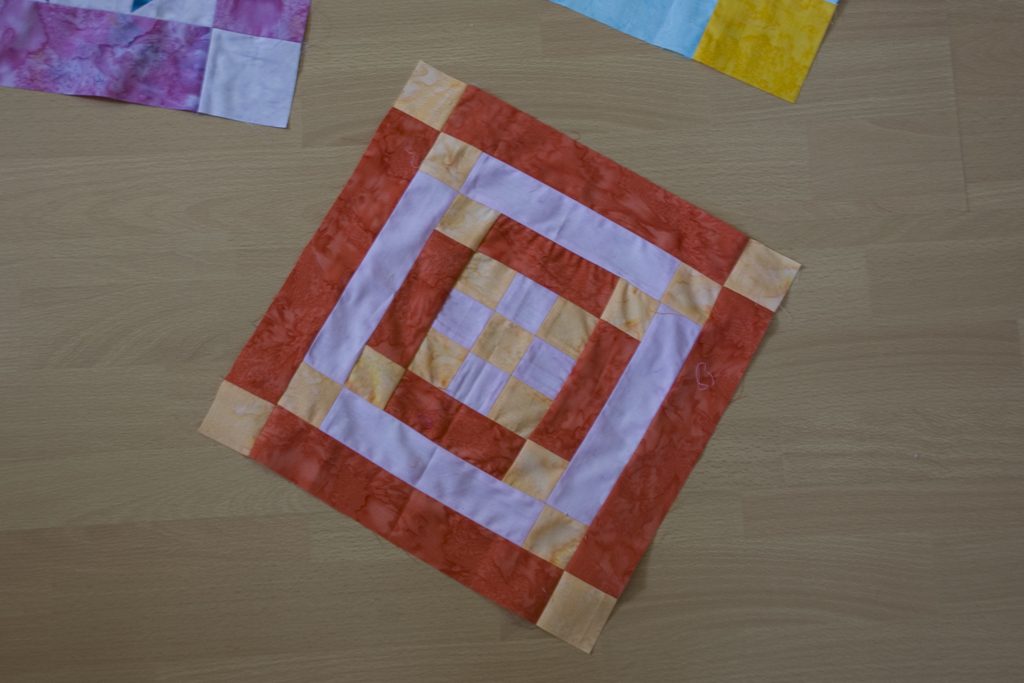
At the end of April, we hopped back on the Road (to Oklahoma City)…
…which isn’t quite Road to Oklahoma, and is likely another Jacob’s Ladder variant. This block taught me to measure the pre-cut strips before cutting off the required pieces. Two of mine were about 1⁄8″ short of the length needed for all the pieces. Since I’d started cutting the first one without measuring, I didn’t realize until the last two squares—so I had to be careful sewing with 1⁄8″ seam allowances for those. The other strip, I was able to cut the pieces about 1⁄16″ short–not enough to badly throw off my piecing, and enough to squeeze it all in over the length of the strip.
In May, we jumped over to the East Coast, warming up on the Philadelphia Pavement…
…which is very simple to make.
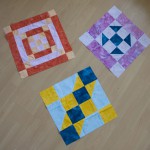
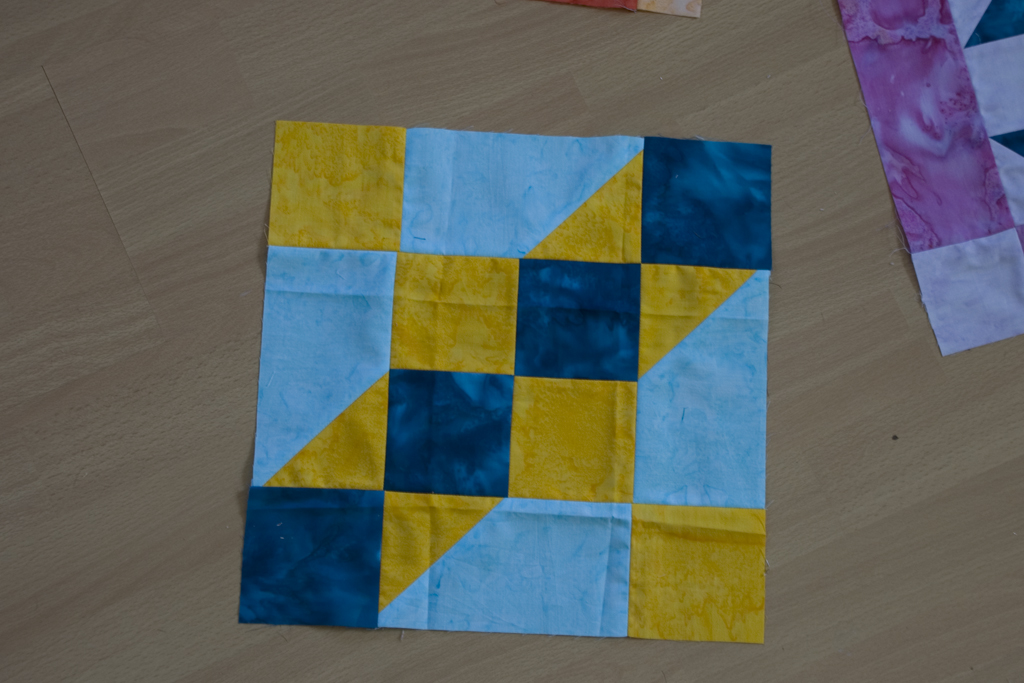
And June brought us back down to the South for Alabama.
…a block that I can’t seem to get to lay flat. Mine is a bit lumpy, but it can be quilted out. I think I was subconsciously using a scant ¼″ seam, which didn’t work out well.
I’m still thinking about layouts and such. I thought I had a great one (it looks awesome in my head), but when I try to mock it up, it just doesn’t look right. So, who knows. I have plenty of time to mull it over.
I have started a label… but you only get a sneak preview so far.
Stay tuned for the next installment in mid/late–October!
I’ve been in love with Curious Nature—and every quilt I’ve seen made with it—since it was released this past Spring. When the ebook Geared for Guys started making rounds, and Julie of Jaybird Quilts showed us the “Gamer” quilt, I was inspired with the perfect project for Curious Nature.
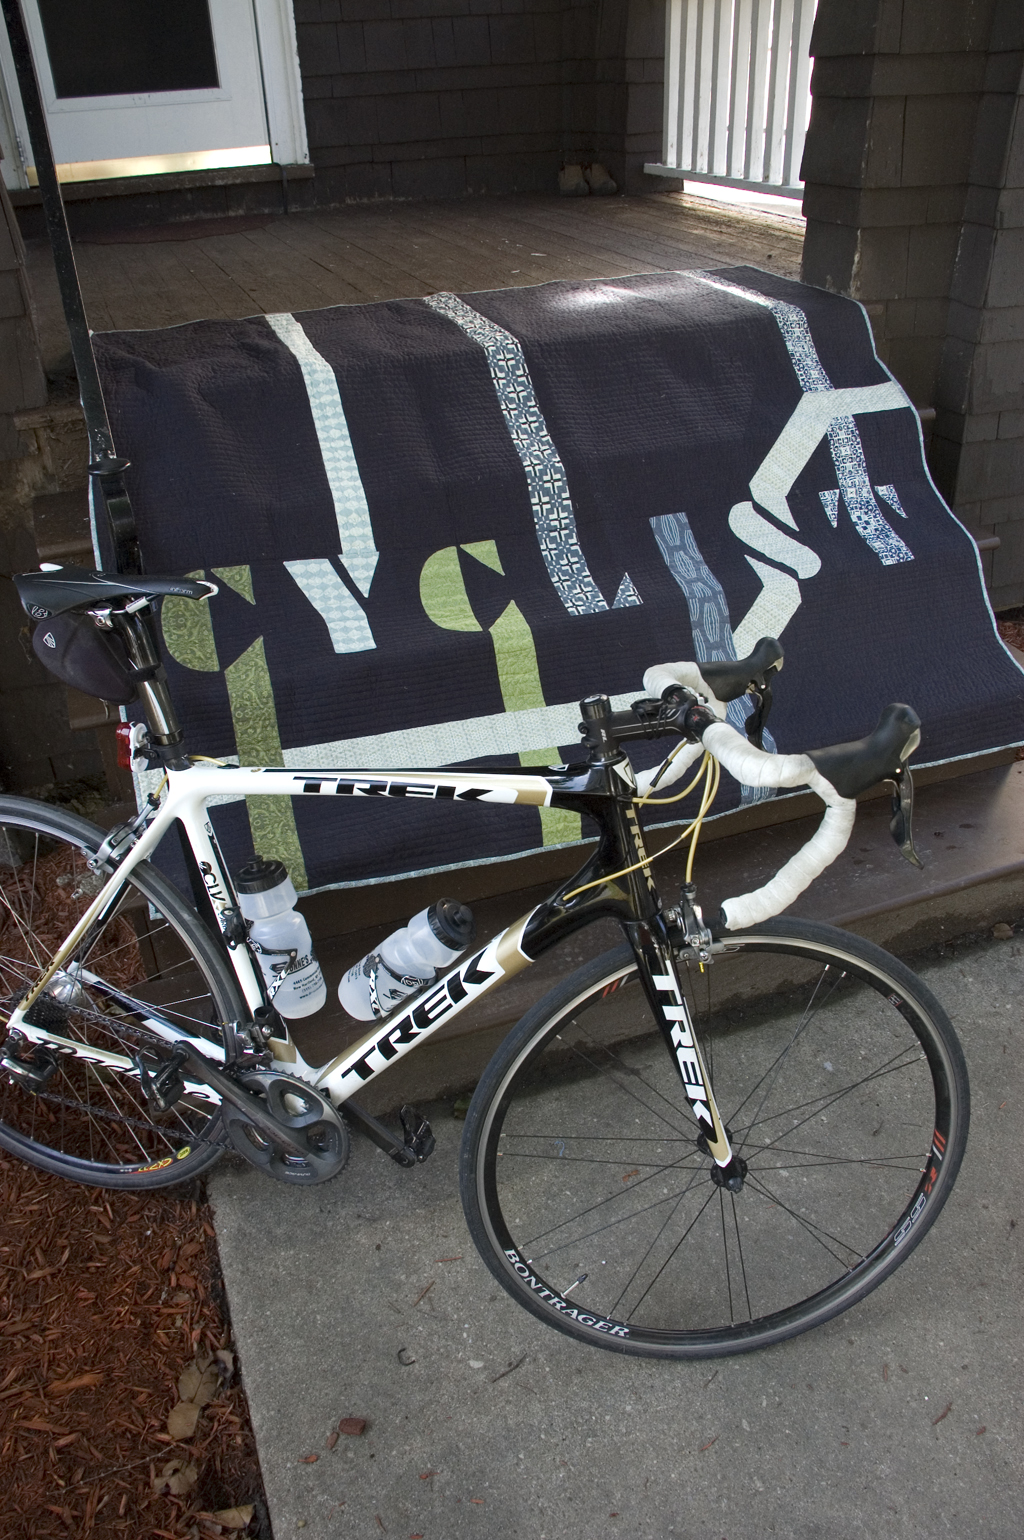
See, Carl just turned the big three-oh. He’s having a bit of an existential crisis about it, and we all know how cuddling under a hand-made quilt can help with that. But, he’s not a gamer (we have a Game Cube… somewhere… that gets used for Mario Kart maybe once a year). He is a cyclist, so I give you “Cyclist”:
It is larger than Gamer: around 70″ square (because there are more letters and because he likes square lap quilts). The background is Quilter’s Linen in Charcoal.
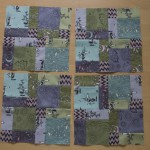
The disappearing nine-patch is my new favorite block. It’s so simple to make, but looks like you pieced together a ton of small squares and rectangles. Great effect with minimal effort—my kind of thing.
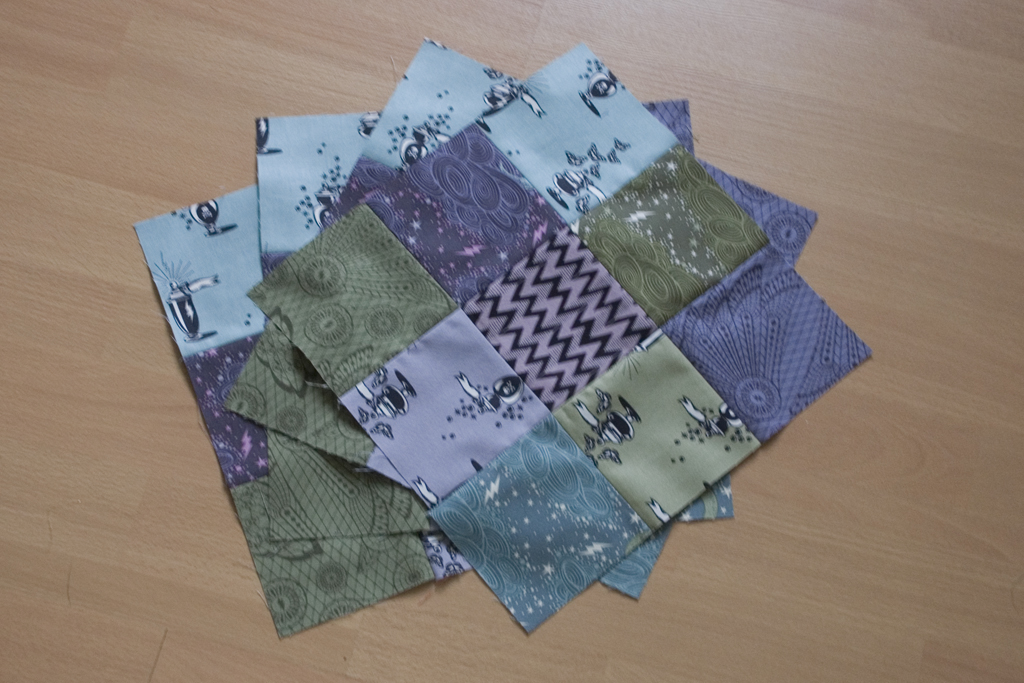
Take these, for example. Just some basic nine-patches—all the same.
Then, they are cut into quarters.
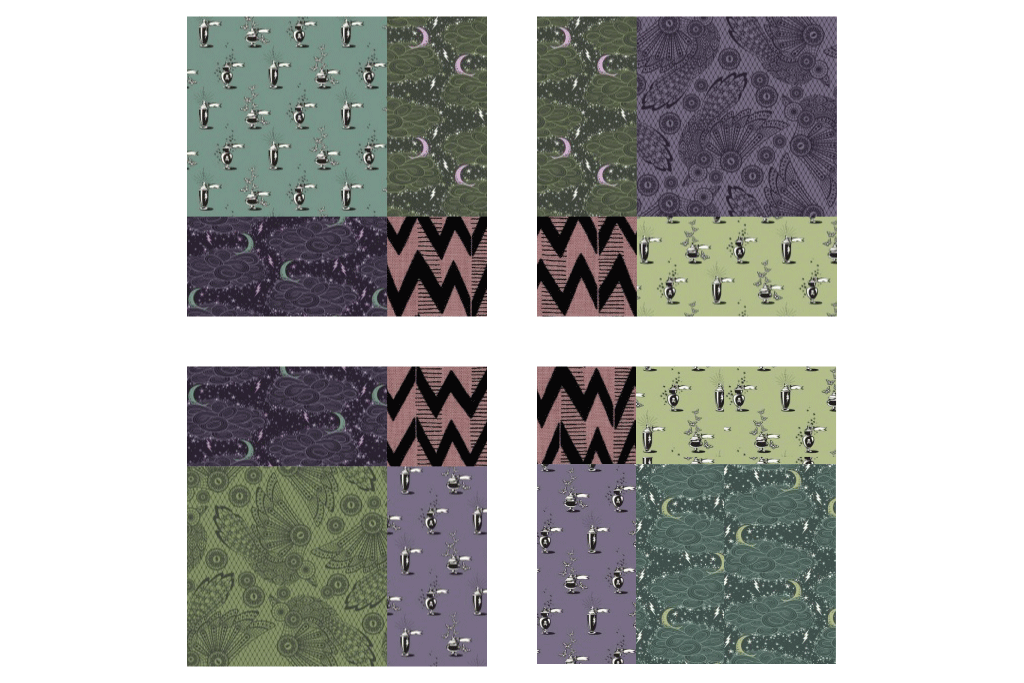
And sewn back together into a four-patch.
To become all of these!
See? Simple-looks-complicated. Lovely.
Math
If you don’t want to do the calculations, here’s a table of sizes:
Starting square sizes and corresponding disappearing nine-patch block sizes
Starting Square
Finished Block
Common precut sizes are bolded
1″
1″
1.5″
2.5″
2″
4″
2.5″
5.5″
3″
7″
3.5″
8.5″
4″
10″
4.5″
11.5″
5″
13″
5.5″
14.5″
6″
16″
6.5″
17.5″
10″
28″
Unfortunately, some common block sizes, like 6″, 8″, and 12″, end up requiring the starting squares be cut to third-inches, so I didn’t include them above. You could try rounding up to the nearest eighth, and use a generous ¼″ seam for the nine-patch piecing (and back to an exact seam for the four patch)—if you’re adventurous and aren’t concerned about absolutely perfect points.
Otherwise, the math isn’t that hard for these once you know how to do it.
To calculate final size from your starting squares
Example using 3″ squares.
Short answer: (Square Size × 3) − 2″ Example: 3″ times 3 equals 9″; 9″ minus 2″ equals 7″. 3″ squares make a 7″ disappearing nine-patch block.
Long answer:
Add together a row of squares. Example: 3″ times 3 pieces (a row) equals 9″
Subtract the row seams (½″ per seam, two seams). Example: 9″ minus 1″ equals 8″
Subtract the four-patch disappearing seams (½″ per seam, one seam). Example: 8″ minus .5″ equals 7.5″
Subtract your final piecing seams for the finished size. Example: 7.5″ minus .5″ equals 7″ finished block
To calculate starting squares from finished block size
Example needing 5.5″ finished block.
Short answer: (Finished Size + 2″) ÷ 3 Example: 5.5″ plus 2″ equals 7.5″; 7.5″ divided by 3 equals 2.5″. 2.5″ squares make a 5.5″ disappearing nine-patch block.
Long answer:
Add your piecing seams to the finished size. Example: 5.5″ plus .5″ equals 6″ unfinished block
Add your four-patch seams (½″ per seam, one seam). Example: 6″ plus .5″ equals 6.5″
Add your nine-patch seams (½″ per seam, two seams). Example: 6.5″ plus 1″ equals 7.5″
Divide by 3 to get your individual square size. Example: 7.5″ divided by 3 equals 2.5″ starting squares
Have fun with your own disappearing nine-patches! Let me know what you make, I’d love to see it.
The end is in sight (albeit close to a month late)!
And, this evening I will be seeing both Seven Nations and Enter the Haggis play live.
These two things make me immeasurably happy.
In other news I changed my template around, so now the blog is a bit more blog-like, for your perusing ability, and the homepage has a slideshow of finished projects. Enjoy!
It’s time to get back to work on the Steampunk costume, don’t you think? The first step is finishing up the corset, since it is the base of all the other top-layer items. I’ve picked apart the drill mockup so that I can use those pieces for interlining/strength, and now I’m ready to cut into the fashion fabric and actually construct the final corset.
The problem is, I can’t decide what to make it out of. I’m sticking to fabrics I already own (and own in enough quantity). The fittings are gold/brass, so it all needs to match that, too.
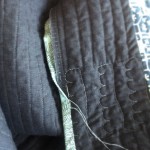
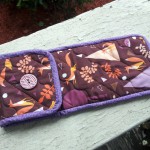
I’m still working on quilting Carl’s gift. I’m trying to work on denser quilting (when called for), but the tradeoff is that it is taking hours and hours to do, and my non-ergonomic space means my back can only take so much at a time. I think I hit the official 2⁄3 finished point last night. In the mean time, here is another quick project I made recently. This was another class at the Viking Gallery sometime in June, but I just finished hand-sewing down the binding last night.
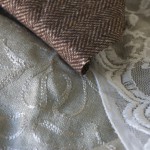
We’ve been doing a lot of work on the house, but we clearly haven’t gotten around to sanding and repainting the porch…
It is a case for a travel iron—be it for quilting/crafting or hair styling. The trick is that it has a layer of Insul-Bright so that you can put the hot iron in the pouch and go—no need to wait for it to cool down.
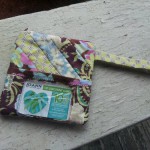
I needed a break from quilting my latest project, so I packed up my machine and went to a class at the local Viking Gallery. We made this simple zippered travel wallet.
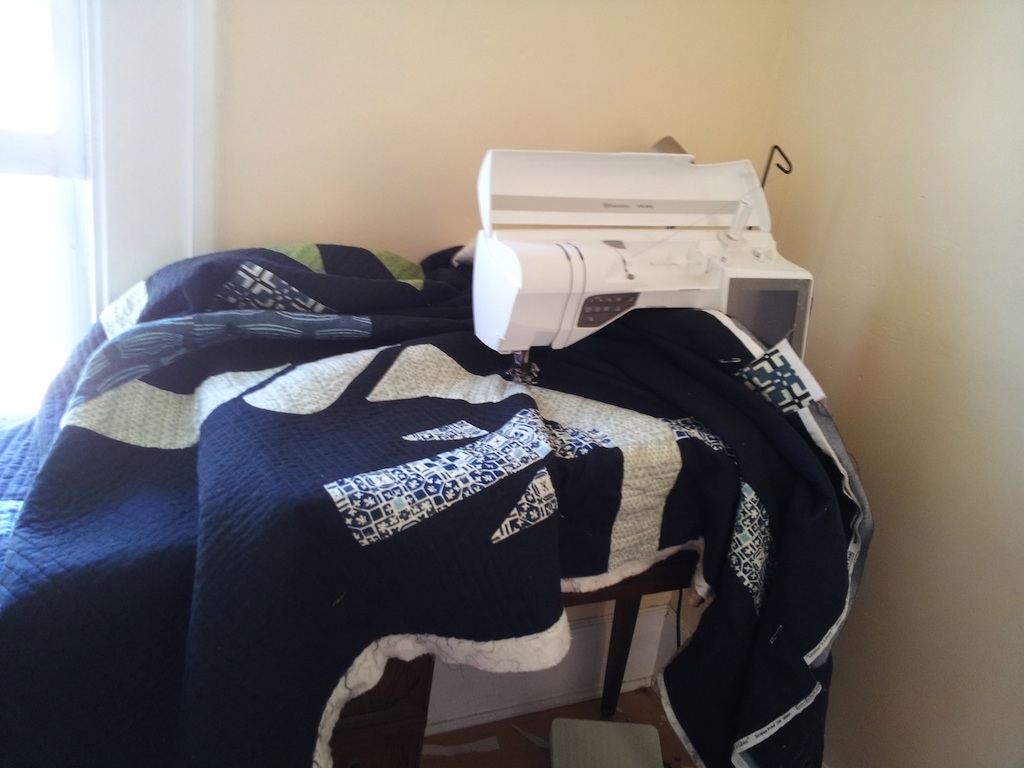
For various reasons, I haven’t been doing much sewing since my last post. Yesterday, I finally got back in the sewing room to finish up a quilt top I’ve been working on. Unfortunately, I’m about two weeks behind… I had hoped to finish the quilting by tomorrow—bound and all.
But, my delay doesn’t change the rush I felt last night when this crazy plan of mine all came together correctly. You’re just going to have to wait a bit before you can see the finished project. Moof is a great sneak peak guard.