To be a bit cliché, this shoemaker is a professional Web Developer and her child is this blog, but it was past time to launch what I have of a new design. All the content is still here, everything else is a work in progress (kind of like most of my sewing projects)!
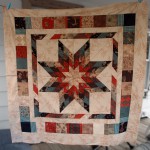
I was actually quite productive over the weekend. I pieced most of the back for the Strip-pieced Lone Star/Star of Bethlehem quilt, although I had to stop before I finished, because it was just all going wrong on Friday night and I needed to step away. It happens.
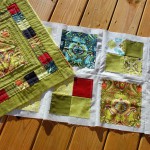
Then, I managed to finish the top and back of the Synchronized Squares quilt, but don’t have photos of either, thanks to the torrential rain we received Sunday courtesy Irene.
As of last night, it’s all sitting on the back of the couch ready for me to baste it. I just couldn’t bring myself to crawl around on the floor, not to mention my painter’s tape seems to have disappeared.
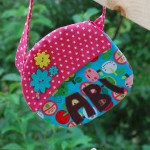
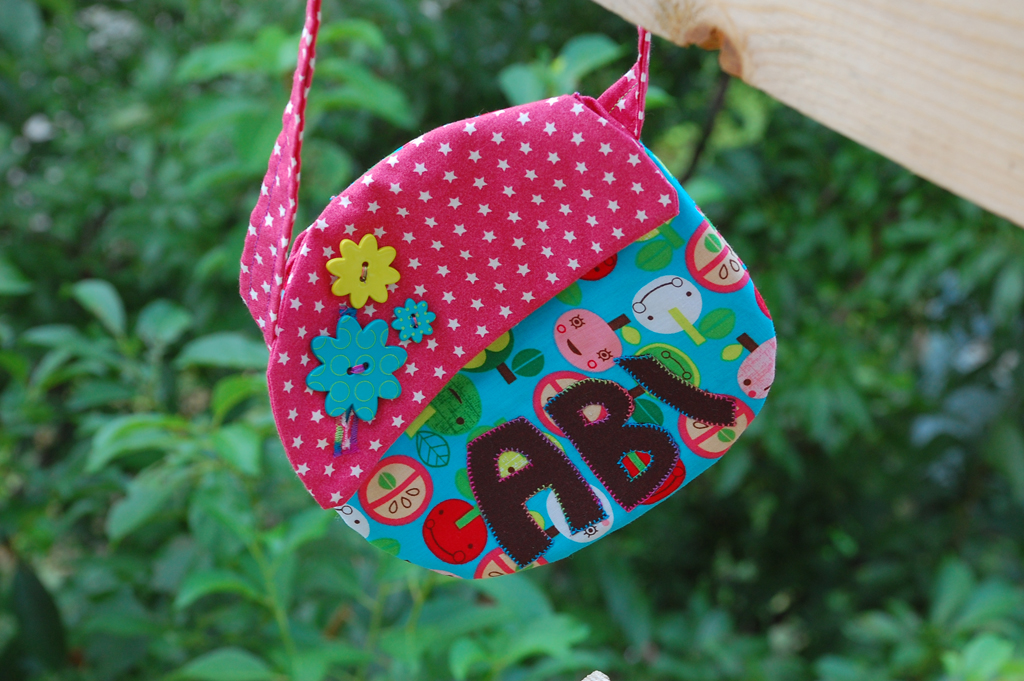
I’ve been abandoning the Farmer for a few weeks… hopefully I’ll get back to it soon, but I just haven’t been feeling it. This week, during the time I’d normally spend on those blocks, I decided to whip up a bag for my youngest niece’s birthday, which is tomorrow. (My cards are never on time. Bad Aunt Rachael.)
I’d like to say I have a tutorial in the works, but inspiration hit, I started working and an hour and a half or so later (plus time to bandage a knuckle—my brand new 28mm rotary cutter does not have the safety features I take for granted on my larger one!), I had a finished purse.
At this point, you may have forgotten from my lack of updates that I am using Tula Pink’s Prince Charming in the Synchronized Squares quilt. But I am!
I really haven’t made much progress, because I haven’t touched the quilt for a month. I dug it out and started piecing again, before realizing that I hadn’t even cut the whole thing out! So, I finished cutting and now need to sew a few more blocks together to finish the top. In the mean time, I used some leftovers for a special addition to the back.
Head over to see my post and learn more about my progress on the quilt, including my pocket on the back into which you can fold the quilt so that it becomes a pillow!
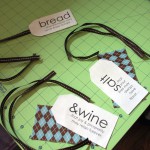
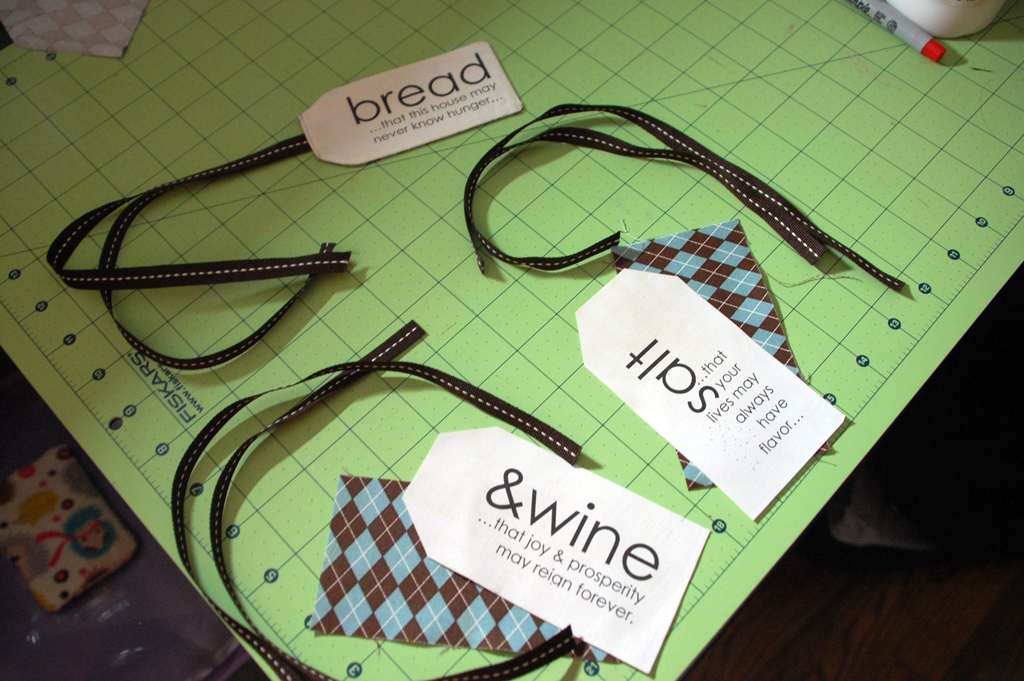
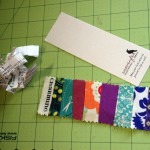
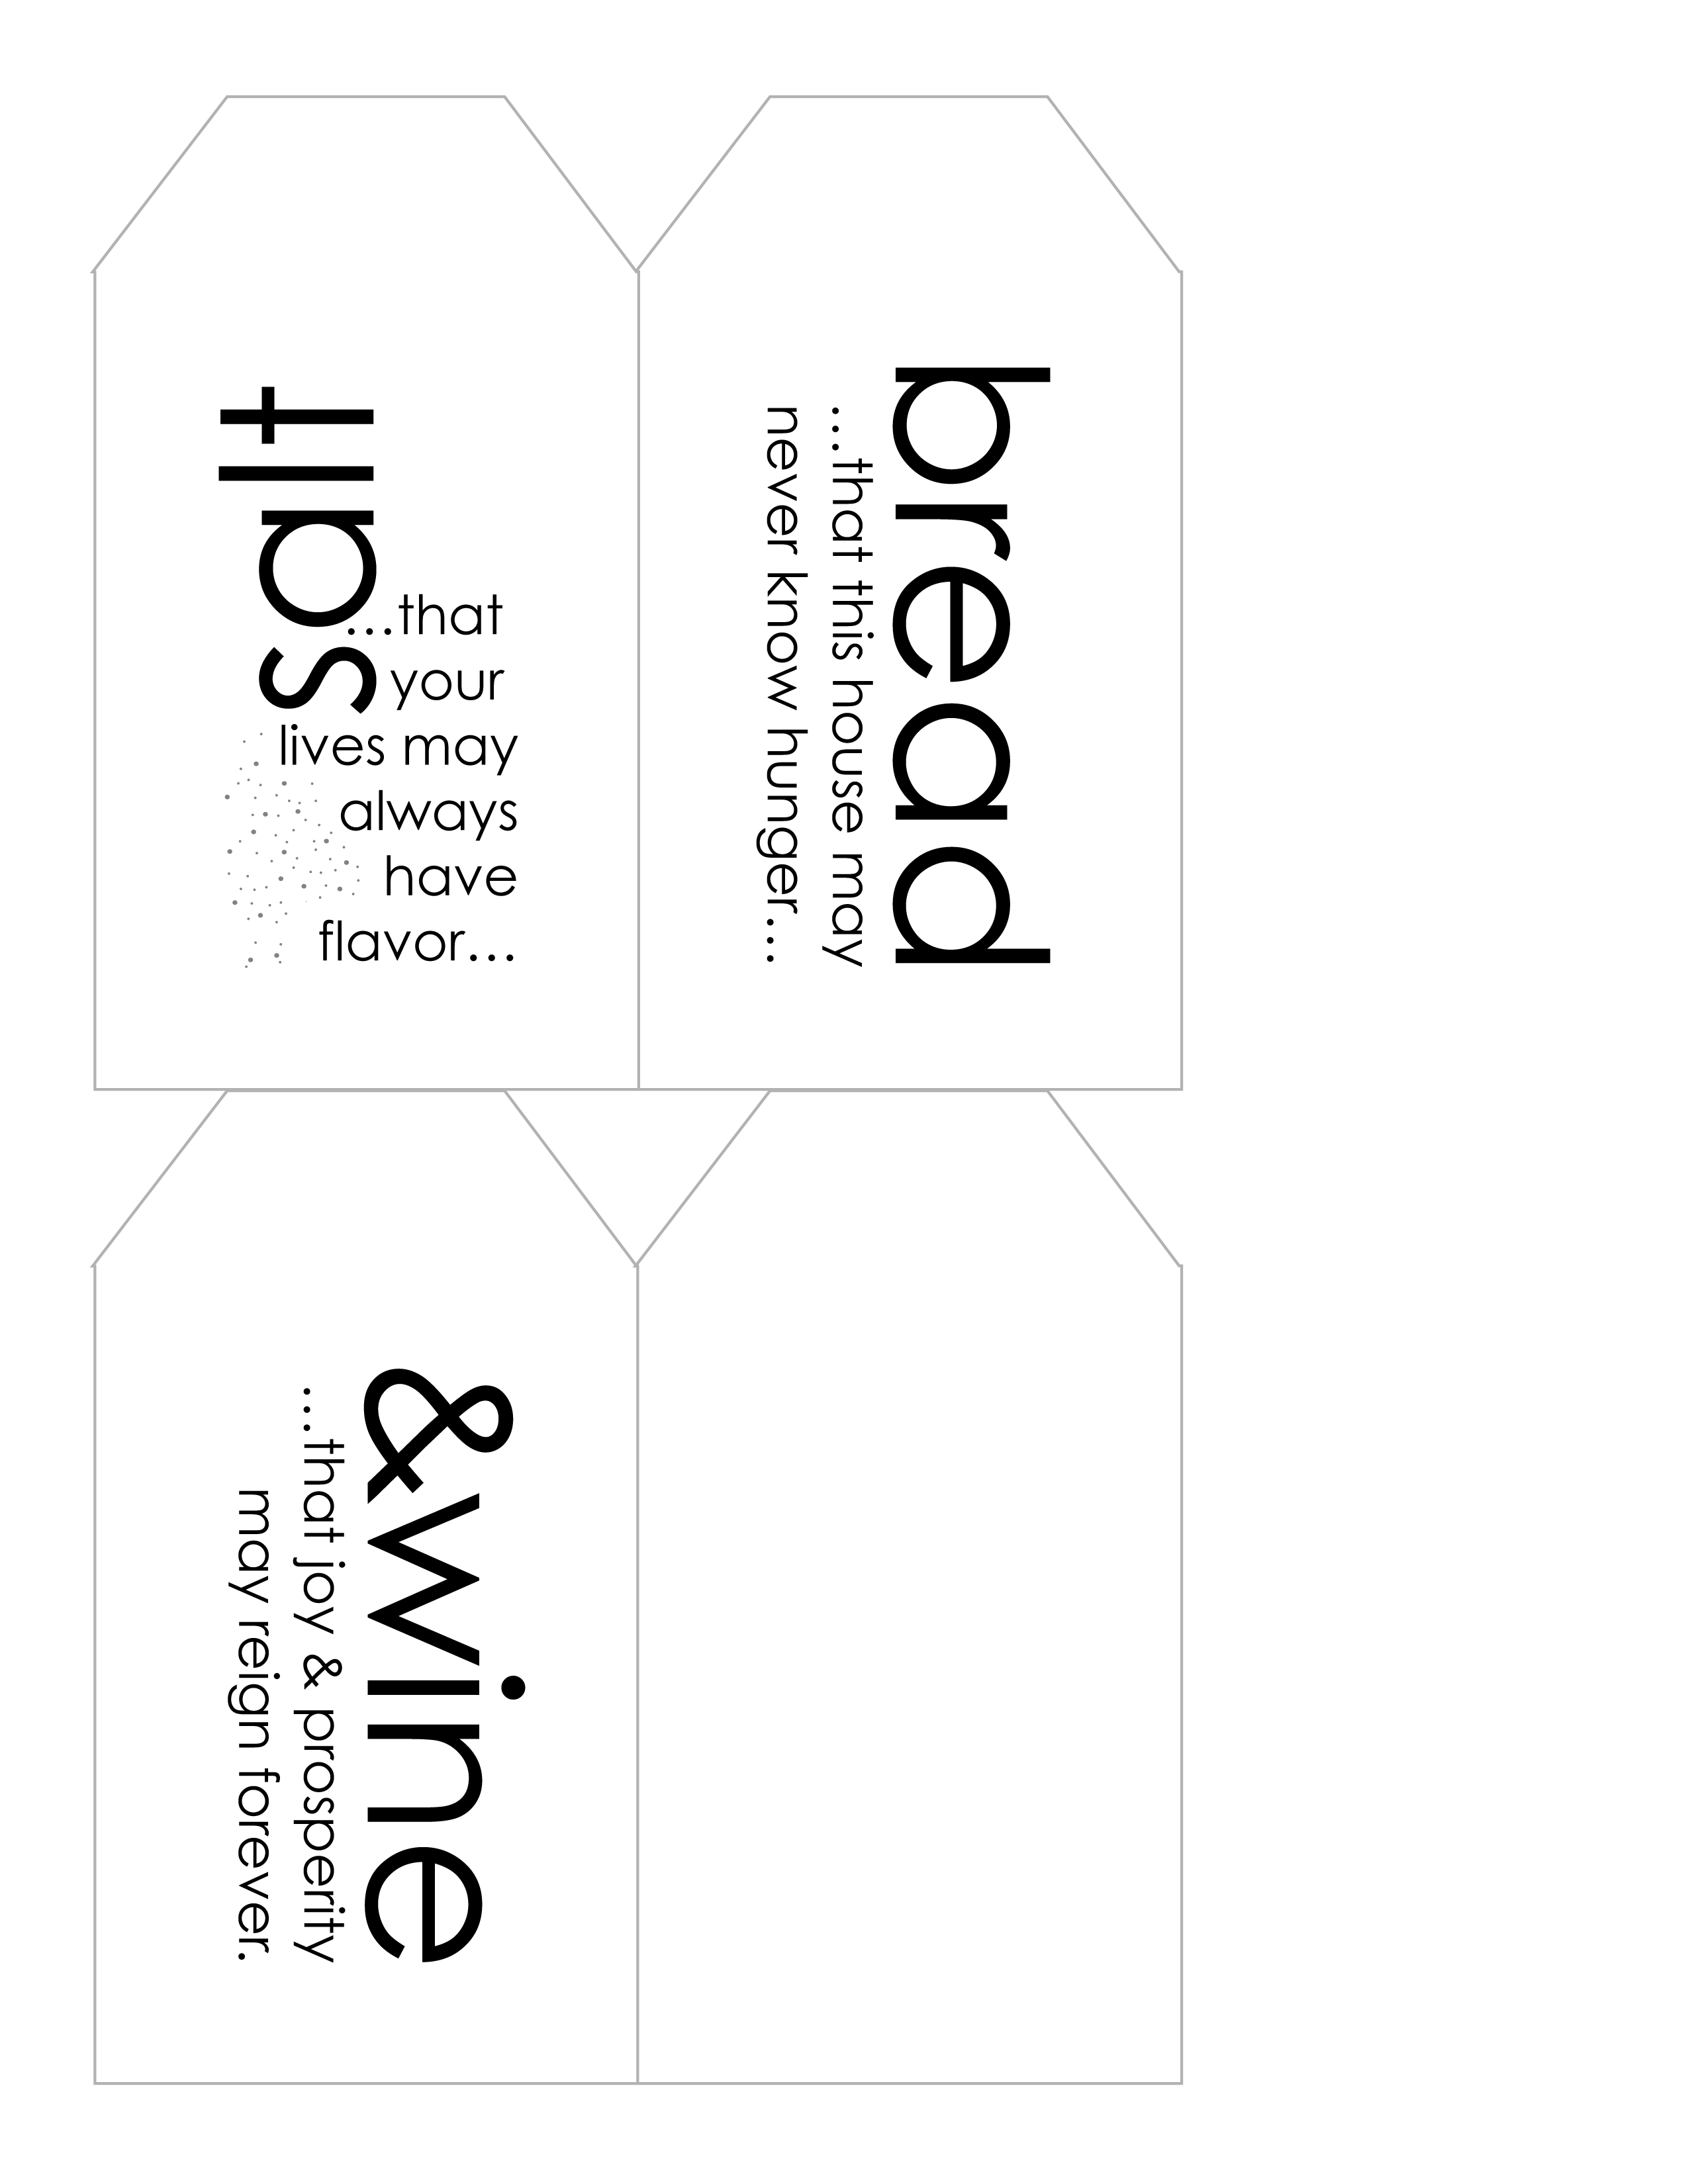
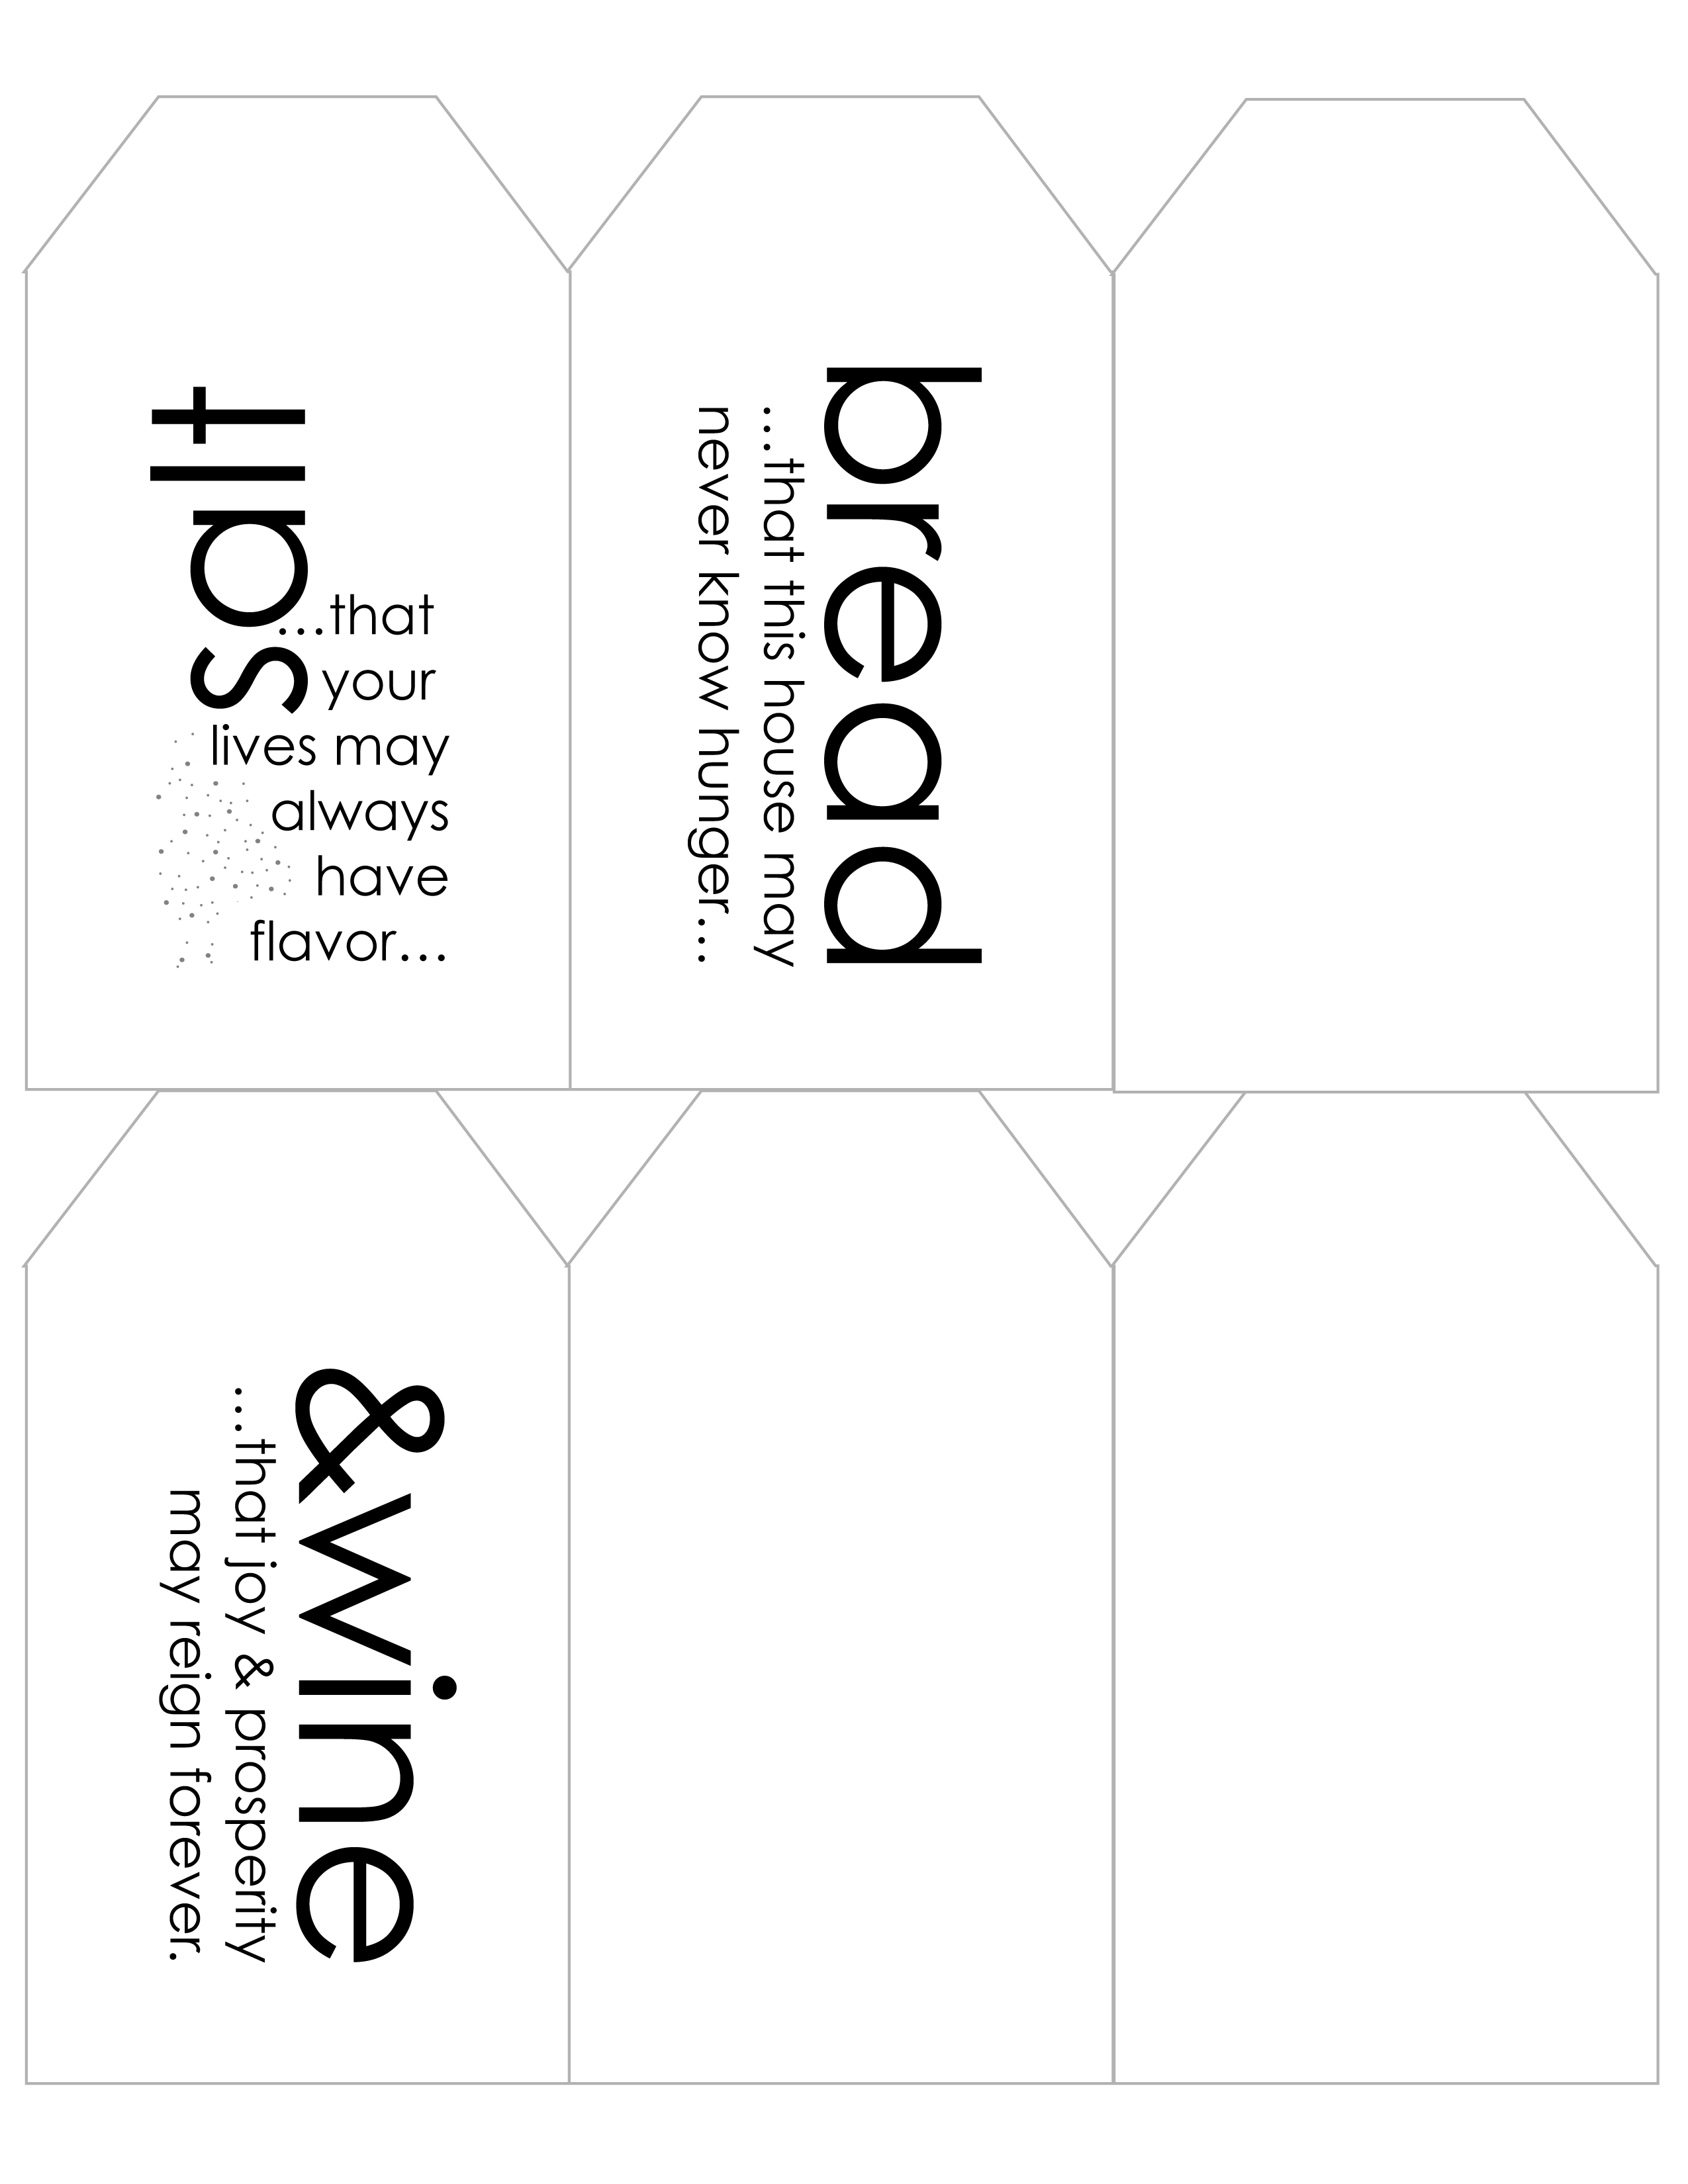
As part of the housewarming gift I recently made, I created printed fabric gift tags. If you use store-bought printable fabric sheets or handwrite your own messages, they are quick and simple to make.
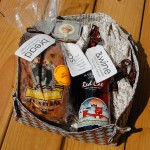
Two weeks ago, I posted a tutorial on napkin rings that coordinated with napkins I made. Now I can show you all the rest of the gift those were a part of.
This is an It’s A Wonderful Life-inspired housewarming gift for friends/coworkers who recently moved into a new house.
It’s not all home-made (if only I knew how to make wine, I’d likely be too sloshed to sew…), but in addition to the napkins and napkin rings, I made the fabric box/tray and tags for the bread, salt, and wine.
Thank you to everyone who entered my first giveaway. I’ve enjoyed seeing some new names and new blogs to take a look at. So, without further ado, the winner according to random.org is…
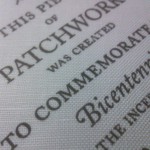
Do you call the diamond-based star a Lone Star or the Star of Bethlehem (or even the Mathematical Star if we want to go back to very early quilting)? I suppose your answer depends on your region, religion, and how long you’ve been quilting (or who taught you). Based on shady research (that is, I Googled “lone star quilt” [over a million results] and “star of bethlehem quilt” [83k results]) Lone Star seems to be the more prominent name at present (I guess you really don’t mess with Texas).
But, since this quilt is quite traditional—in my eyes, at least—and is intended as a Christmas present for my grandparents, I think I’ll call it a Star of Bethlehem—at least on the label. If nothing else, it brings to mind the Christmas carol, so that seems fitting.
Since I am getting the hang of applique so long as I don’t need to turn any edges under, I decided to face another fear of mine—curved piecing—in the most fearful (that is, not actually confronting the fear) way possible: using applique to give the look of curved piecing.
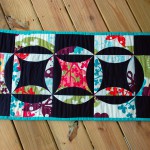
Okay, that’s a bit of an exaggeration, but the ladies at Viking Gallery were offering a weeknight class to make a “Rob Pete” table runner using the Quiltsmart method which uses fusible interfacing and applique to create curves instead of traditional piecing. So I signed up.
And before long, I had fabric that was originally intended to be the bag for the Spring Quilt Along and the Quiltsmart printed fusible interfacing turned into this bit of patchwork:
It’s a bit wrinkly from being stored rolled up for the past couple of days as I carted it around trying to finish the binding.
The printed fusible interfacing pieces look like this:
Since I was in a class, I don’t have any in-progress photos, but the premise is rather simple. You place your fabric and interfacing together (don’t fuse yet!), sew along the stitching lines, cut along the cutting lines and then turn right-side out. This puts the fusible side of the interfacing facing down so that you can fuse your curved piece to the background. Fuse, applique on, and then piece the blocks together and you’re done!
So, aside from a few typos about cutting requirements that were in the pre-publication page previews that Quiltsmart kindly sent (evidently the old book is out of print, but they’re releasing a new one soon), this was an extremely simple, straight-forward way to make Rob Peter to Pay Paul.
And, since I have no table on which to place a table runner (seriously… the table runner is the same dimensions as my coffee table, which is the largest table in the house aside from our desks), I decided to turn this into a very useful item: an ironing mat!
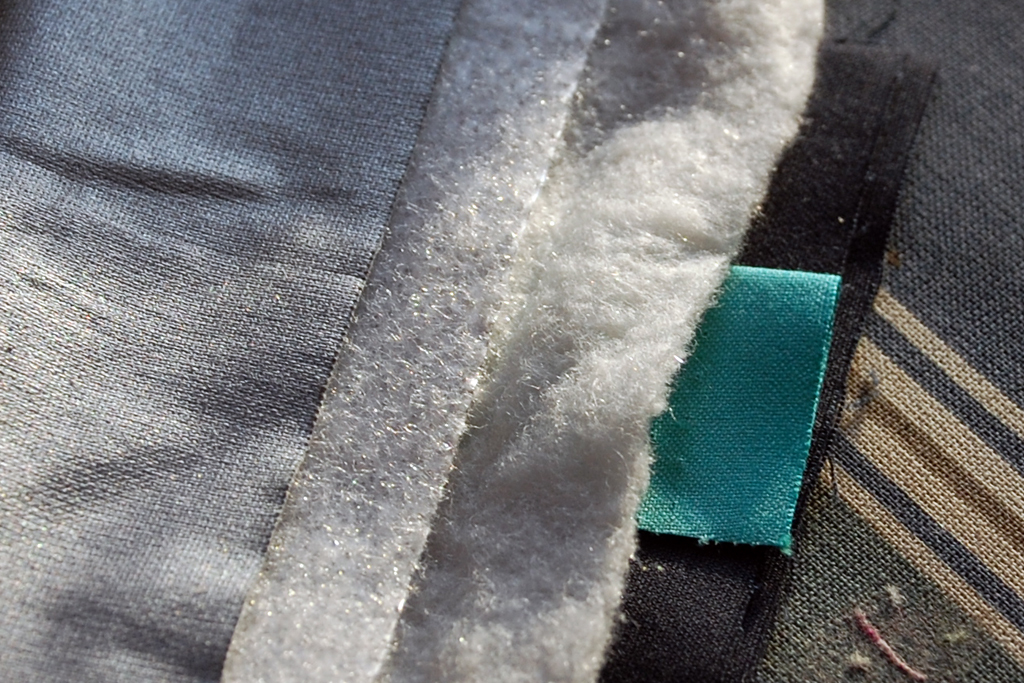
There are a few ways to make an ironing mat, but my approach required three more layers:
Ironing board fabric, which is a special aluminum-coated fabric. I bought mine from the local JoAnn, which had it in the utility fabric section. I’ve heard some people claim you shouldn’t use special fabric like this because it redirects heat back up to your fabric and promotes scorching. I’ve never had any problems. If you associate with the former camp, you can always use plain cotton instead.
Insul-Bright, a heat/cold-reflecting batting-like fabric. This is often used for things like pot-holders or lunch bags and is also available in the utility fabric aisle or in pre-cut packages in the notions aisle.
Natural fiber batting such as Warm & Natural or Bamboo/Cotton blends (I used Bamboo Fusible Batting that I had on hand. The fusible part was a bonus, but not necessary).
Then, you sandwich them all together in this order:
Ironing fabric (backing, silver-side out)
Insul-Bright with shiny-side toward the ironing fabric
Batting
Pretty pieced fabric
Simulation from scraps. Your batting, Insul-Bright, and ironing cover pieces should be approx. 2″ larger than patchwork on all sides to accommodate quilting.
Consider using spray-basting, as the ironing board fabric holds pin holes—with spray, you don’t need to pin. This was one advantage to using the fusible batting I had—I fused the patchwork to the batting and the batting to the Insul-Bright, and only had to spray baste the ironing fabric to the Insul-Bright.
Quilt as desired. For mine, I stitched in the ditch along the straight seams—which is pushing it as far as closeness for recommended quilting for the batting, but I doubt this is going to be washed very often.
Then use! You iron on the shiny side, but can flip it over to use as a table runner when it’s not needed.
Or, slip some ribbon in the binding…
That ribbon fits beautifully with the eggplant color in the Just Wing It print, but I have no idea where I purchased it. Possibly Walmart at some point or another.
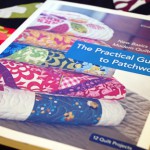
During the Spring QAL, Melanie or Chris suggested to use Elizabeth Hartman’s quilt sandwich tutorial, and I was hooked on her tutorials. When I finally had money to spend on books (and had a great coupon, of course), I picked up her relatively recent release, The Practical Guide to Patchwork: New Basics for the Modern Quiltmaker (Stash Books/C & T Publishing), figuring if I loved one of her methods that much, I wanted to see what other knowledge she had to impart. I even want to share—don’t miss the giveaway at the bottom!
Fair warning: I’m not actually going to show you my medallion yet—partly because I don’t have it yet, and partly because I want it to be a surprise. But, I would like to talk a bit about options beyond the typical reproduction and 19th-century-look fabrics that are available. Between royalty-free images or your own artistic skills and digital printing, you can create your own custom fabric or medallions for a federal-era quilt.


